
When the Wi-Fi option disappears in Windows 11, the cause is almost always one of four things: a disabled or stuck wireless adapter, a stopped WLAN AutoConfig service, a missing or corrupt driver, or a broken network configuration after an update. The fix depends on which of those is failing, so the steps below move from the lightest action to a full network reset.
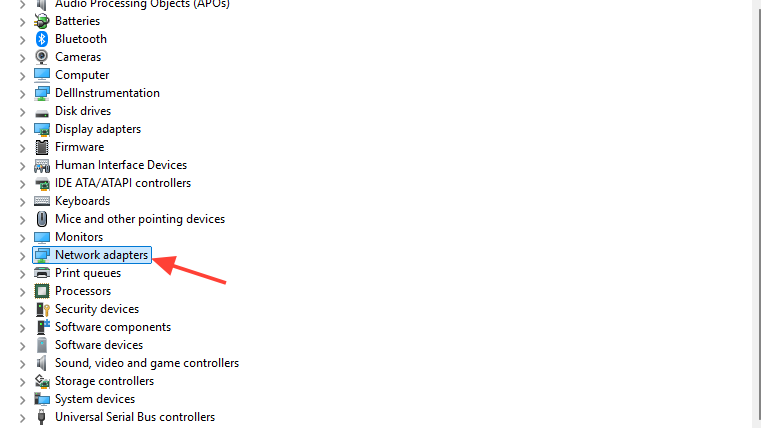
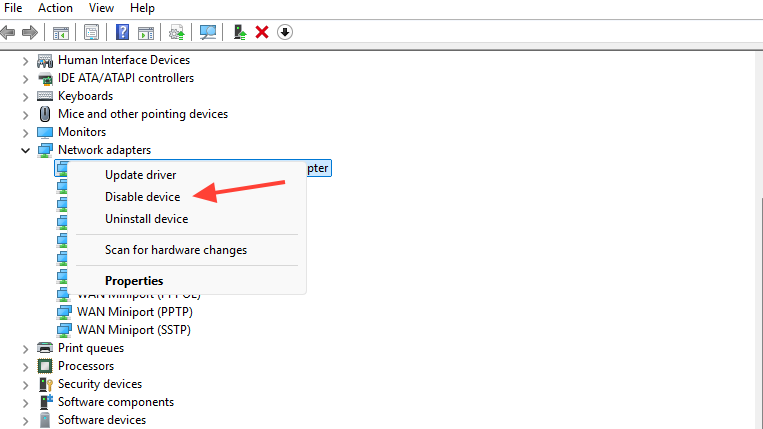
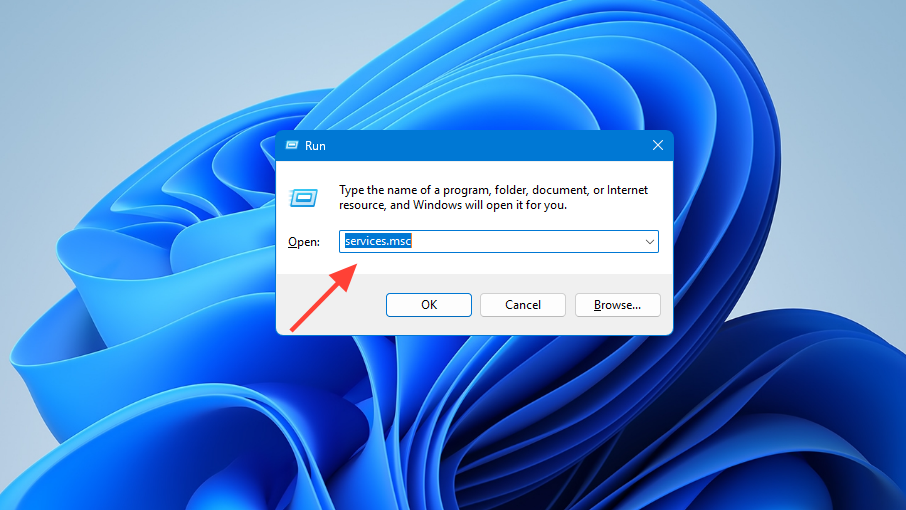
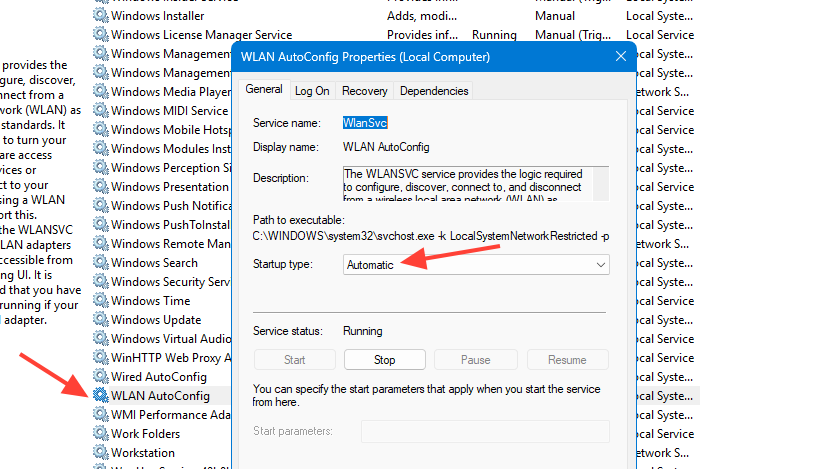
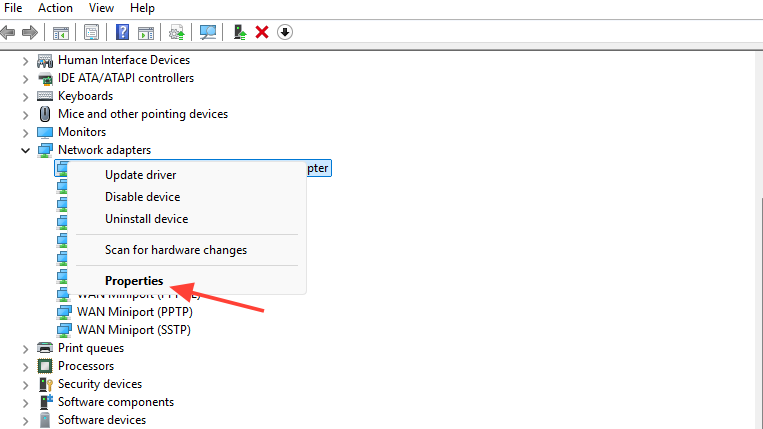
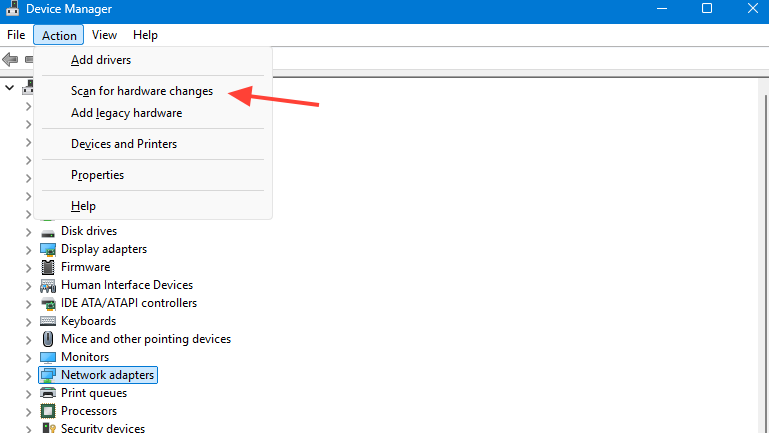
Quick answer: Open Device Manager, expand Network adapters, right-click your wireless adapter, and choose Disable device, then right-click again and choose Enable device. If the adapter is missing, open Services, set WLAN AutoConfig to Automatic, and start it. If both fail, reinstall the Wi-Fi driver and run Settings → Network & internet → Advanced network settings → Network reset.

Confirm the symptom before changing settings
“Wi-Fi option not showing” can mean different things, and each points to a different fix. Identify which of these matches your PC:
| Symptom | Likely cause |
|---|---|
| No Wi-Fi icon in the taskbar, no Wi-Fi toggle in Quick Settings | Adapter disabled, driver missing, or WLAN AutoConfig stopped |
| Wi-Fi toggle exists but no networks appear | Adapter radio off, airplane mode, driver glitch |
| Wi-Fi disappears after sleep, restart, or a Windows update | Power management on adapter, or driver replaced by Windows Update |
| Wireless adapter shows a yellow exclamation in Device Manager | Driver fault — reinstall required |
| Adapter is not listed at all in Device Manager | Hardware disabled in BIOS, physical Wi-Fi switch off, or hardware failure |
If the adapter is not in Device Manager at all, check for a physical Wi-Fi switch or function key on laptops (often Fn + F2, F5, F8, or F12 depending on the brand) and confirm the wireless card is enabled in BIOS before software fixes.
Fix 1: Disable and re-enable the wireless adapter
This clears a stuck adapter state without changing any settings. It is the fastest fix and resolves most cases where the Wi-Fi option vanishes after sleep or a brief glitch.
You can do the same thing from the Network Connections panel. Press Windows + R, type ncpa.cpl, press Enter, right-click the Wi-Fi entry, choose Disable, then Enable.
Fix 2: Start the WLAN AutoConfig service
Windows depends on the WLAN AutoConfig service (Wlansvc) to discover, connect to, and manage wireless networks. If the service is stopped or set to Manual and fails to start, the Wi-Fi toggle and network list will not appear even when the adapter is healthy.
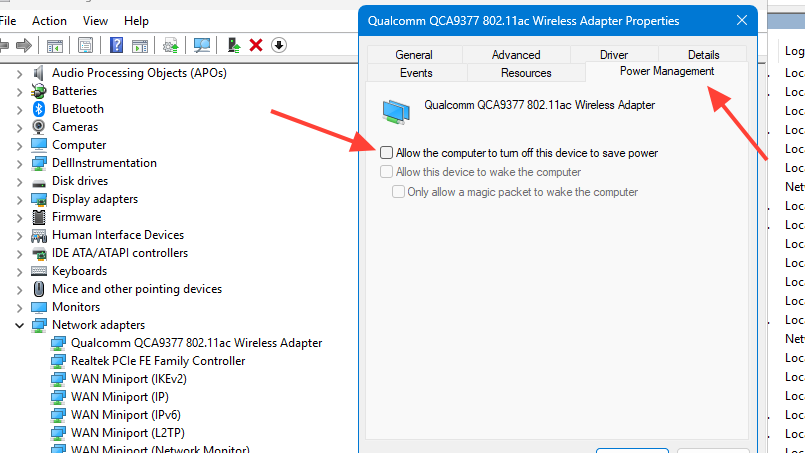
Fix 3: Stop Windows from turning off the adapter to save power
On laptops, the Wi-Fi option often disappears after sleep because Windows is allowed to power down the wireless radio. Disabling that permission keeps the adapter awake.
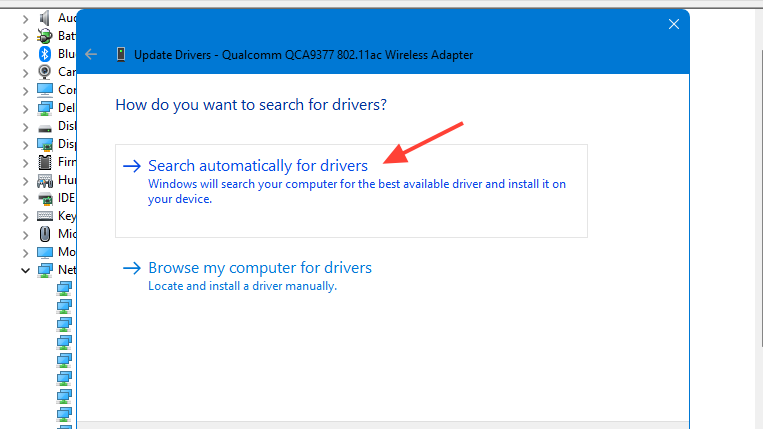
Fix 4: Update or reinstall the Wi-Fi driver
A corrupt or mismatched driver is the most common reason the wireless adapter goes missing after a Windows update. A clean reinstall replaces the driver Windows is currently loading.
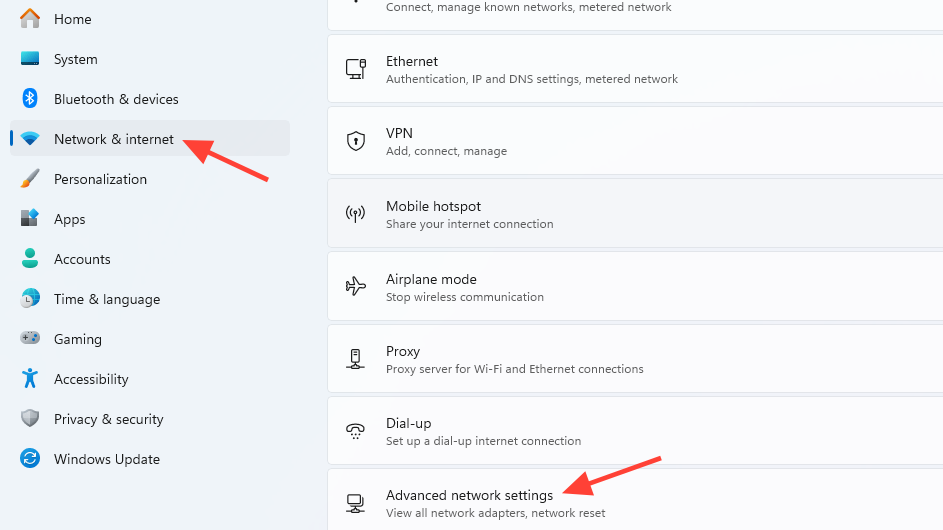
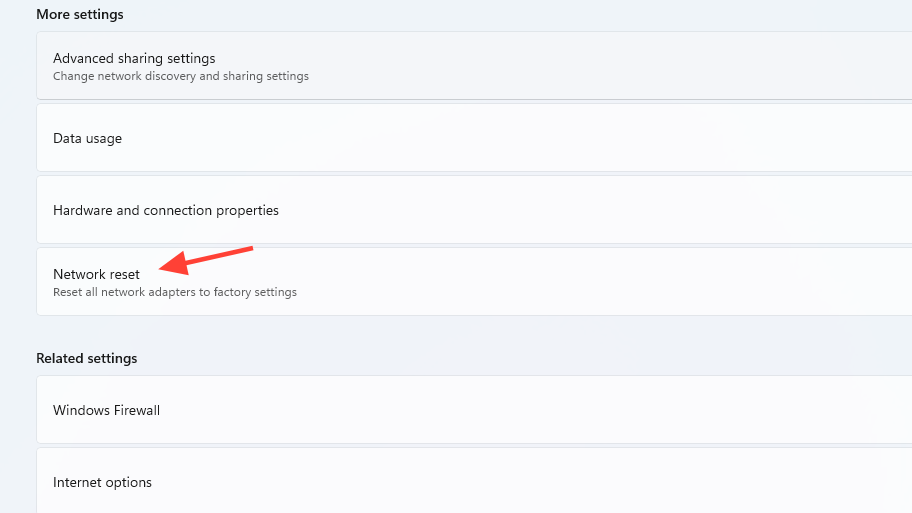
Fix 5: Run a network reset
Network reset removes every network adapter, reinstalls them, and returns all networking components to defaults. Use it when the Wi-Fi option is missing from both the taskbar and Settings, and the earlier fixes did not help.
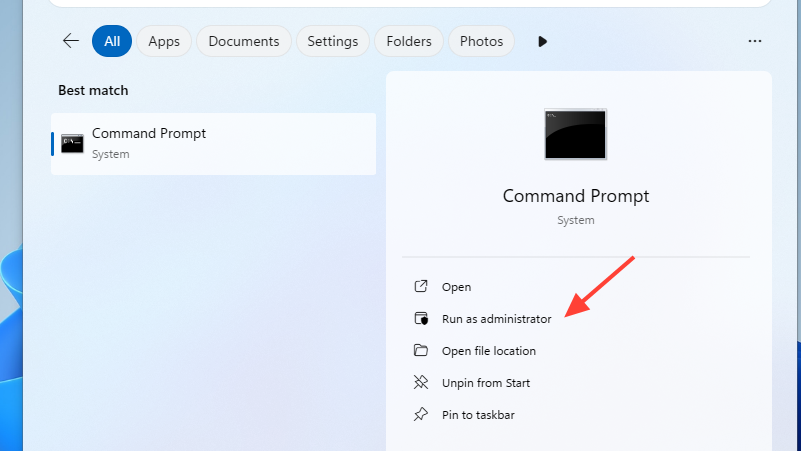
Fix 6: Reset the TCP/IP stack from Command Prompt
If the Wi-Fi option is intermittently visible but you suspect a damaged network stack, these commands repair Winsock and the IP configuration without removing the adapter.
netsh winsock reset
netsh int ip reset
ipconfig /flushdns
ipconfig /registerdns
ipconfig /release
ipconfig /renew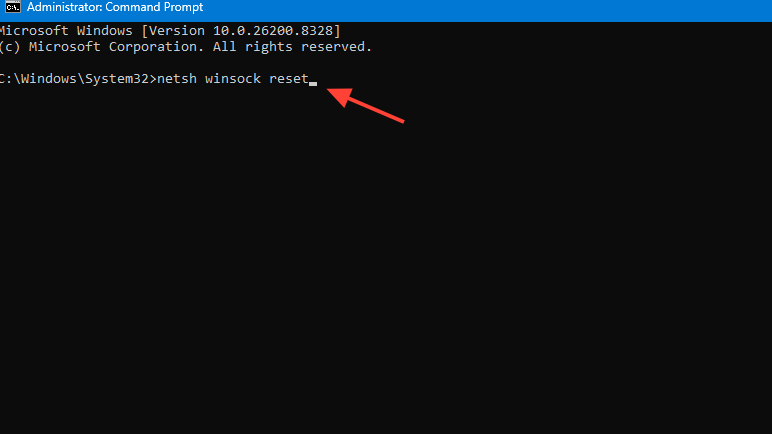
Fix 7: Power flush the laptop
A power flush clears residual charge from the motherboard and forces controllers, including the wireless card, to reinitialize. It is useful when the Wi-Fi adapter is stuck due to a firmware glitch.
How to confirm the fix worked
The Wi-Fi option is fully restored when all three of these are true:
- The Wi-Fi icon shows in the system tray on the right side of the taskbar.
- The Wi-Fi tile appears in Quick Settings when you click the network icon, and the toggle can be turned on.
- Settings → Network & internet shows a Wi-Fi section that lists available networks.
If only the taskbar icon is hidden but Wi-Fi works in Settings, the fix is different: right-click the taskbar, open Taskbar settings, expand the system tray icons section, and make sure the Network icon is set to show.
When none of the fixes restore Wi-Fi
If the wireless adapter never reappears in Device Manager after a driver reinstall, network reset, and power flush, the issue is below the operating system. Check the following in order:
| Check | What to do |
|---|---|
| Physical Wi-Fi switch or function key | Toggle the hardware switch; press Fn + the wireless key on laptops |
| Airplane mode | Open Quick Settings and confirm airplane mode is off |
| BIOS/UEFI wireless setting | Reboot into BIOS and ensure the wireless device is Enabled |
| Vendor utilities (e.g., HP Connection Optimizer) | Disable or uninstall vendor connection-manager services that override Windows |
| Hardware fault | Test with a USB Wi-Fi dongle; if it works, the internal card has failed |
A USB wireless adapter is the fastest way to separate a software problem from a hardware failure. If a known-good USB adapter shows the Wi-Fi option and connects normally, the internal card or its antenna cable is the fault, and the device needs service.


