The Wiggling Hill Ruins sit in a narrow gorge in northeast Demeniss, north of the Golden Plains and east of the Sanctum of Mortification. It’s one of the simpler water-drain puzzles tied to an Abyss Cresset, but the lanterns are spread across uneven terrain, which is where most players lose time.
Wiggling Hill Ruins location
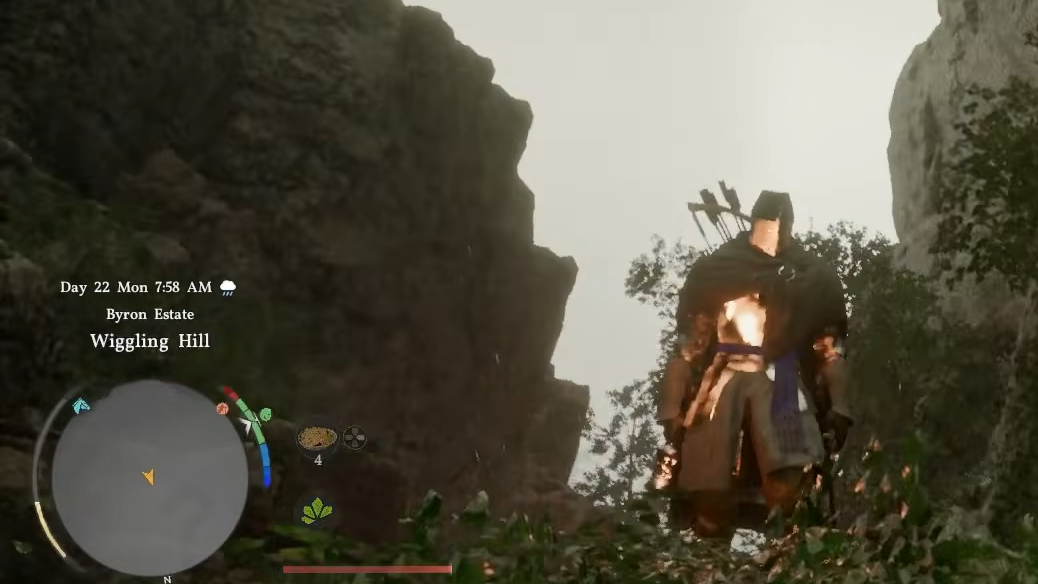
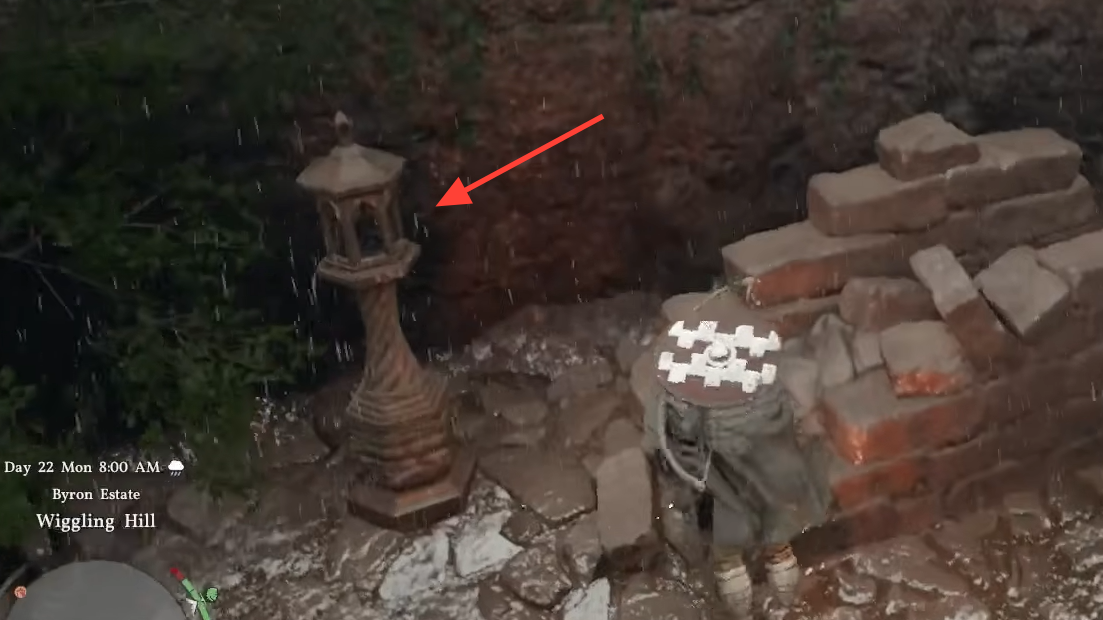
The ruins are tucked into a ravine in the Byron Estate area of Demeniss, northwest of the Golden Gallop Racecourse and east of the Sanctum of Mortification. If you approach from the high ground above, drop down into the gorge where the stream runs. Coming in from the north, you’ll pass through a series of stone arches before reaching the Cresset at the center.
| Detail | Value |
|---|---|
| Region | Demeniss (northeast) |
| Nearest landmarks | North of Golden Plains, east of Sanctum of Mortification |
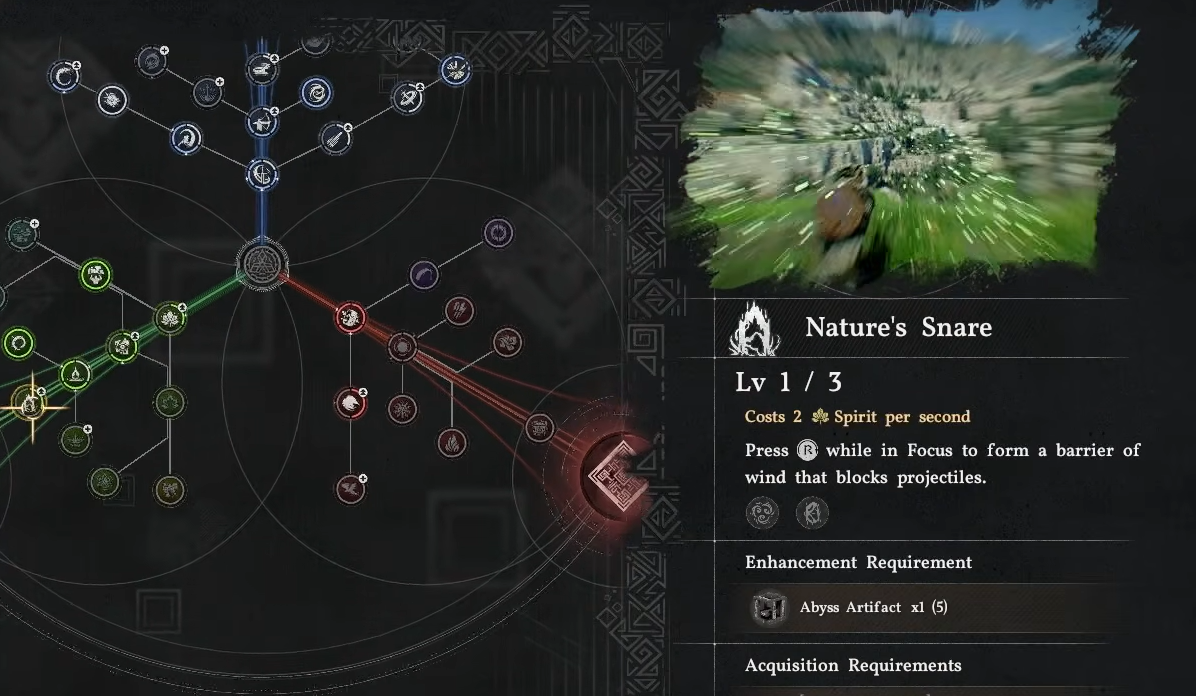
| Required skill | Nature’s Snare |
| Rewards | Abyss Artifact, Abyss Cresset fast travel point |
| Puzzle type | Water drain + lantern lighting |
Requirements before you start
You need the Nature’s Snare skill, which sits on the Spirit (green) branch of the skill tree. If you haven’t unlocked it yet, the Haunted Hill Ruins puzzle in Hernand is a natural place to pick it up, since it teaches the same water-drain mechanic. A lantern or a fire source is also useful for lighting the stone lanterns quickly.
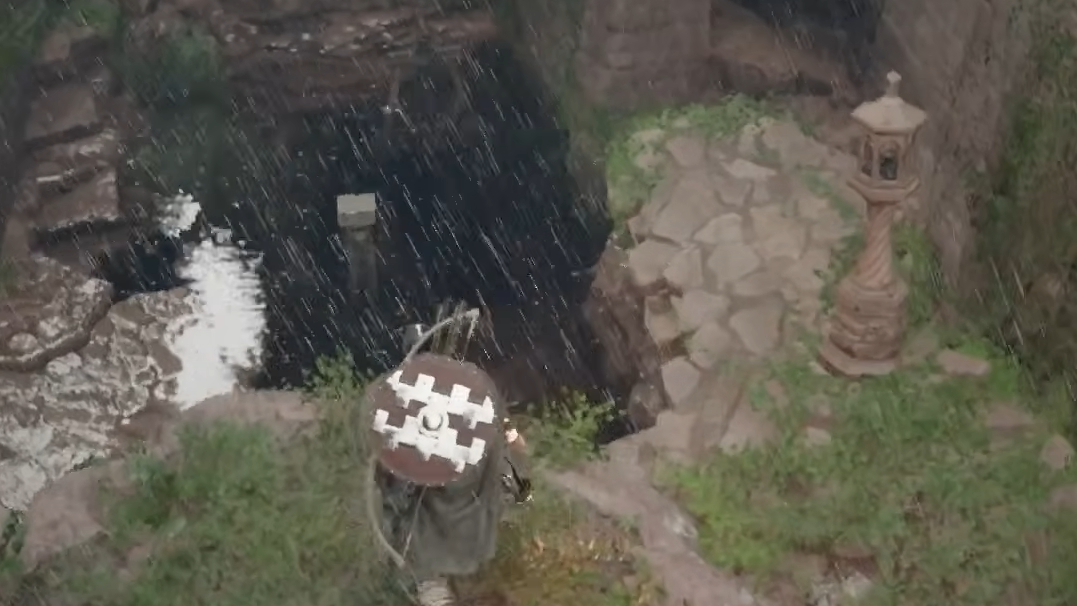
Solution
How to confirm it worked
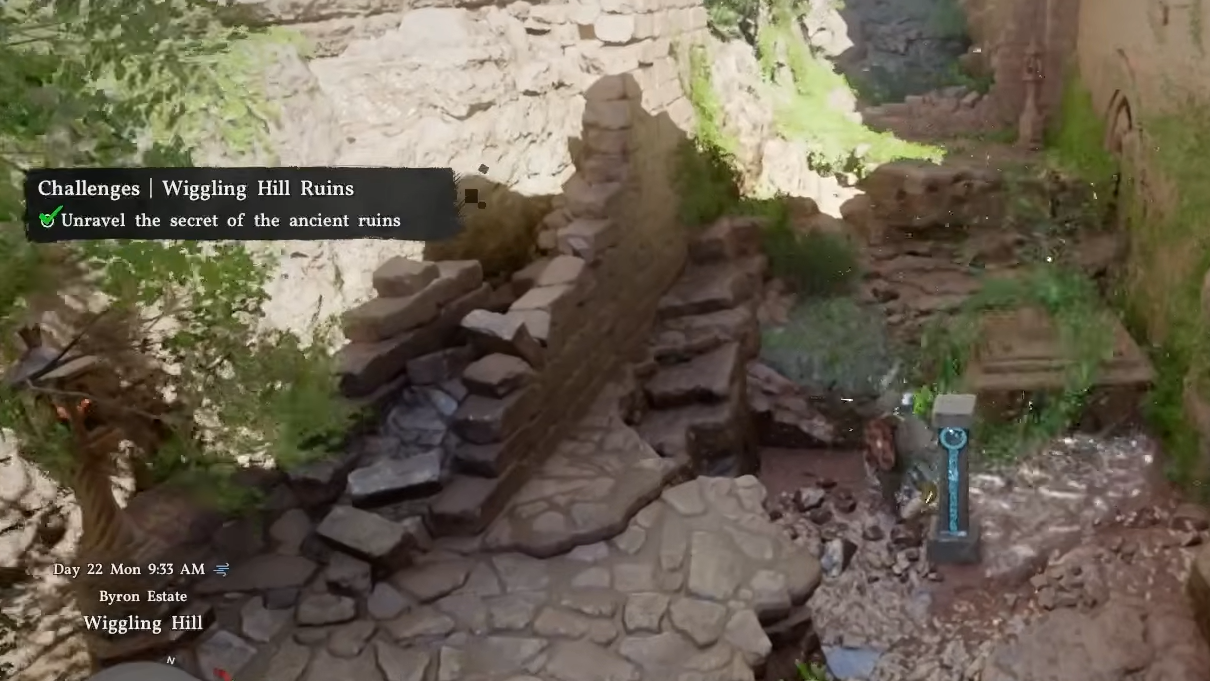
When the puzzle resolves, the Cresset activates with a visible glow, the Abyss Artifact spawns inside it, and the location becomes a fast travel teleport point on your map. Picking up the artifact grants a skill point toward unlocking abilities or boosting attributes.
Common reasons it doesn’t trigger
If nothing happens after you snare the mechanism, one of the five lanterns is almost always still unlit — the ones on higher ledges near the arches are easy to miss. The other failure case is canceling Nature’s Snare too early; the device needs to rise fully before the Cresset registers completion. Order doesn’t matter, but both conditions (all lanterns lit and the mechanism fully raised) must be satisfied in the same visit.