
Windrose rewards players who commit fully to a single damage stat, a matching weapon pair, and a four-piece armor set. Three loadouts currently sit far above the rest in Early Access: a Precision-scaling rapier build, a plague halberd cleave build, and a reliable musket headshot build. Each one stacks weapon effects, set bonuses, food buffs, and talents around one clear win condition.

Rapier precision build (S+ tier)
Rapiers, pistols, and muskets all scale off Precision, so this build dumps every damage point into a single stat. That frees up gear slots and food choices to push damage even further while keeping survivability high through Perfect Blocks and on-hit healing.
The build has two phases. The Rapier of a Thousand Cuts carries the early and mid game with a stacking bleed DoT that refreshes on every hit. Once the Rapier of Devastation drops in the Cursed Swamps, swap immediately for stronger heavy attacks, plague mark consumption, and the self-heal that makes potions almost optional.

Gear and consumables
| Slot | Thousand Cuts phase | Devastation phase |
|---|---|---|
| Melee | Rapier of a Thousand Cuts | Rapier of Devastation |
| Ranged | Reliable Pistol | Drake’s Double-Barreled Pistol |
| Armor | Conquistador’s 2x + Pikeman’s 2x | Flibustier’s 4x |
| Ring | Major Spear-Thrower’s Ring | Major Warrior Ring |
| Necklace | Major Necklace of Precision | Major Necklace of Precision |
| Food | Swamp Pie + Coffee | Swamp Pie + Coffee |
| Elixir | Elixir of Cruelty (+8% damage) | Elixir of Cruelty (+8% damage) |
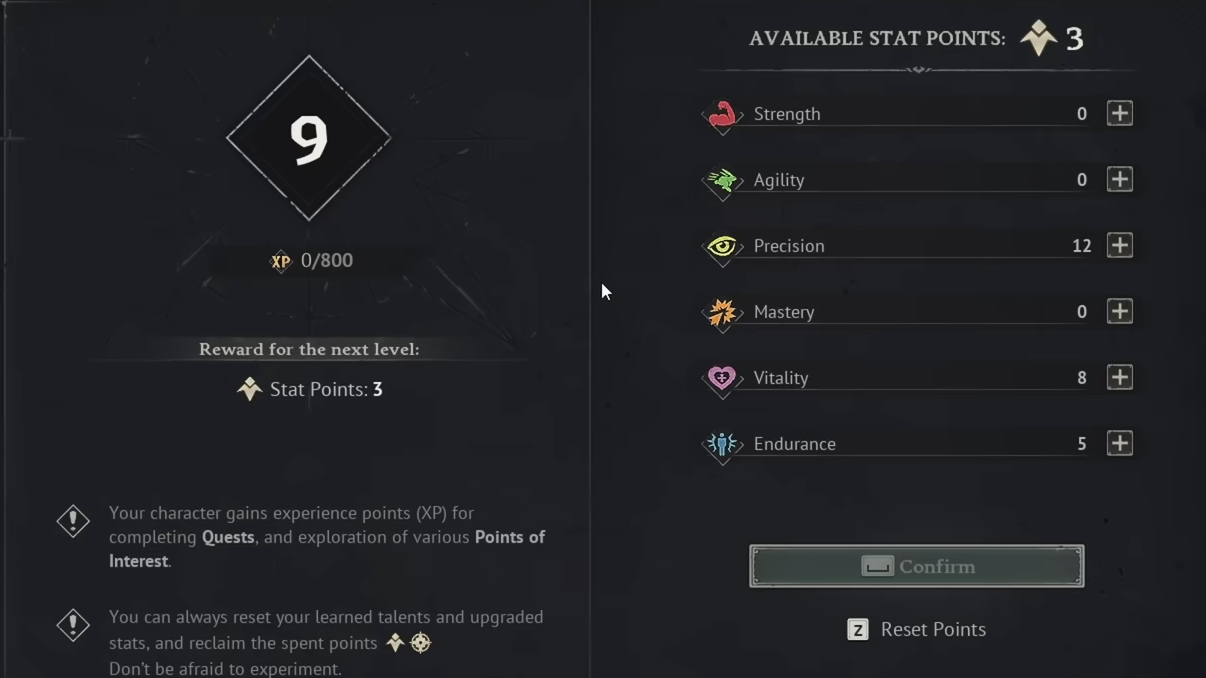
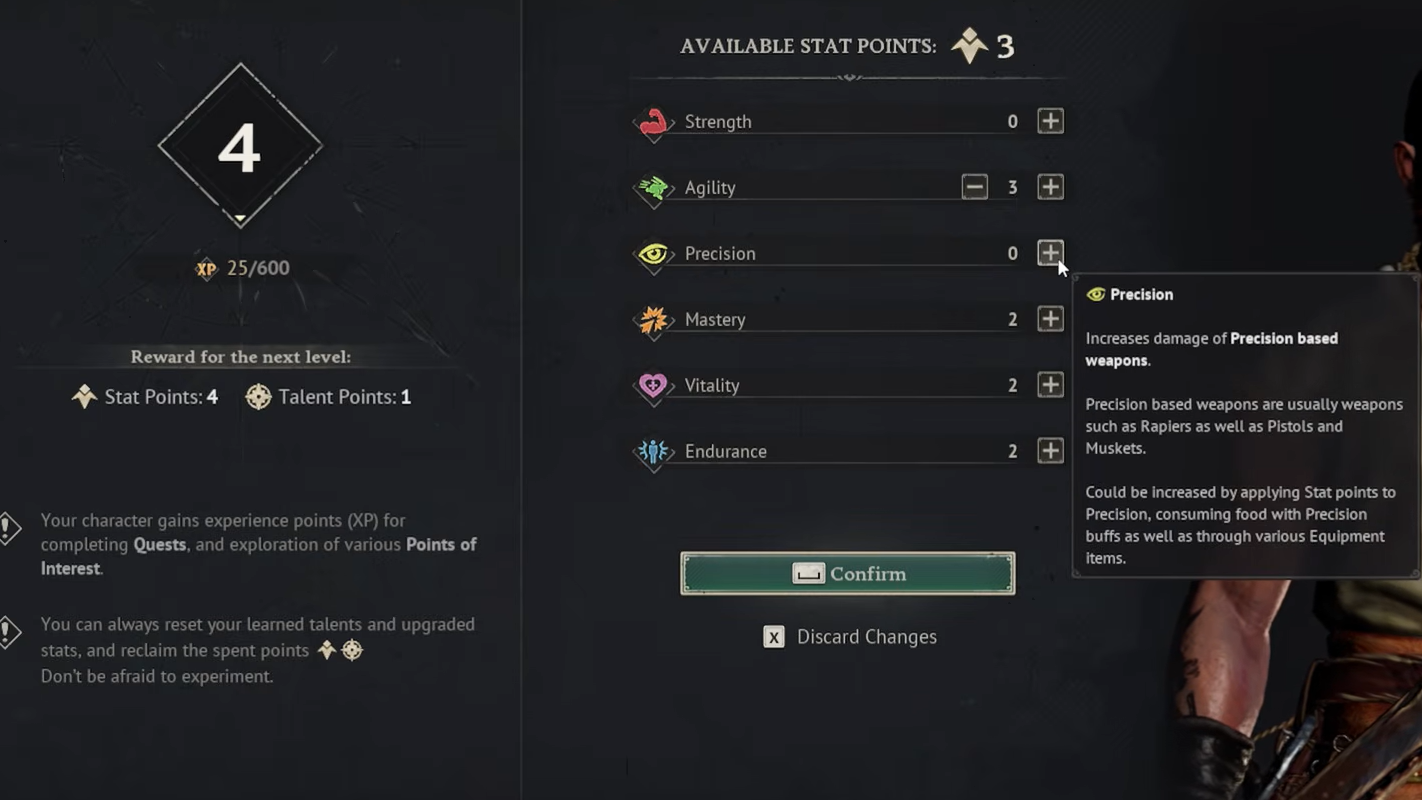
Stat allocation
Final endgame split: Precision 25, Vitality 10, Endurance 10. In the early-mid game, a 1:1:1 ratio across the three is more forgiving while you learn Perfect Block timing. Precision damage gains drop by roughly half past 20 points, but it still beats putting points into Mastery or extra Vitality when Coffee is feeding your stamina pool.
Playstyle
With the Thousand Cuts, your job is to keep five bleed stacks rolling on every nearby enemy. One light attack refreshes the duration, so you can play patient and let the DoT do work between Perfect Blocks. Fire the pistol whenever passive reload finishes, and never manually reload.
With the Rapier of Devastation, the loop changes. Land light attacks until you have eight plague marks, fire Drake’s Pistol to apply Vulnerability, then unload a heavy attack that can hit close to 4,000 damage. Consuming five or more plague marks heals you back to full, which is why Vitality stays low.
Talents
Early game with the Thousand Cuts: Marathon Runner 3/3, Just A Flesh Wound 3/3, Stout Frame 3/3, Too Angry To Die 1/3, You Will Answer For This 2/3.
Late game with the Rapier of Devastation: Marathon Runner 3/3, Just A Flesh Wound 2/3, Outnumbered 1/3, Stout Frame 2/3, Too Angry To Die 1/3, Deep Impact 3/3.

Plague halberd cleave build (S tier)
The Plague Halberd is the only halberd worth running right now. Its special attack hits a wide AoE, melts enemy posture, and heals you for about 35% of your health. The trade-off is no Perfect Block, slower swings, and high stamina cost per hit. This is a late-game build, since the weapon only drops from Crypts and Ruins in the Cursed Swamps.
Gear and consumables
| Slot | Choice |
|---|---|
| Melee | Plague Halberd |
| Ranged | Plague Pistol or Drake’s Double-Barreled Pistol |
| Armor | Pikeman’s 4x (preferred) or Conquistador’s 4x |
| Ring | Major Warrior Ring (+30% special) or Major Capricorn Ring (+12% Crude) |
| Necklace | Major Necklace of Strength |
| Food | Meaty Croc Kebab + Coffee |
| Elixir | Elixir of Firm Hand (+13% melee damage) |
Stat allocation
Final split: Strength 20, Vitality 15, Endurance 10. The extra Vitality covers the missing Perfect Block. Skip Mastery and Precision entirely on this build.
Playstyle
The halberd has a three-hit light combo and a heavy attack that deals roughly 70% more damage with only a slightly slower wind-up. Use heavy attacks far more than light ones. Weave dodges between blocks, since enemies will shred your posture if you only block. When you break their posture, that is your window for follow-up heavies.
The special attack buff does not expire once you reach five stacks, so you can hold it and trigger it on a tight group. Be careful with activation timing because incoming hits or your own actions can interrupt the cast. The 35% heal makes the special doubly useful when you are under pressure.
Talents
Marathon Runner 2/3, Stitches and Rum 1/3, Just a Flesh Wound 1/3, Outnumbered 2/3, Too Angry to Die 1/3, Stout Frame 1/3, Bonecrusher 3/3, Massive 1/3.

Reliable musket build (A tier)
Pure ranged is no longer a meme. The Reliable Musket’s Rare effect cuts reload speed dramatically, and the Quick Hand talent pushes total reload under two seconds. Combined with Bulletstorm’s stacking damage on consecutive hits, this loadout posts the highest sustained DPS of any build, fast enough to clear Tainted Ruins faster than either rapier or halberd setups.
The catches: you have no self-sustain, you need a steady supply of bullets and gunpowder, and headshots are mandatory. Miss too many and the build falls apart.
Gear and consumables
| Slot | Choice |
|---|---|
| Melee | None |
| Ranged | Reliable Musket (Epic ascension required) |
| Bullets | Bullet Arborum for tough targets, Iron Bullets for trash |
| Armor | Marksman’s 4x |
| Ring | Major Cutthroat Ring (+30% Critical Damage) |
| Necklace | Major Necklace of Precision |
| Food | Swamp Pie (+20 Precision) + Banana Muffin (+10 Precision) |
| Elixir | Elixir of Concentration (+30% Critical Damage) |

Stat allocation
Final split: Precision 35, Vitality 10, Endurance 0. Ranged combat in Windrose costs no stamina, which is what makes the all-in Precision dump possible. Drop Vitality lower if you trust your dodging against Plague Crocodile lunges and Plague Witch totems.
Playstyle
Engage groups from maximum range and prioritize ranged enemies first, since their projectiles are the only real threat. Land headshots, and most enemies die before they close the gap. If something reaches you, dodge sideways and fire a point-blank shot, or kite until passive reload triggers. The musket has a melee strike for finishing off low-health targets without wasting a bullet.
Save Bullet Arborum for high-level enemies and bosses. Iron Bullets handle everything else without draining your economy.
Talents
Bull’s Eye 3/3, Quick Hand 3/3, Bulletstorm 3/3, Sniper’s Focus 2/3, Firearm Training 1/3. Bulletstorm, in particular, is one of the strongest talents in the tree because the build is built around landing many shots quickly.

Build comparison
| Build | Best for | Main risk |
|---|---|---|
| Rapier Precision | All-purpose progression and farming | Requires Perfect Block mastery |
| Plague Halberd | Crowds, posture breaks, late-game farming | No Perfect Block, slow swings |
| Reliable Musket | Highest DPS, ranged clears | Fragile, expensive, headshot-dependent |
Food, elixirs, and rested bonus
Two different foods can be active at once, plus one elixir slot. Always run the highest-tier Precision or Strength food that matches your scaling stat, then layer Coffee for Endurance unless you are on the musket build. Elixirs in the current patch are damage-focused, so pick the one that matches your weapon: Cruelty for general damage, Firm Hand for melee, Concentration for crit.
Top up the Rested bonus at your camp or ship before any major fight. It boosts stamina regeneration, which matters most for the halberd and rapier builds where every dodge and Perfect Block counts.
Each of these three loadouts wins through a different mechanic: bleed and plague mark stacking, posture-breaking AoE, or rapid headshot DPS. Pick the one that matches your tolerance for Perfect Block timing, melee discipline, or aim precision, and commit fully to its scaling stat and four-piece set bonus.