
Critical damage in Windrose scales hardest with Precision and a small group of multiplicative modifiers, which makes the Reliable Musket marksman setup the cleanest crit build in the game right now. Headshots count as crit-spot hits, and when you stack the Major Cutthroat Ring, the Elixir of Concentration, and full Marksman armor on top, single shots can delete most overworld enemies before they ever close the gap.

Core weapon and why it anchors the build
The Reliable Musket is the only ranged weapon that makes a dedicated crit build viable. Its Rare effect cuts reload time dramatically, and its Epic effect rewards consistent precision shots. No other musket or pistol in the current Early Access build matches both the burst and the cycle speed needed to chain headshots against groups.
The musket drops randomly from points of interest in the Coastal Jungle and Foothills regions. You can pick it up early, but the build itself is gear-dependent and burns through gunpowder and bullets, so most players hold off until they have a steady crafting economy.
Full gear loadout
| Slot | Item | Why it’s here |
|---|---|---|
| Ranged weapon | Reliable Musket | Fast reload + crit-focused Epic effect |
| Melee weapon | None (musket melee for finishers) | No stat split, no slot wasted |
| Bullets | Bullet Arborum > Iron Bullet | Save premium ammo for tough targets |
| Armor | Marksman’s (4 pieces) | +15% Ranged Damage set bonus |
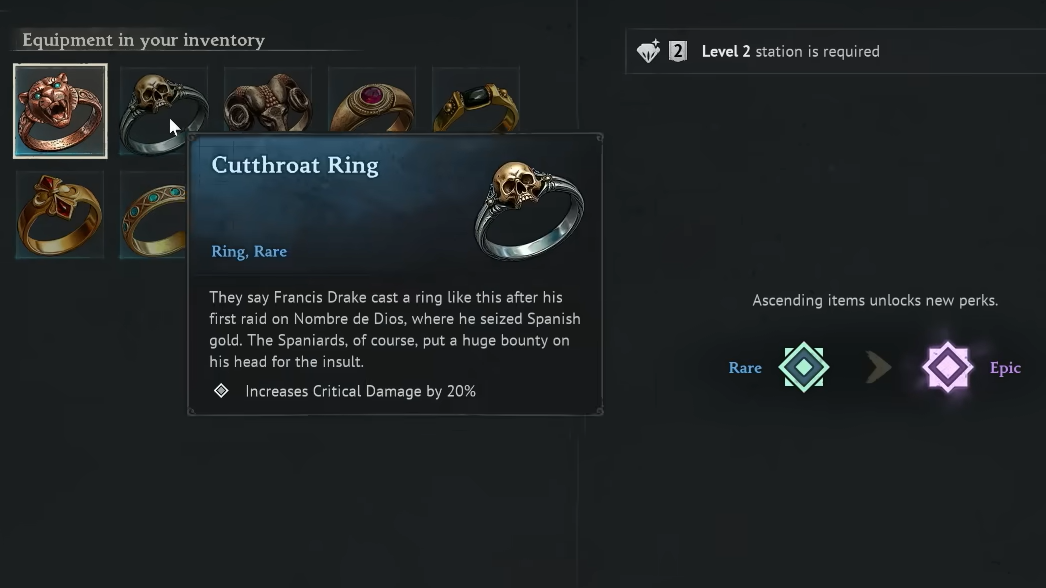
| Ring | Major Cutthroat Ring | +30% Critical Damage |
| Necklace | Major Necklace of Precision | +15 Precision |
| Food 1 | Swamp Pie | +20 Precision |
| Food 2 | Banana Muffin | +10 Precision |
| Potion | Elixir of Concentration | +30% Critical Damage |
The Major Cutthroat Ring beats out the Spear-Thrower’s Ring here because crit damage multiplies your headshot output, while pierce bonuses apply more flatly. Stacking two Precision foods is legal because they boost the same stat from different food categories, pushing you well past the soft breakpoint.
Stat allocation
Ranged combat consumes zero stamina, which removes any reason to invest in Endurance. That frees up every spare point for raw Precision.
| Stat | Points | Reasoning |
|---|---|---|
| Precision | 35 | Scales musket damage and crit performance |
| Vitality | 10 | Buffer for unavoidable hits like Plague Witch totems |
| Endurance | 0 | Ranged shots cost no stamina |
Precision suffers diminishing returns past roughly 20 points, with damage per point dropping by about half after that threshold. Even so, additional Precision still outpaces extra Vitality or Mastery for damage throughput, so pushing to 35 remains the optimal play if you trust your dodging.

Talent priority
Spend points in this order. Each tier locks in a specific damage multiplier or reload improvement.

How to actually play it
This is a glass cannon. You should be killing targets at distance long before they reach melee range. If a headshot lands cleanly, most enemies fold in one or two shots.
- Open engagements from maximum range whenever possible.
- Prioritize ranged enemies first since they bypass your kiting safety.
- If something closes the gap, dodge once and take a point-blank shot rather than swapping to melee.
- Use the musket’s melee strike only to clean up enemies left at a sliver of health while you wait on passive reload.
- Kite groups in a wide circle until your reload completes, then turn and fire.

Alternative crit-focused setup with rapier
If you prefer a melee-leaning crit playstyle, the Sturdy Rapier variant of the Precision build covers similar ground. Its Epic effect grants +20% crit chance, and pairing it with Privateer’s Regalia (2 pieces) for another +10% crit chance gives you a parry-heavy alternative that still rewards precise hits.
| Slot | Rapier crit variant |
|---|---|
| Melee | Rapier of a Thousand Cuts → Sturdy Rapier |
| Ranged | Reliable Pistol → Drake’s Double-Barreled Pistol |
| Armor | Flibustier’s Attire (2) + Privateer’s Regalia (2) |
| Ring | Spear Thrower’s Ring |
| Stats | Precision 25 / Vitality 10 / Endurance 10 |
Apply bleed stacks with the Rapier of a Thousand Cuts, then swap to the Sturdy Rapier for the wider parry window and crit chance. Once Drake’s Double-Barreled Pistol is ascended to Epic, open every fight with it to apply Vulnerability before swinging your rapier.

Verifying the build is working
You’ll know the crit setup is performing correctly when standard humanoid enemies in the Cursed Swamps die in a single headshot, and elite Plague variants drop in two. If you’re firing twice and seeing mob health bars only halfway depleted, check three things: that all four Marksman pieces are equipped, that both Precision foods are active simultaneously in the buff bar, and that the Elixir of Concentration timer is still running.
Crit chance and crit damage stack multiplicatively with the Cutthroat Ring and the Concentration elixir, so a single missing buff visibly drops your damage ceiling.