007 First Light Wave of the Future: All 24 Challenges and How to Complete Them
Every objective in Chapter 9's Antarctica facility, with the exact conditions and gadget tricks that clear them.
Every objective in Chapter 9’s Antarctica facility, with the exact conditions and gadget tricks that clear them.
by Pallav Pathak
Wave of the Future is the second-to-last mission in 007 First Light, set inside a high-security Antarctica facility. It packs 24 separate challenges that swing between pure pacifist stealth and loud android-smashing combat. Because many of these objectives directly clash, you cannot clear them all in one run. Expect to replay the level several times, working through stealth goals first and saving the destructive ones for dedicated passes.
🎯
Quick answer: Run the early mission silently to lock in the stealth and pacifist challenges, then replay checkpoints for the combat, gadget, and vehicle objectives. Some challenges fail permanently once an alarm triggers, so split them across separate attempts.
007 First Light, by IO Interactive.
All 24 Wave of the Future challenges and requirements
Here is the full set of objectives and exactly what each one asks for. Three of these (Pacifist, Ghost, and Assault) are umbrella challenges that complete automatically once you finish their two listed sub-objectives.
Challenge
Requirement
Pacifist: Wave of the Future
Complete Pacifist Protocols and Surrender.
Ghost: Wave of the Future
Complete Hide and Seek and Stay Stealthy.
Assault: Wave of the Future
Complete No Time to Reload and Server Breakdown.
Hide and Seek
Clear Gatehouse trespassing without being detected.
Knock Knock
Knock out David Somerset in the toilet.
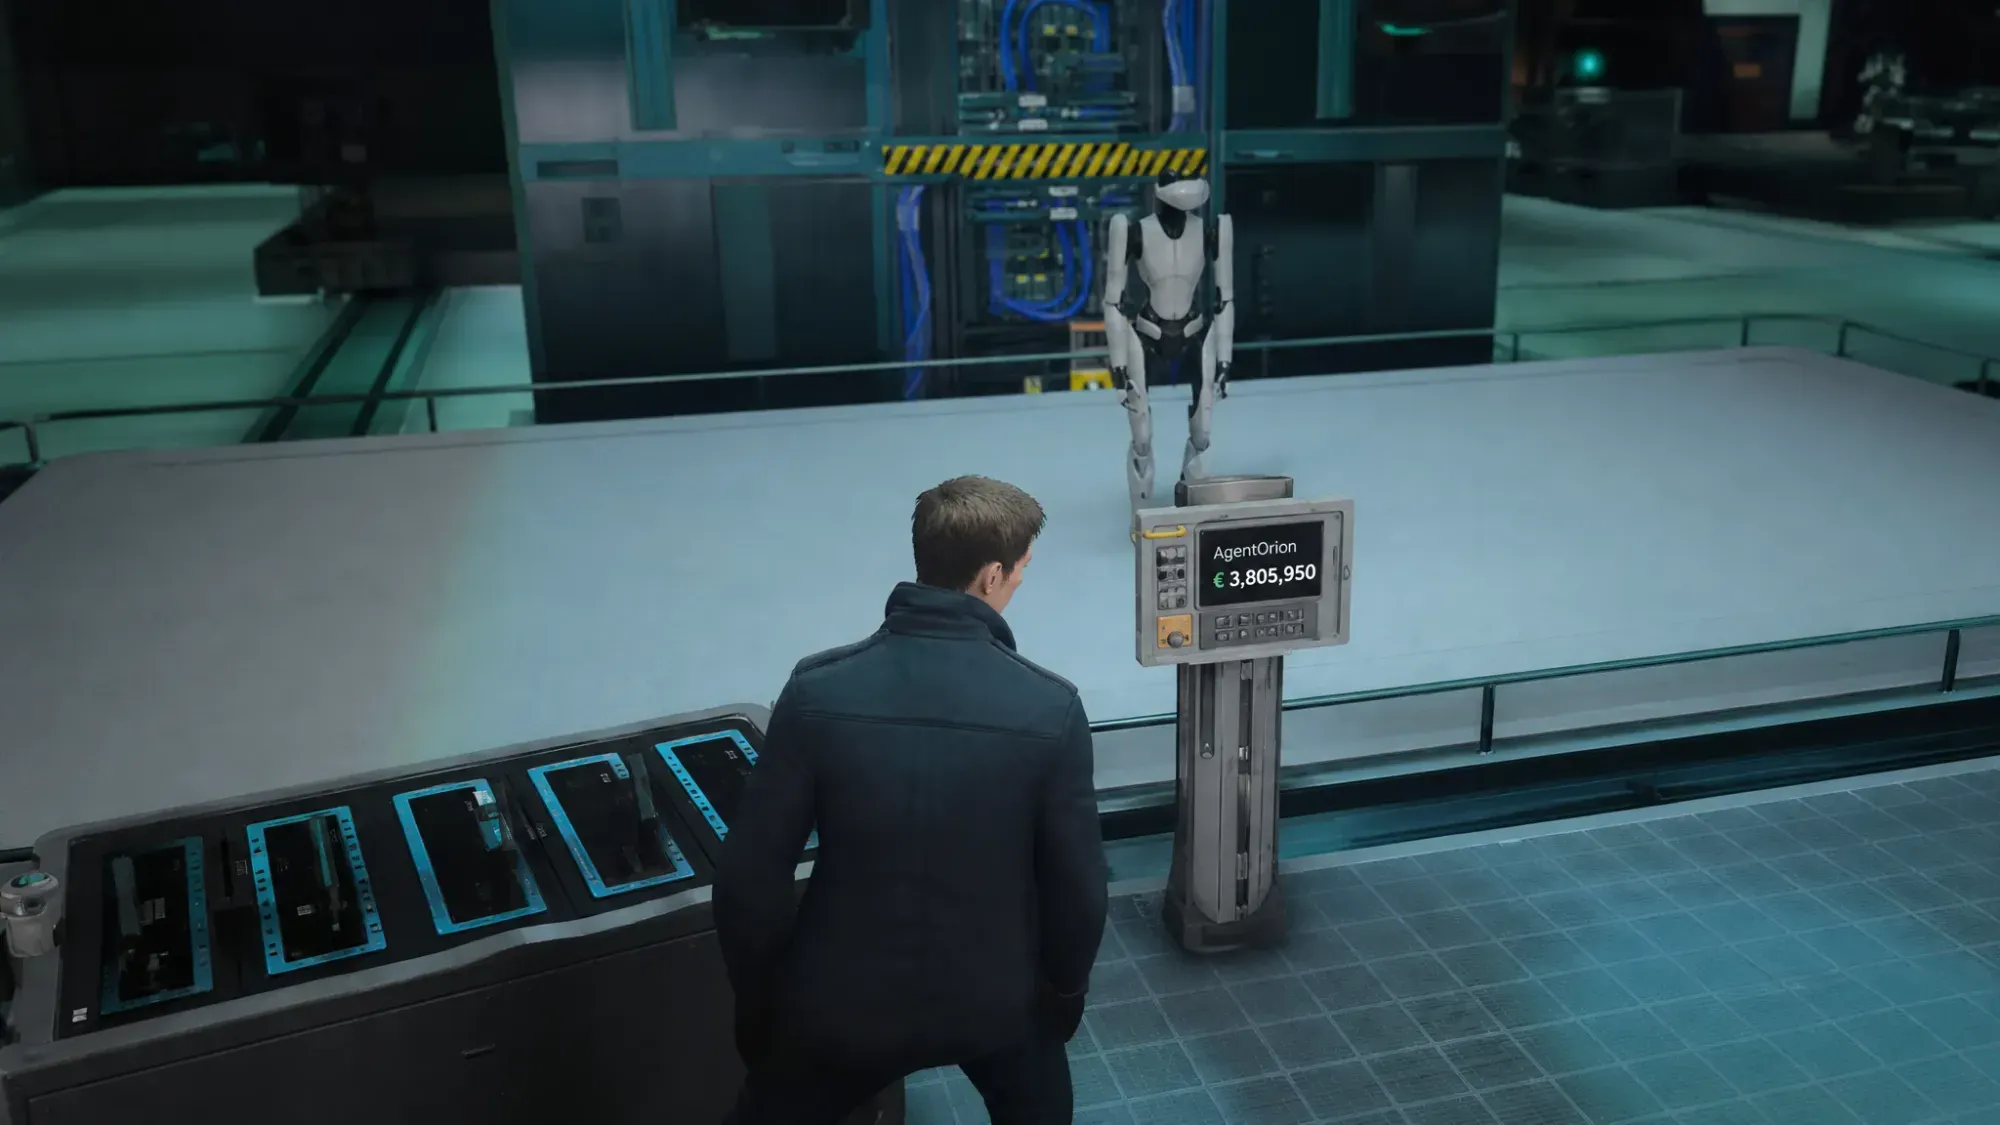
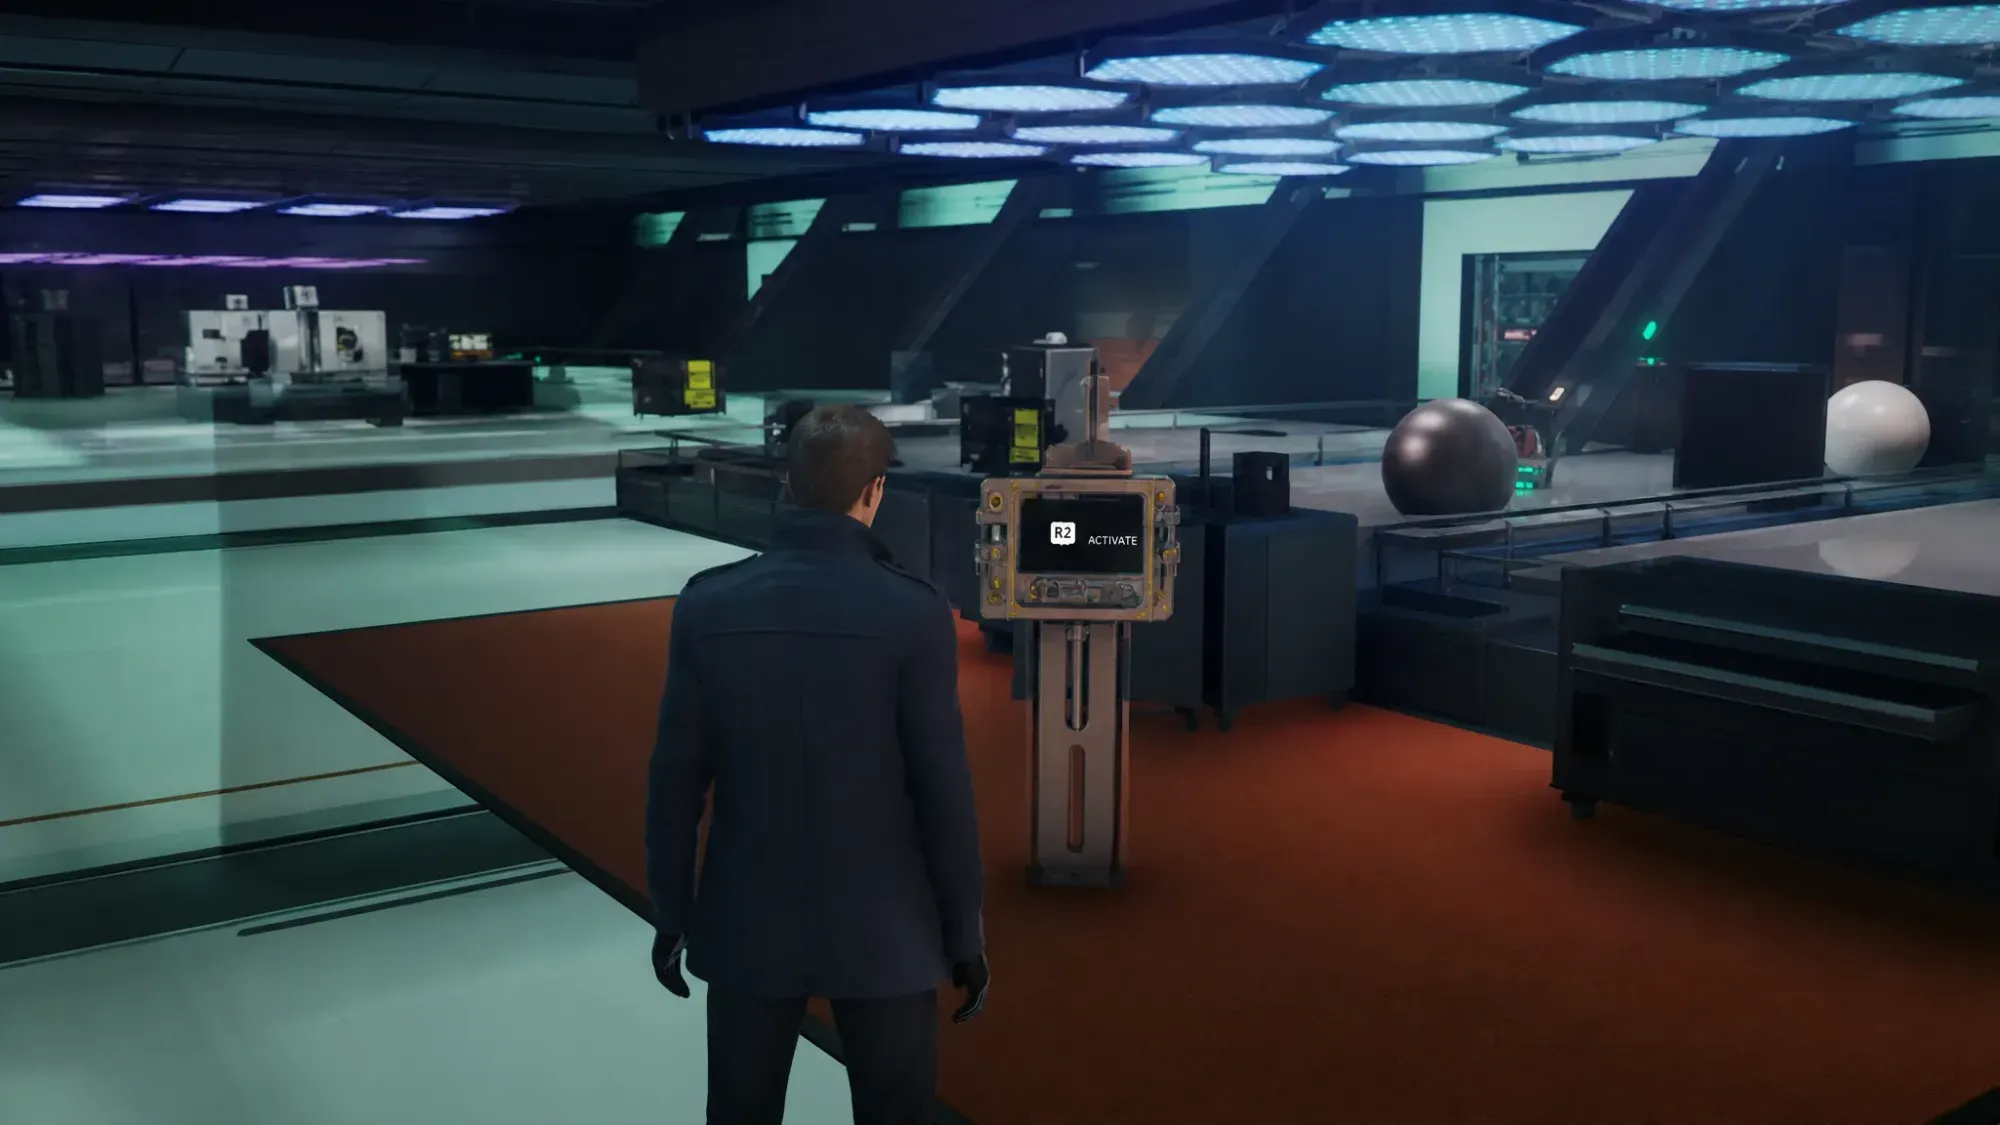
First Day at Work
Complete all opportunities in Robotics.
Special Intelligence Task Force
Bail out Isola when Lindsey recognizes her.
Pacifist Protocols
Clear Gantries and Utility Floor without shooting anyone.
Death From Above
Take down 3 Webb guards from above in the Utility space.
Deadly Delivery
Kill an enemy with a proximity mine on a robot vacuum.
Server Breakdown
Kill a Webb guard with an exploding server module.
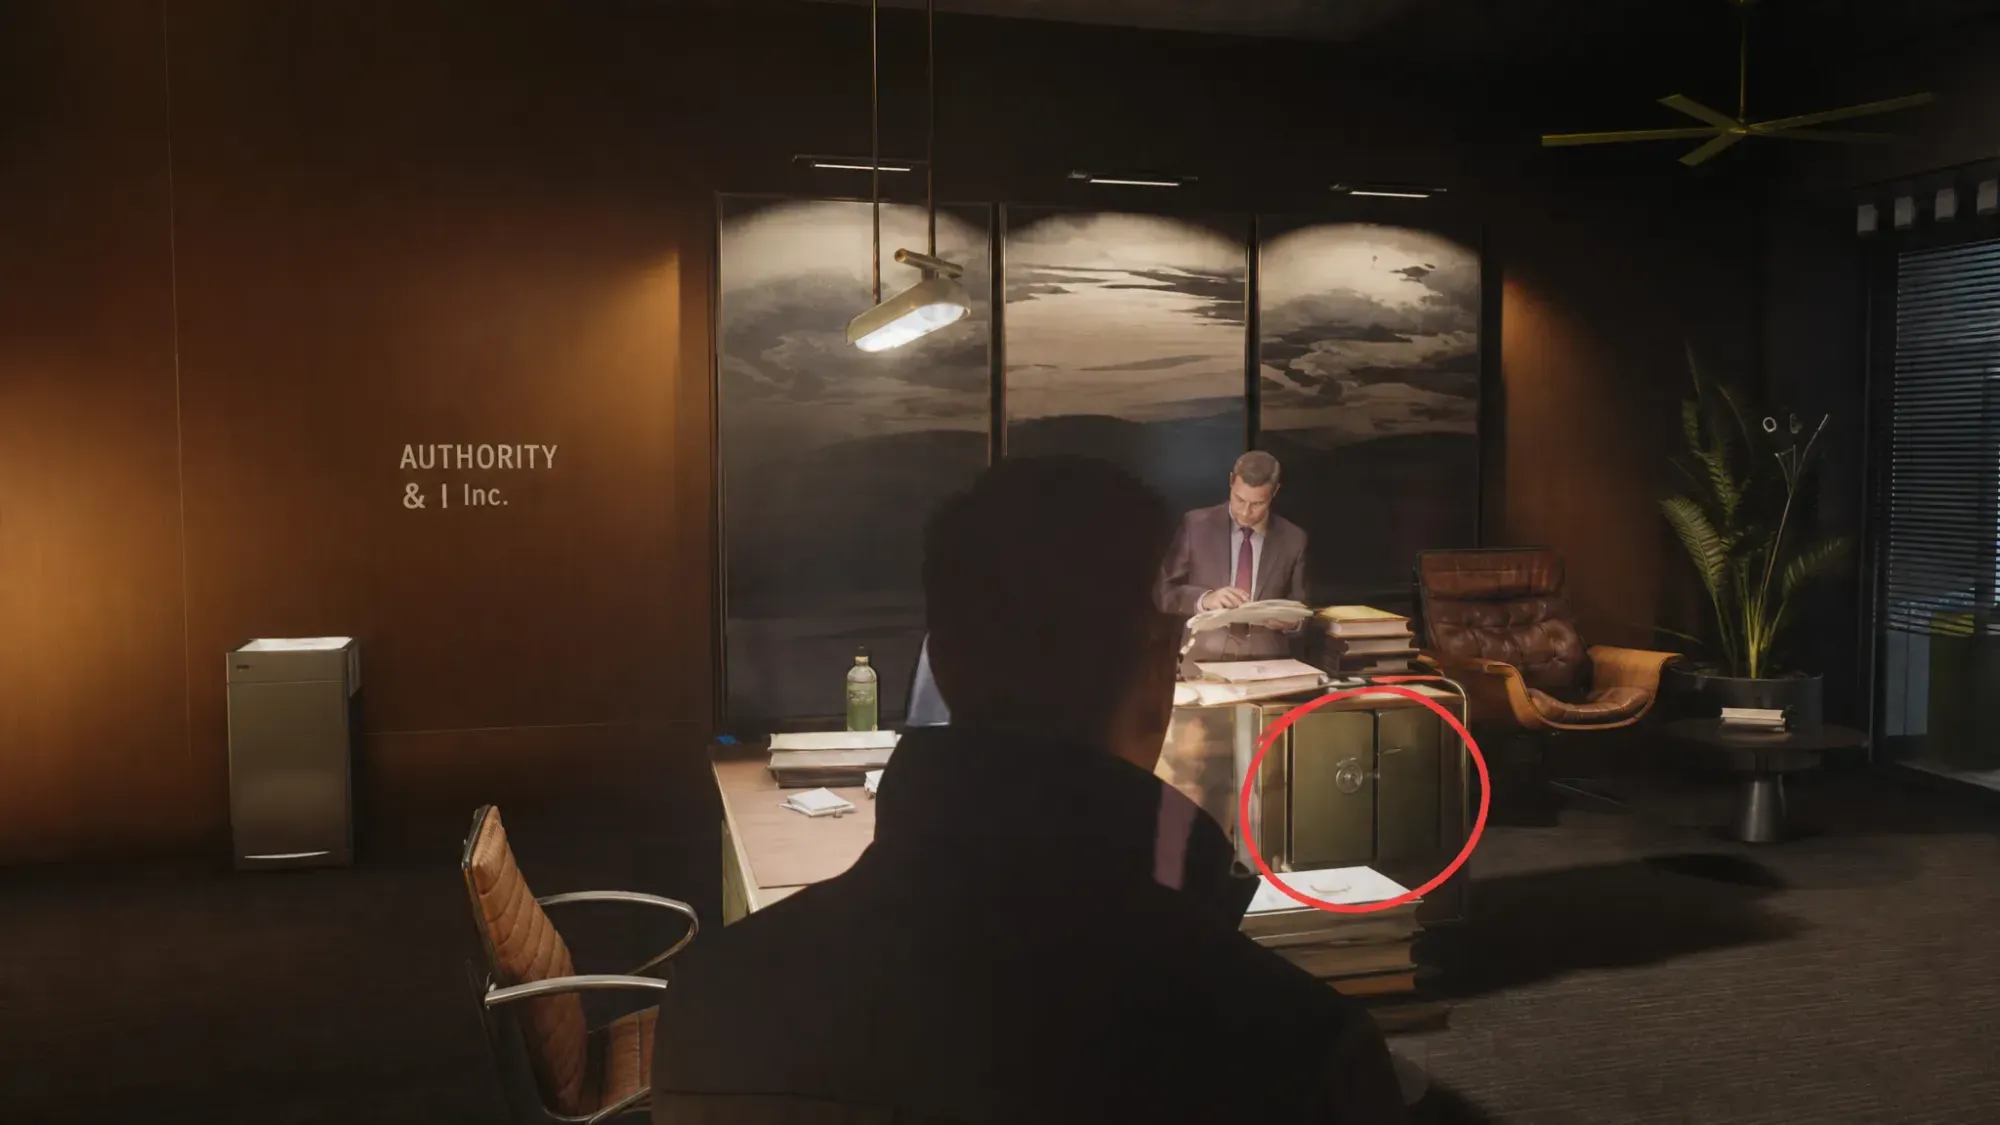
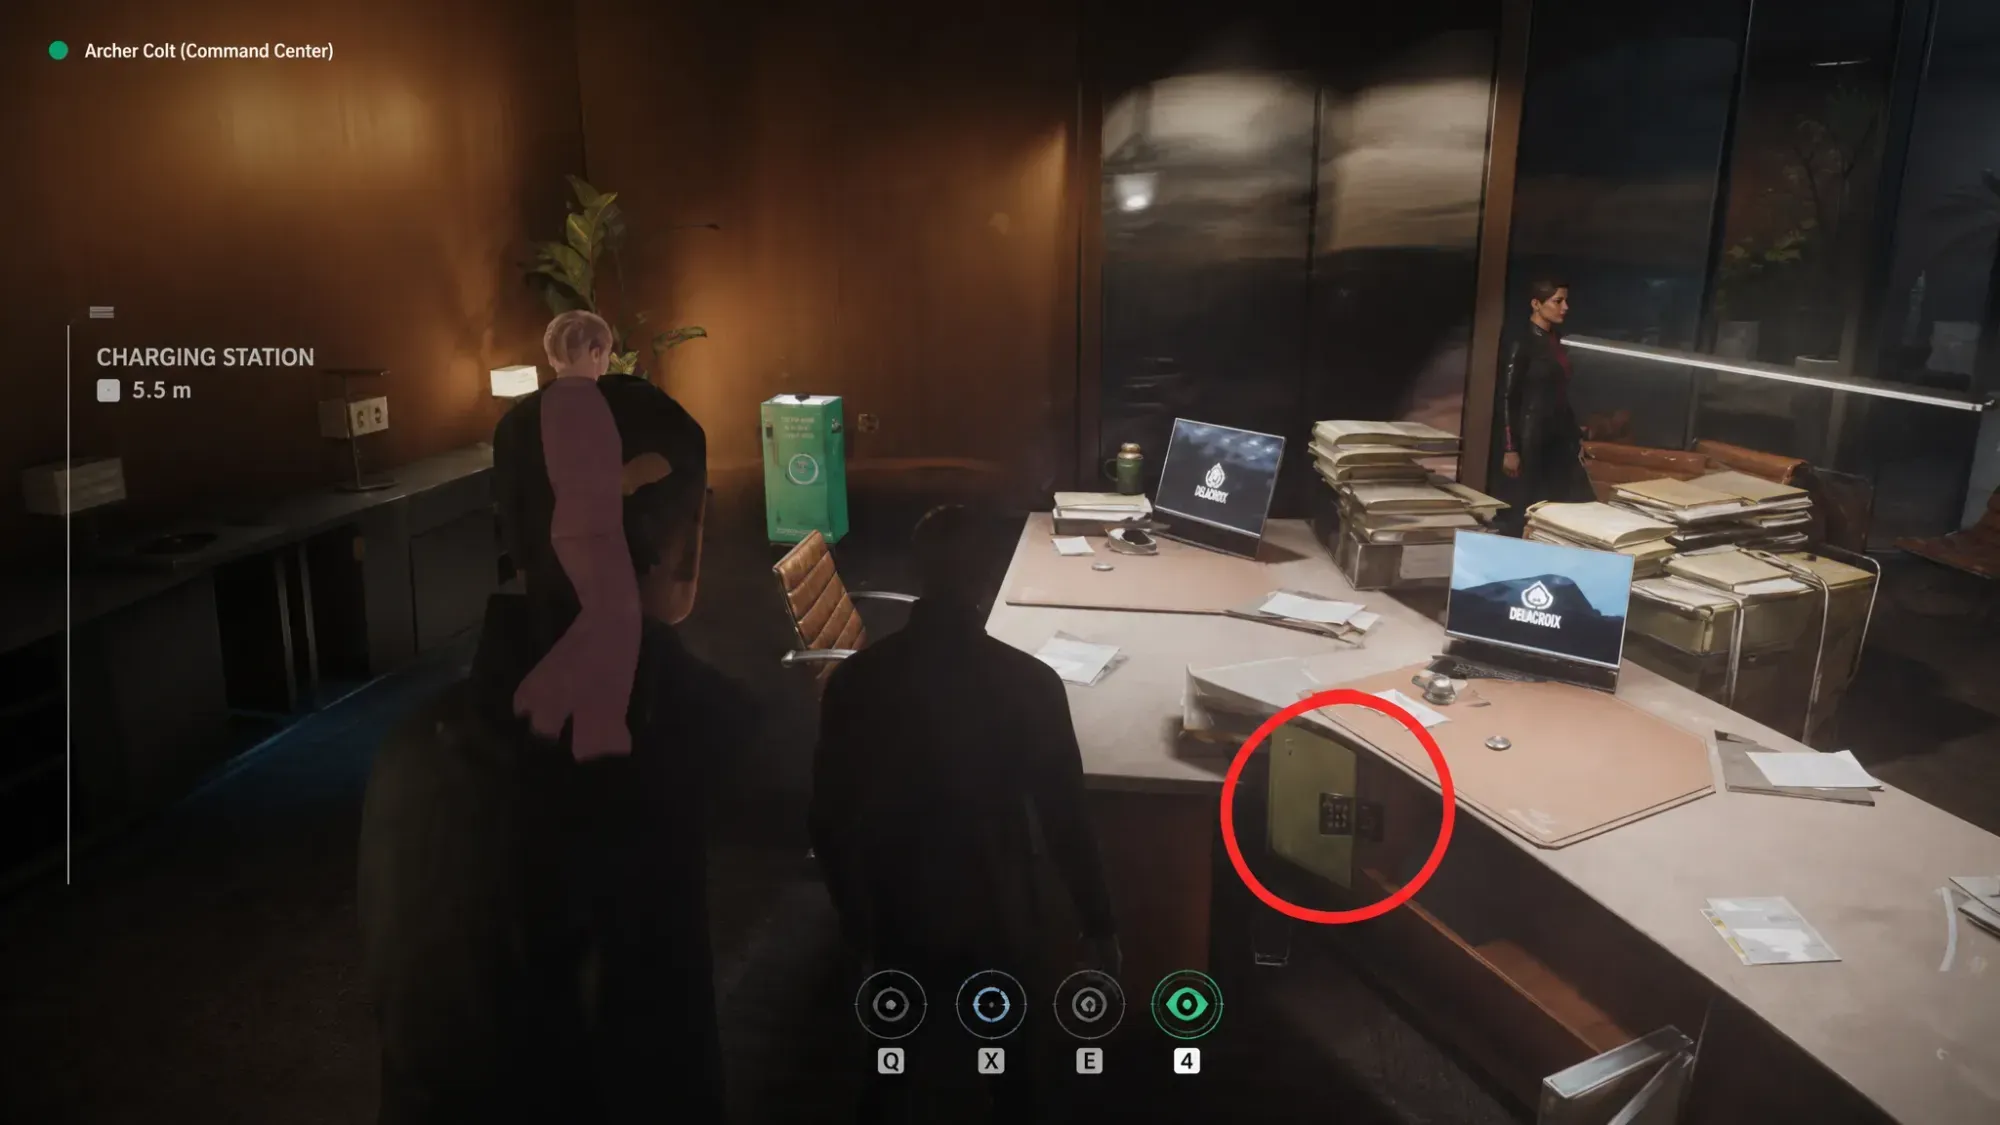
Attention to Detail
Open the safe in the lower floor office.
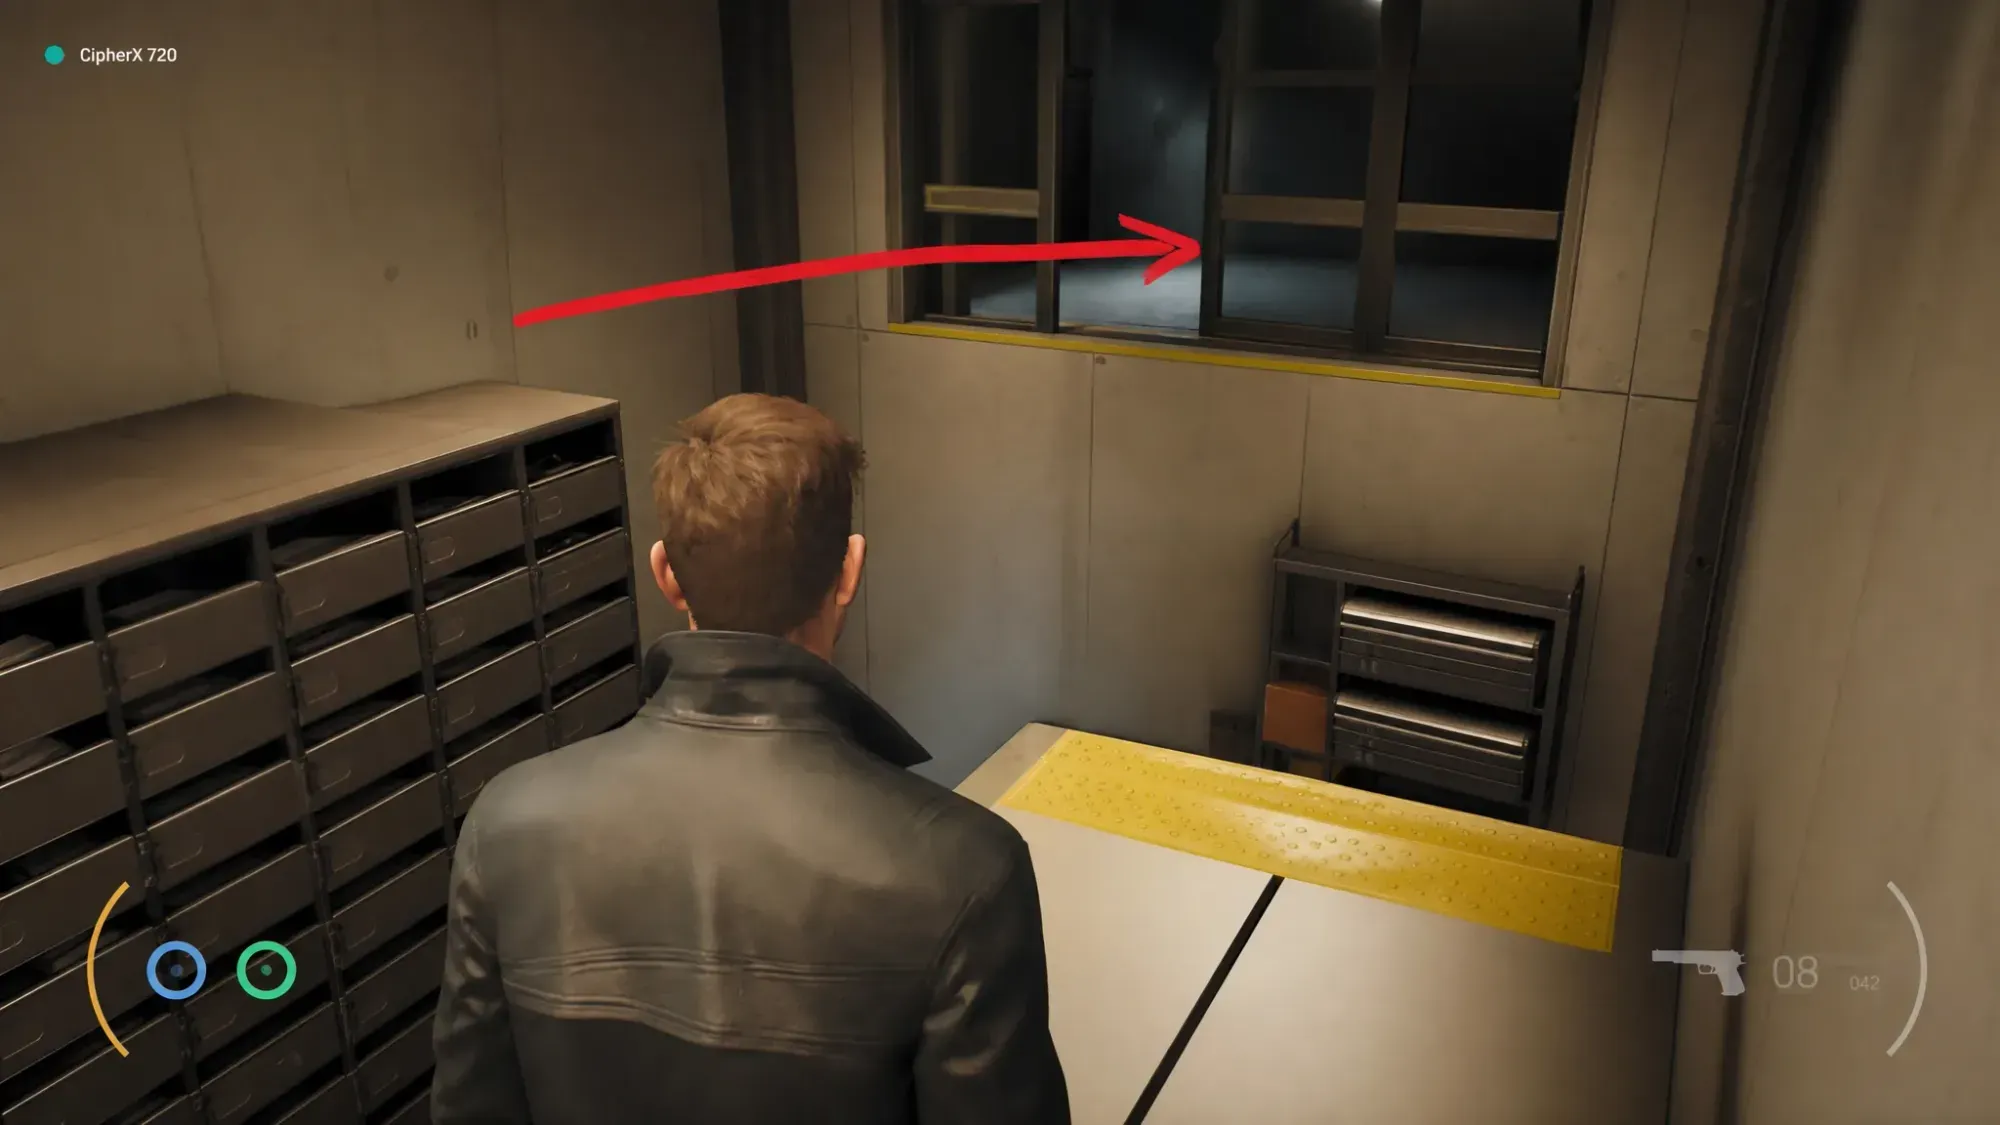
Snoop Around
Find a math puzzle in the upstairs locker.
Surrender
Turn yourself in to a guard near the ID Badge area.
Expert Marksman
Land 10 headshot kills in the Command Center.
Proxy Agent
Hack 5 servers during the Red Alert sequence.
Stay Stealthy
Eliminate 4 enemies without alerting anyone in Red Alert.
No Time to Reload
Kill enemies with 5 different firearms in one encounter.
Going Down?
Throw every guard off the descending freight lift.
Terminated
Crush the rogue android using a server.
Wrecking Baller
Destroy 15 androids with Wreckie without taking damage.
Perfect Strike
Destroy 10 androids in a single Wreckie roll.
Icecap-Tain
Use an iceberg as a jump during the boat chase.
Running Man
Finish the boat chase after Isola without failing.
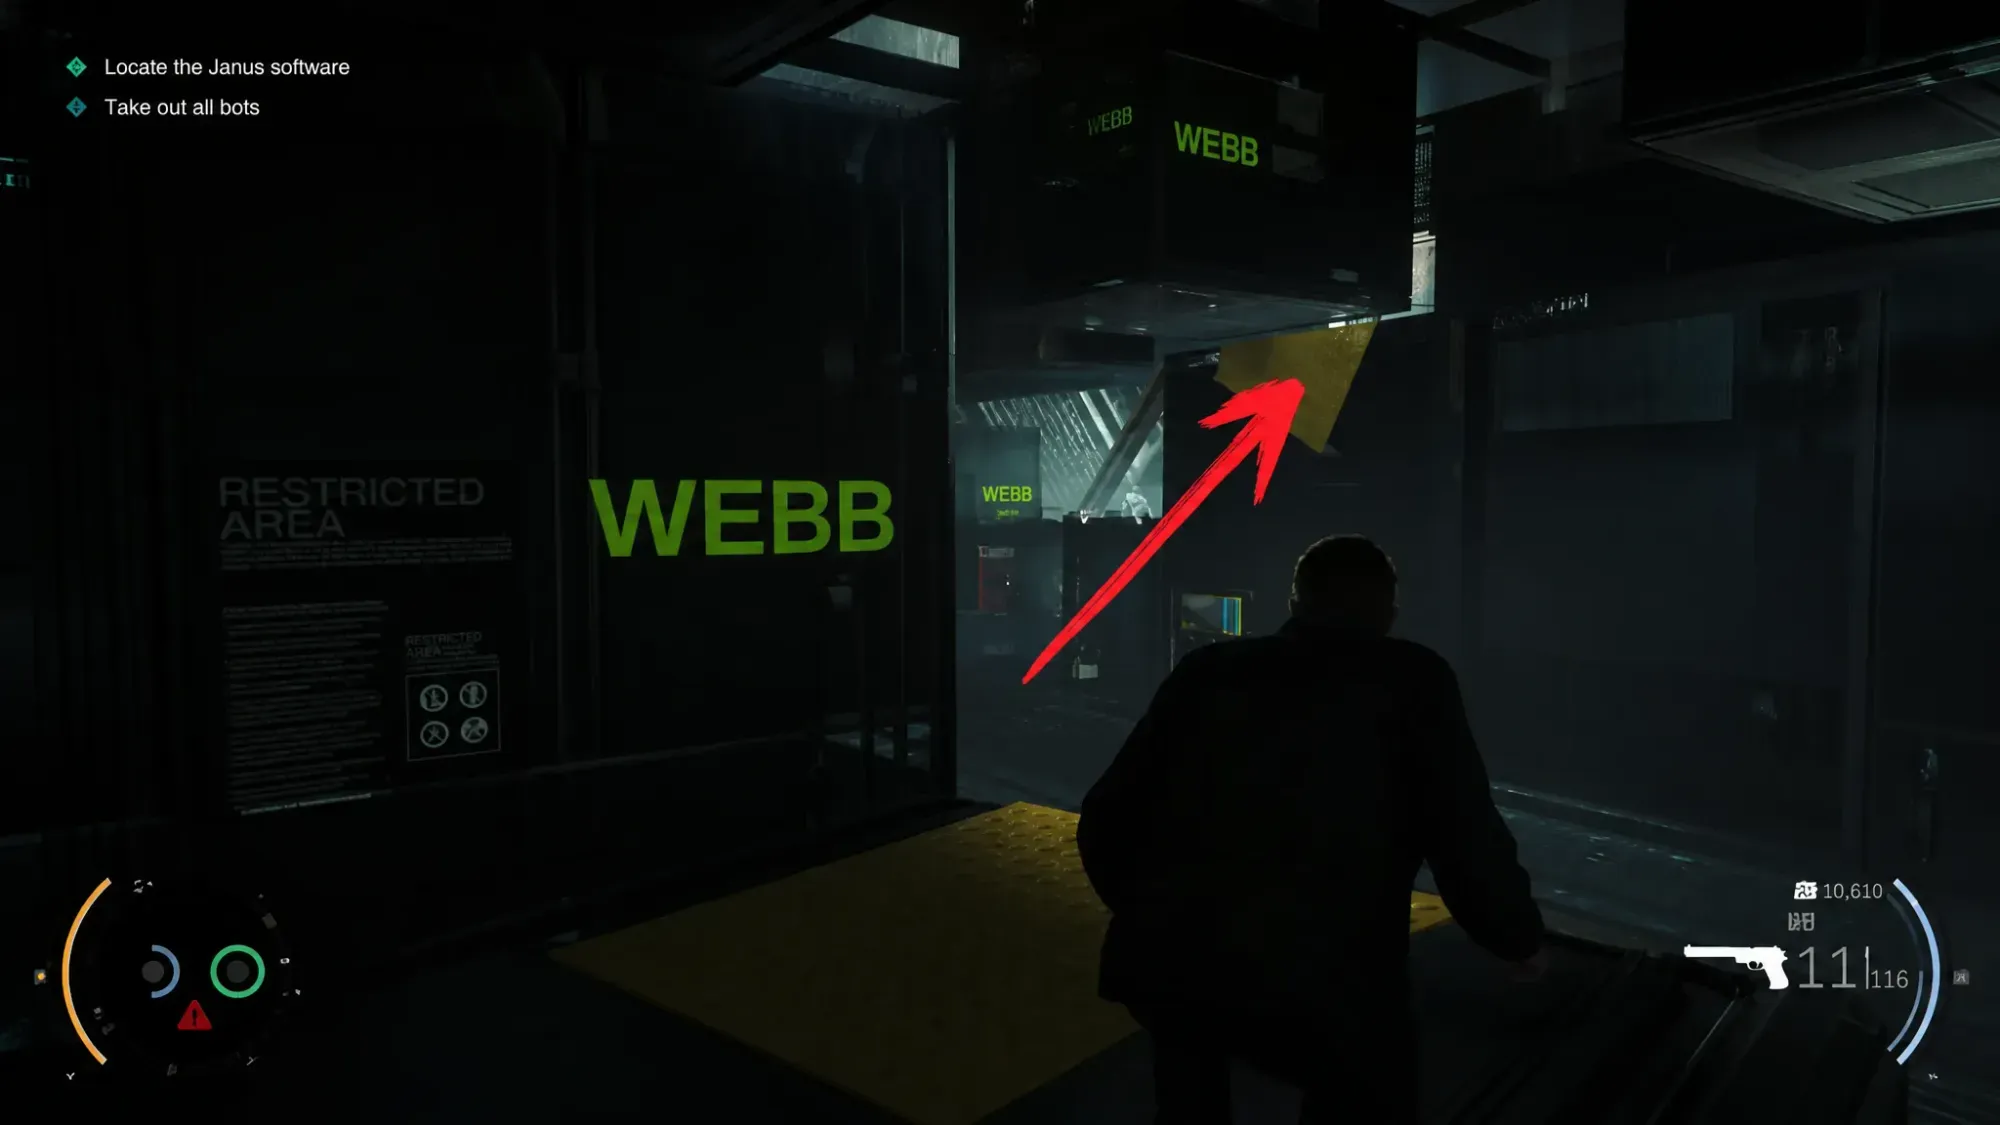
Stealth and pacifist challenges (early mission)
Holster your weapons for the opening sections. Several stealth and pacifist objectives lock out the moment an alarm fires, so clear them on a clean, quiet run before you do anything loud.
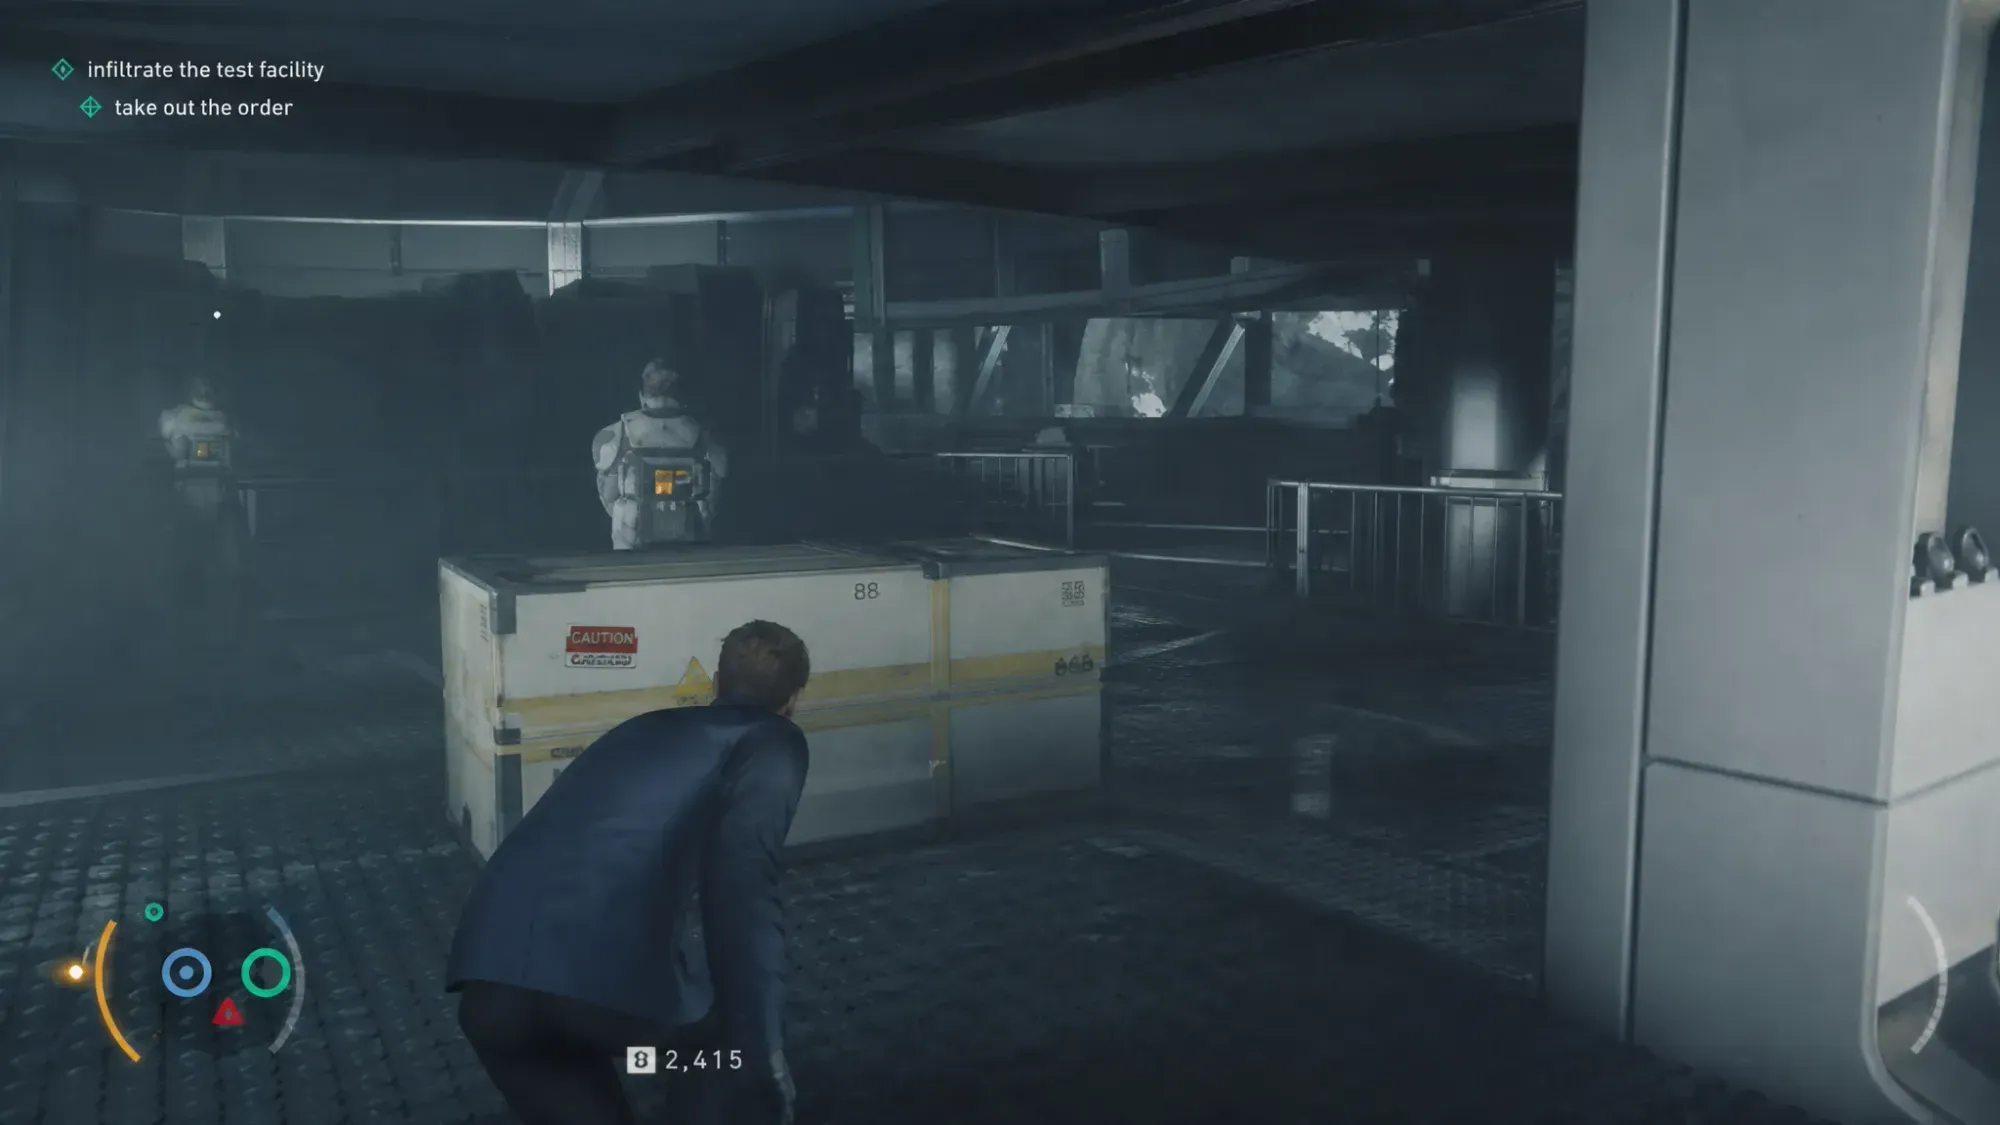
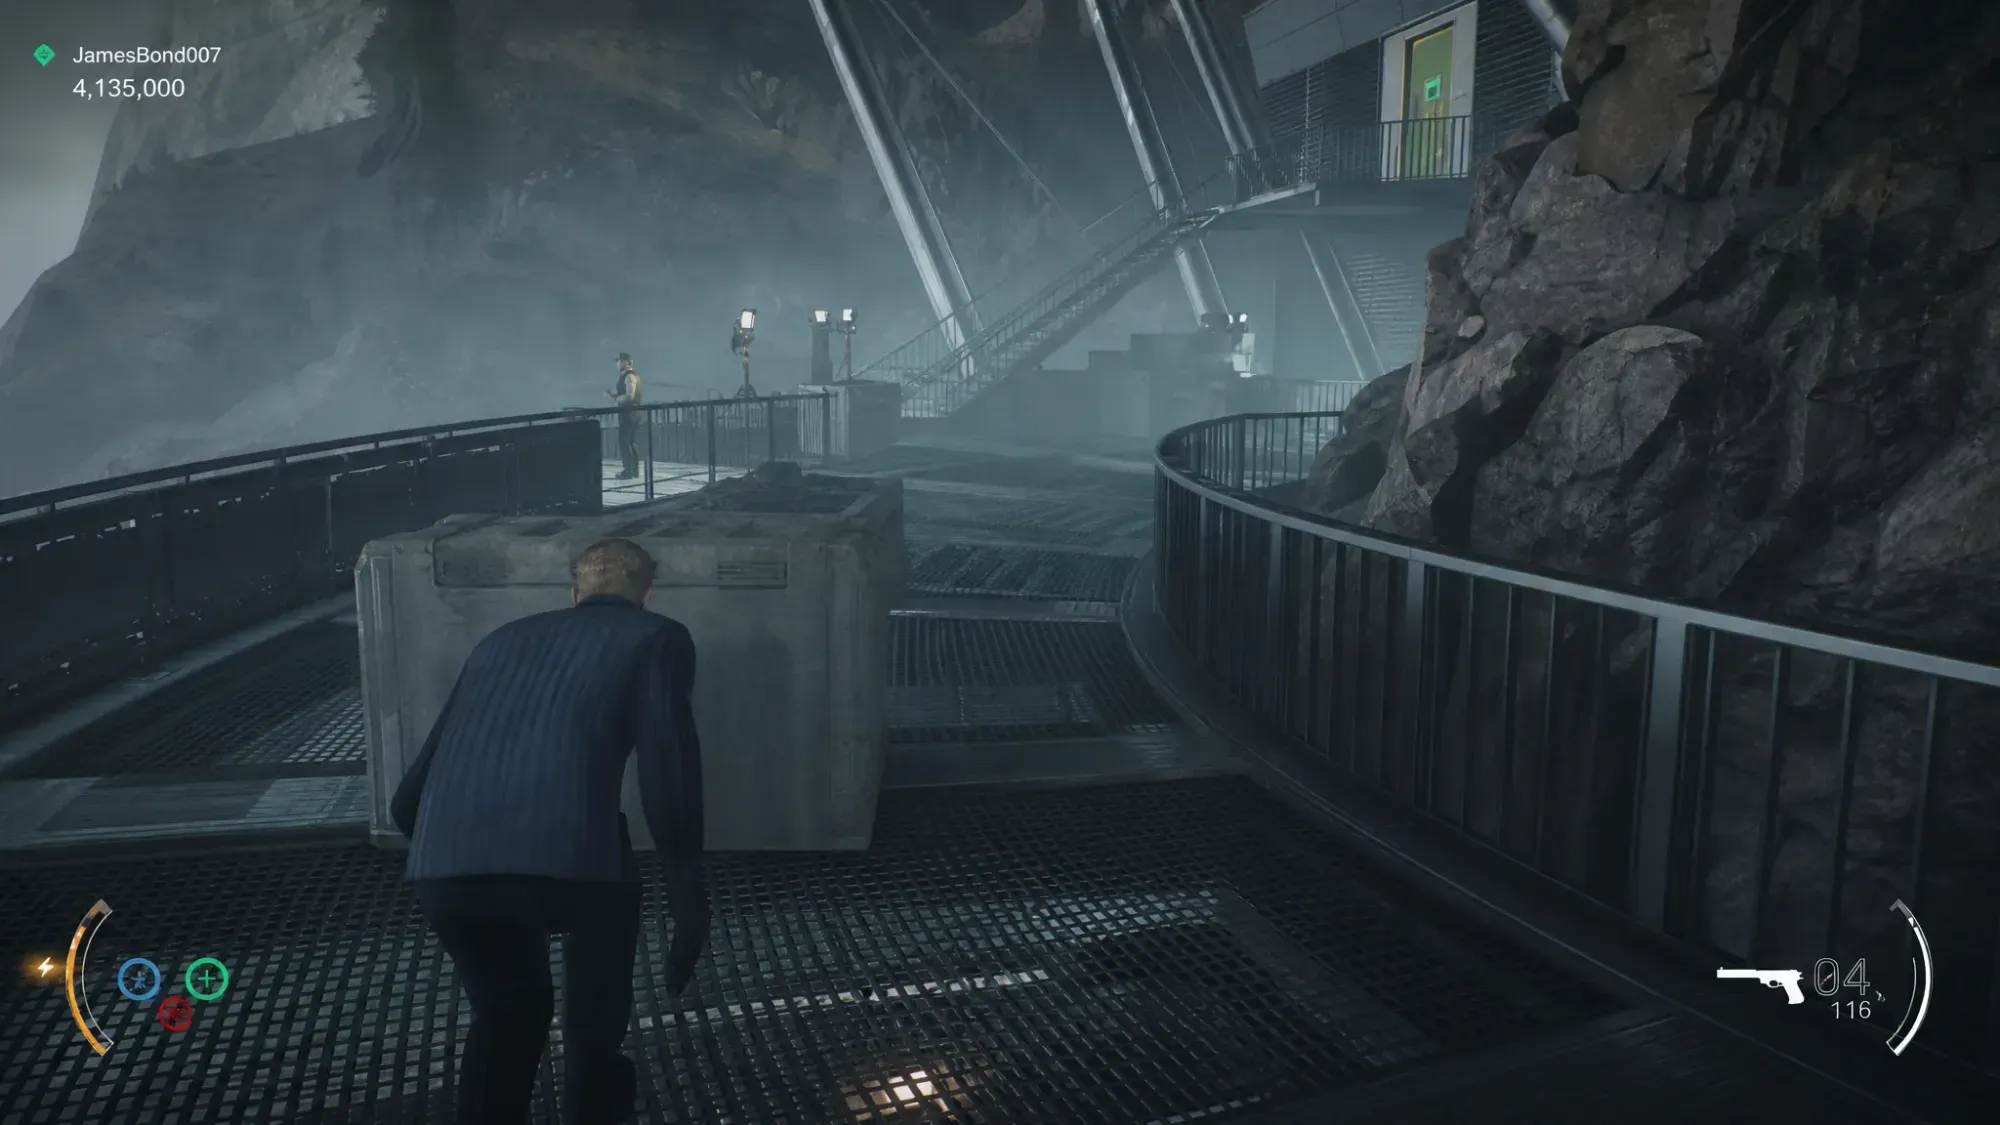
Start Hide and Seek at the Gatehouse entrance. Coordinate the takedown with Isola so you grab the guard on the right while she handles the one on the left, then slip inside without being seen.
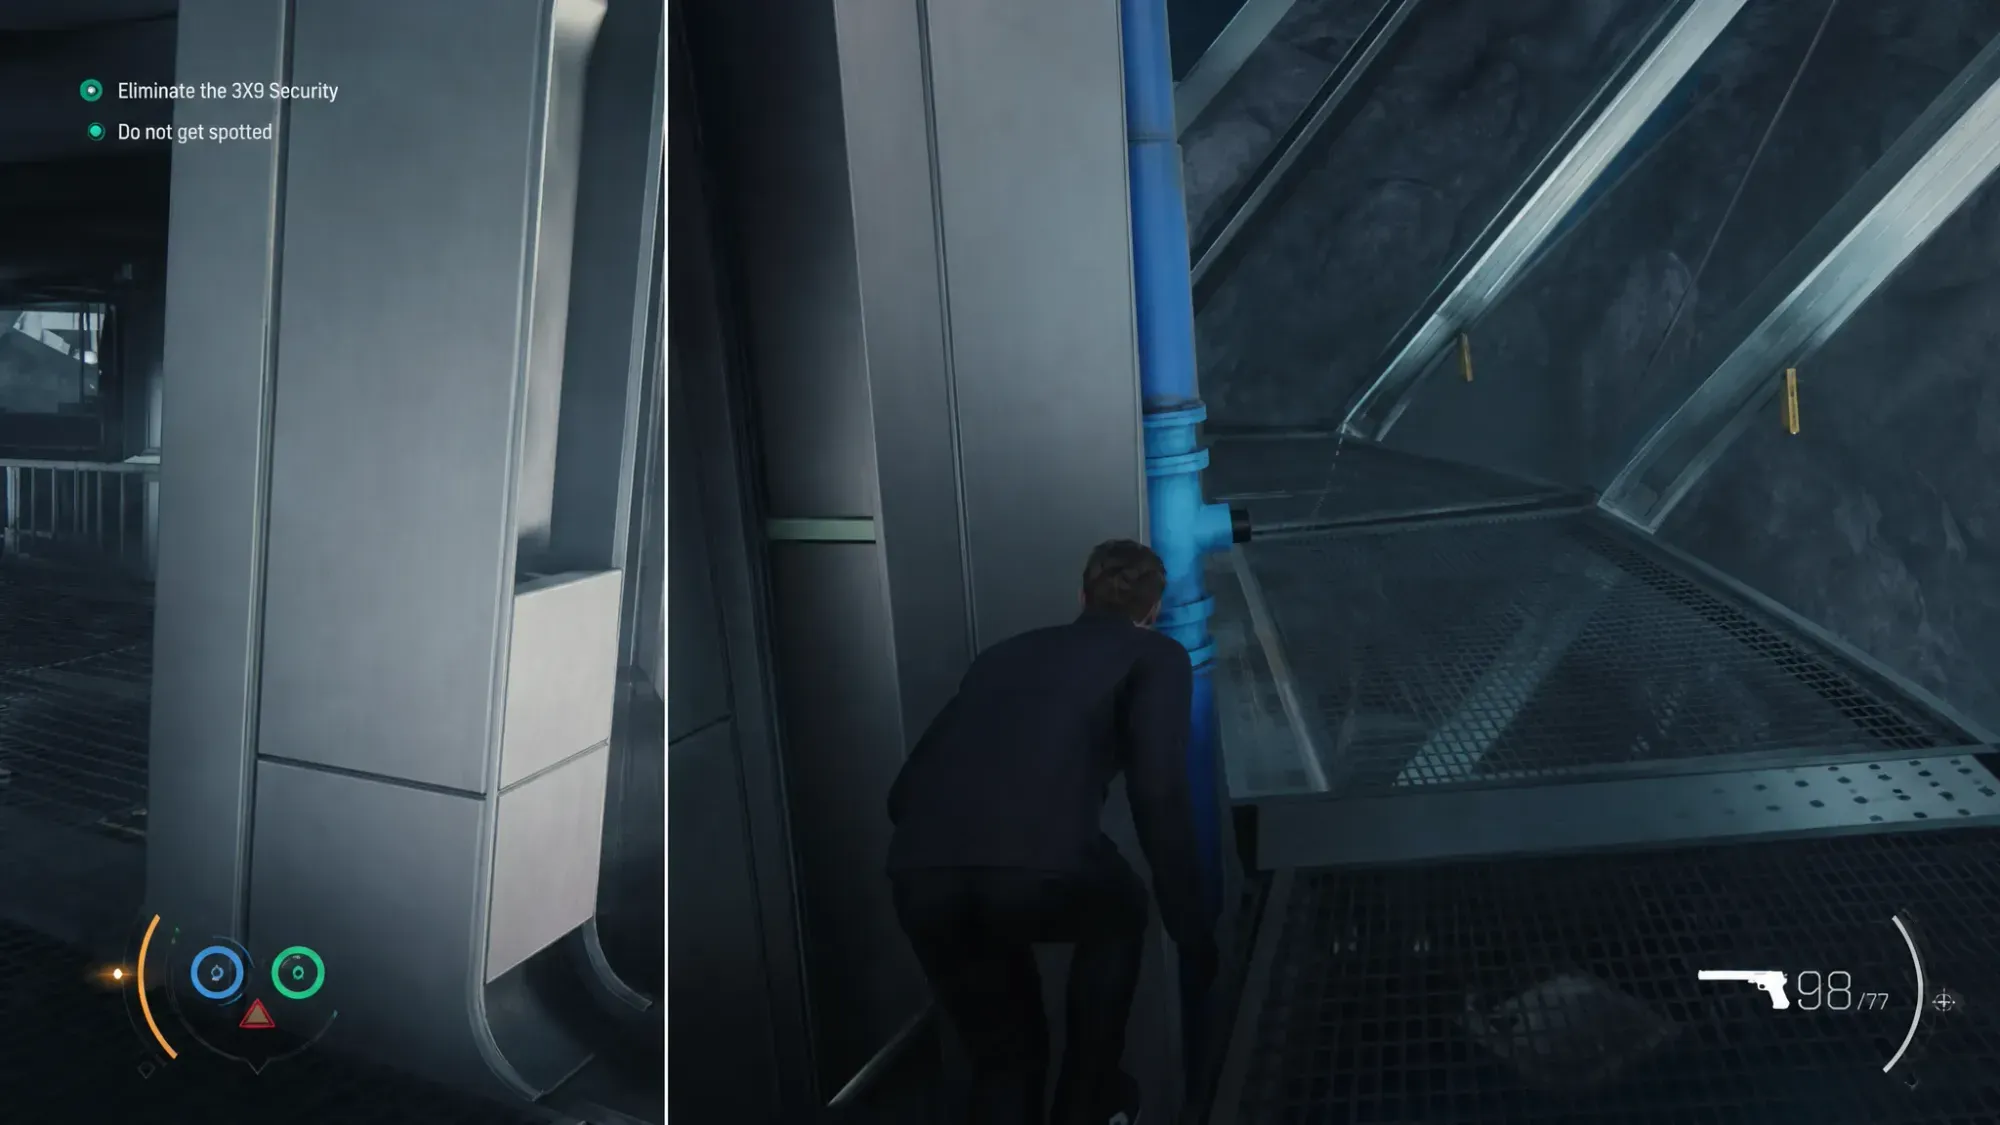
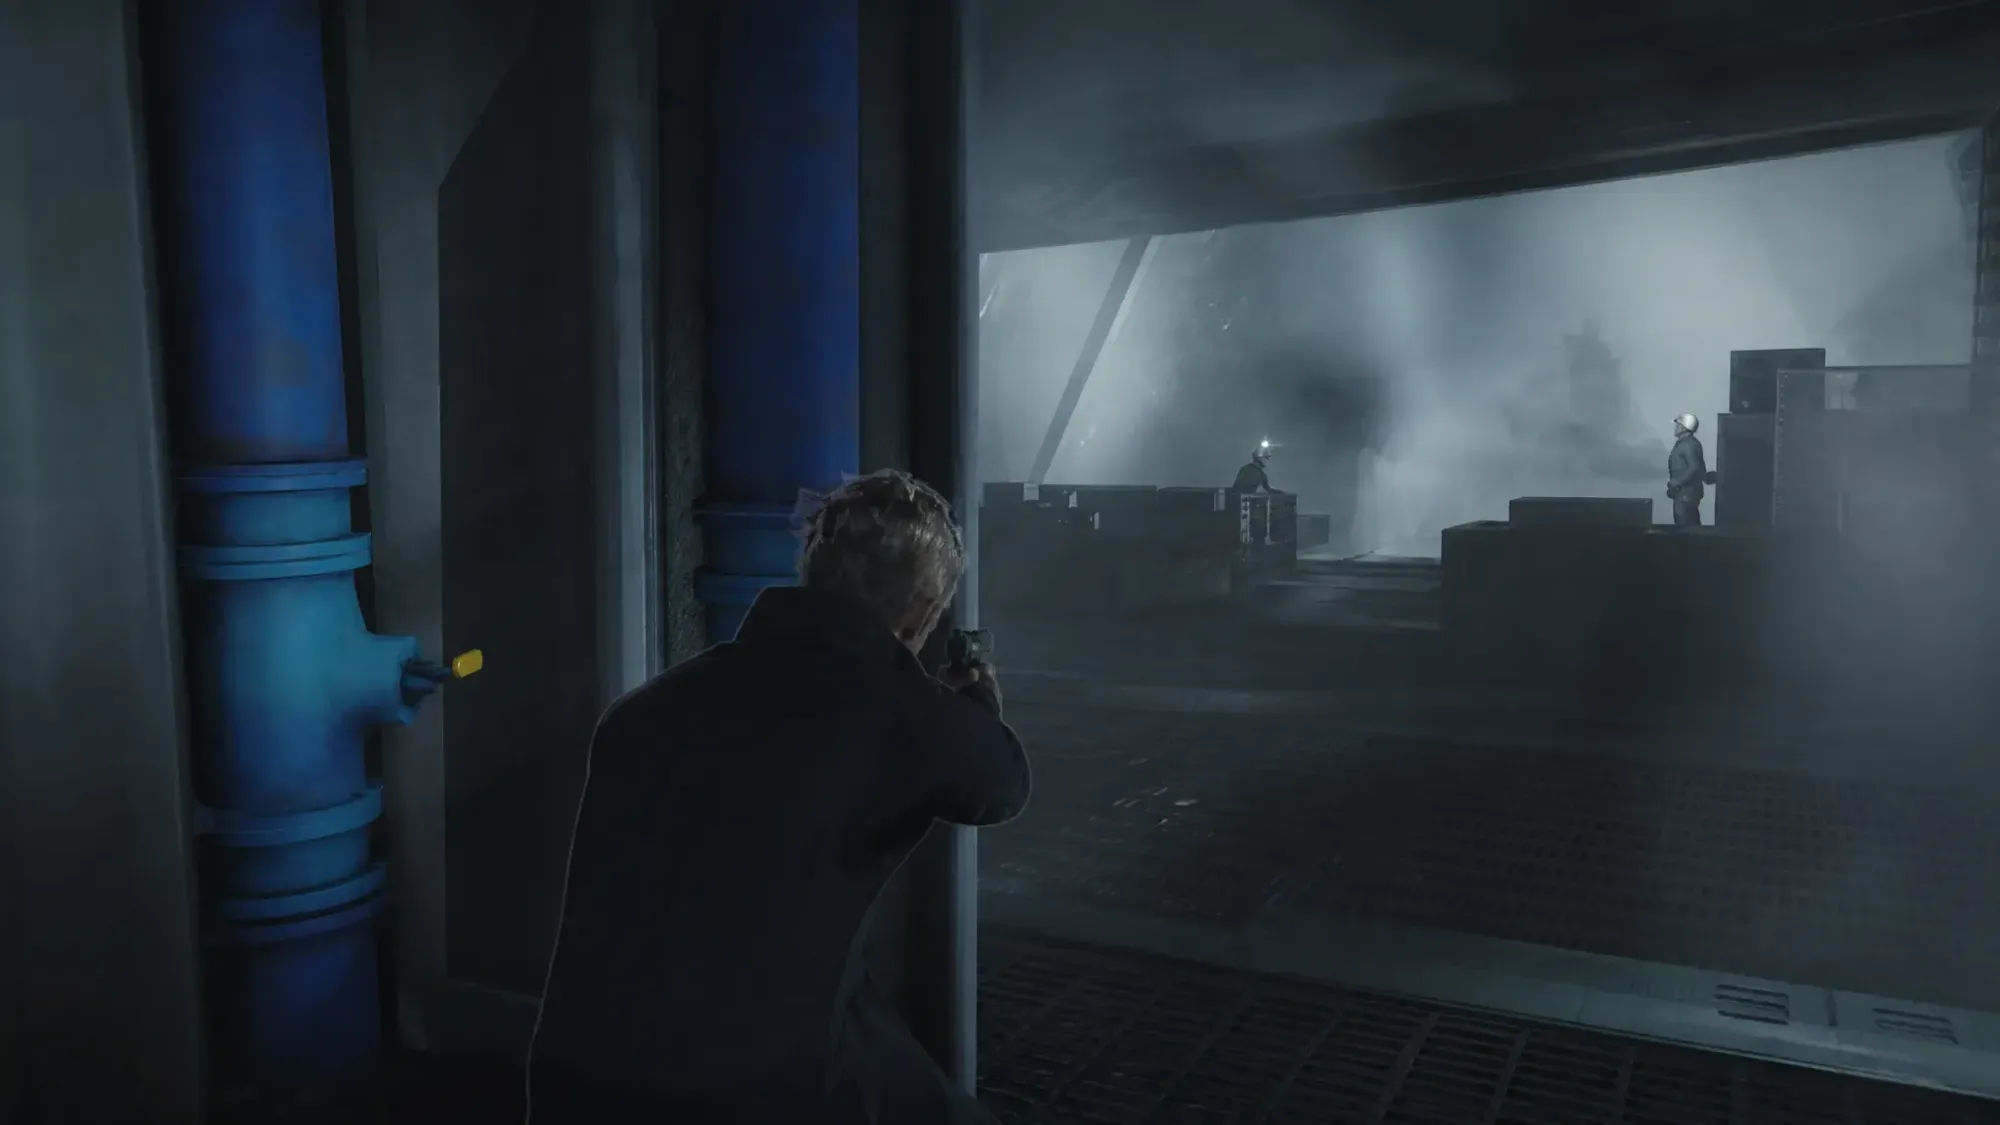
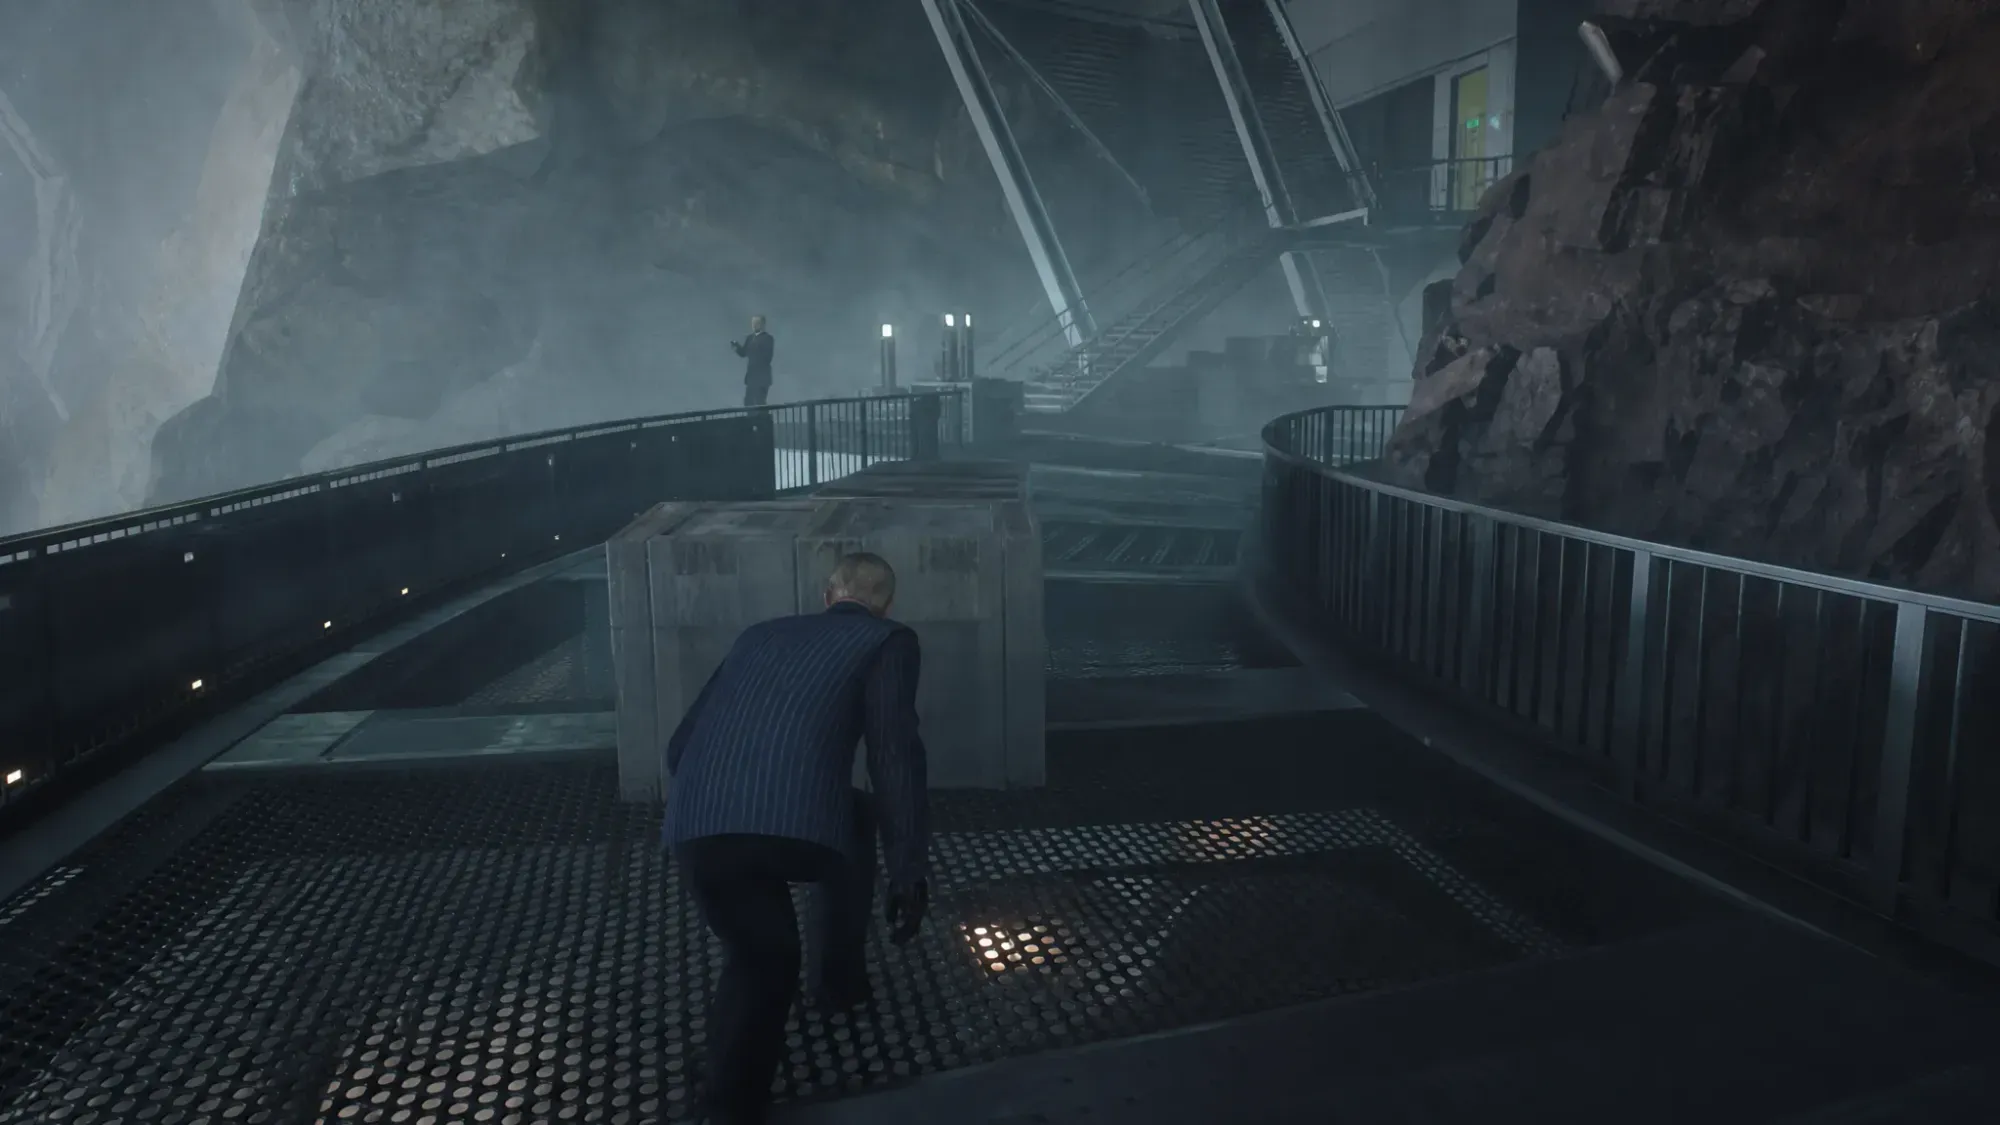
Move through the Gantries and Utility Floor without firing a single shot to secure Pacifist Protocols. Keep your Q-Lens on to spot climbable ledges above the patrol routes.
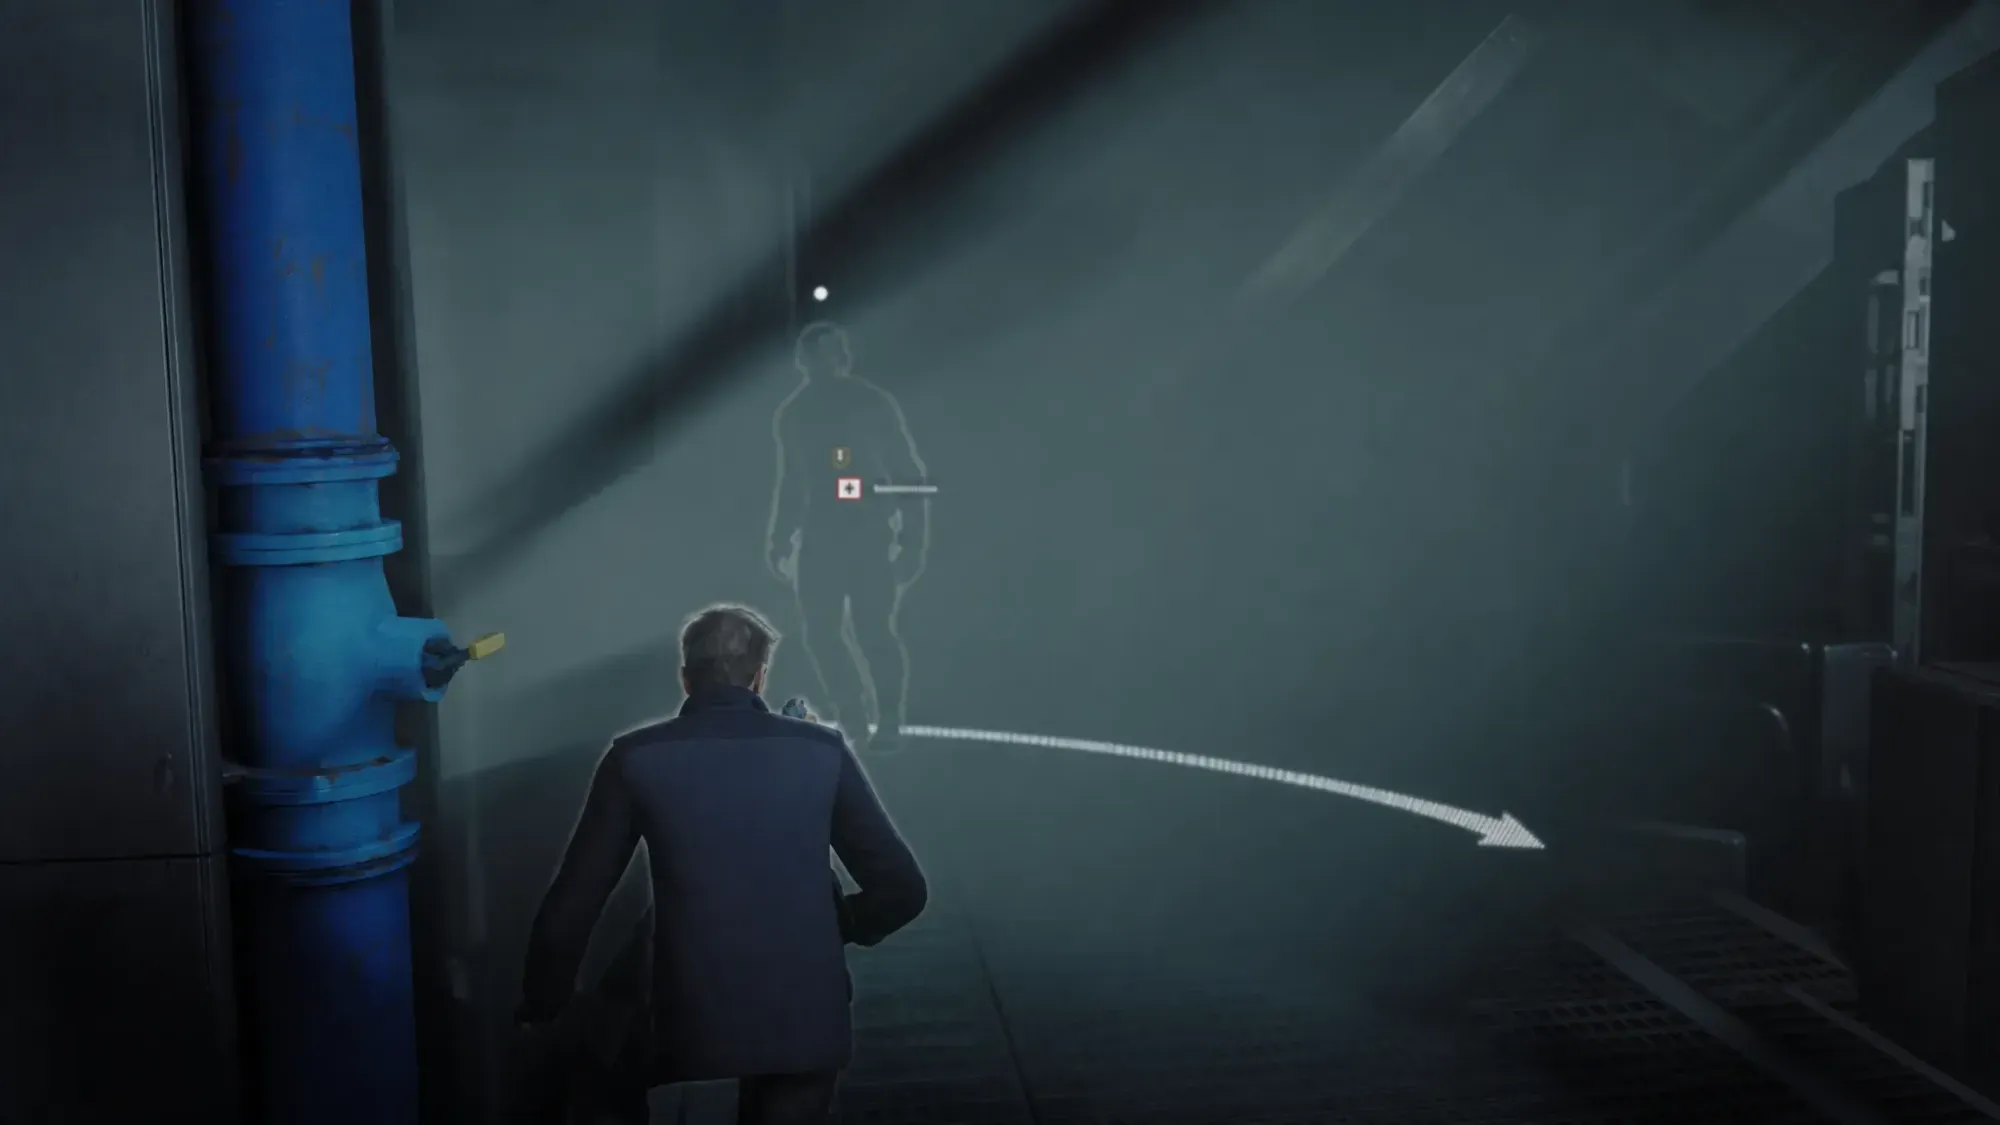
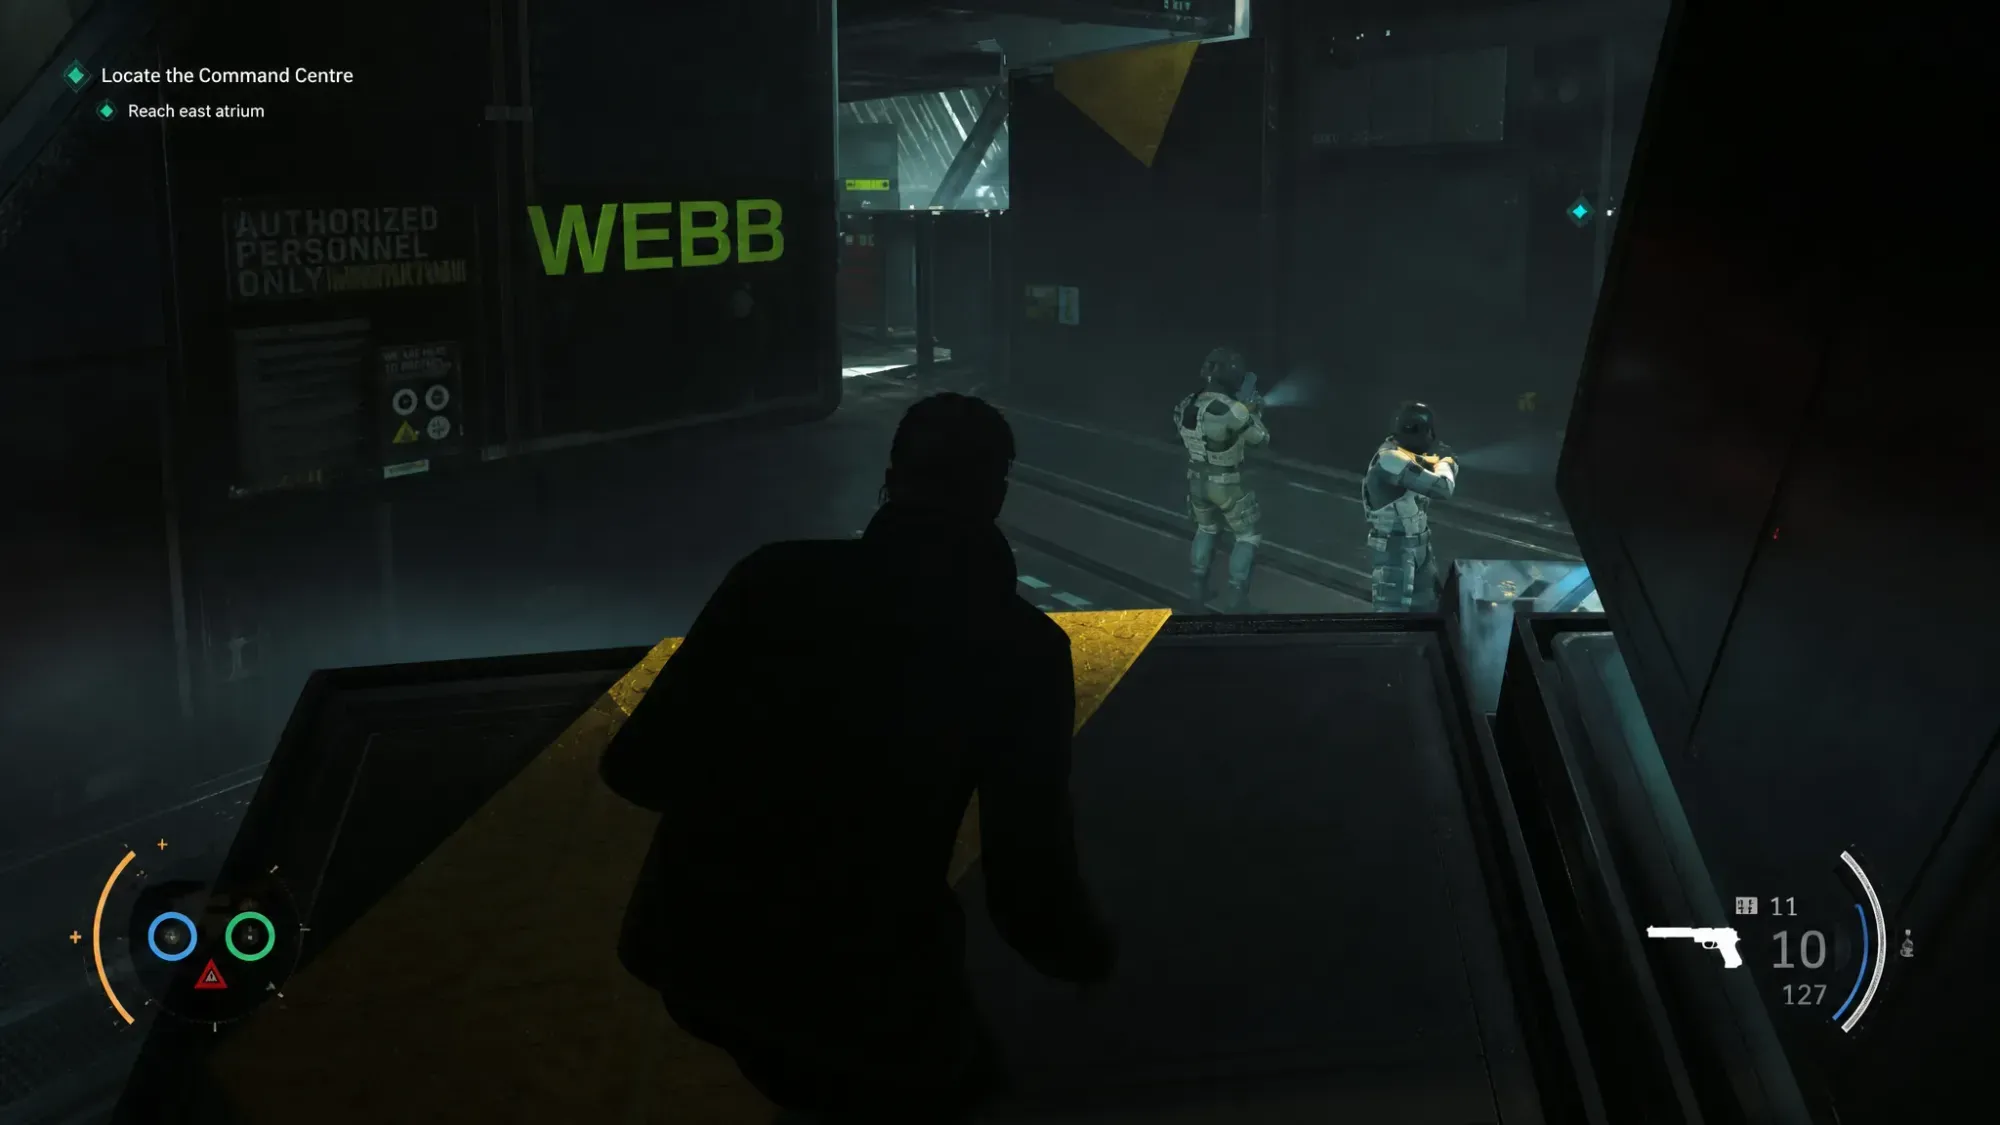
While in the Utility space, use your Lure gadget to draw three different guards under your perch, then drop down for aerial takedowns to clear Death From Above.
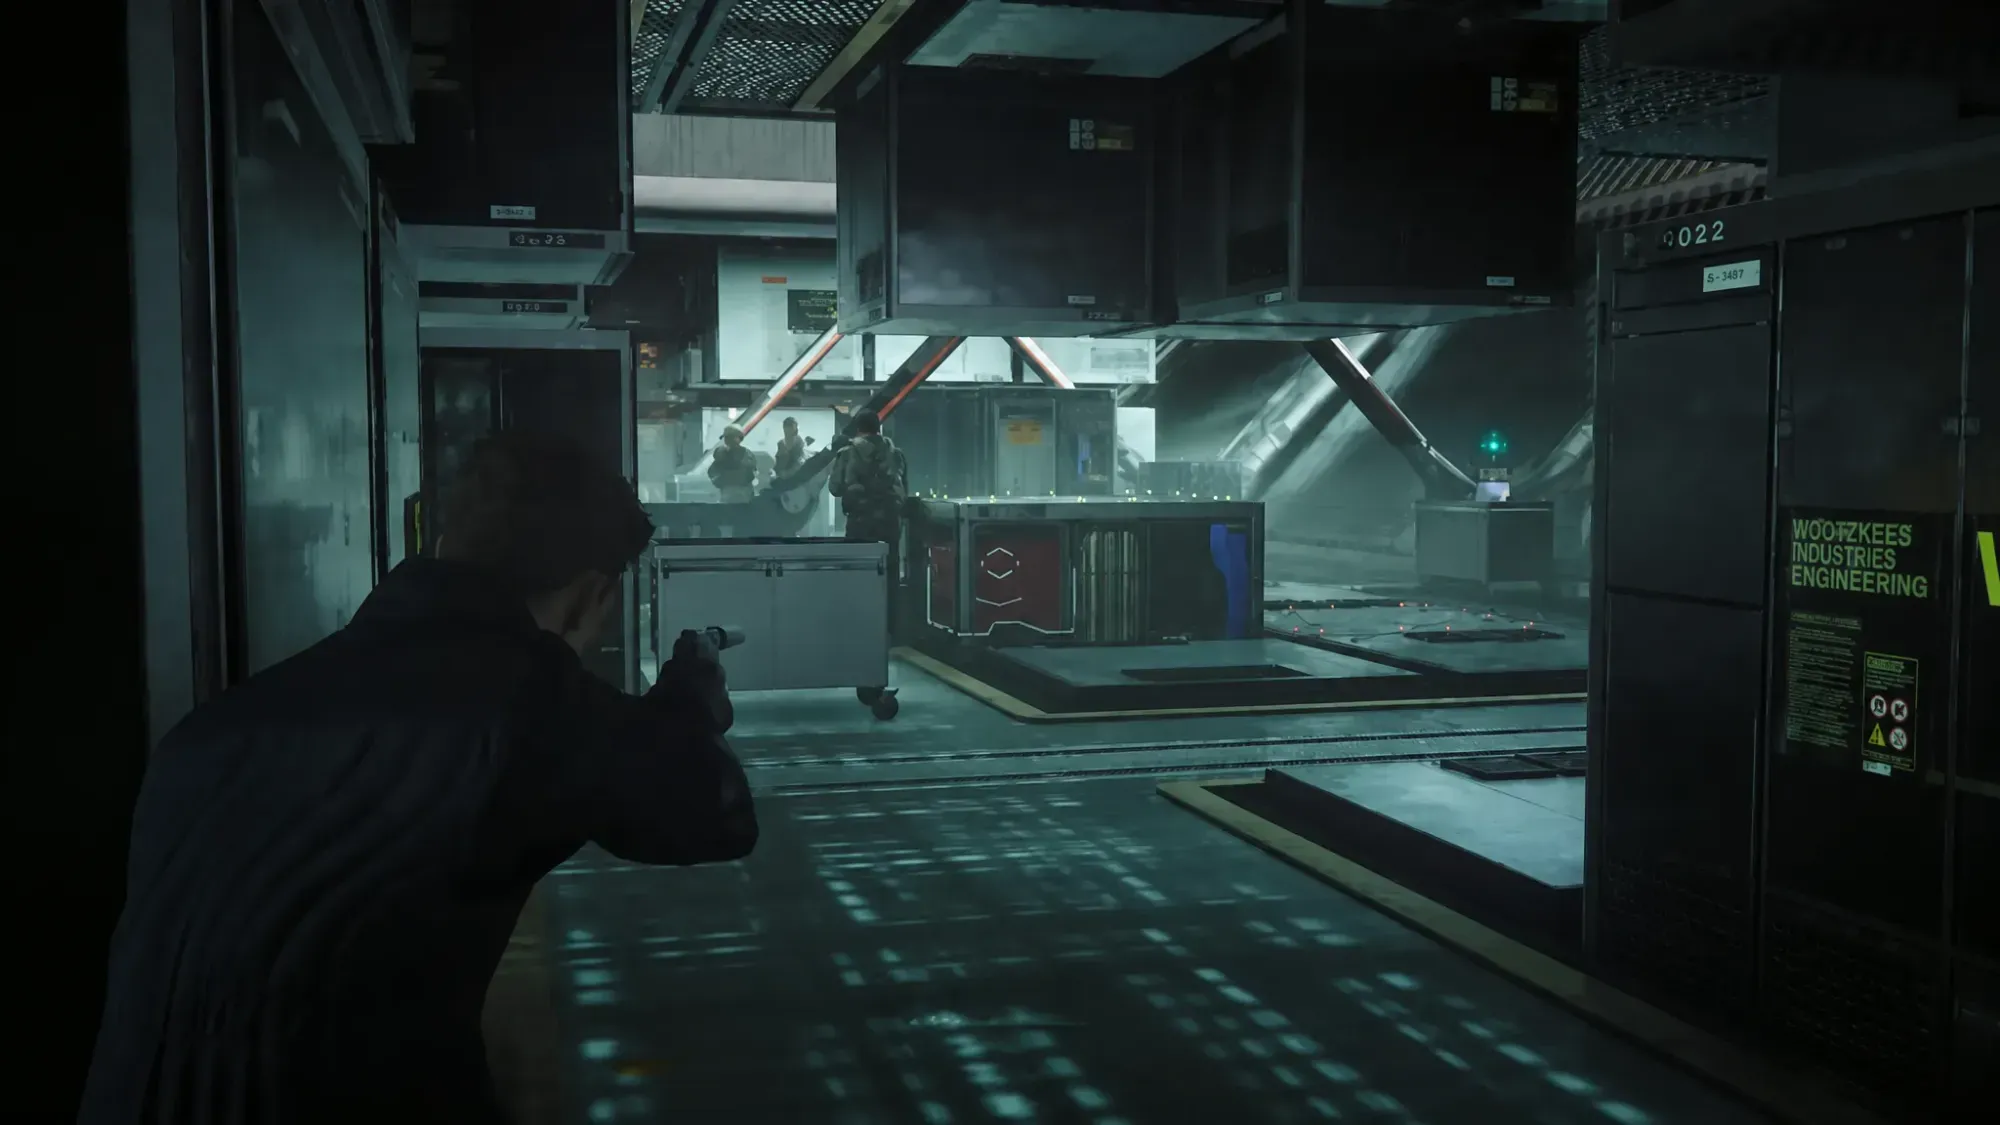
Stay Stealthy in the Red Alert section
During Red Alert, you can still eliminate enemies for Stay Stealthy, as long as nobody is alerted while you do it. The cleanest method uses the explosive servers in the room.
Take out the remaining guards on the left and right with headshots from your silenced pistol. Four silent eliminations finish Stay Stealthy.
⚠️
Stay Stealthy fails if any enemy detects you mid-kill, so wait for guards to line up with the servers before triggering an explosion.
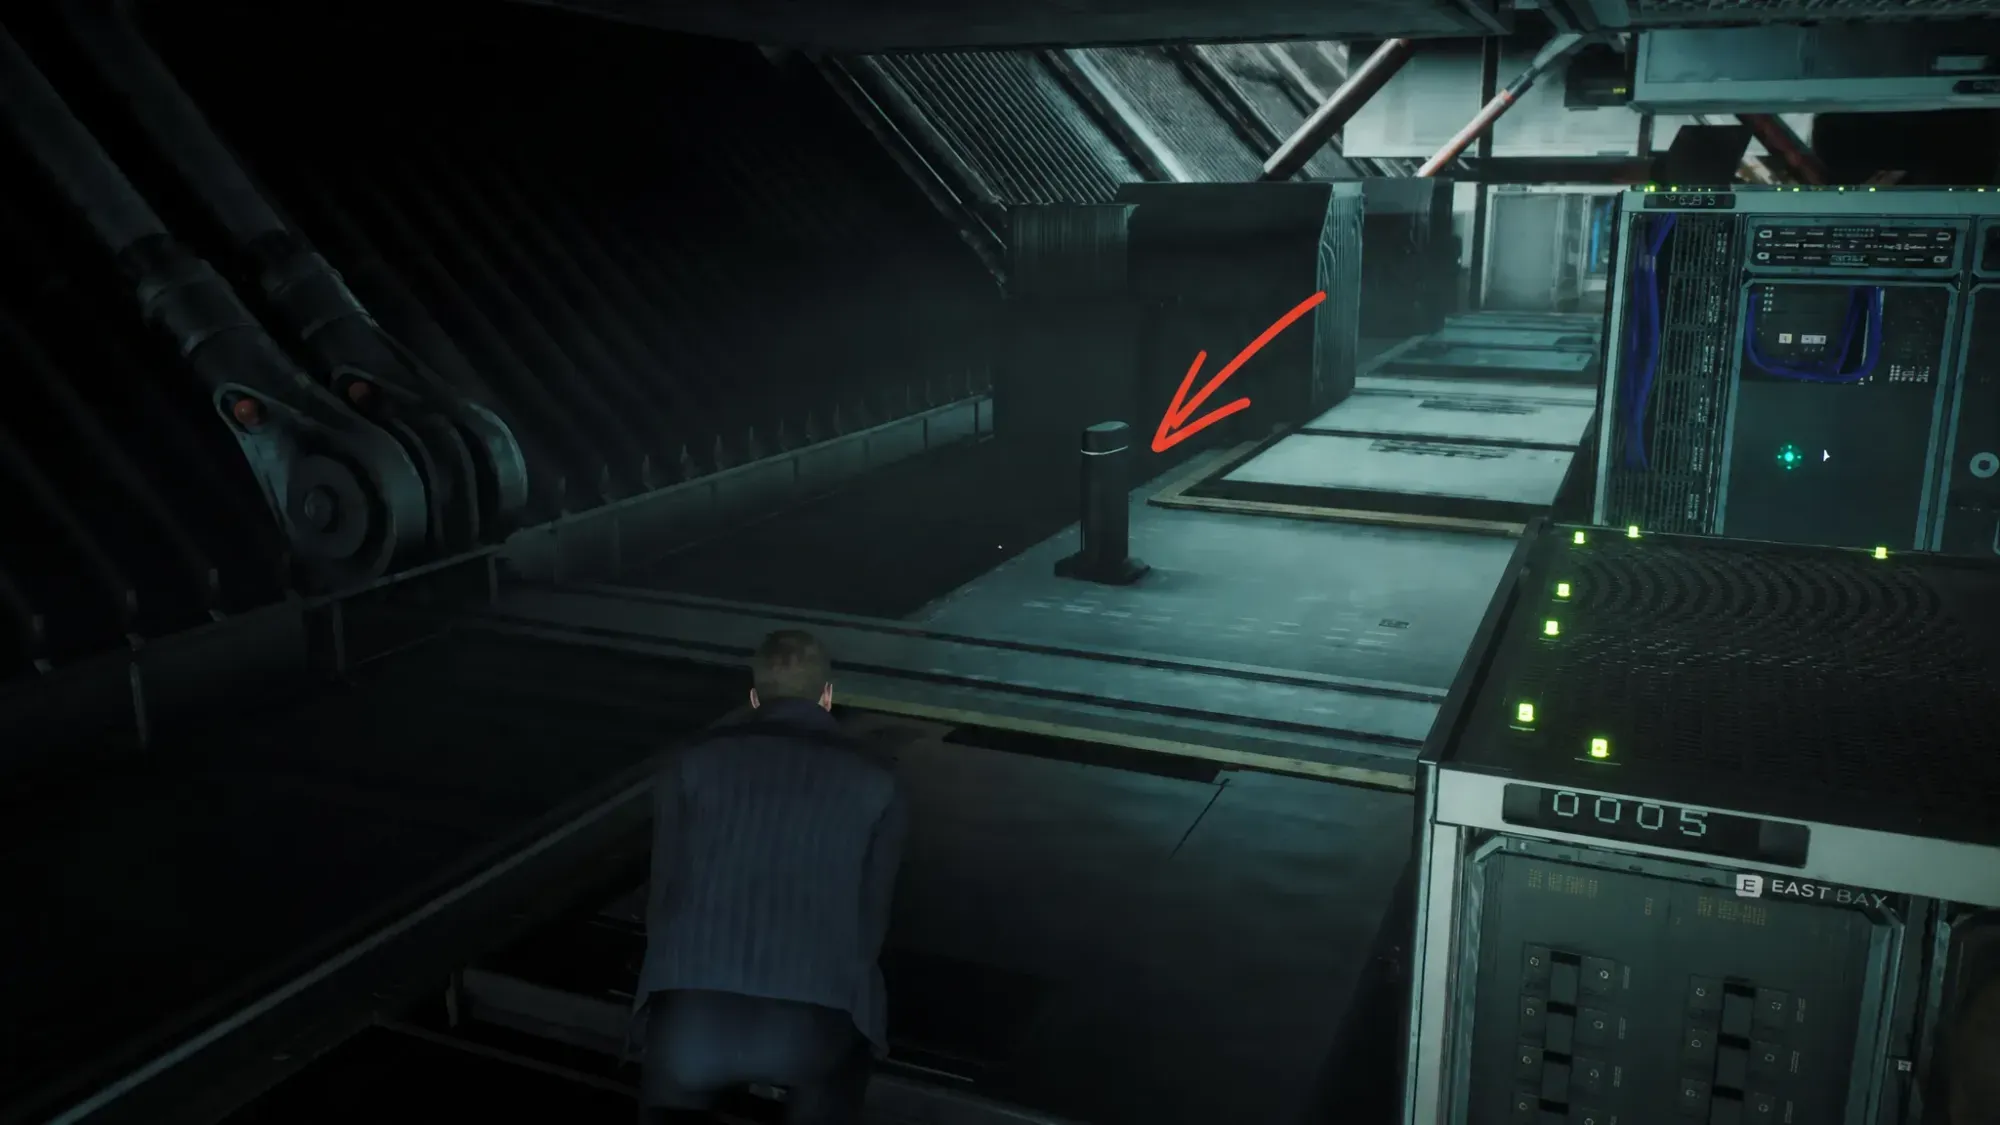
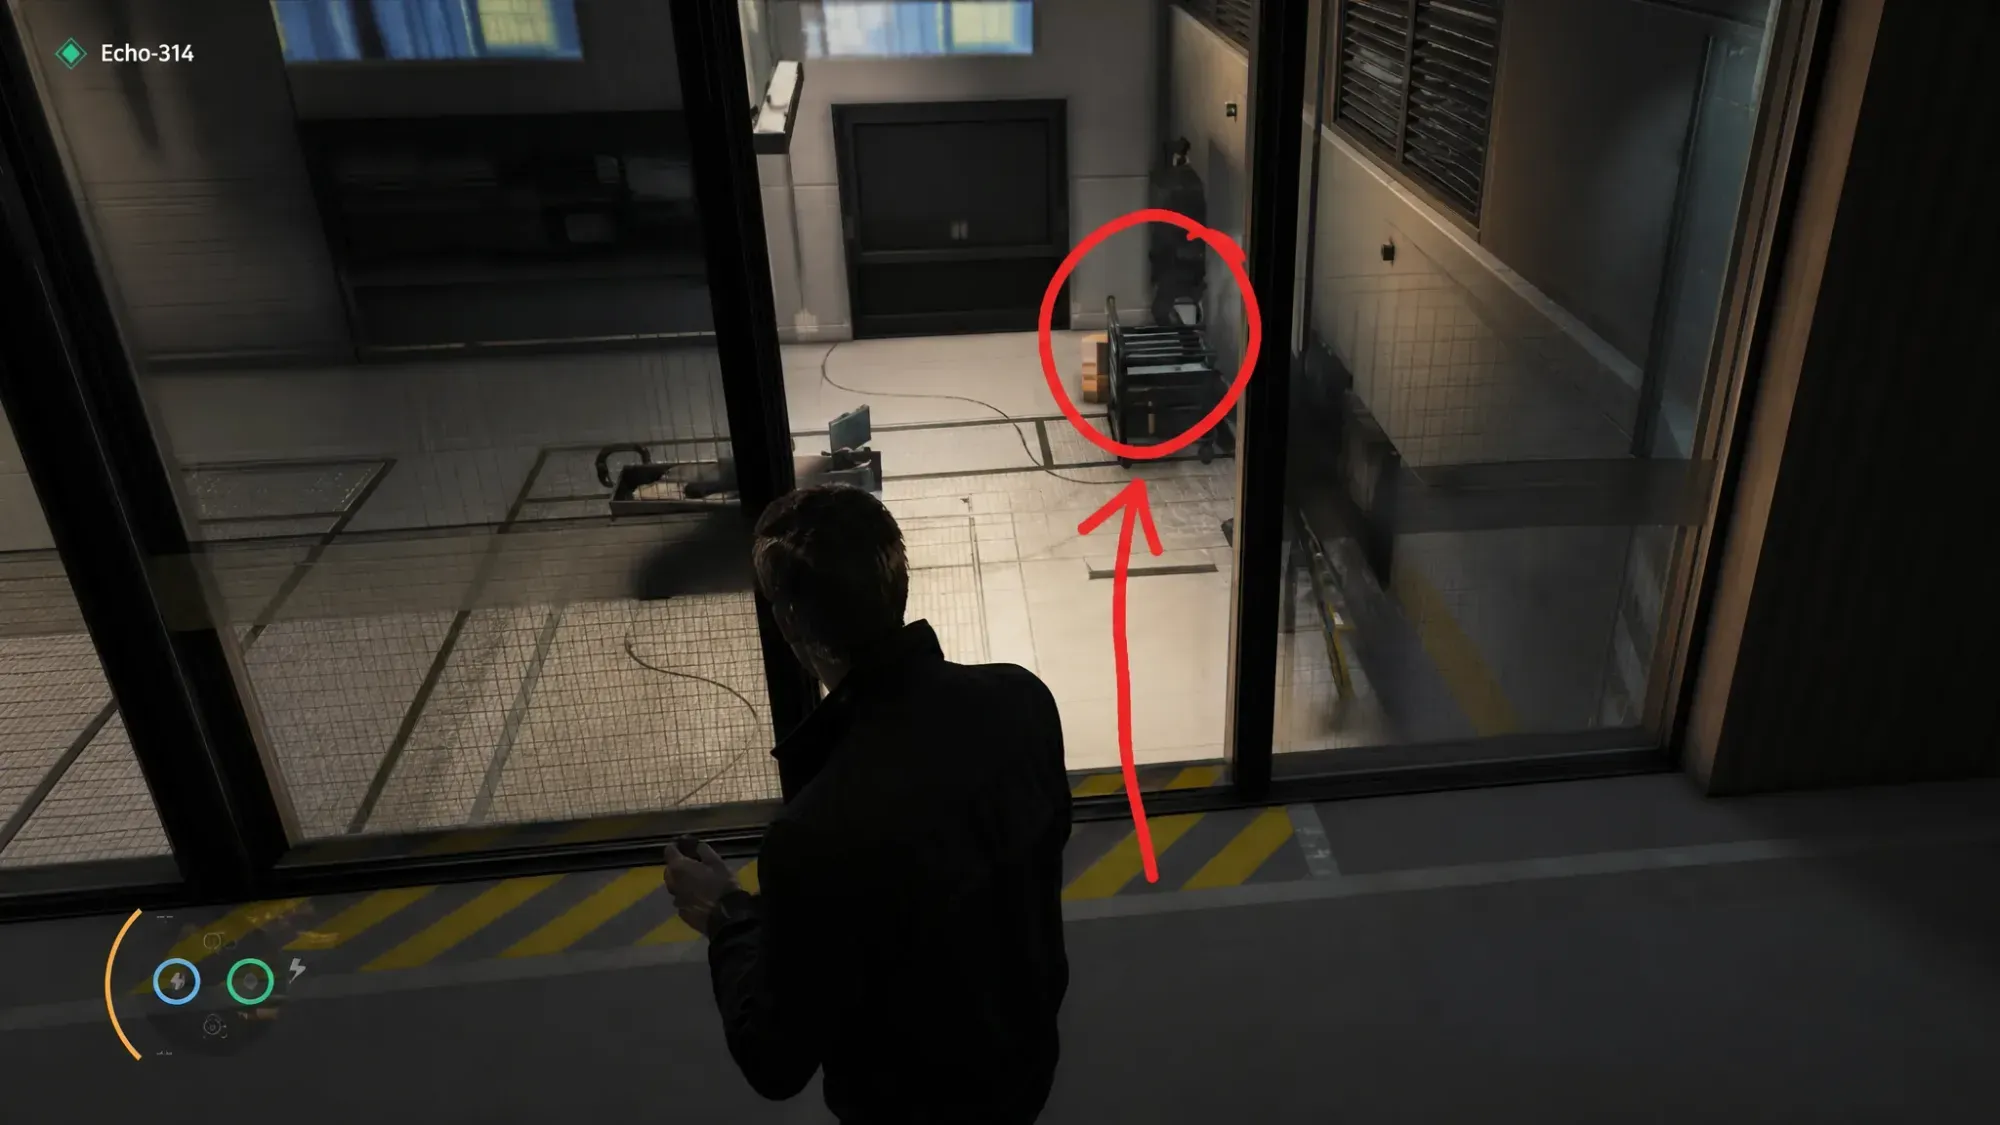
Deadly Delivery loadout workaround
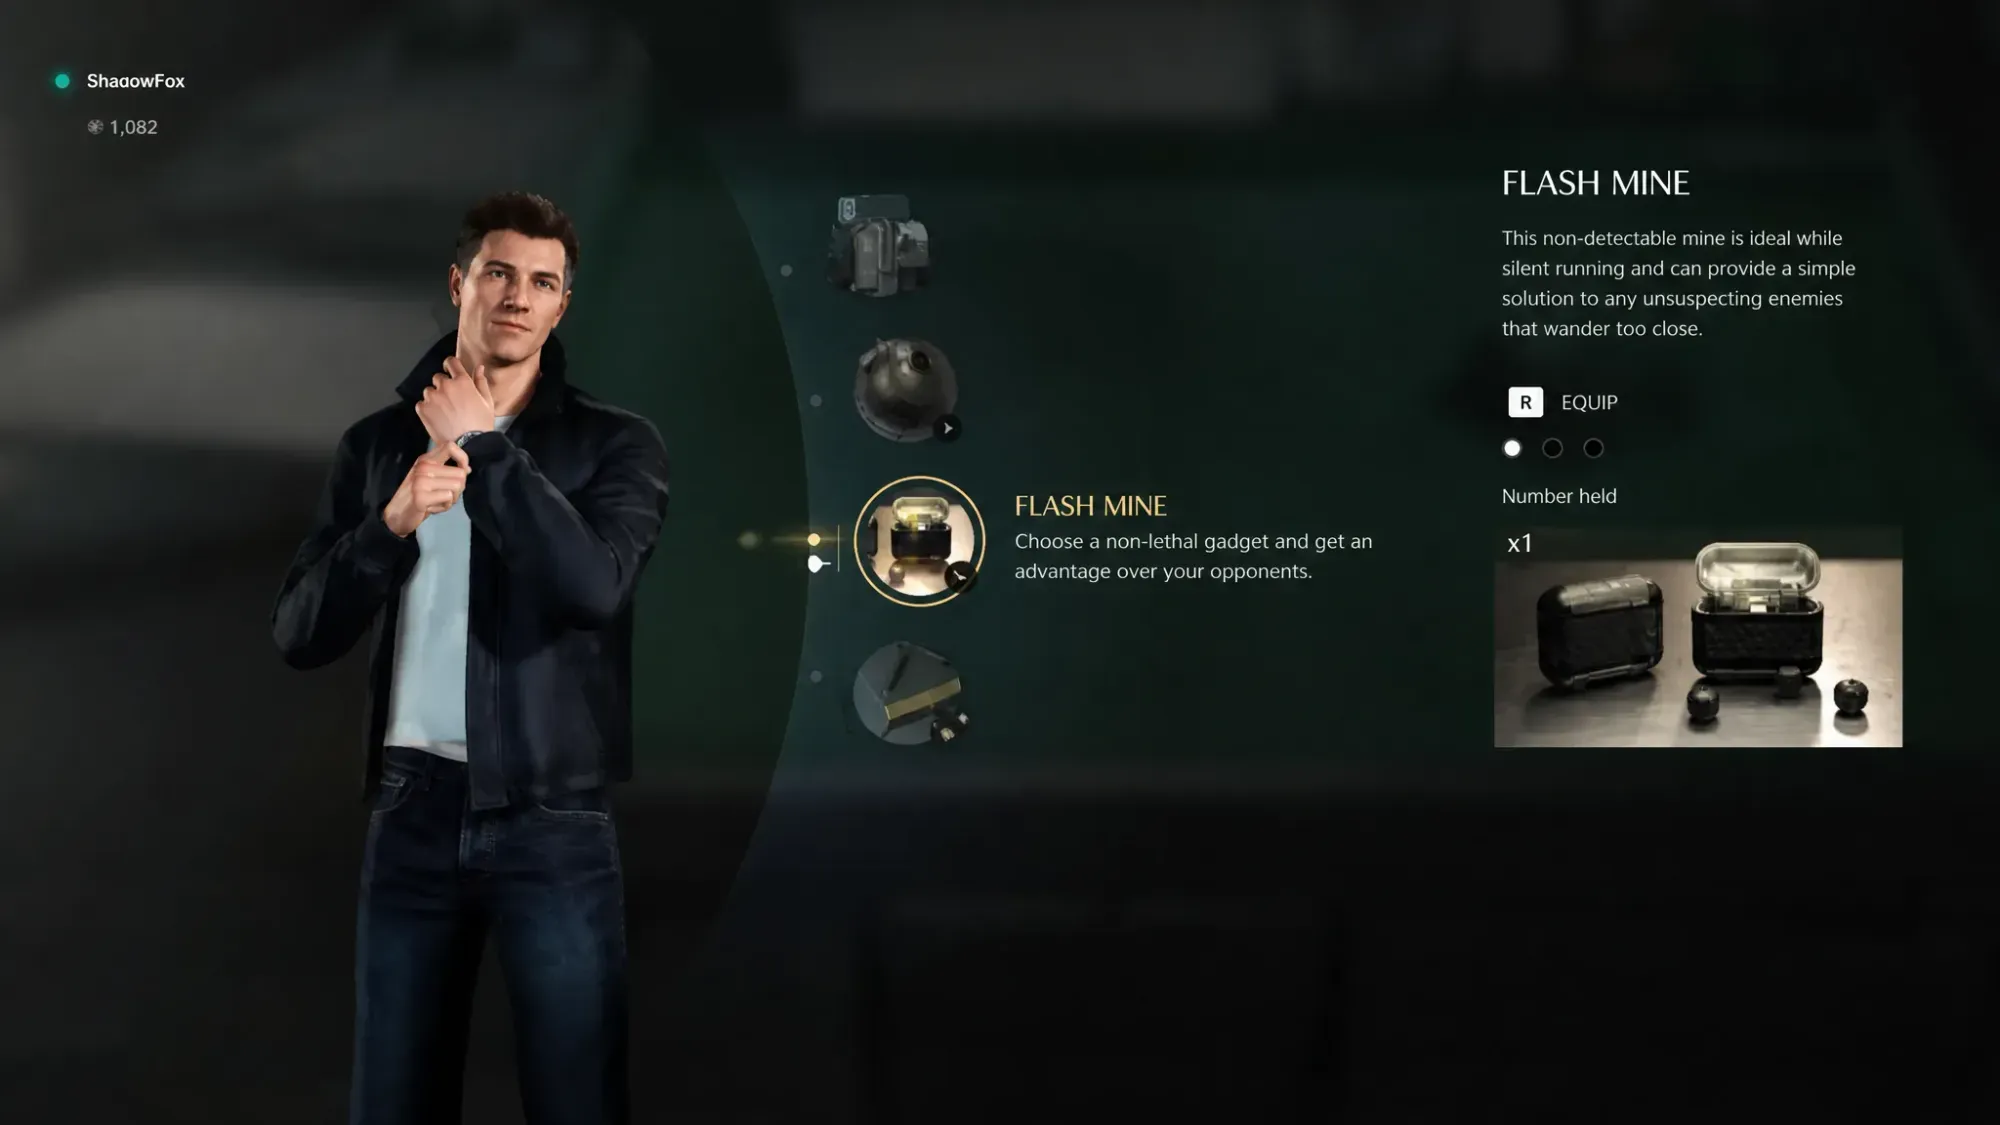
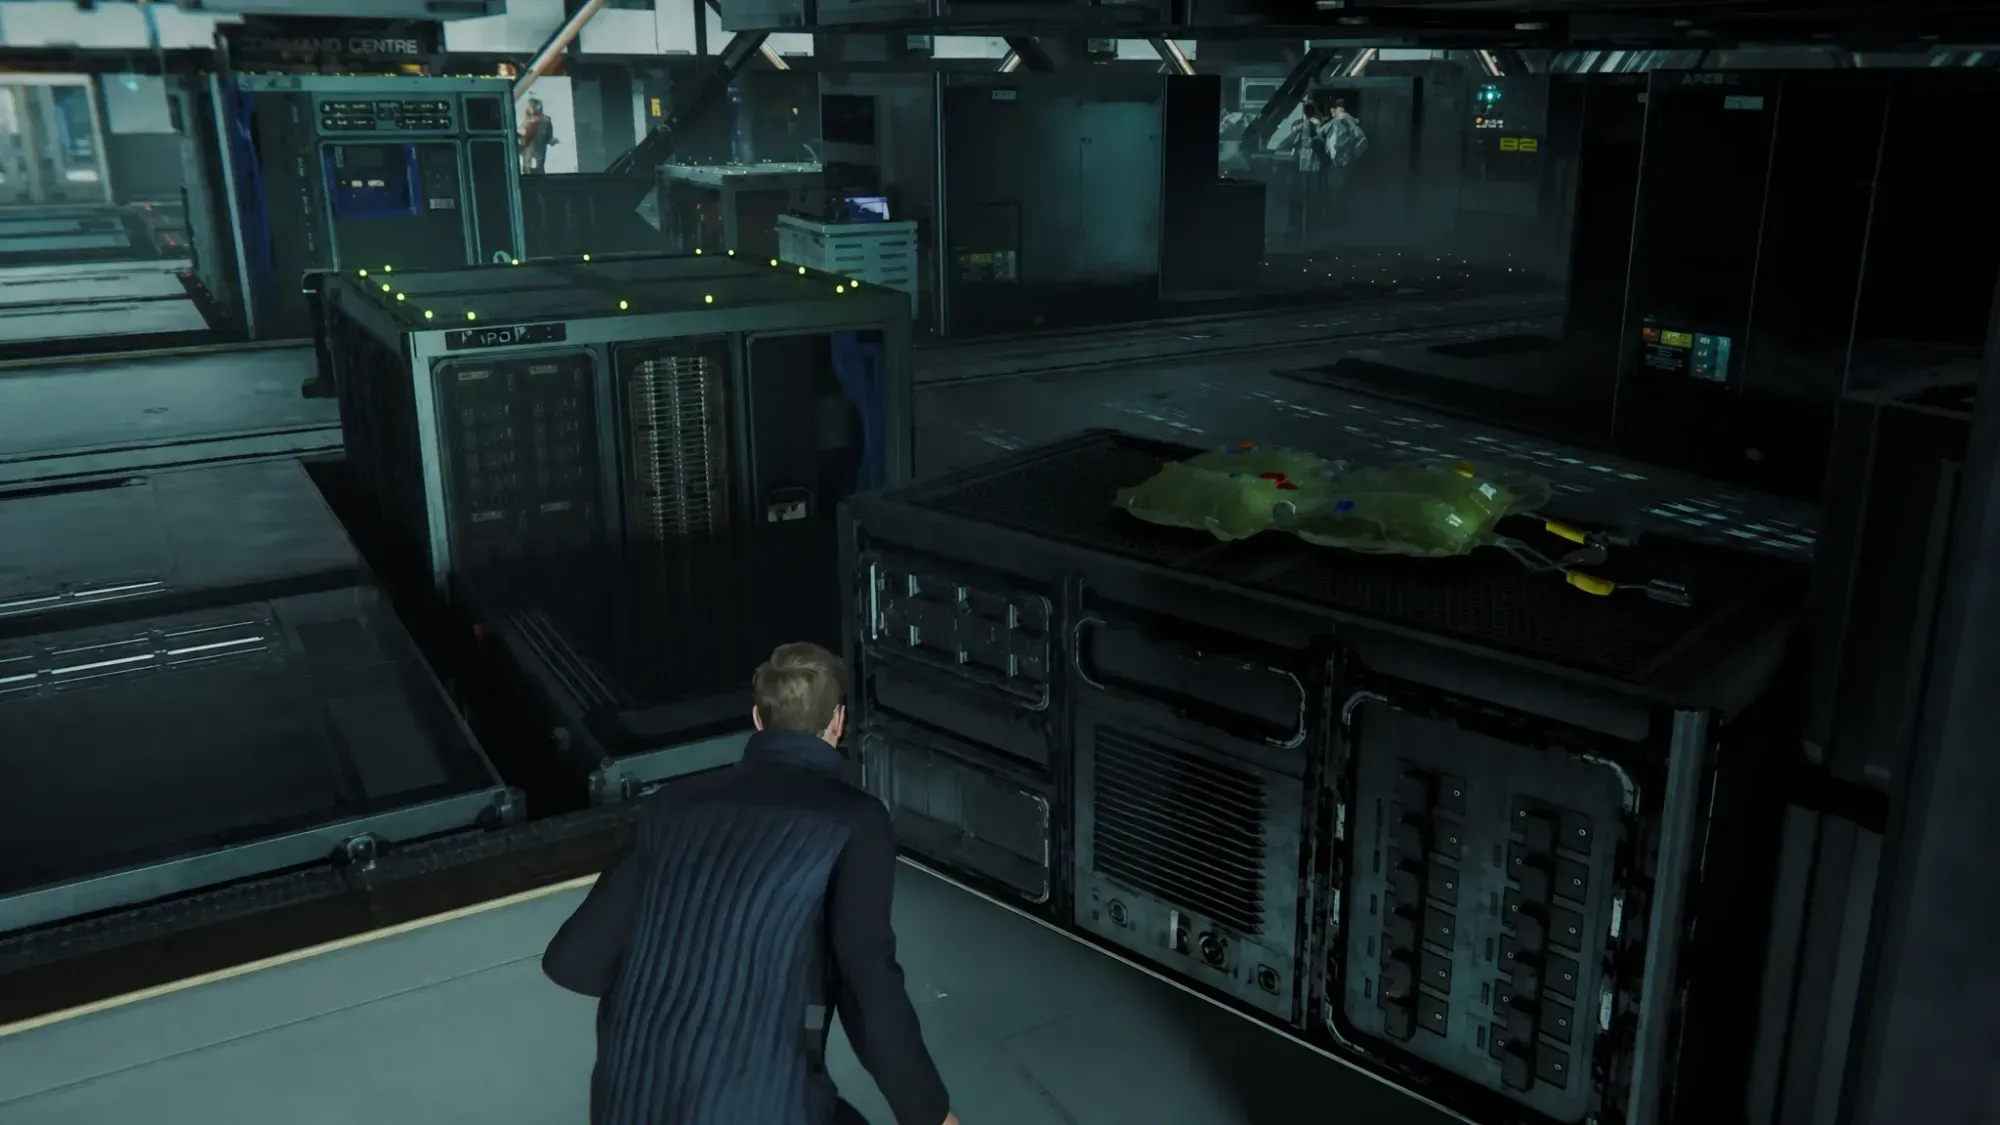
Deadly Delivery asks you to kill an enemy by sticking a proximity mine to a robot vacuum in the Utility room. The catch is that replaying from a Wave of the Future checkpoint will not hand you the flash mine, since you are locked to whatever gadgets you actually picked up during story progression.
Play through normally for roughly fifteen minutes until you reach the Utility room. Throw the mine onto the robot vacuum and let the explosion claim the kill.
Command Center combat challenges
The Command Center is the loud half of the mission, where you can drop the silencer entirely. Four challenges chain together here, so set up to grab them in a single firefight.
For No Time to Reload, kill enemies with five completely different firearms in this one encounter. Pick up dropped shotguns and rifles, land a kill, then immediately swap to a fresh weapon.
Keep your Q-Lens active to highlight server modules. Hit one with a Missile Pen or your Laser Strap as a Webb guard walks past to blow him up for Server Breakdown.
After activating the freight lift, enemies will try to fistfight you as it descends. Hit your charge trigger to hurl every one of them over the railing for Going Down?
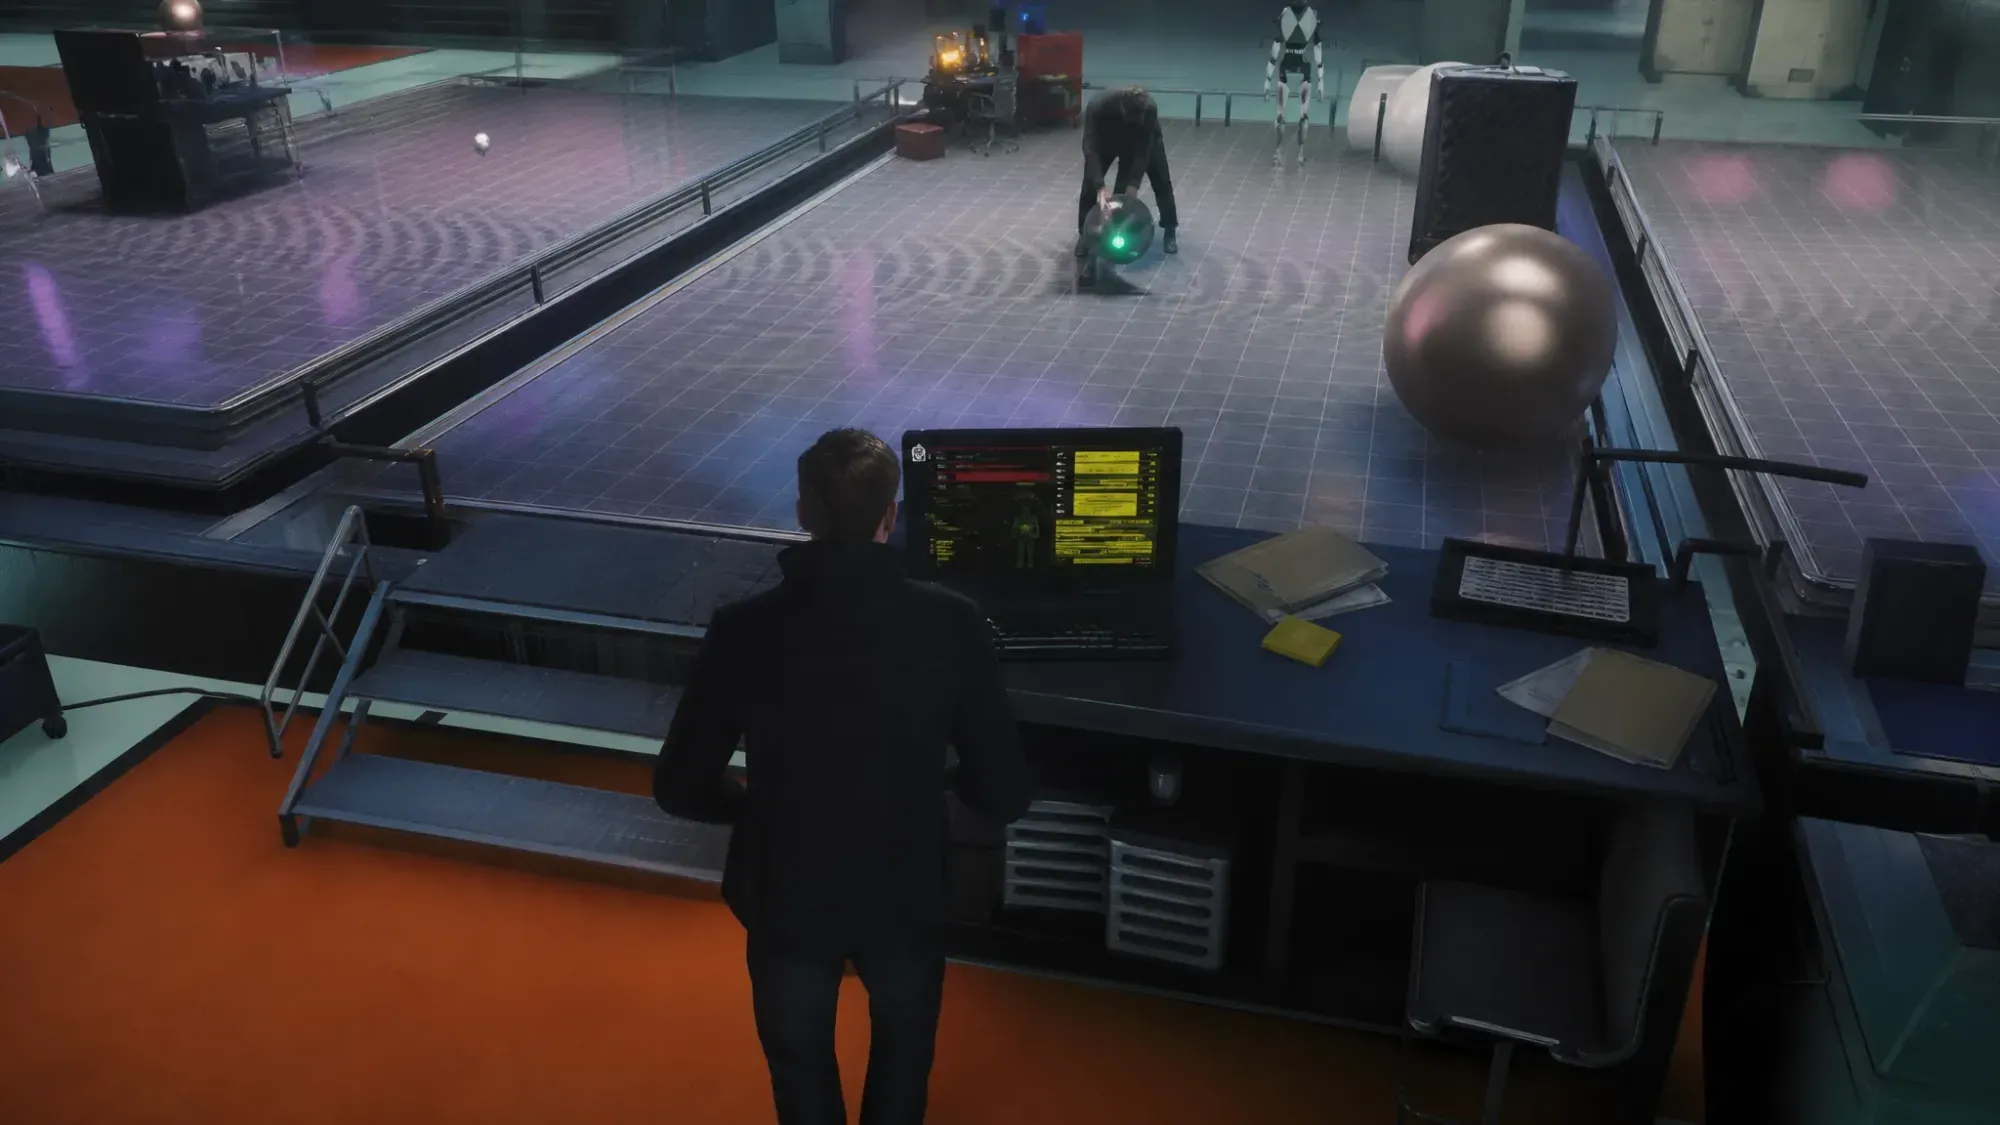
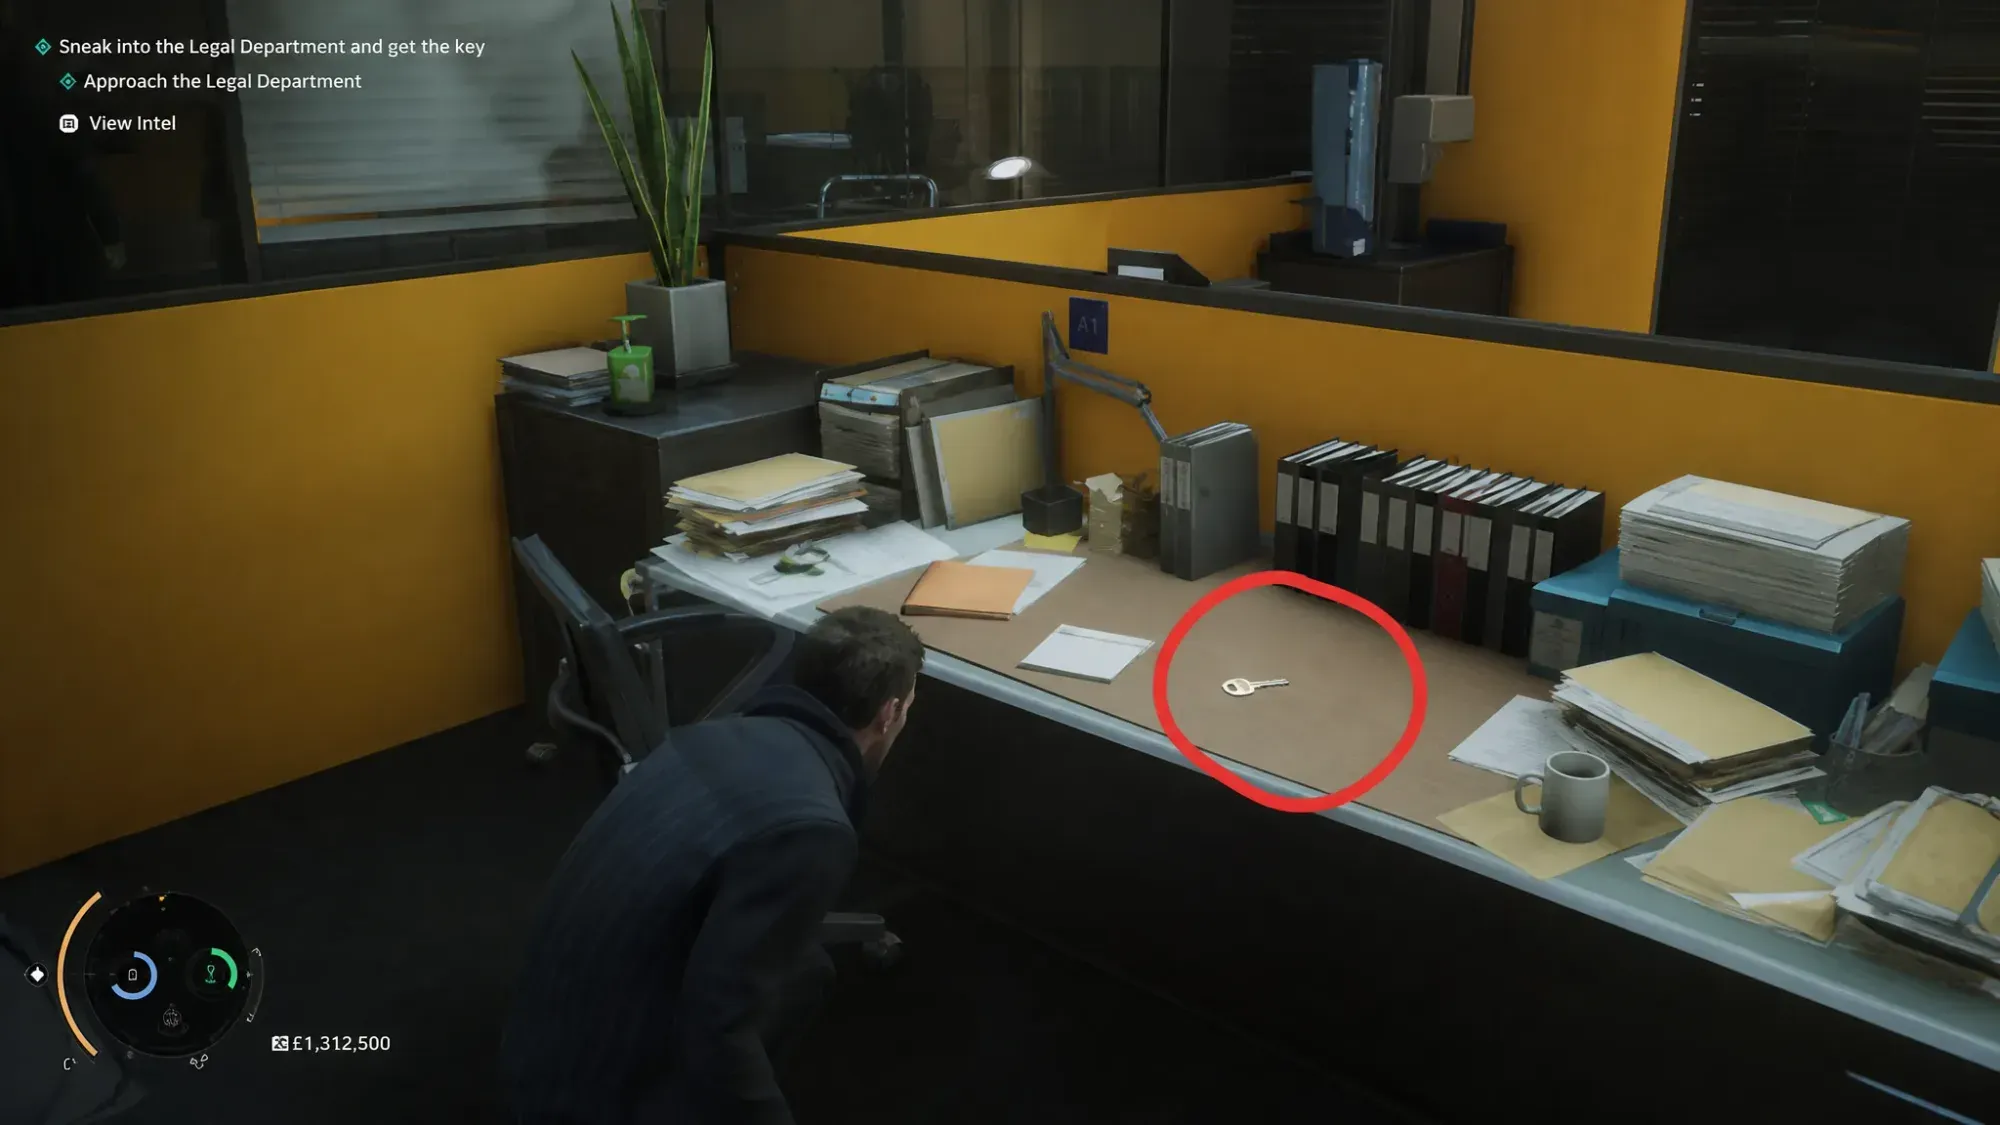
Office and keycard challenges
Several environmental objectives are tucked into the office areas while you collect keycards. They are easy to walk past, so handle them deliberately.
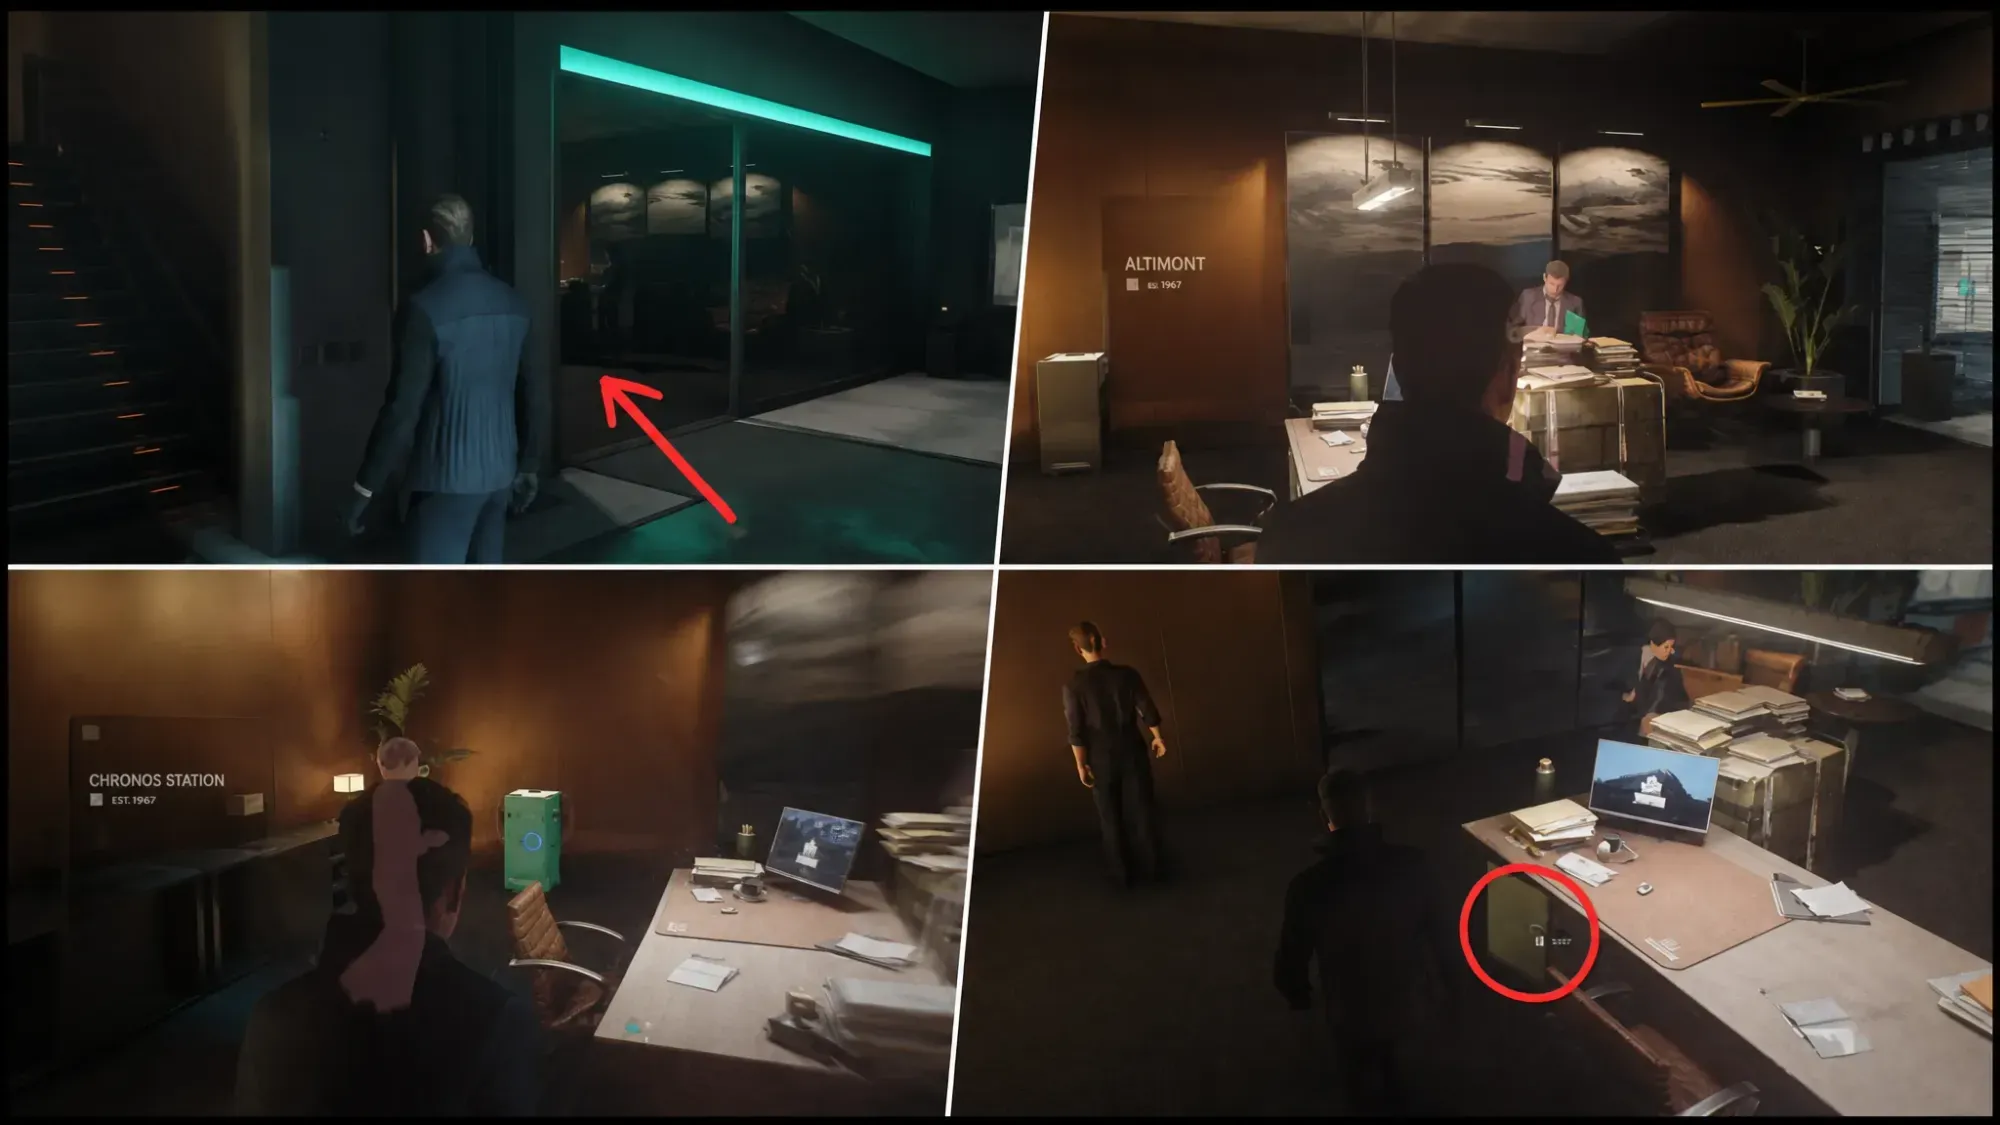
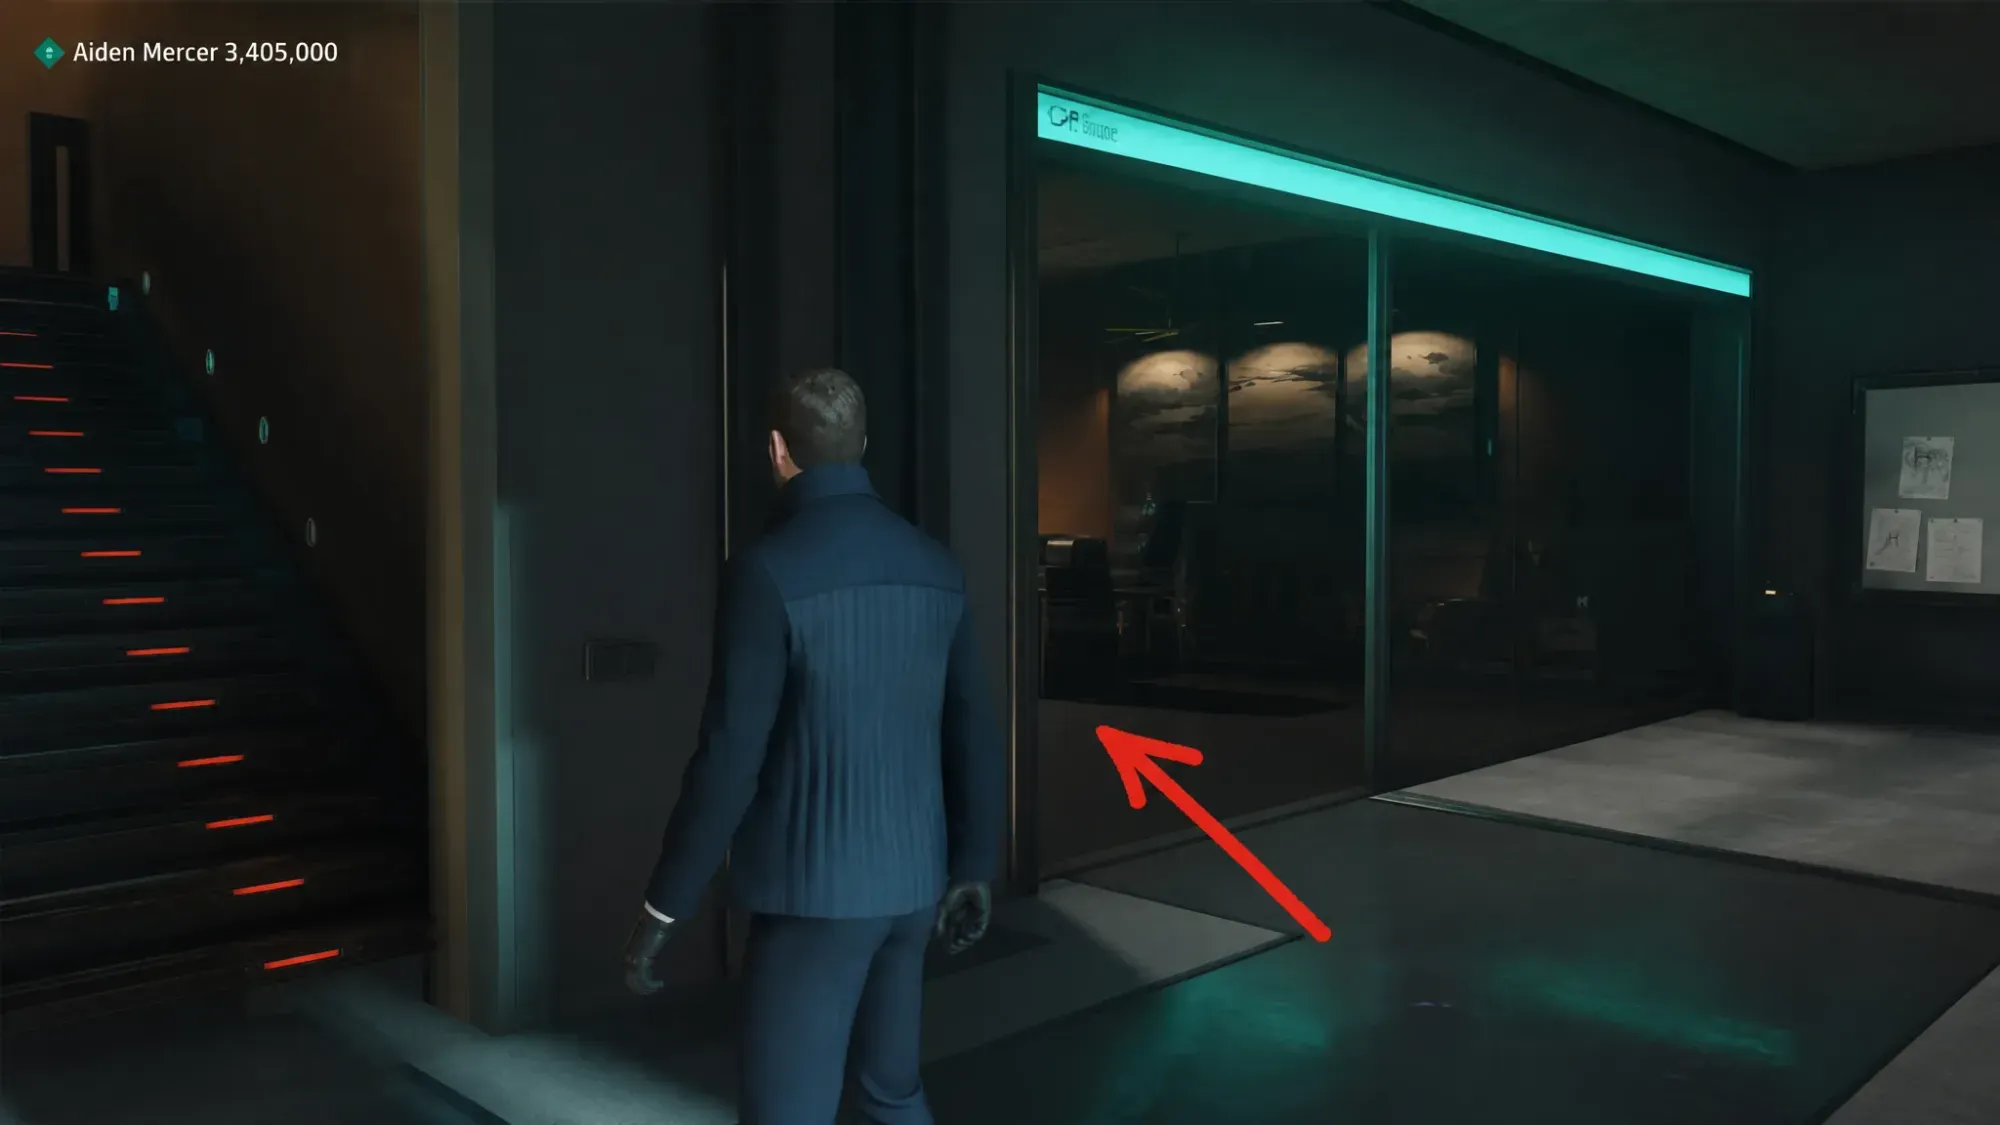
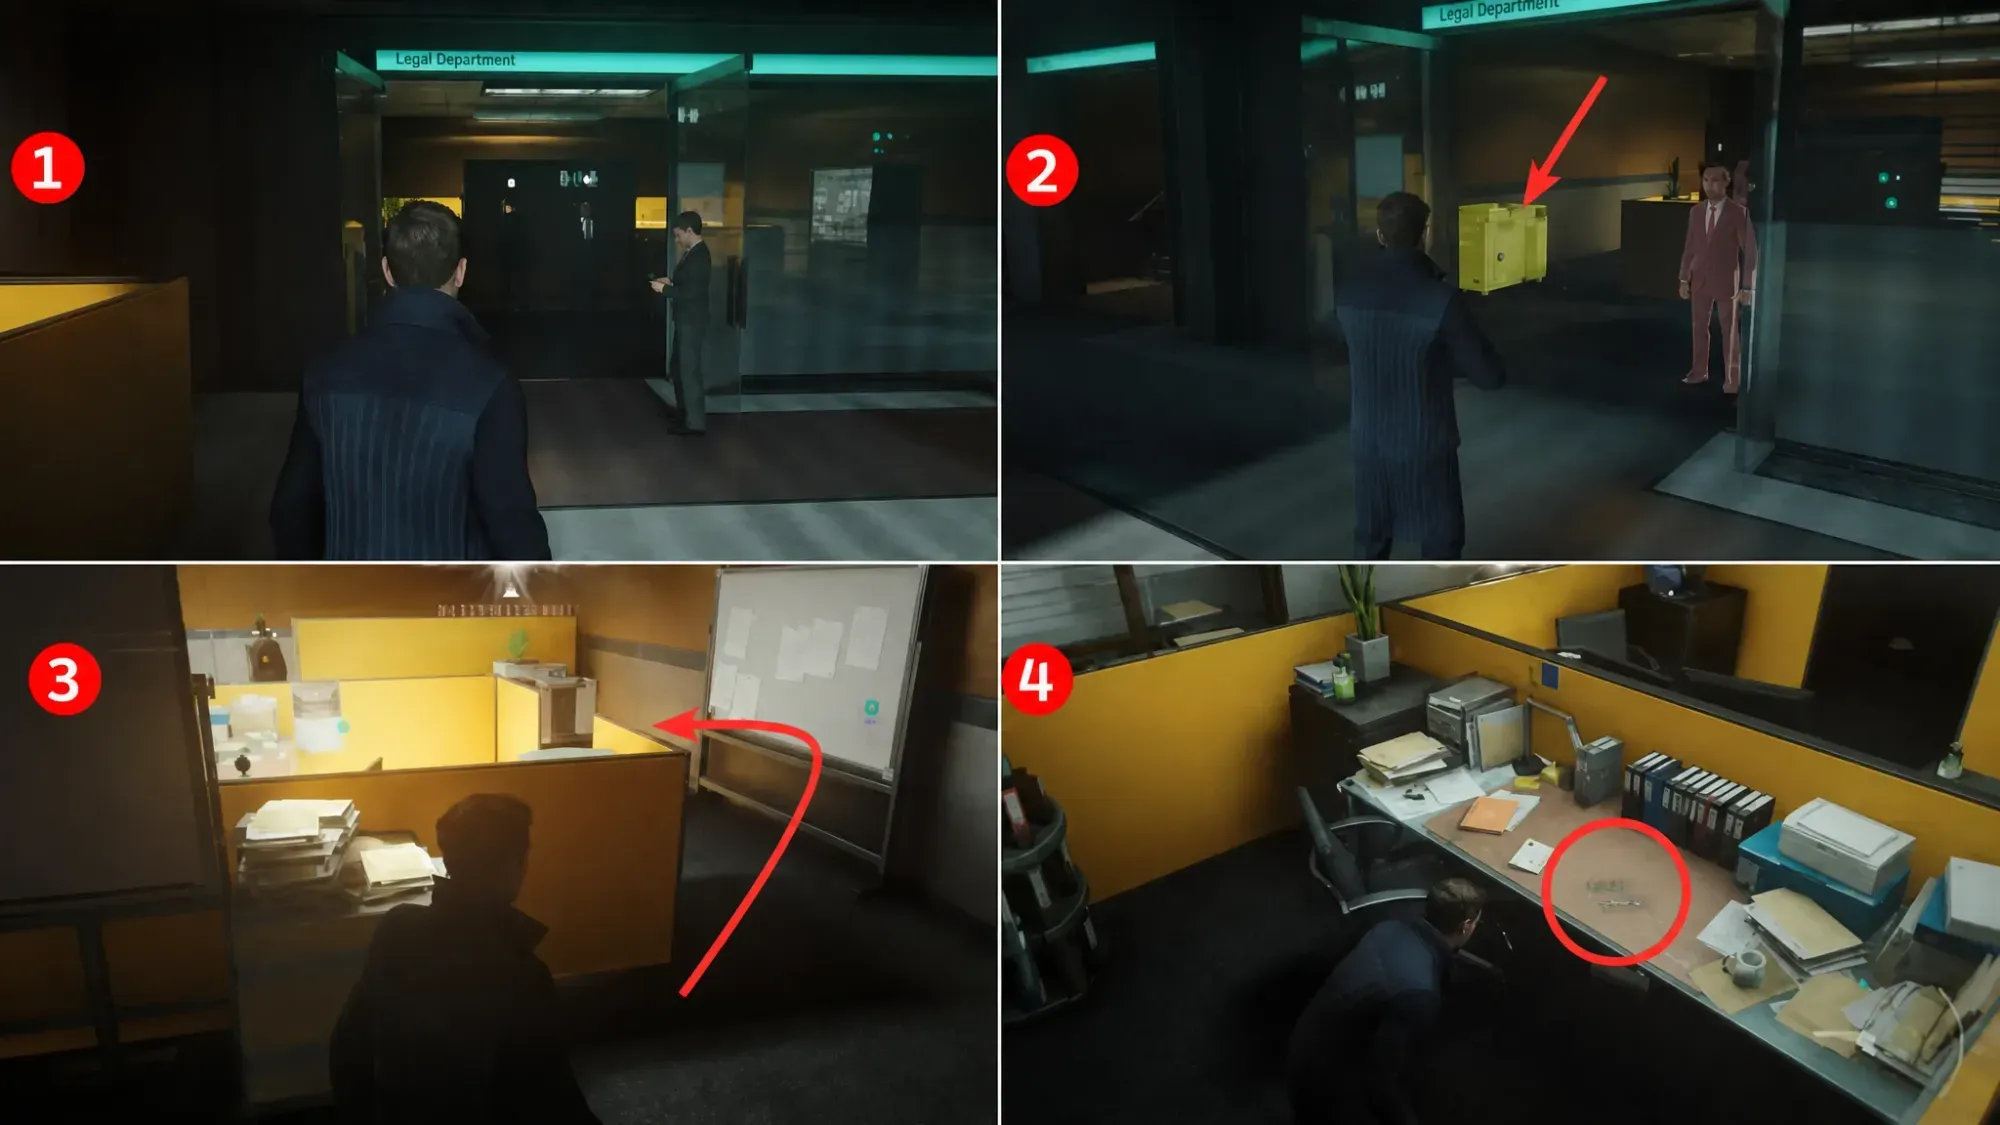
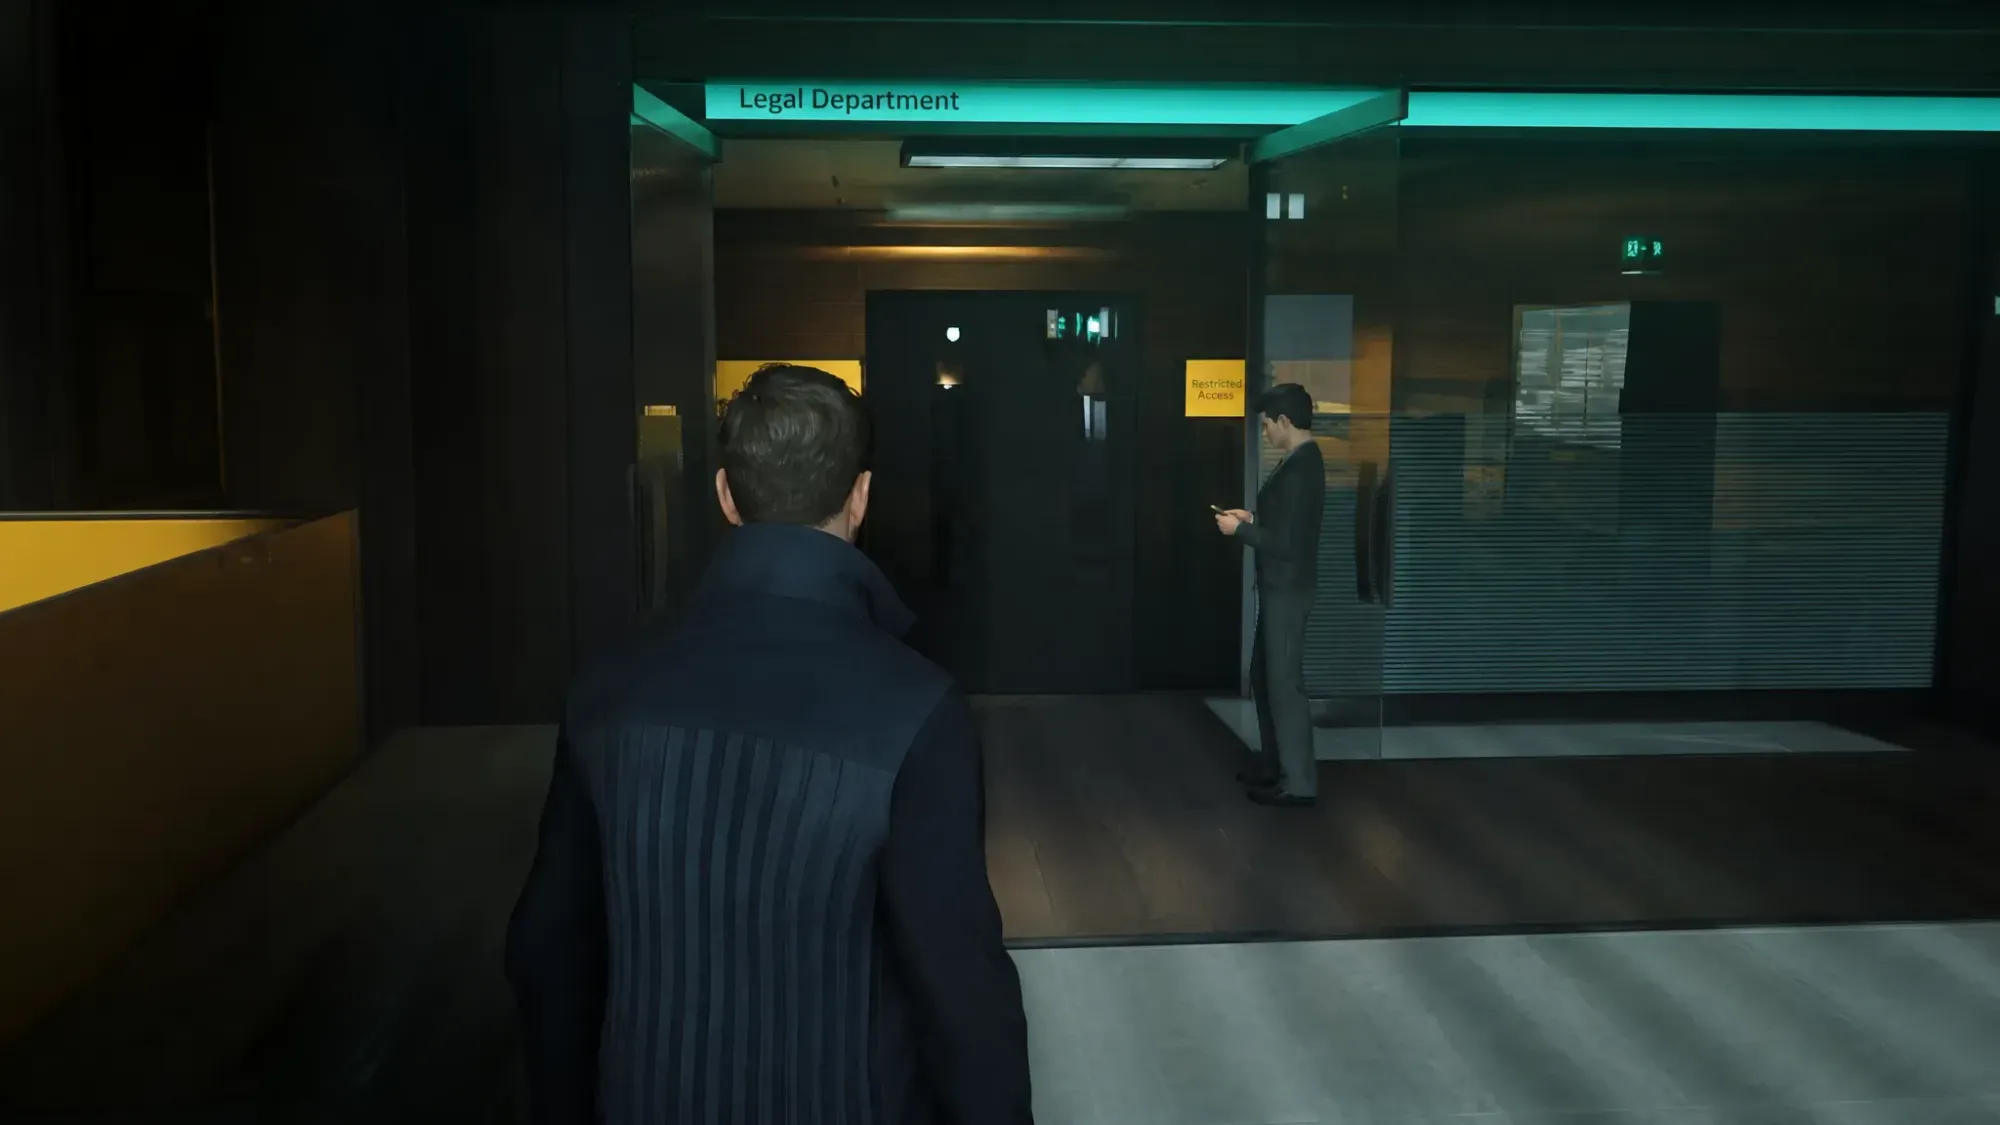
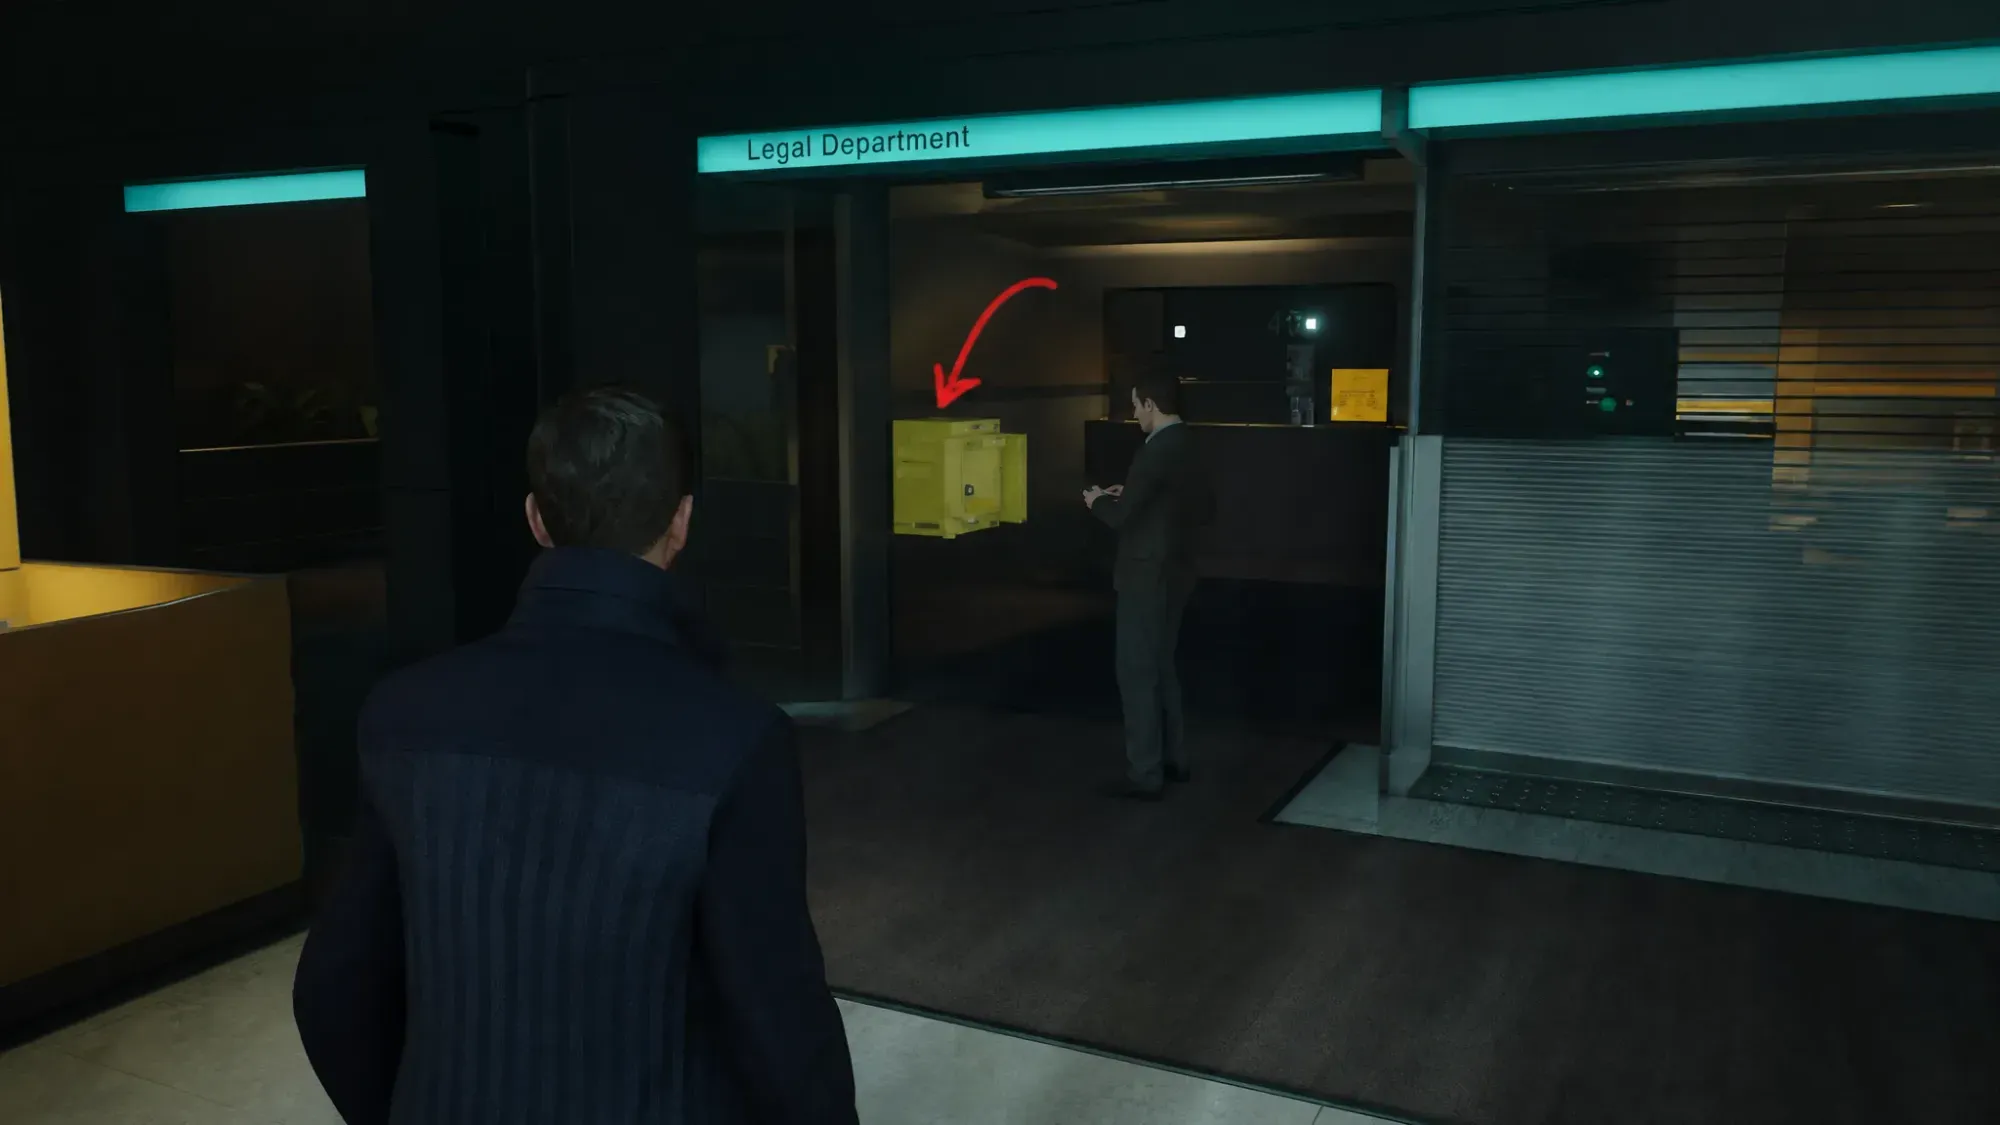
When you need to upgrade your ID badge, head to the office on the left side of the lower floor. Distract the three people inside, read the memo on the desk, then walk out and turn yourself in to the nearby guard to complete Surrender.
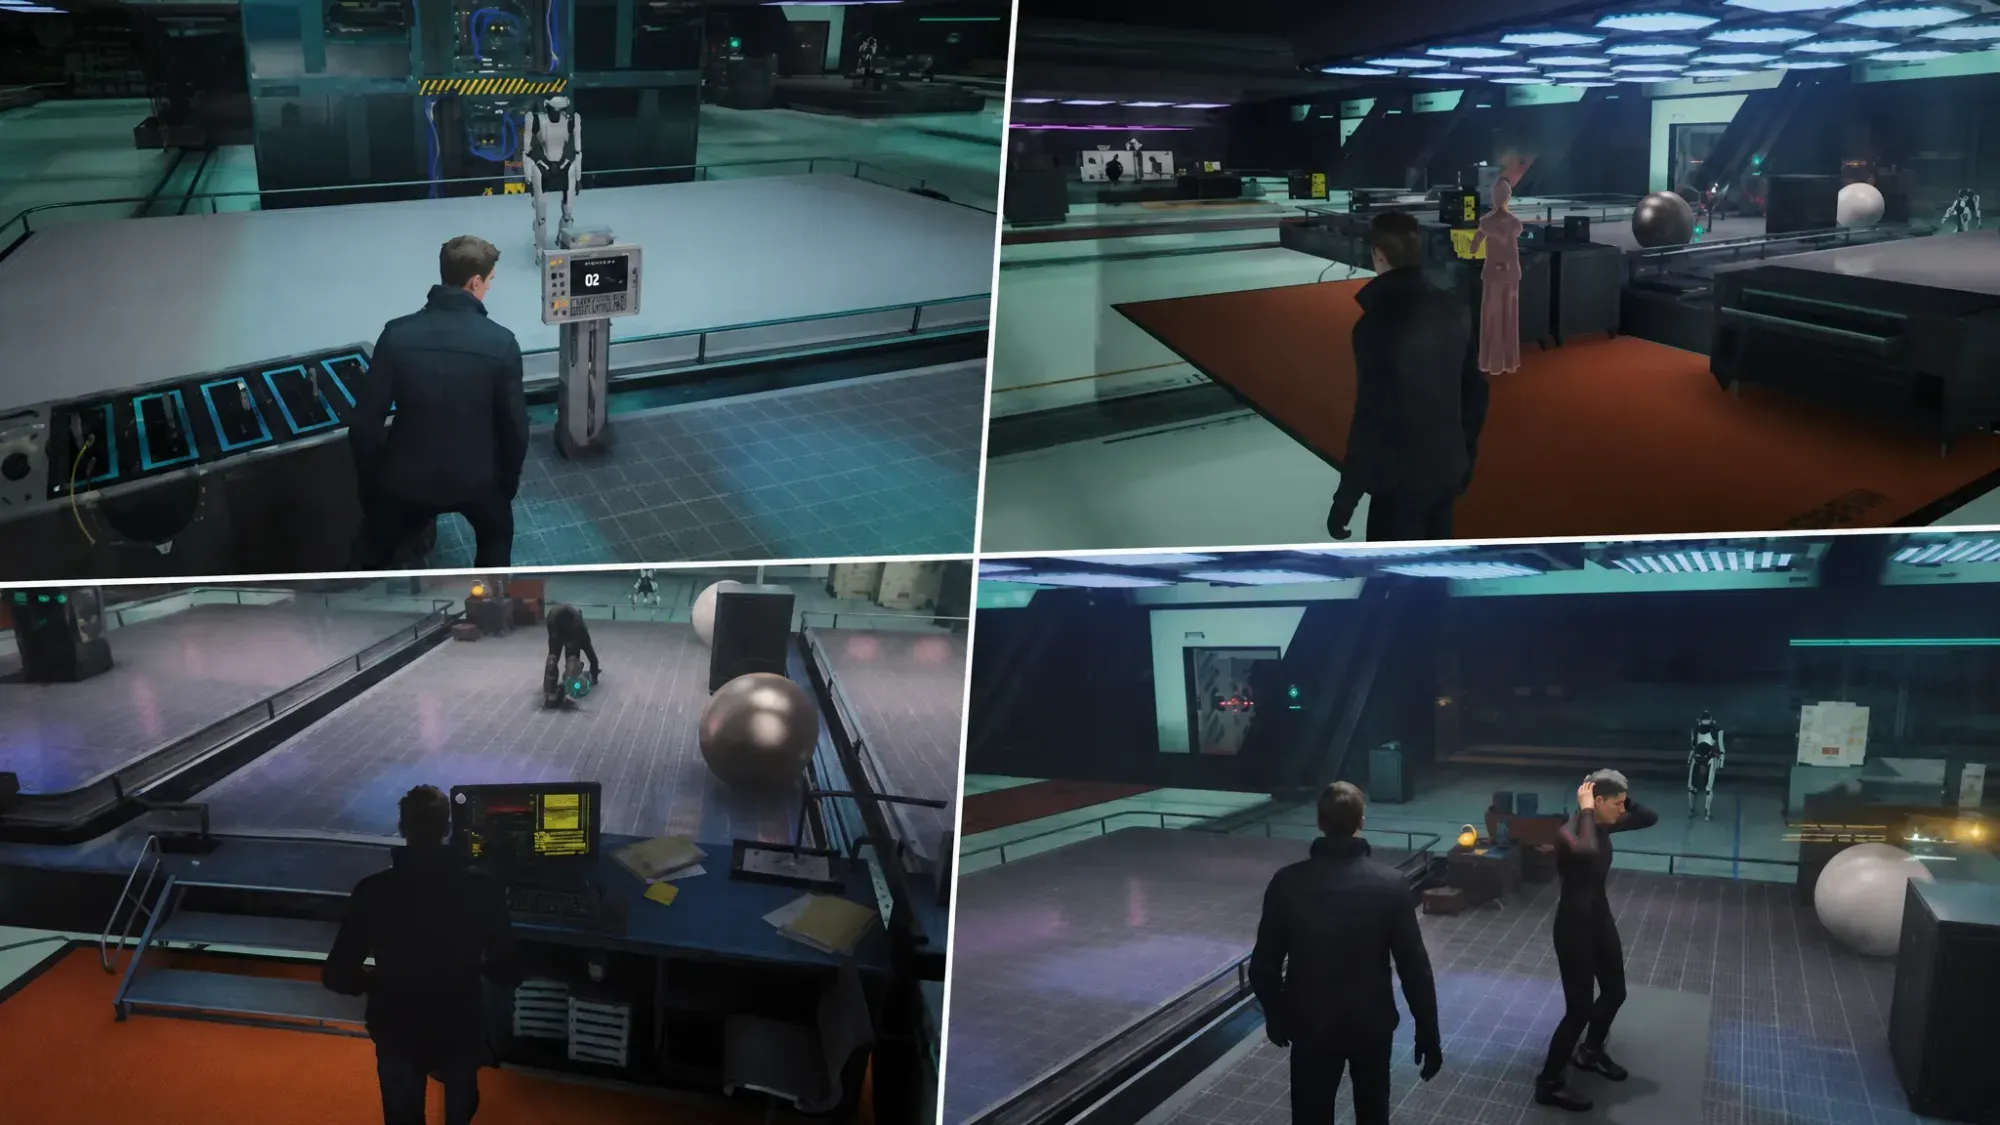
For First Day at Work, complete both opportunities. On the left side, activate the shooting range, hack the wall behind the android, and shoot the secondary android with a barrel.
During the Wreckie encounters, shoot the two generators to spawn more androids. Train them into a single line, group at least ten together, then roll Wreckie straight through the mob to clear Perfect Strike. Destroying 15 androids with Wreckie while taking no damage completes Wrecking Baller.
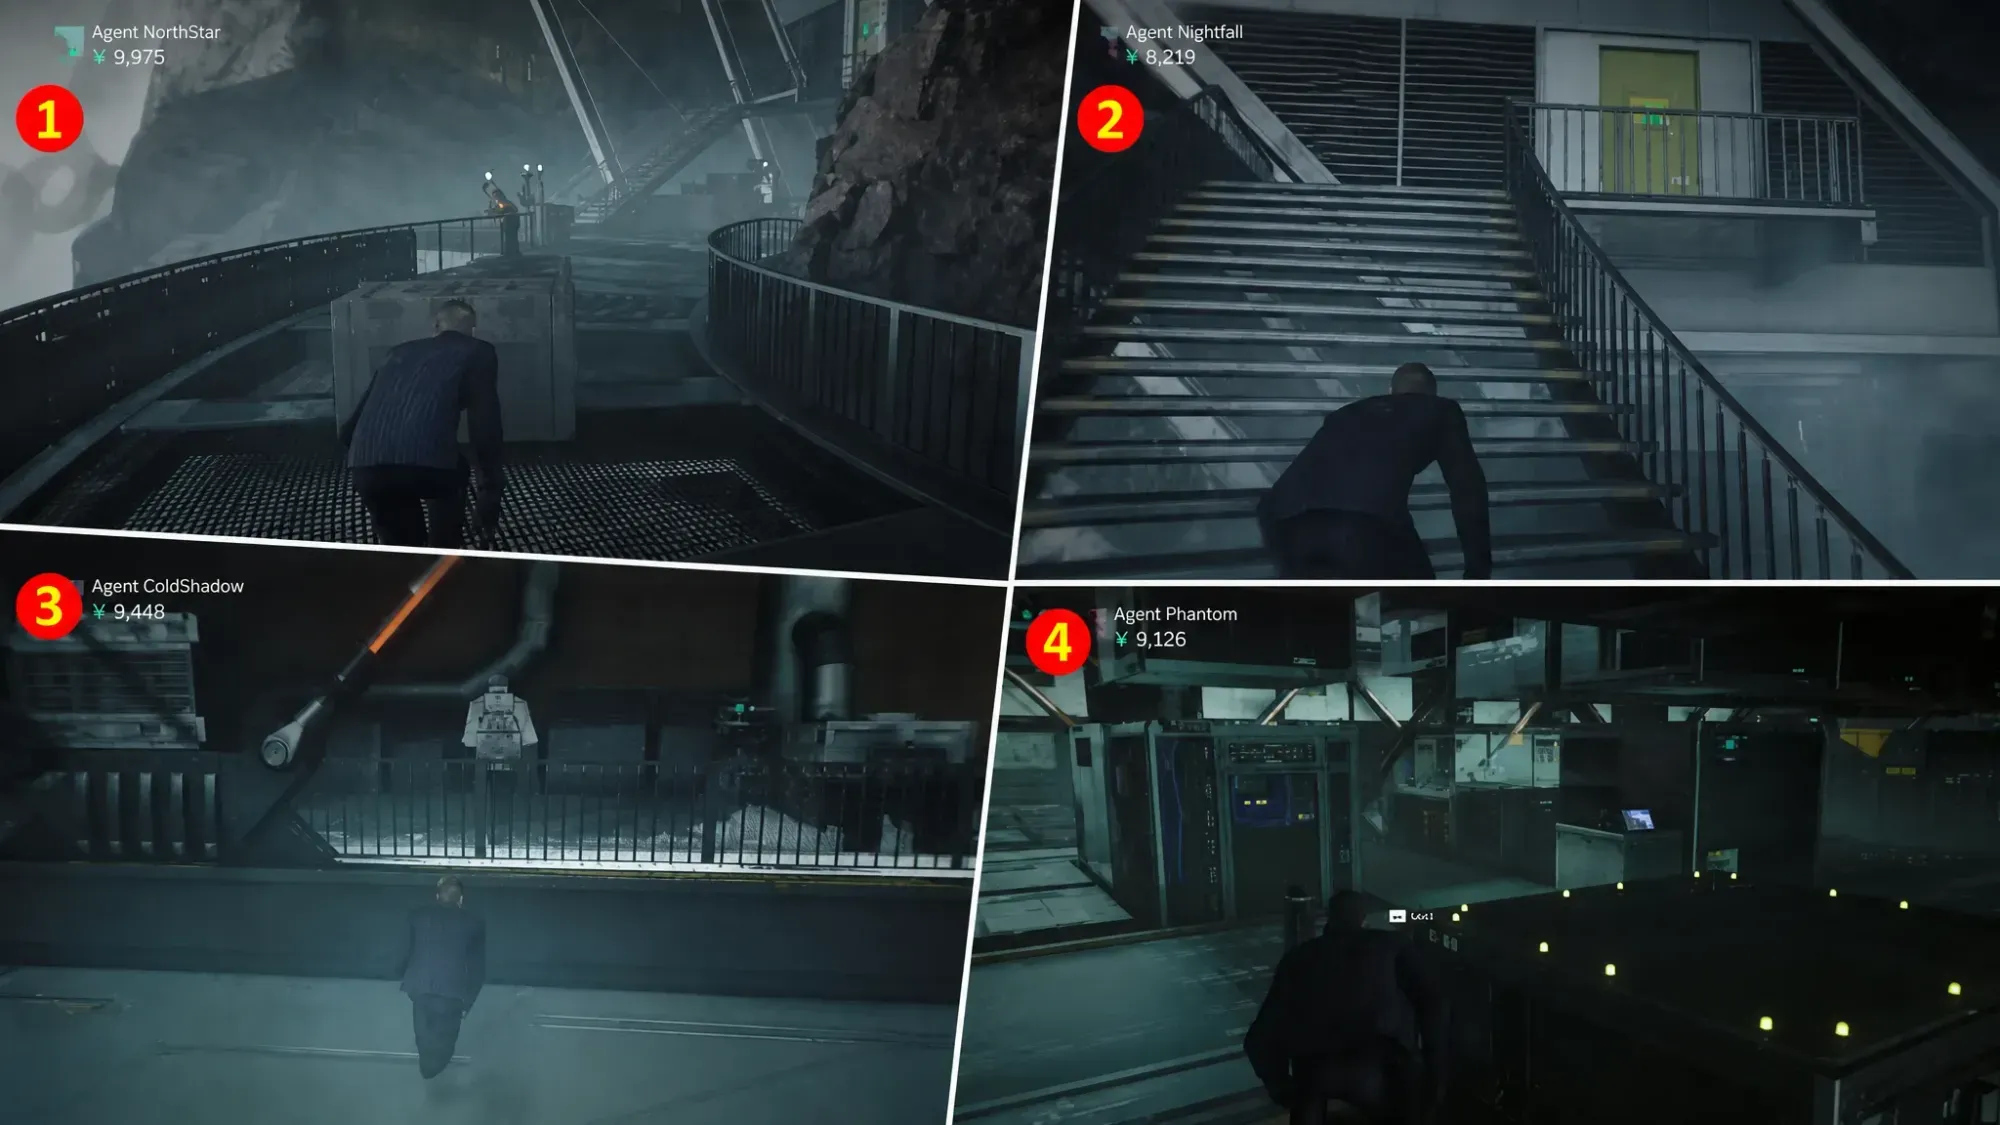
Boat chase challenges (Icecap-Tain and Running Man)
The mission closes with a boat chase after Isola. Two challenges resolve here, and both come down to driving cleanly.
Stick to the left side of the water. Right after the first mandatory ramp, you will see a large iceberg. Hit it at full speed to launch the boat and secure Icecap-Tain.
Dodge the floating mines for the rest of the chase. Reaching the end without failing completes Running Man as the mission concludes.
✅
Each challenge ticks off in your objective tracker the moment its condition is met. If one does not register, the usual cause is an alarm triggering early for stealth goals, or missing the exact gadget for setups like Deadly Delivery.
Plan two or three full runs around the conflict points. Do the silent pass first for Hide and Seek, Pacifist Protocols, Death From Above, and Stay Stealthy, then a loud Command Center pass for the firearm and server challenges, and finish with the robotics and boat objectives. Replaying checkpoints one challenge at a time, is far more reliable than chasing everything in a single attempt, and it keeps the stealth-only goals from breaking the moment combat starts.