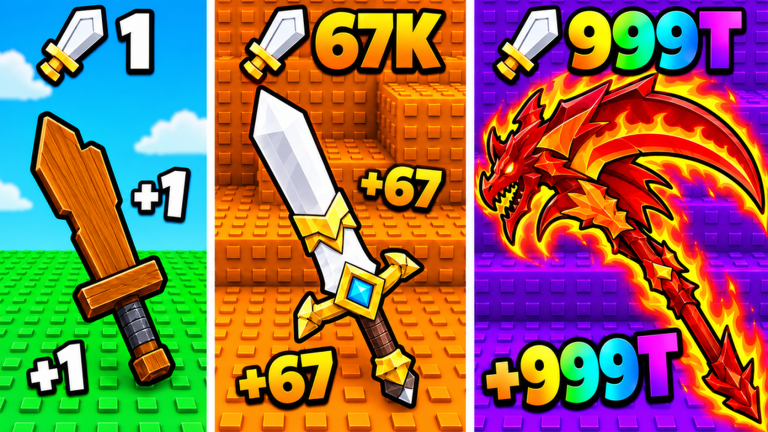
Rebirth in +1 Power Fruit Evolution is a deliberate trade. You give up your current level and damage, and in return the game raises your damage multiplier and lifts your level cap. Your Power stat, currency, inventory, and every unlocked training multiplier all stay with you. That makes Rebirth less of a reset and more of a step up. The faster you can refill a level bar, the faster you climb.
Quick answer: Train until the Rebirth menu shows your level at the cap (Level 20 / Level 20 for Rebirth 2), then press REBIRTH. Damage rises from X2 to X3, and the max level becomes 35.
What Rebirth resets and what it keeps
The Rebirth menu prints its own rule in plain text: Rebirth resets your Damage and Level ONLY! That line is worth taking literally. Your level drops back down and your damage goes with it. Everything you have built up on the side stays where it is.
- Reset: current level and damage.
- Kept: your Power stat, which is the number stages measure you against.
- Kept: currency, so upgrade shop savings survive.
- Kept: inventory, including seeds and grown fruits.
- Kept: unlocked training multipliers.
Each rebirth tier carries two numbers. One is the damage multiplier, and the other is the level cap you can train up to before you are able to rebirth again. The menu shows your current tier next to the tier you are about to unlock.
| Rebirth tier | Damage | Max level |
|---|---|---|
| Rebirth 1 | X2 Damage | MAX Level 20 |
| Rebirth 2 | X3 Damage | MAX Level 35 |
In practice, a Rebirth 1 character is stuck at Level 20 no matter how long it trains. Rebirth 2 is what lets the bar keep going to 35, and it also bumps damage by one full multiplier step. The same menu also has two extra buttons. SKIP REBIRTH KEEP ALL STATS! is a shortcut that skips the reset entirely. AUTO REBIRTH 199 automates the process. Neither one is required, because the standard REBIRTH button does the job on its own.
Training dummy multipliers unlocked by rebirth count
Rebirth also opens new training dummies in the hub, and those dummies are how you refill a level bar quickly. Every dummy is labeled with its requirement and its multiplier. The first one is open from the start. The next six depend on how many times you have reborn, and the last three are sold separately.
| Dummy requirement | Training multiplier |
|---|---|
| Unlocked | x1.5 |
| 2 Rebirths | x2 |
| 5 Rebirths | x4 |
| 9 Rebirths | x6 |
| 12 Rebirths | x8 |
| 15 Rebirths | x10 |
| 18 Rebirths | x15 |
| Gamepass 159 | x18 |
| VERY OP! 119 | x75 |
| BEST TRAINING 399 | x250 |
The jump between the first two dummies is easy to feel. The x1.5 dummy gives +3 to +6 Power per swing, while the x2 dummy gives +6 to +12. Each hit also pushes your level bar forward, so a better dummy shortens the road to the next cap as well as raising Power. Rebirth 2 is the first rebirth that unlocks a new dummy, which is why it is the one most worth chasing early.
A pop-up during training offers “Watch AD for 3x Training (3x training Power for 2 min!)”. Time it for a long session at the best dummy you own so the boost is not wasted.
Where training happens in the World 1 hub
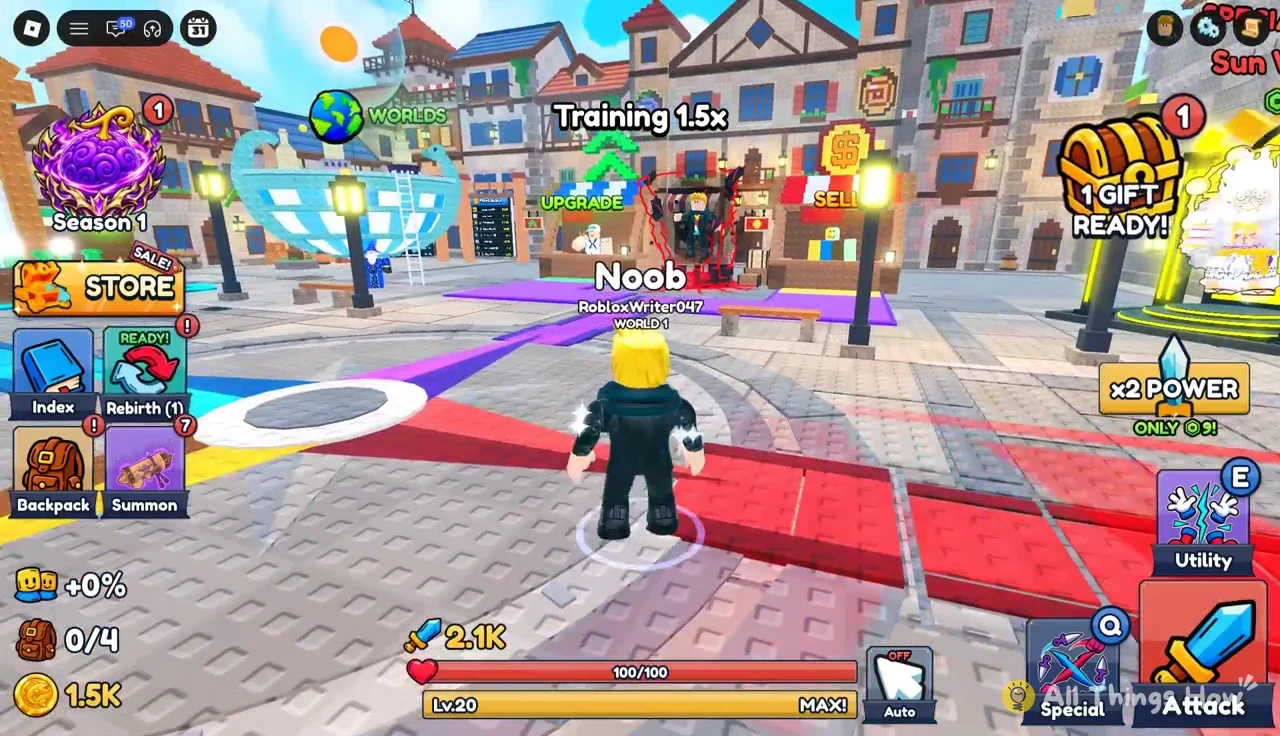
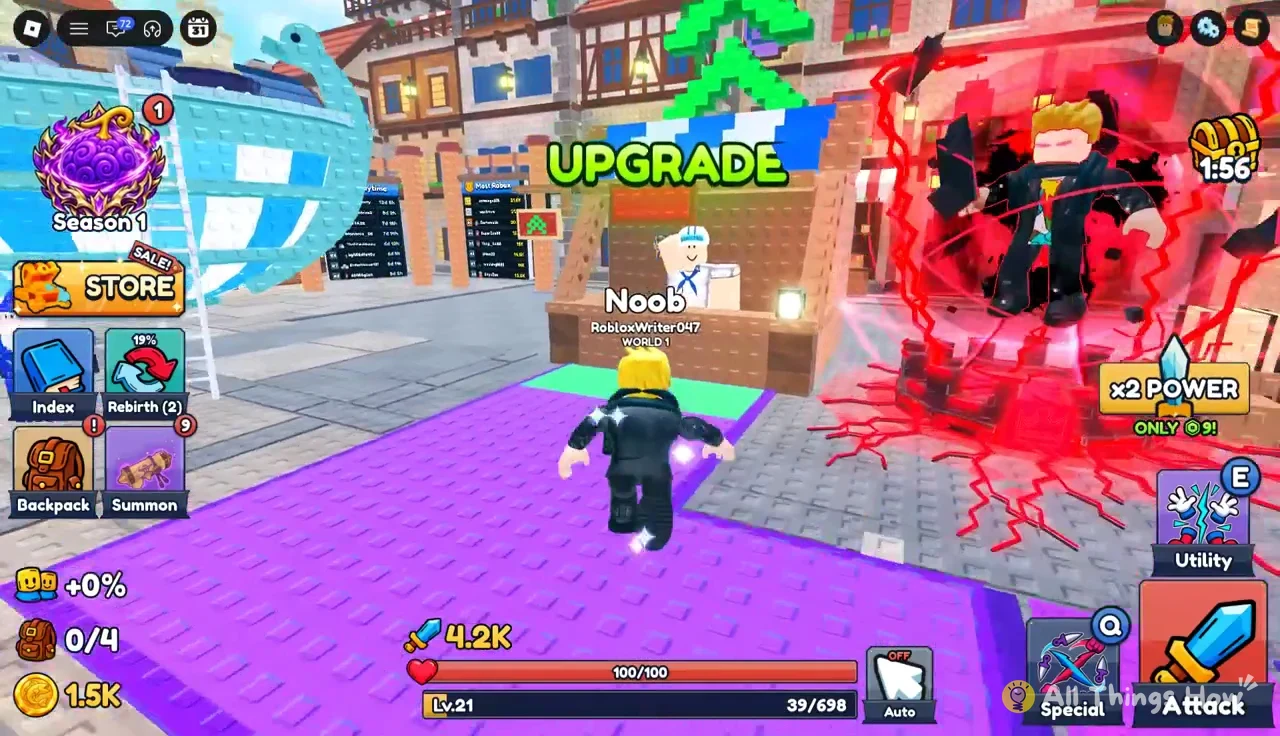
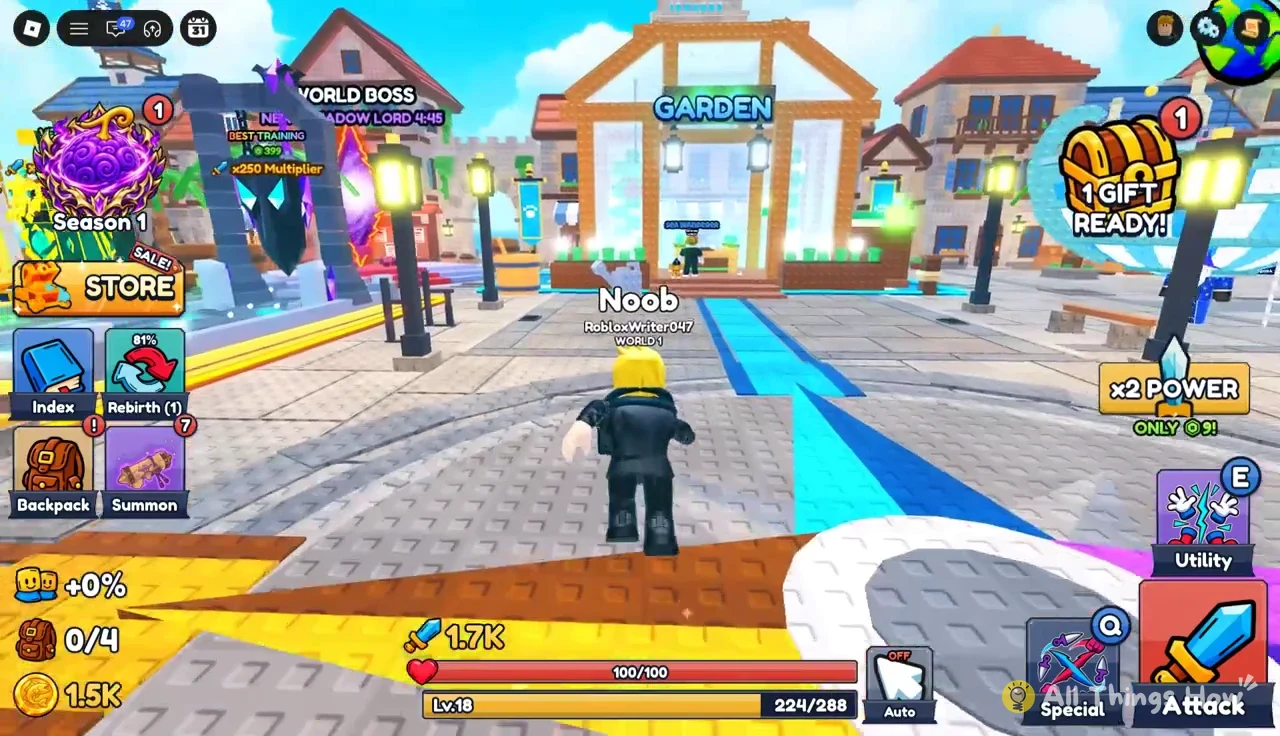
Everything you need for a rebirth loop sits in the World 1 hub. The plaza has shop stalls, the store displays, the Garden, the Upgrade and Sell counters, the Training area, and a teleport portal that leads into the combat stages. Glowing path ribbons on the ground point toward each feature, so it is hard to get lost.
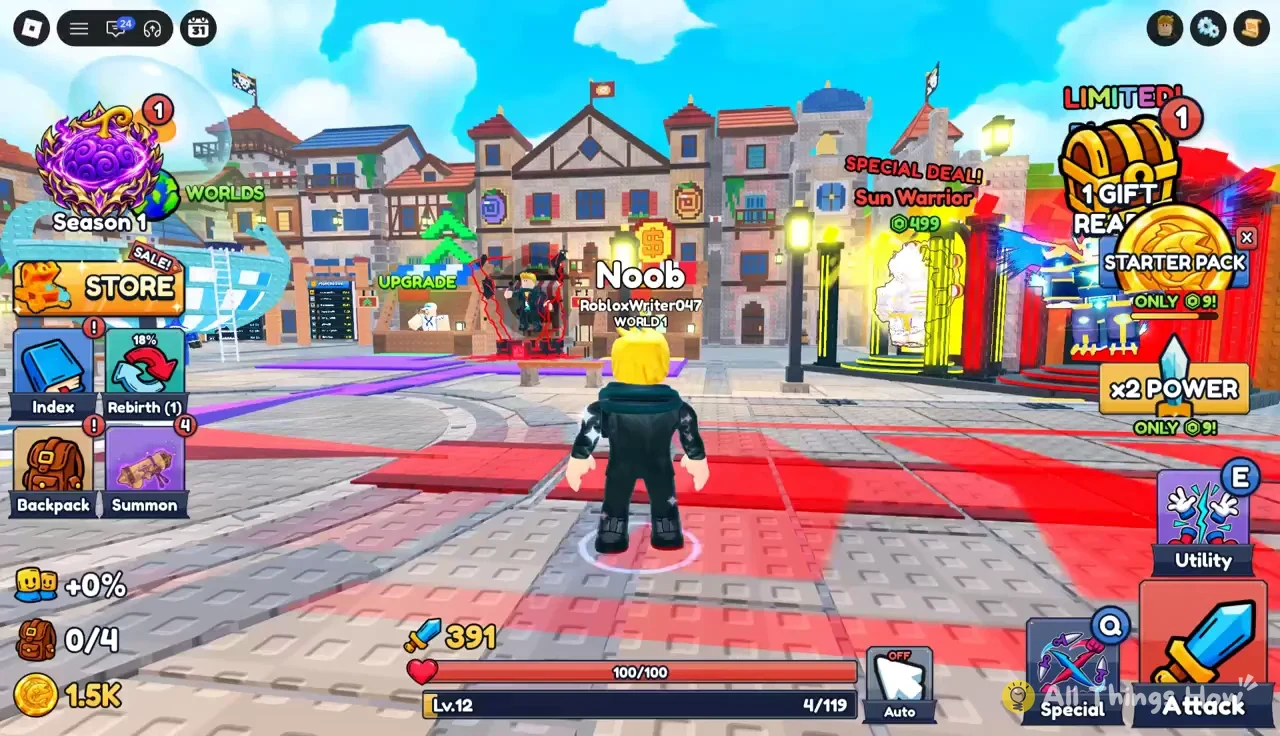
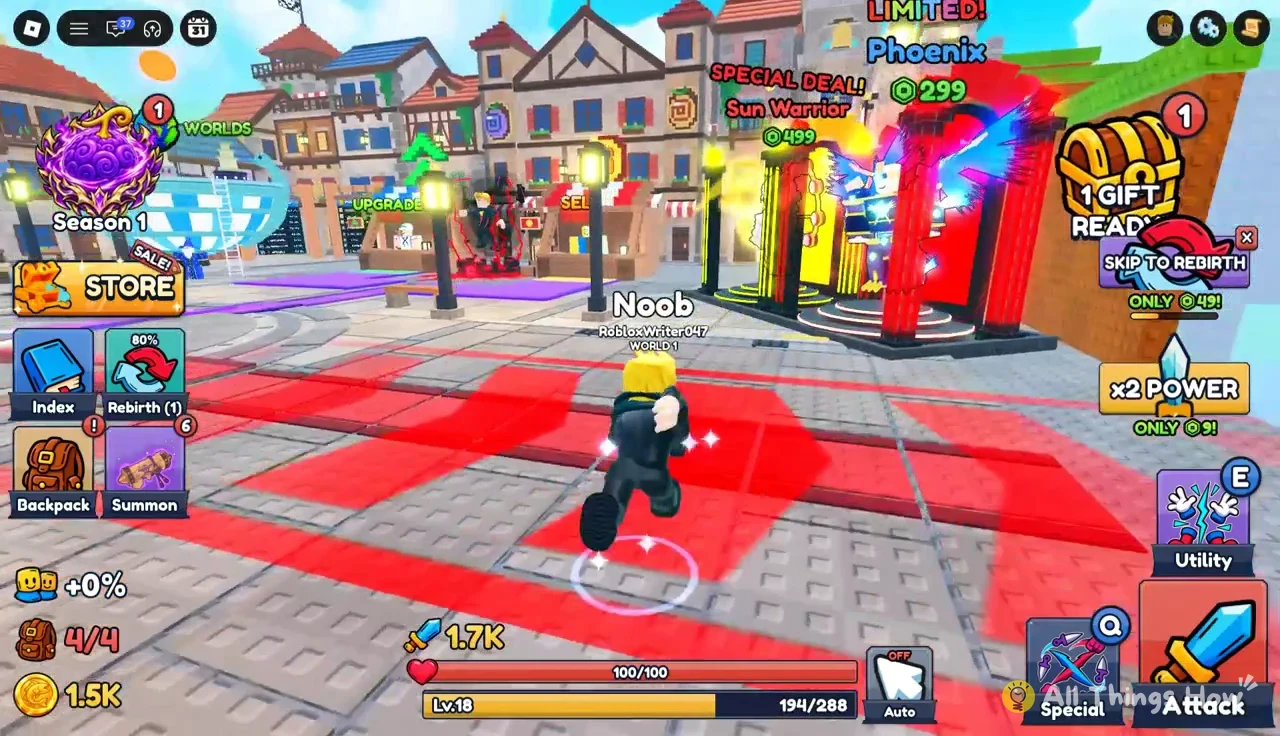
The store portals in the plaza advertise paid offers such as the Limited Phoenix and Sun Warrior deals. They are not part of the rebirth path. Follow the floor paths past them toward the training stations and the portal.
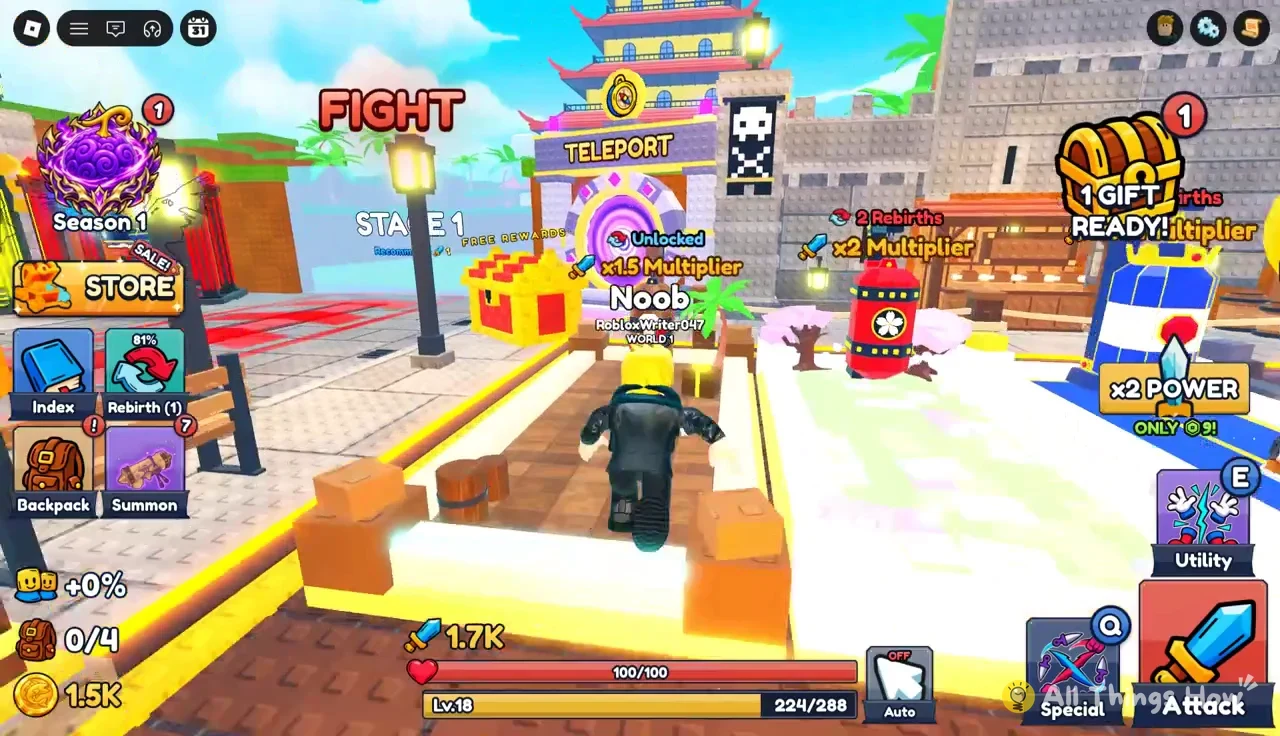
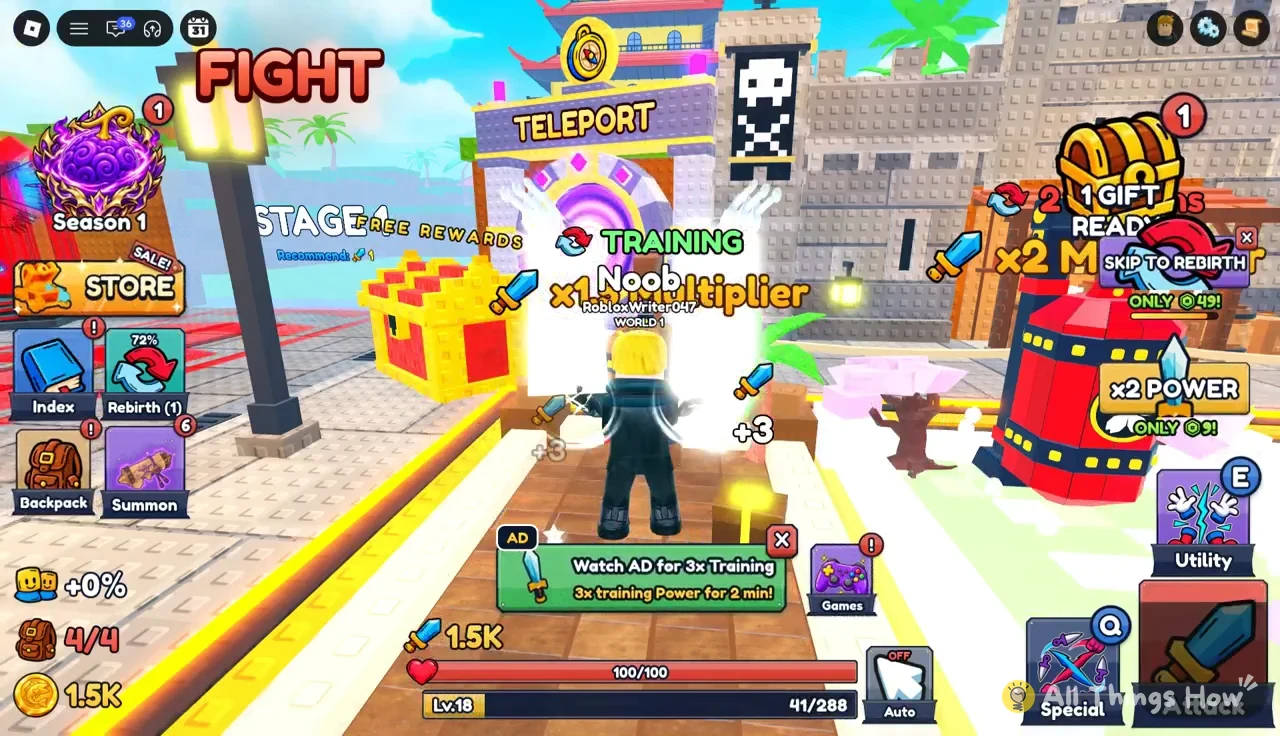
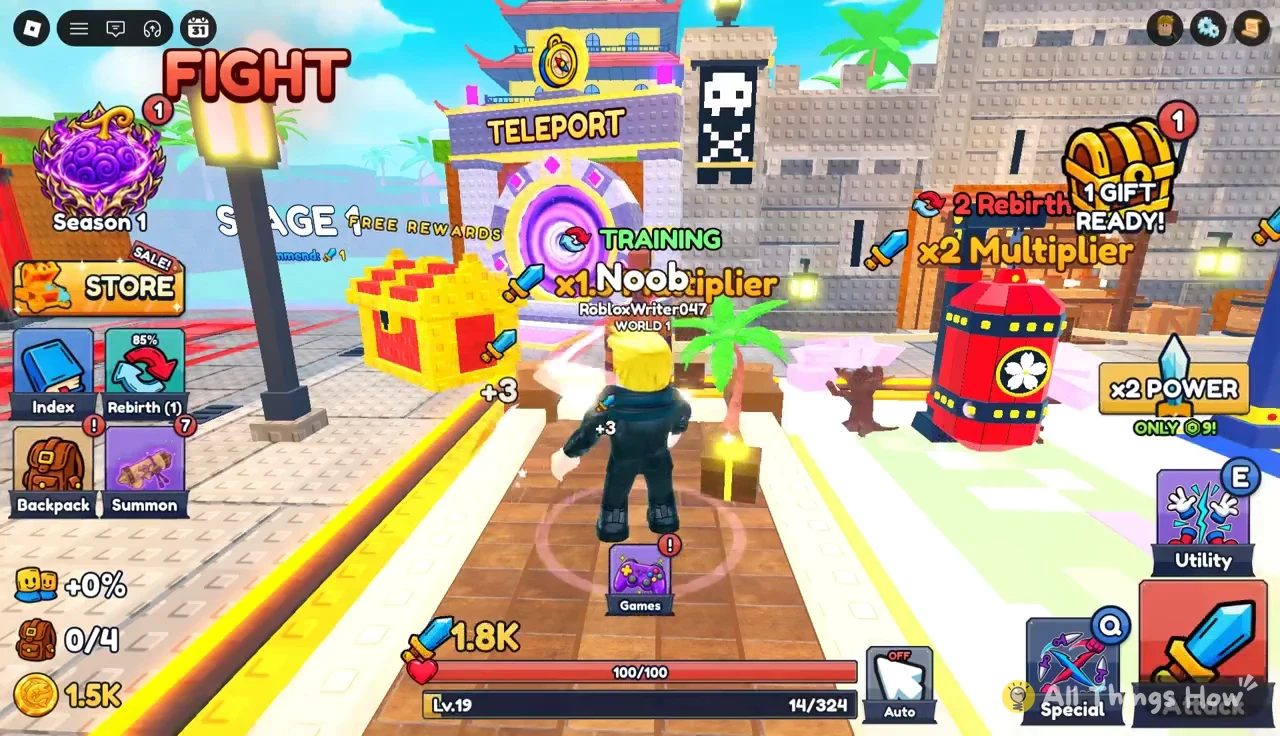
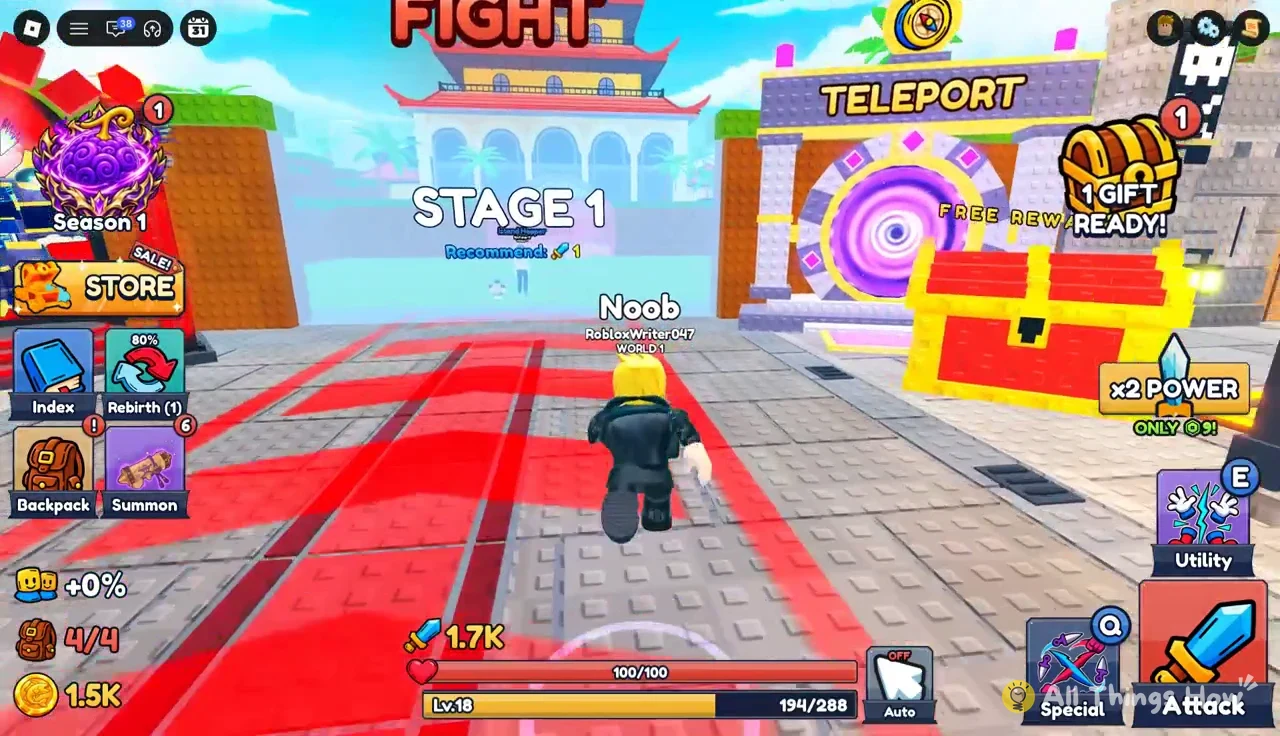
The purple portal under the TELEPORT sign takes you into the stages. You will come back to it once a rebirth is done and you want to check your new numbers in combat.
The Training area holds the row of dummies from the table above. Each one has its multiplier and requirement printed on a label, and locked dummies show what you still need. Walk up to the first unlocked dummy to start.
How to perform Rebirth 2 in +1 Power Fruit Evolution
You need a character that has already done Rebirth 1 and can reach the Level 20 cap. No items or currency are required. Your level is the only gate.
Level 20 / Level 20. If it shows anything lower, go back to the dummy. The menu will not let a rebirth go through until the requirement is filled.You can tell it worked in three ways. Your level drops back to the bottom of the new 35-level range. The Rebirth menu now lists Rebirth 2 as your current tier. And the dummy labeled “Requires 2 Rebirths x2 Multiplier” in the Training area is now usable. Your Power total stays exactly where it was before you pressed the button.
Rebuilding Power after the reset
Once Rebirth 2 is done, move straight to the x2 dummy. With twice the Power per swing compared with the starter dummy, the climb toward Level 35 goes much faster, and the Power you gain stacks on top of the total you kept. Training on the x2 dummy after Rebirth 2 is enough to push a character past 4.2K Power.
Free Gifts
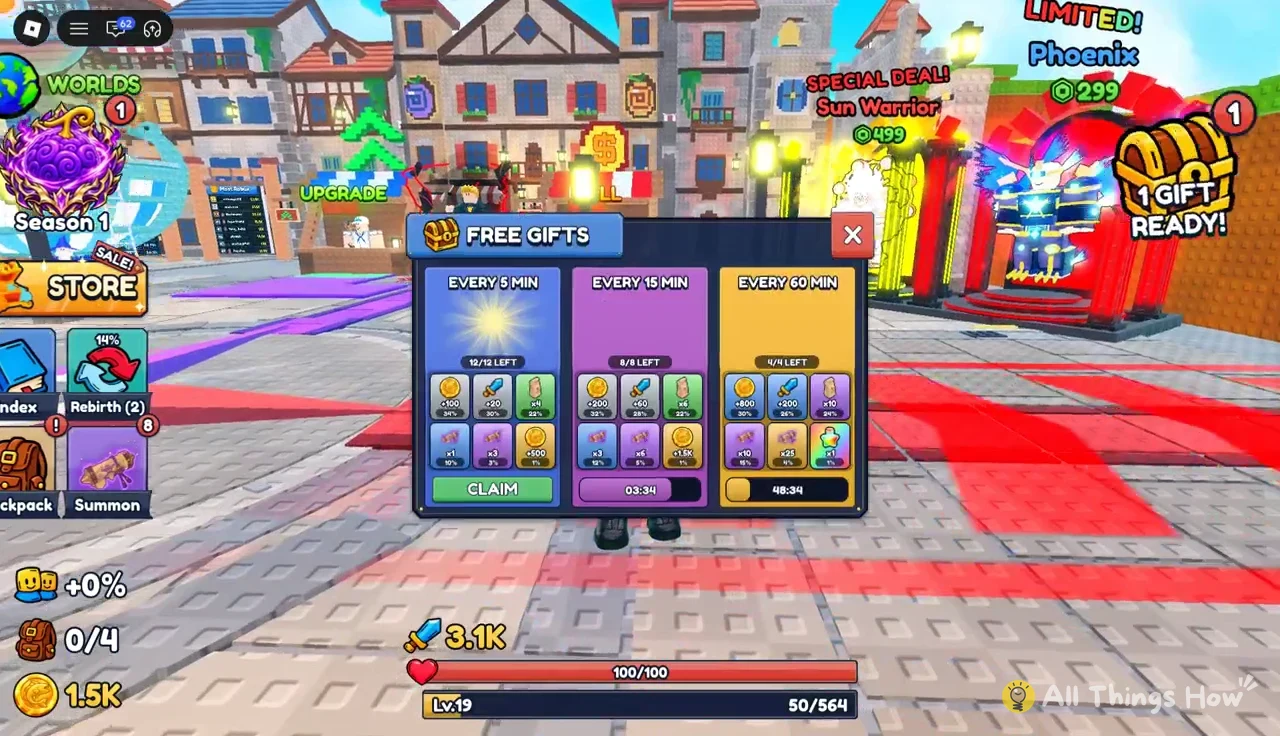
The Free Gifts menu has three timers, set to EVERY 5 MIN, EVERY 15 MIN, and EVERY 60 MIN. When one is ready, a green CLAIM button lights up under it. Rewards can include flat Power, such as +200 POWER, which costs nothing to collect between training sessions.
Upgrade shop
Because currency survives a rebirth, the Upgrade counter is a good place to spend between resets. Train Boost is the upgrade most directly tied to rebirthing, since it adds to the Power you get from training.
| Upgrade | First level | Cost |
|---|---|---|
| Max Seed Count | 4 to 5 | 5K |
| Luck Boost | +0% to +2% | 8K |
| Train Boost | +0% to +2% | 6.5K |
Greenhouse fruit and Index rewards
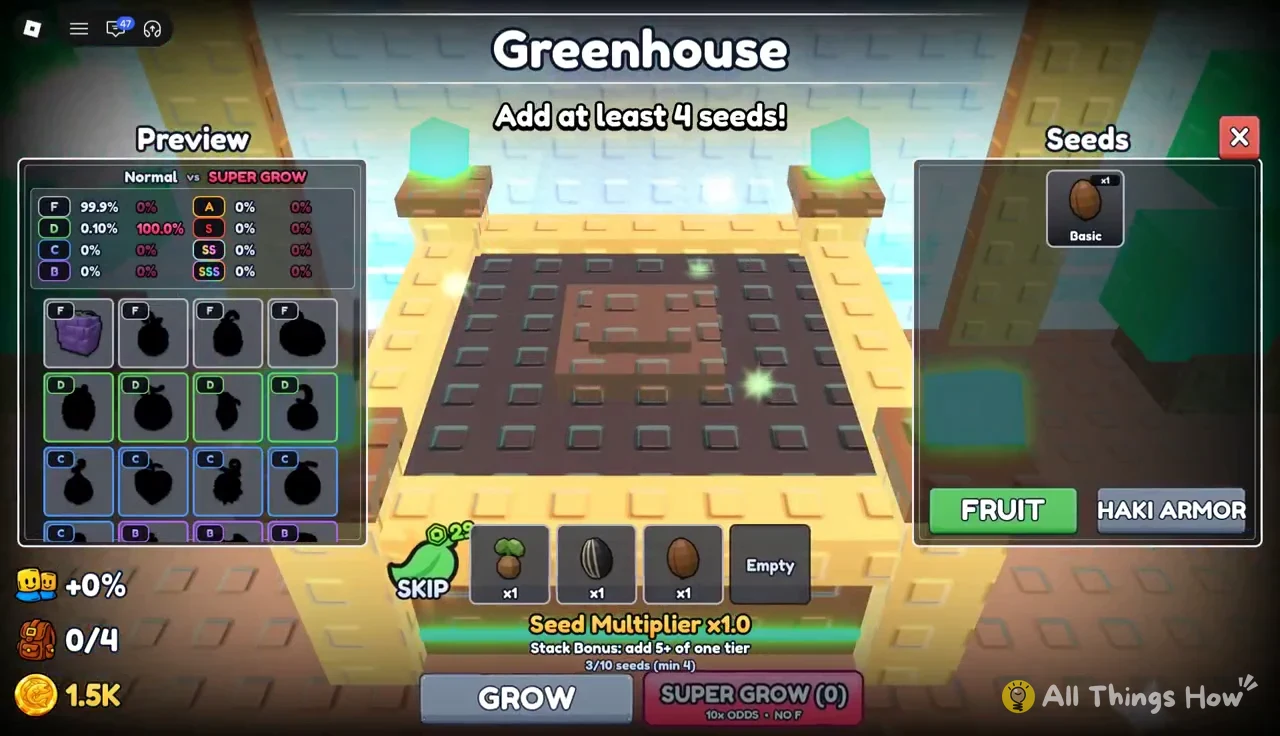
Seeds and fruits are inventory, so they survive a rebirth too. Seeds drop from enemies in the stages. You plant them in the Greenhouse inside the Garden building, where an “E Grow” prompt opens the planting screen. The pots hold up to 10 seeds, and you need at least 4 before GROW becomes available. Putting 5 or more of a single tier in at once adds a stack bonus.
If the screen shows “Add at least 4 seeds!”, fill another bottom slot before you press GROW. The plant grows into a tree and drops a fruit or a copy of one you already own. A Slice Fruit copy, for example, adds Power +1. The SUPER GROW button offers 10x odds and rules out the lowest F grade, but it has its own counter of available uses.
Every new seed type you pick up also registers in the Index. Opening the Index lets you claim seed EXP and discovery rewards, which is a quick extra push on a fresh level bar.
Testing a rebirth in World 1 stages
The stages show whether a rebirth has paid off. Each stage entrance lists a recommended Power, and that number is checked against your Power stat, which rebirth never touches. Seeds you collect along the way feed the Greenhouse.
| Stage | Recommended Power | Enemies |
|---|---|---|
| Stage 1 | 1 | Split Clown |
| Stage 2 | 69 | Three-Blade Swordsman |
| Stage 3 (Boss Fight) | 2.5K | Kick Chef (10K HP), Sawnose Brute (55K HP) |
Enter through the TELEPORT portal in the stage lobby. A Gift Ready chest sits right next to it, so it is easy to grab on the way in.
Runs move through the stages in order. An End Run button stays on screen the whole time if you want to leave early and go back to training.
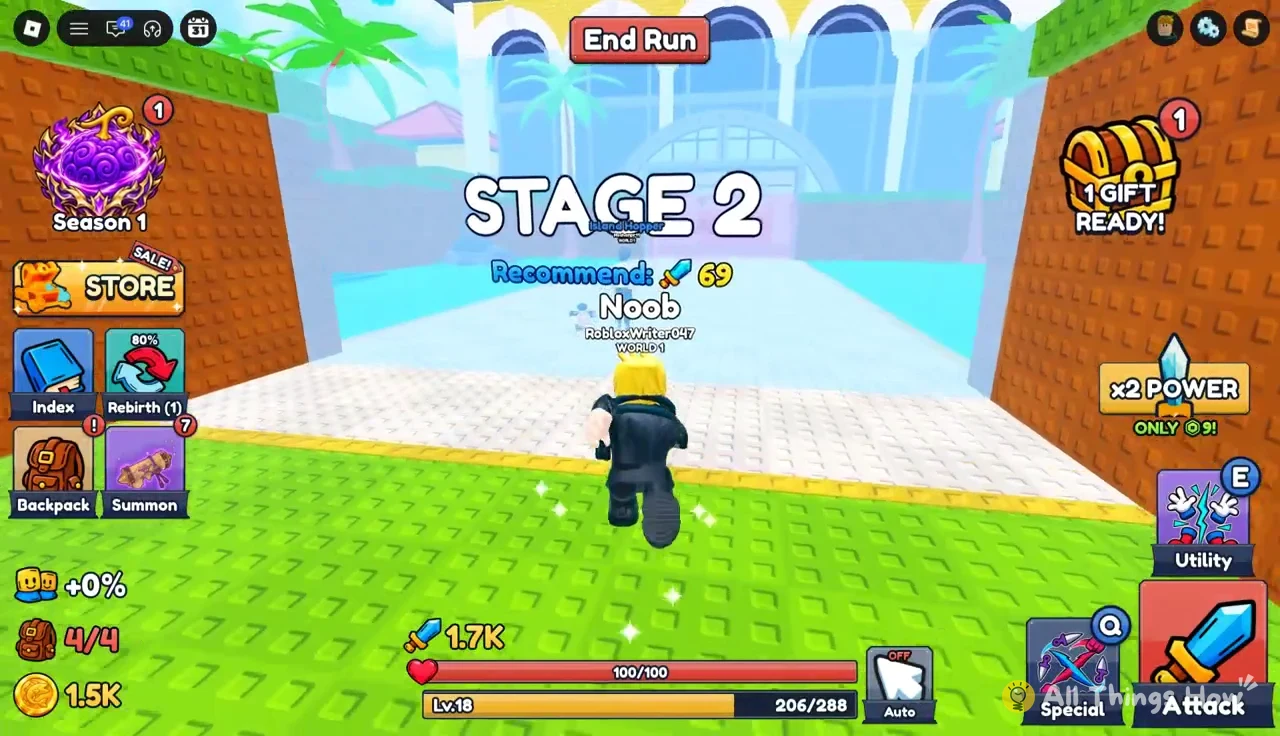
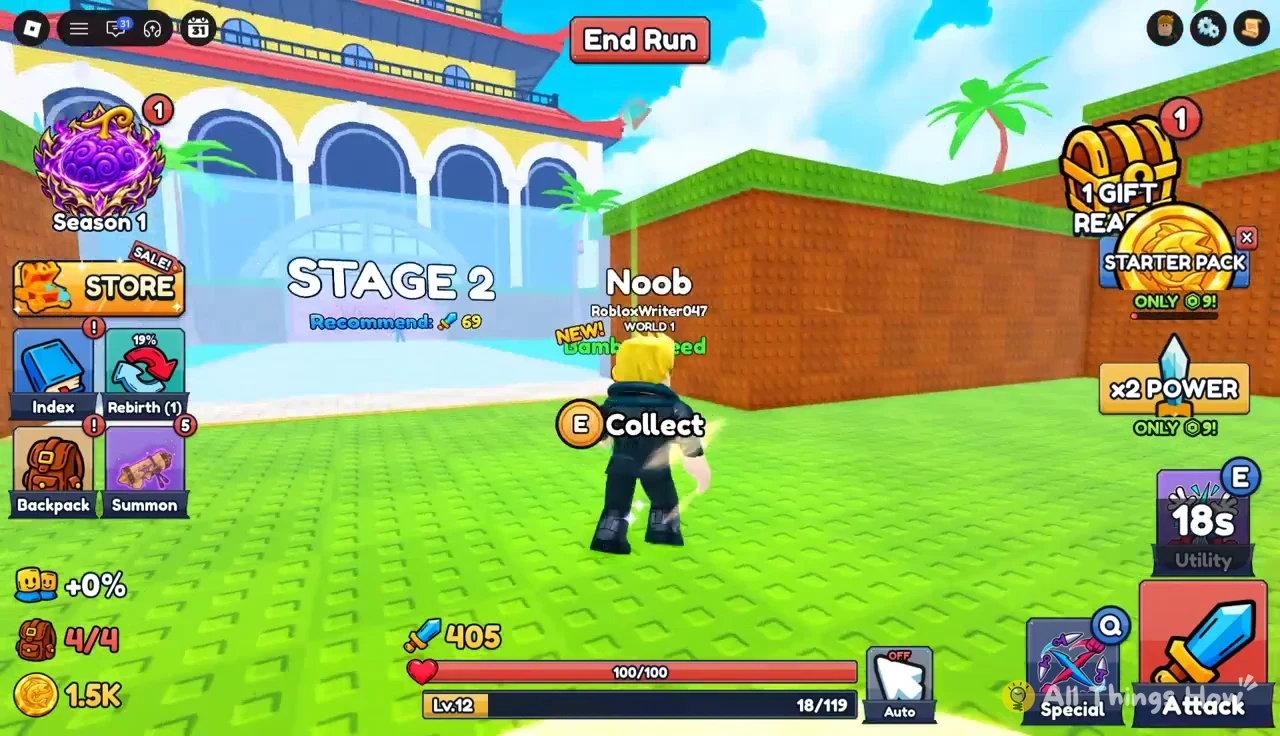
Defeated enemies drop seeds. Walk over each drop and use the “E Collect” prompt to pick it up.
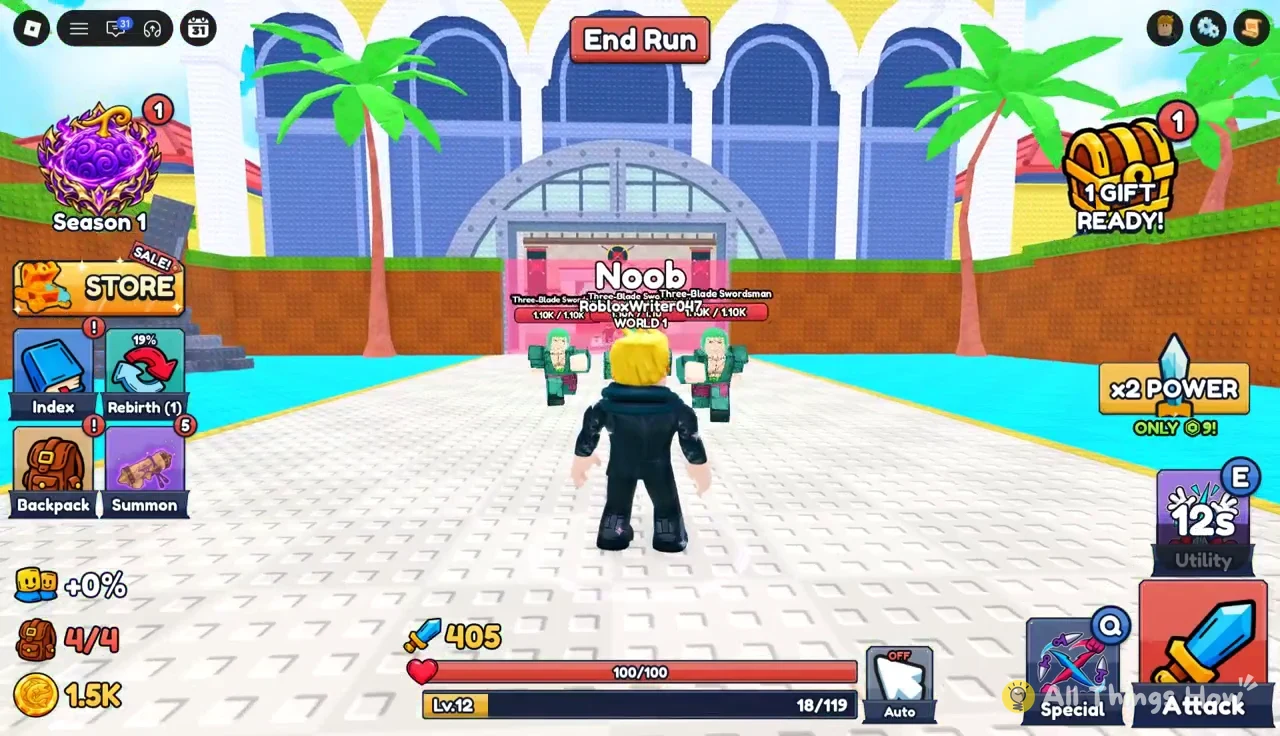
Three-Blade Swordsmen tend to come in groups in Stage 2. After a rebirth with a few thousand Power behind it, Stage 1 and Stage 2 enemies go down in a single hit.
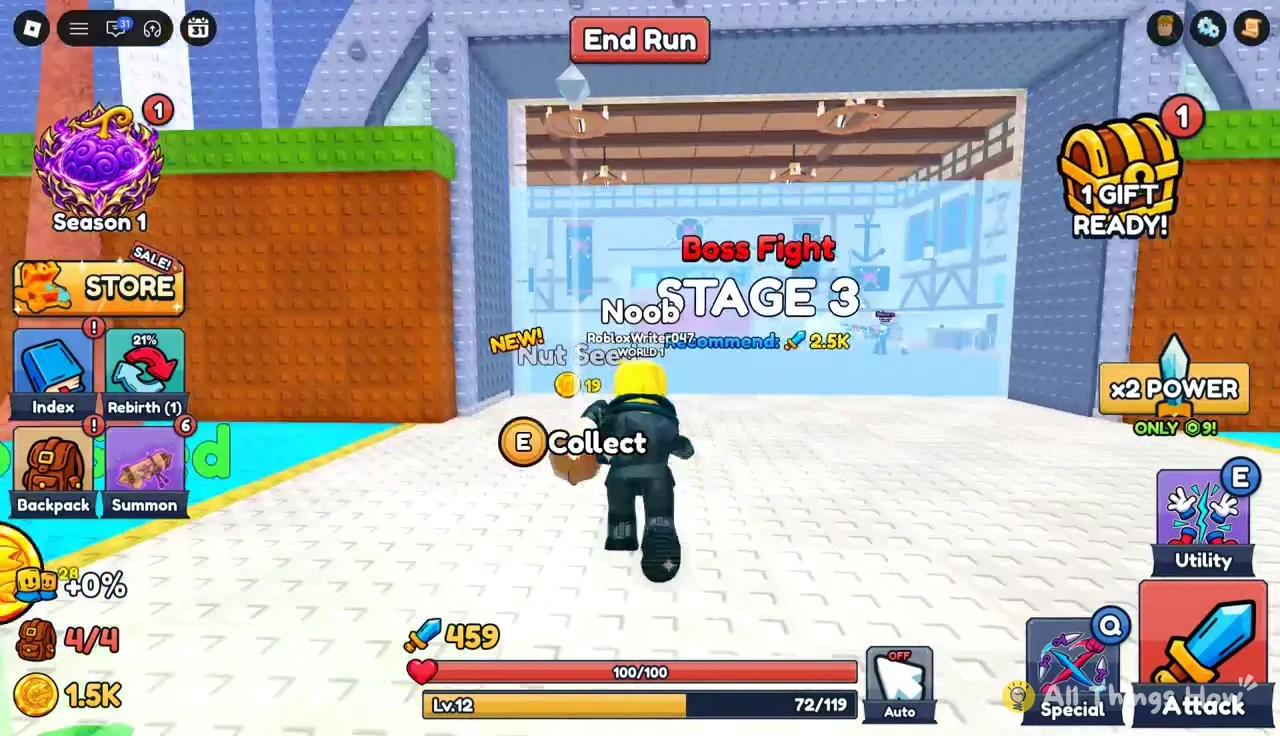
Stage 3 is the Boss Fight arena. Drops keep coming there too, and newly found seed types show a “New!” notice that counts toward the Index.
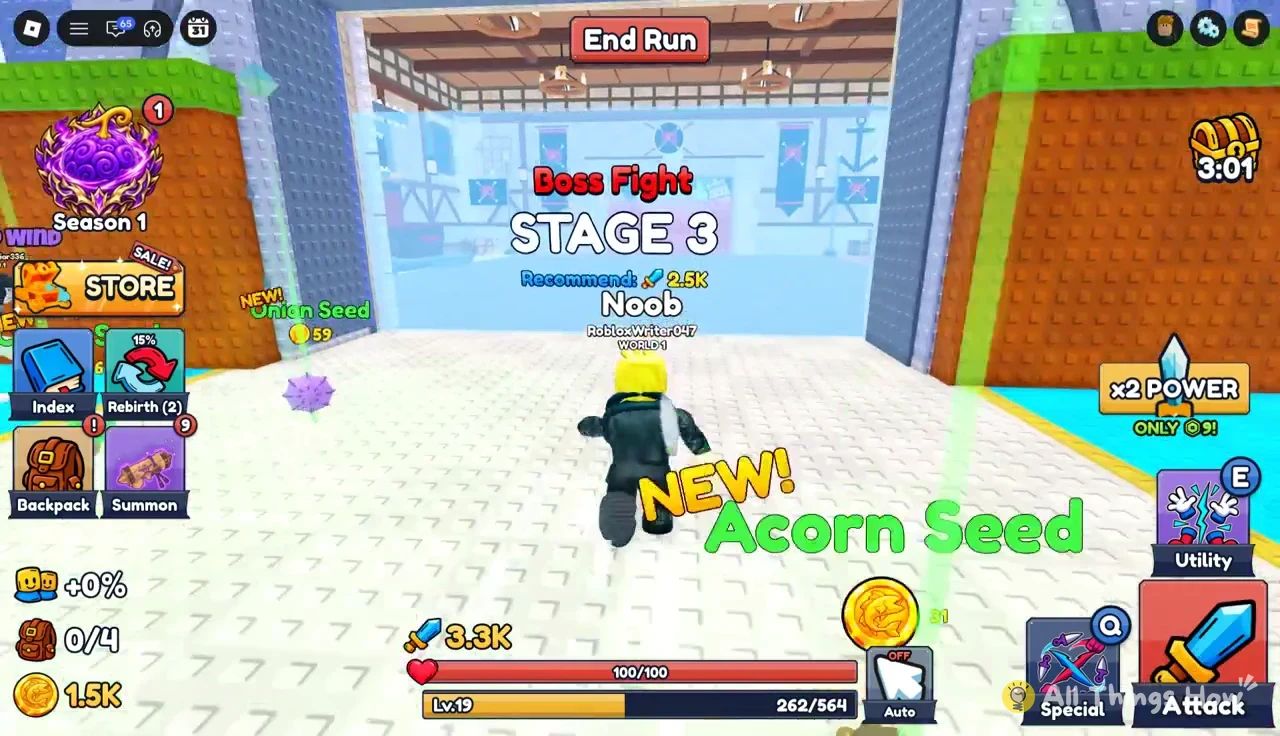
Kick Chef minions guard the boss, and each has a 10K health bar. Clearing them first keeps them from adding damage while you focus on Sawnose Brute.
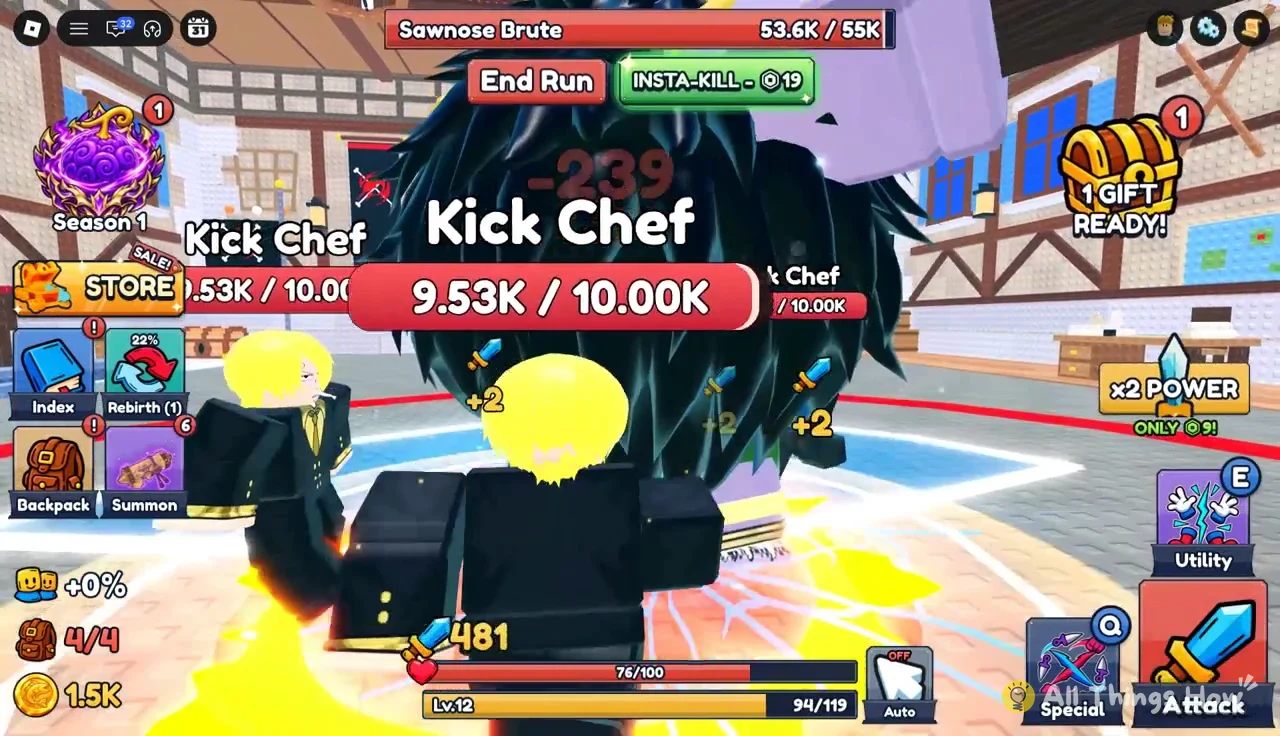
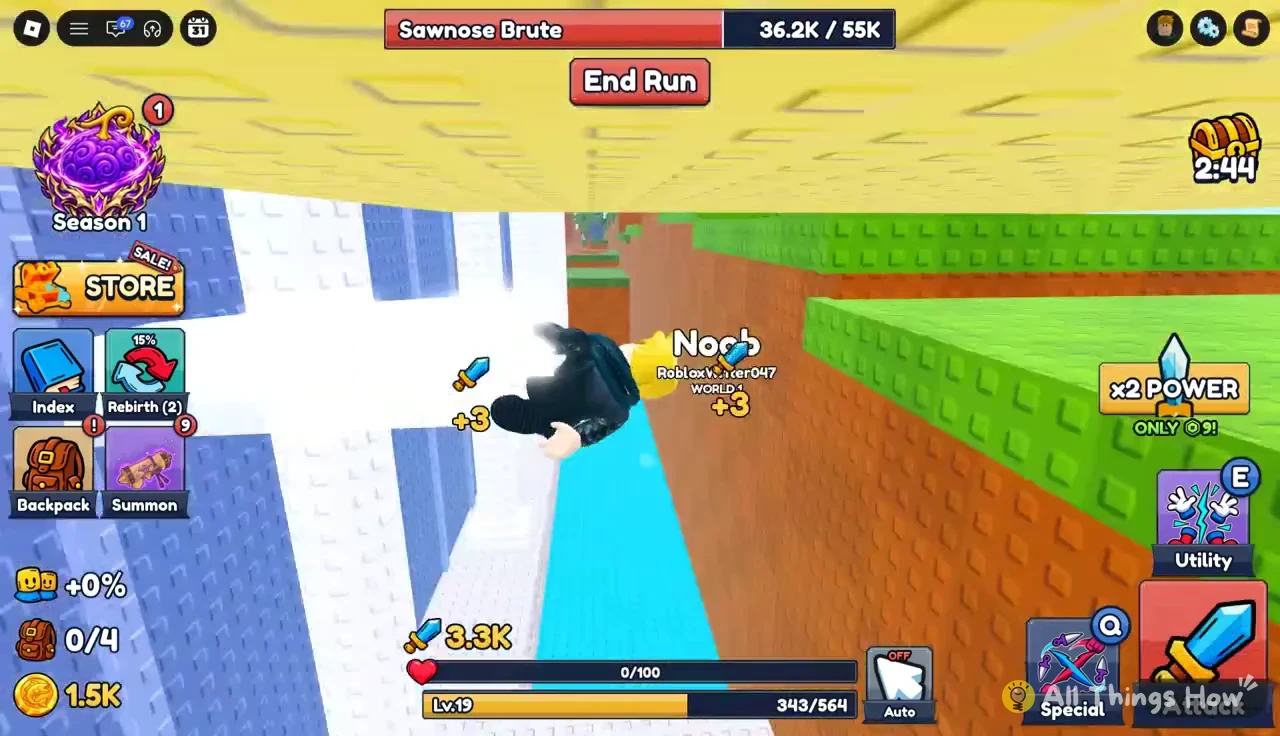
Sawnose Brute, “Terror of the Southern Reefs,” has 55K HP. The 2.5K recommendation is a starting point and not a guarantee. A character at Rebirth 2 with a bit over 4.2K Power can take a big chunk out of his health bar and still go down before finishing him. If you lose, that is your signal to go back to the x2 dummy, fill the bar to 35, and look at the next rebirth.
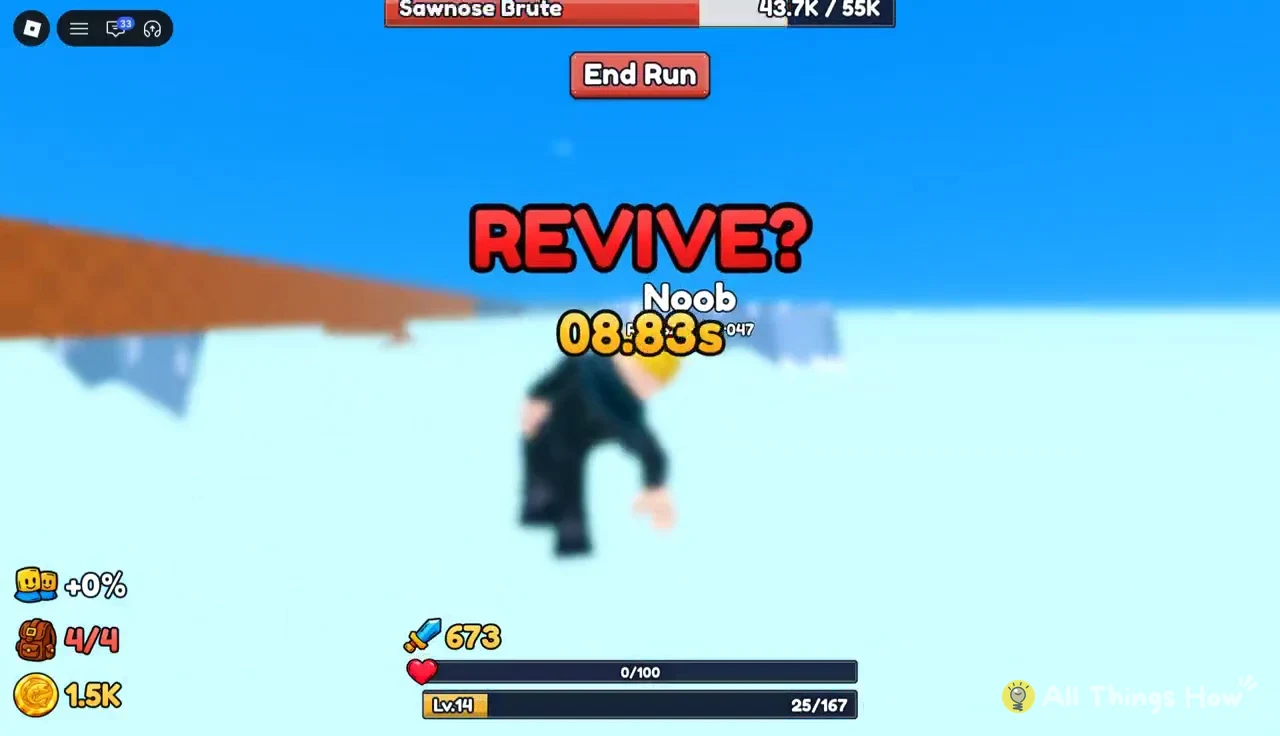
When you die, a REVIVE? prompt appears with a countdown. It offers “Revive! +FULL HP” for 11 Robux, “Revenge! +KILL ENEMIES” for 24 Robux, or No. Choosing No sends you back to the hub with your Power, seeds, and currency intact, ready for another round of training.
The loop is simple. Hit the cap, rebirth, move to the best dummy you have unlocked, collect free gifts and seeds, then test yourself against the Stage 3 boss. Each rebirth makes every later level worth more, and the x4 dummy at 5 Rebirths is the next big jump in training speed after x2.