Most of us blame slow progress and terrible connectivity on the internet connection. But truth is, one’s internet connection is not always responsible for lagging internet speed. In many cases, the problem may lie in the system settings, apps, or background processes that are causing your connection to crawl at a snail’s pace.
So, before hurriedly upgrading your internet plan to instantly fix the issue, read this article. Upgrading the internet plan is a valid solution but it should ideally be your last resort. There are a plethora of other tips, tricks, and fixes that can considerably increase your internet speed and thereby, your internet connectivity.
But before that, an important distinction.
When it comes to dealing with internet speed and bettering it, there’s common confusion – Bandwidth vs Speed. Though both terms are frequently used interchangeably, they have distinct meanings. Regardless, both play a critical role in internet connectivity.
What’s the Difference Between Internet Speed and Bandwidth?
Bandwidth refers to the amount of transferrable data and speed is the rate of that transfer. A higher bandwidth generally results in a stable connection and relatively higher internet speed even when multiple devices are connected to the same network.
When multiple devices are connecting to the same network, the bandwidth is distributed among them. And when there are certain devices and programs in the network, consuming a lot of bandwidth, the result is invariably slower internet.
We can discuss and explain the concepts of bandwidth and internet speed for longer. However, for the current problem at hand (increasing internet speed), just a basic idea of the two is sufficient.
Before heading to some solutions, it is important to understand the issues leading to the problem. And that’s not a requirement just for better internet speed. Every troubleshooting process demands a comprehensive understanding of the problem.
Why is my Internet Speed Slow?
There are a bunch of reasons for slow internet connection. These fixes can help if and when you notice slow internet. However, if it’s always slower than expected, it’s recommended to contact your Internet Service Provider (ISP).
Here are the possible reasons for slow internet connection:
- Too many devices are connected to the network at the same time
- Bandwidth is not configured properly
- Distance from the ISP. The more the distance, the more the time to transfer data
- Weak Wi-Fi signals
- Broken wires or malfunctioning devices
- Presence of malware on the system
- Metered connection set up on your PC
- Background apps or processes consuming a lot of data
By any chance, if you can identify the issue causing bad internet connectivity from the list, head to the relevant fix and execute it. If you don’t, execute the fixes in the mentioned sequence for a quick troubleshooting process.
1. Limit Bandwidth For Updates From Settings
Though Windows does monitor the bandwidth usage on the device and accordingly optimizes the share of Windows update, you can also manually set a lower bandwidth both for uploads and downloads in case you are experiencing slow internet. You can also disable updates being sent to other devices to further increase the internet speed.
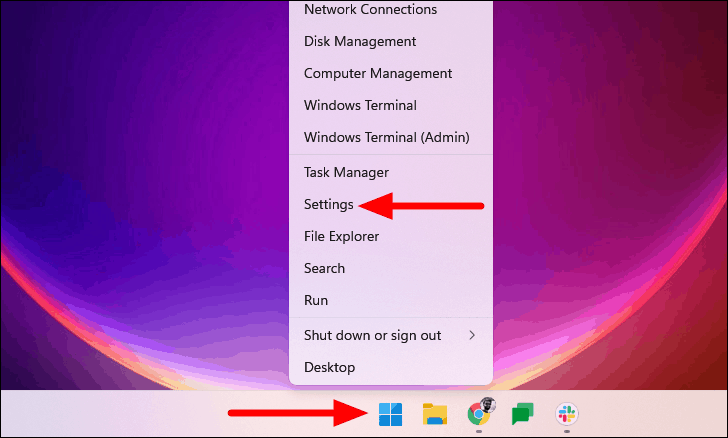
To limit the bandwidth, right-click on the ‘Start’ icon in the Taskbar or press Windows + X to launch the Quick Access menu. Then, select Settings from the list of options. Alternatively, you can press WINDOWS + I to launch the Settings app.
Select the ‘Windows Update’ tab from the left of the ‘Settings’ page.

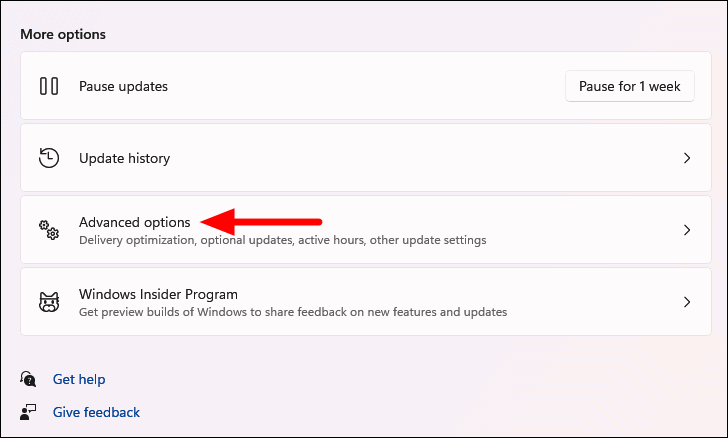
Next, choose ‘Advanced options’ from the right.
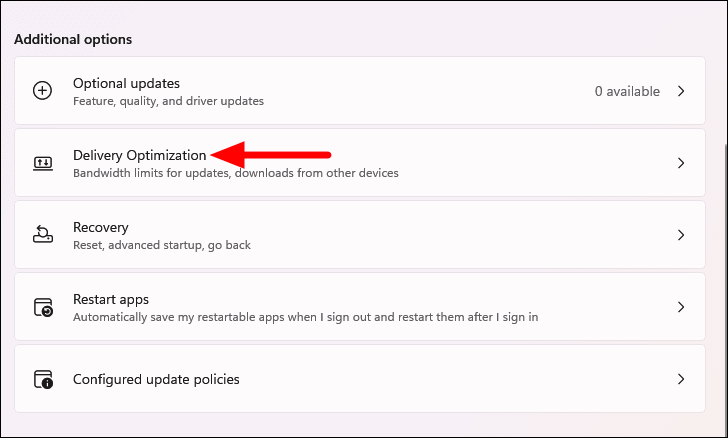
Locate and click on ‘Delivery Optimization’ under ‘Additional options’.
If you don’t want to share Windows updates with other PCs, disable the toggle for ‘Allow downloads from other PCs’ by clicking the toggle to ‘OFF’.

Next, select ‘Advanced options’ to limit the bandwidth for download and upload.

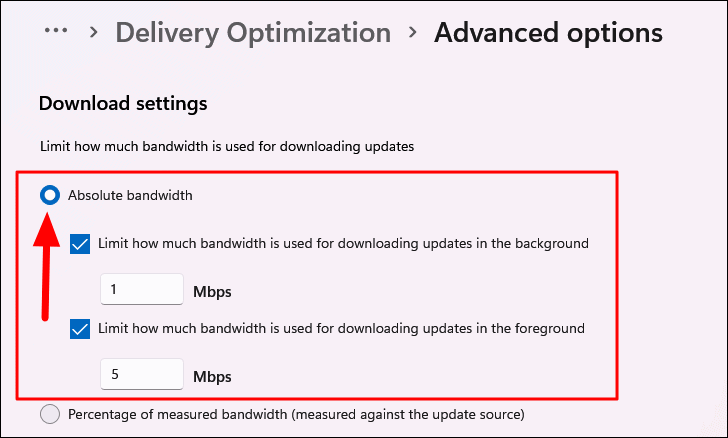
You will find two options to configure the bandwidth below Download settings. The first option is Absolute bandwidth, where you can enter the absolute value to be used for downloading updates in the background and foreground. Enter the relevant limit for bandwidth in both the text fields.
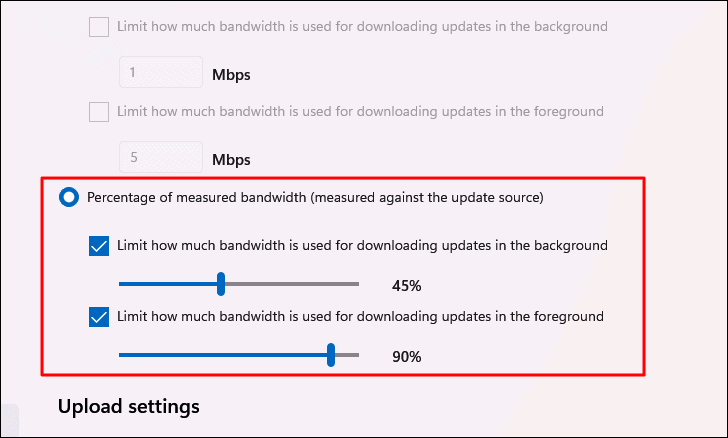
The next option under Download settings is to set bandwidth consumption by the percentage of the update source. Select ‘Percentage of measured bandwidth (measured against update-source)’, tick the checkboxes for both options and drag the slider to set the desired value for both.
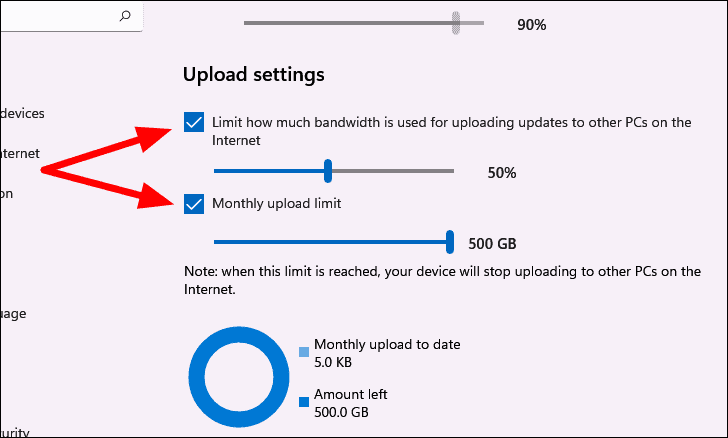
Next, the Upload settings. As was the case earlier, there are two sliders to limit the bandwidth for uploading updates to other PCs and the monthly update limit. Tick the checkboxes for both and drag the slider the set the desired value.
This should increase the internet speed for normal use.
2. Close Background Programs Consuming Too Much Data
Certain apps run in the background and consume a certain percentage of bandwidth, thereby slowing the internet speed. Since these apps are not in active usage, it can be difficult to identify this cause of slow internet.
Apart from slowing down the internet, these apps also slow down the system, which makes it all the more necessary to terminate them. Here’s how you can fix that.
Related: 15 Ways to Fix when Windows 11 Computer is Running Slow
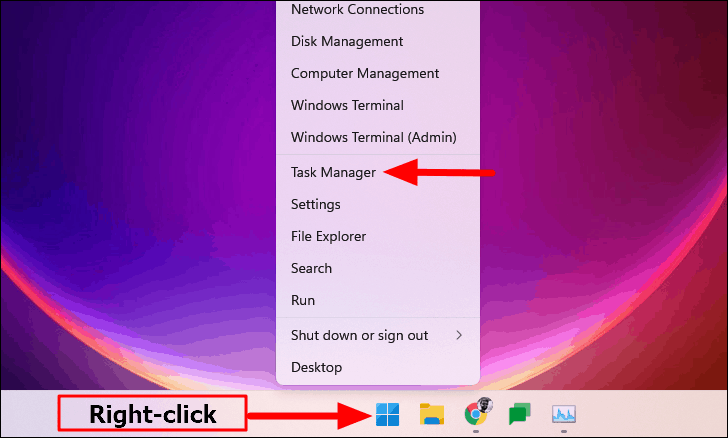
First, right-click on the ‘Start’ icon on your Windows taskbar or press WINDOWS + X to launch the Quick Access/Power User menu. Then, select ‘Task Manager’ from the list of options. Alternatively, you can hold CTRL + SHIFT + ESC to launch the Task Manager.
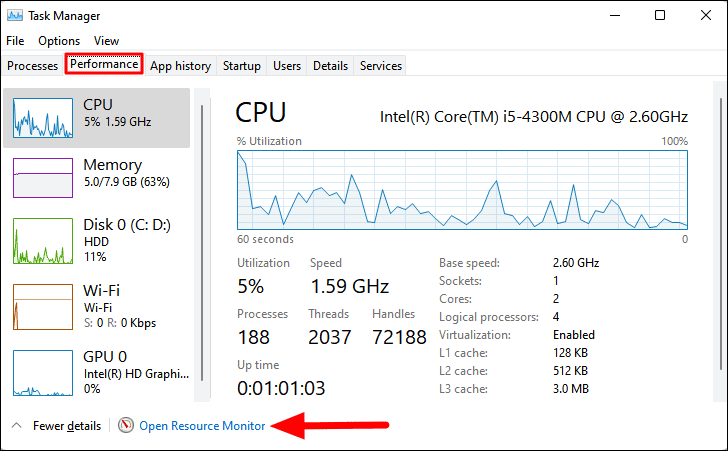
Navigate to the ‘Performance’ tab and click on ‘Open Resource Monitor’ at the bottom of the Task Manager.
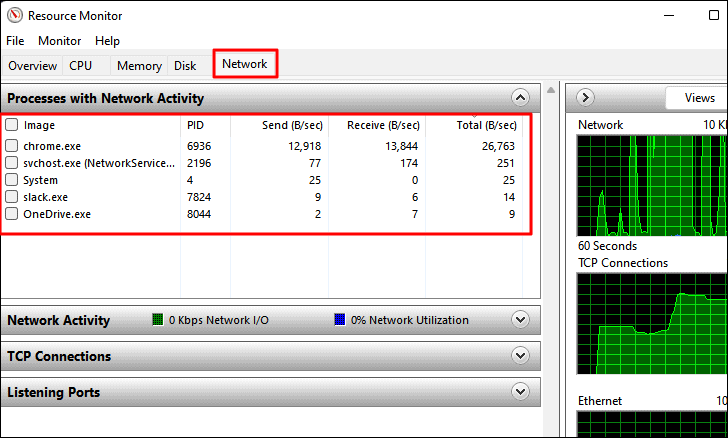
This will open the Resource Monitor window. Navigate to the ‘Network’ tab and look out for programs with higher values under the ‘Send’ and ‘Receive’ columns. These programs affect the internet speed by taking up most of the bandwidth.
Right-click the task you want to terminate and select ‘End Process’ from the context menu.
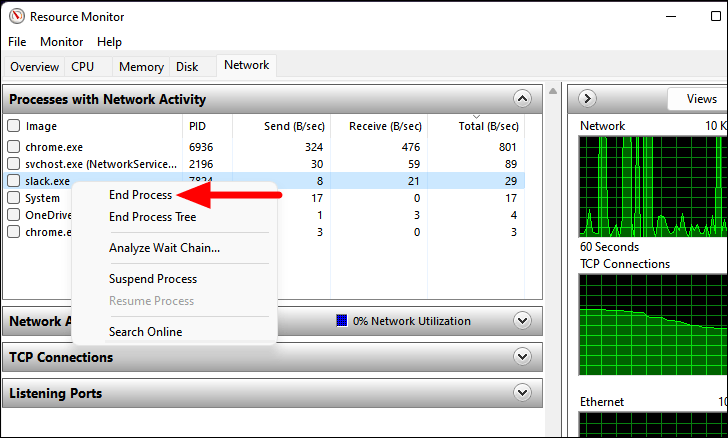
Do not end every process on the list. Some are critical for Windows functioning, and you may be working on some of the processes, like Google Chrome. If you’re actively using the process, there’s a possibility it is consuming maximum bandwidth. Therefore, it is essential to make an informed decision when terminating processes on Task Manager.
3. Disable Apps From Running in the Background
Many apps run in the background and perform tasks that are not exactly relevant to the work at hand. These apps consume not just the bandwidth but also eat up system resources. While there’s no harm in allowing them to function in the background, it would be wise altogether to disable them, in case they are causing trouble. Besides, you can always manually run them, upon requirement.
While you can once and for all disable running all background apps on Windows 10, Windows 11 does not offer the same functionality. Here, you will need to disable them individually. Here’s how you do it.
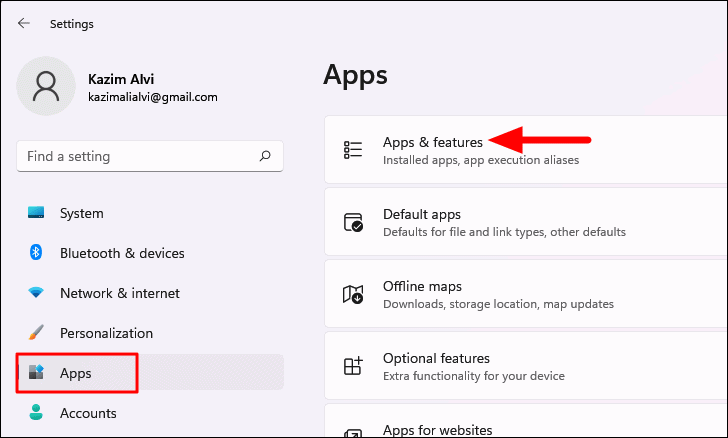
Launch the ‘Settings’ app as discussed earlier. Navigate to the ‘Apps’ tab on the left, and select ‘Apps & features’ on the right.
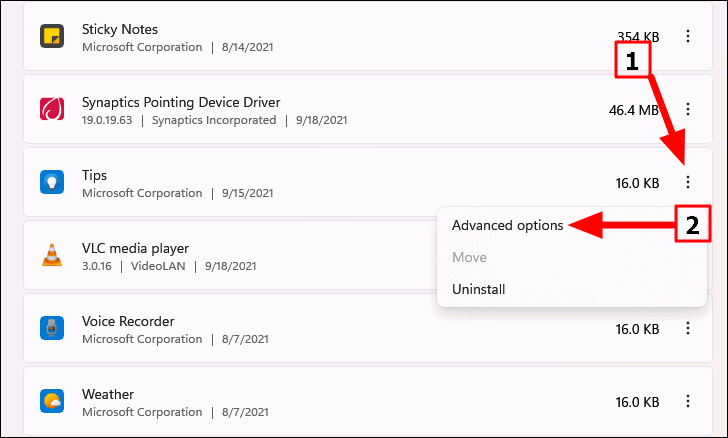
Find the app you don’t want to run in the background. Click the ellipsis next to it, and select ‘Advanced options’ from the menu.
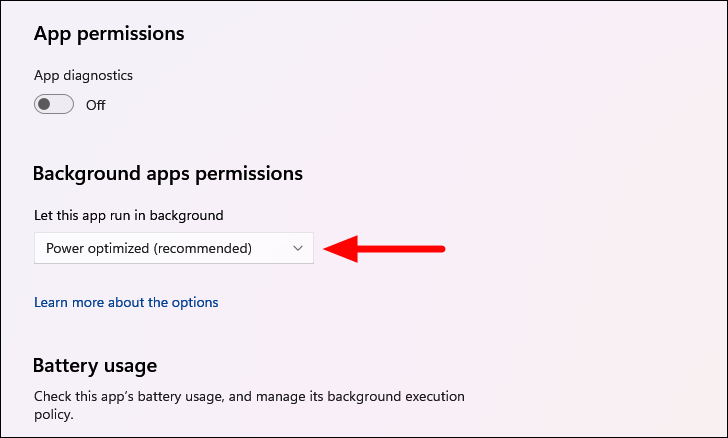
Next, click the drop-down menu below ‘Let this app run in background’.
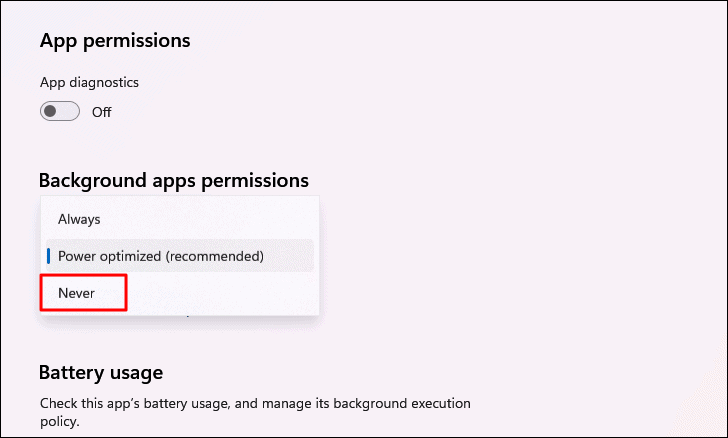
Select ‘Never’ from the drop-down menu to disable the app from running in the background.
You can similarly disable other apps as well. But, you may first want to analyze the apps significant to your work and keep them enabled (if required).
4. Scan Your PC for Viruses and Malware
A PC infected with malware or virus is likely to experience problems with internet speed. Fixing this is relatively simpler than the other methods on this guide. All you need to do is, scan your PC for viruses and malware using a reliable antivirus. We recommend using Windows Security; a built-in antivirus in Windows, that offers the same level of security as any other third-party antivirus.
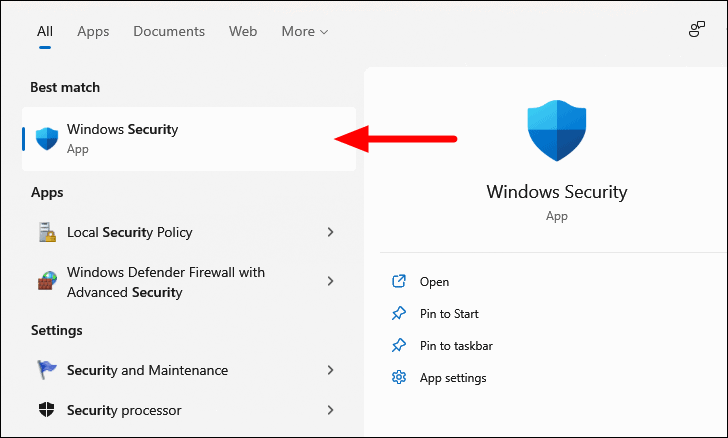
To scan your PC for viruses and malware, press WINDOWS + S to launch the ‘Search’ menu. Enter ‘Windows Security’ in the text field at the top, and click on the relevant search result to launch the app.
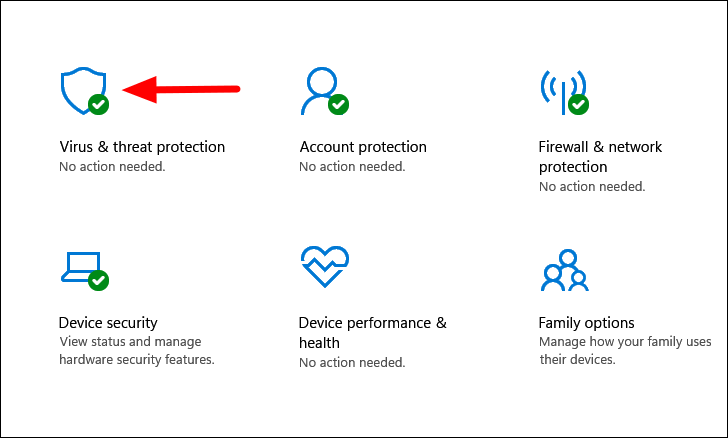
Select the ‘Virus & threat protection’ app in Windows Security.
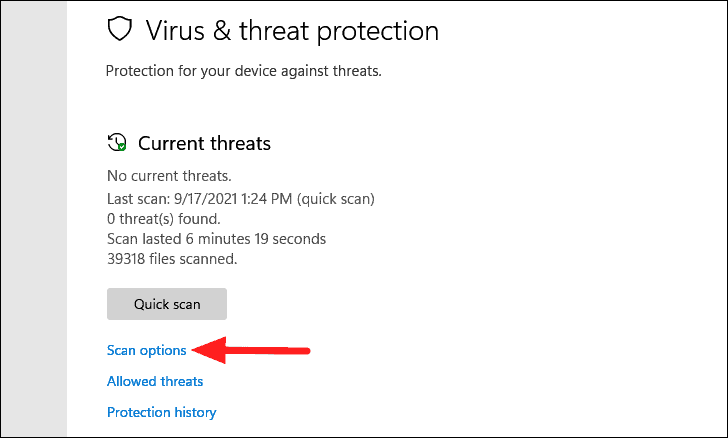
You will find the button to run a ‘Quick Scan’. But, we intend to run a full system scan. So, to view and choose from other types of scans, click on ‘Scan options’.
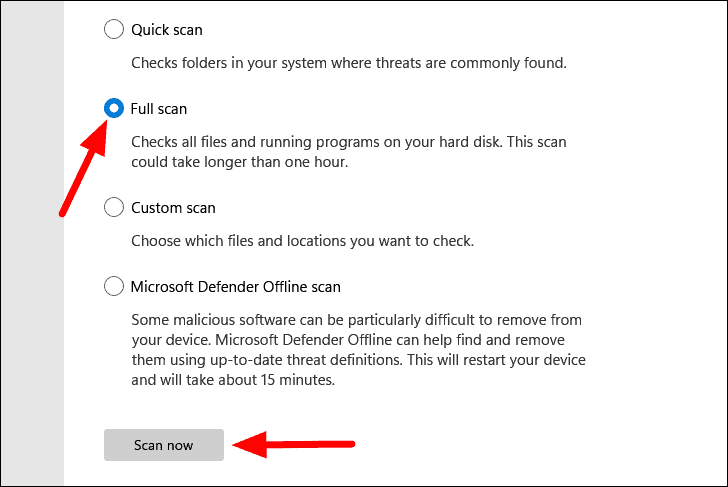
Next, select the ‘Full scan’ option and click on ‘Scan now’ at the bottom to initiate the scan.
The scan should ideally begin right away, with its progress displaying on the screen. You can continue working on the system while the scan runs in the background. Once it is complete, you will receive a notification of any detected malware or virus, along with suitable action to combat the same.

Check if the malware/virus detection and removal improves the internet speed. If it doesn’t, move to the next fix.
5. Change the DNS Server
DNS server, in simple words, contains the names of websites along with the corresponding IP addresses. When you type the hostname or name of the website, say allthings.how, the DNS server locates the respective IP address and loads the website.
The selection of the DNS server is by default, set to automatic – which may cause a slow internet connection. In this case, it is recommended to switch to an open-source DNS server. Here’s how you do it.
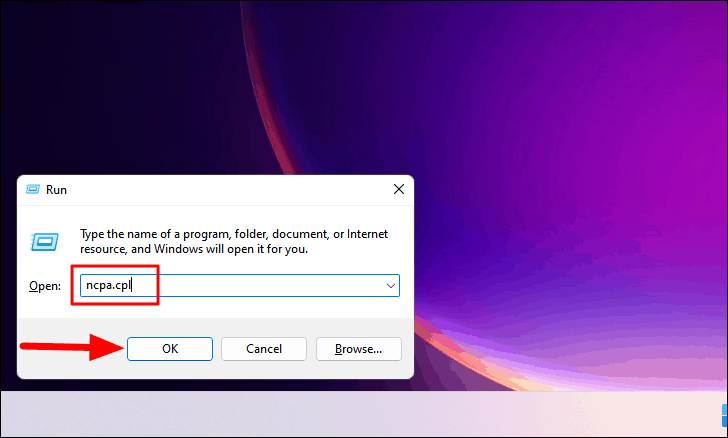
Press WINDOWS + R to launch the ‘Run’ command. Enter ‘ncpa.cpl’ in the text field, and either click ‘OK’ at the bottom or press ENTER to launch the ‘Network Connections’ window.
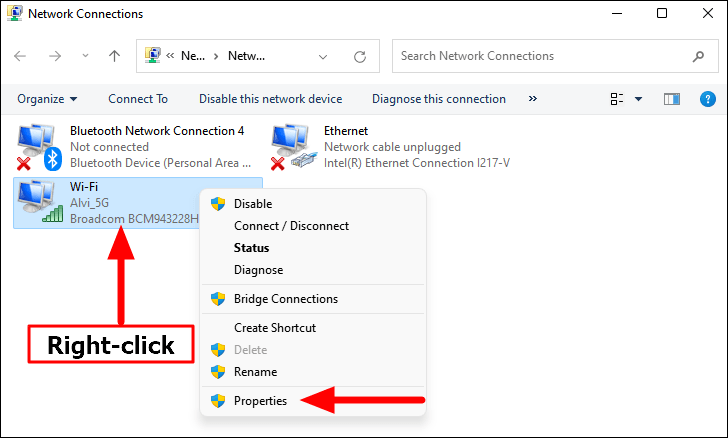
If you are connected to a wireless network, right-click the ‘Wi-Fi’ network adapter. If it’s a wired connection, choose ‘Ethernet’. Then, select ‘Properties’ from the context menu.
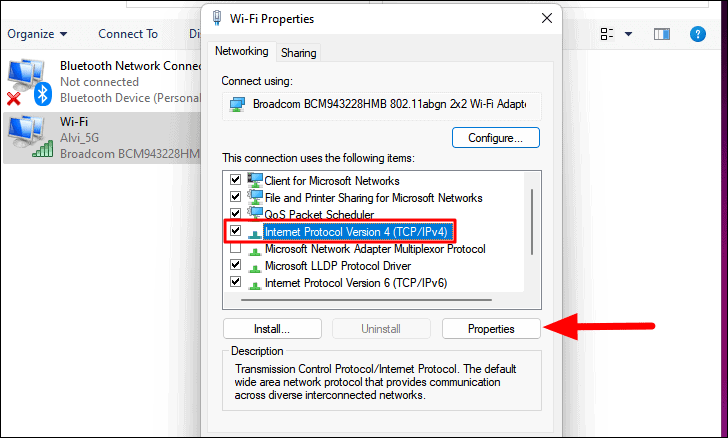
Next, find and select ‘Internet Protocol Version 4 (TCP/IPv4)’. Then, click on ‘Properties’.
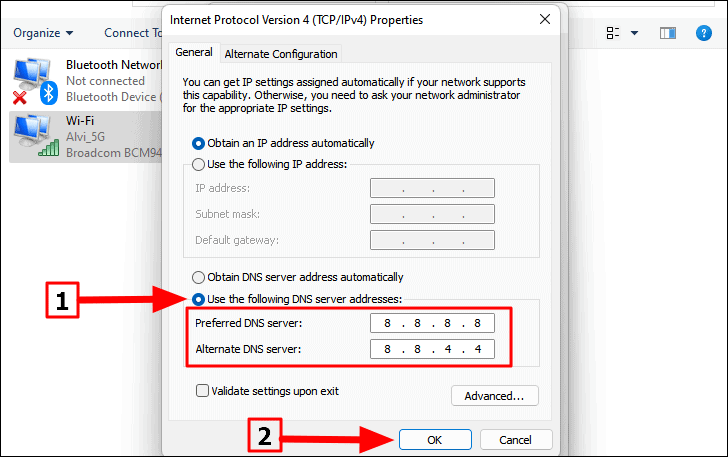
Select ‘Use the following DNS server addresses’ in the ‘Internet Protocol Version 4 (TCP/IPv4) Properties’ dialogue box, and enter the following in the fields below it (the server addresses we are switching to is, Google’s public DNS server).
- Preferred DNS server: 8 . 8 . 8 . 8
- Alternative DNS server: 8 . 8 . 4 . 4
Next, click ‘OK’ at the bottom to save the changes.
Now, restart your computer and check if the internet speed then increases.
6. Turn Off Metered Connections
Having a ‘Metered Connections’ configuration on your Windows 11 PC can be another reason for slow internet. Though it is recommended for limited data availability, it should ideally be disabled for unlimited plans.
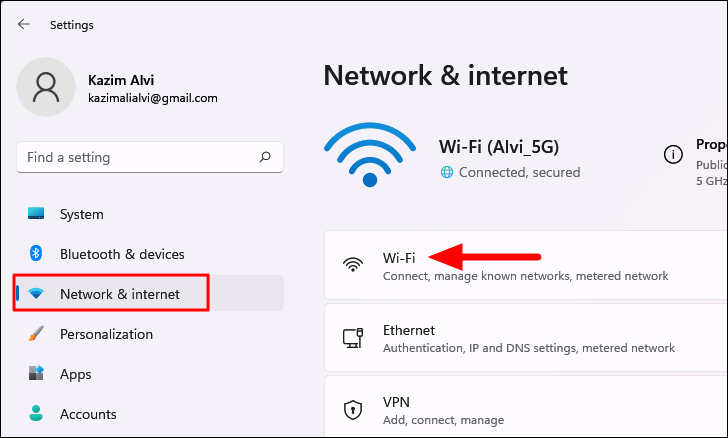
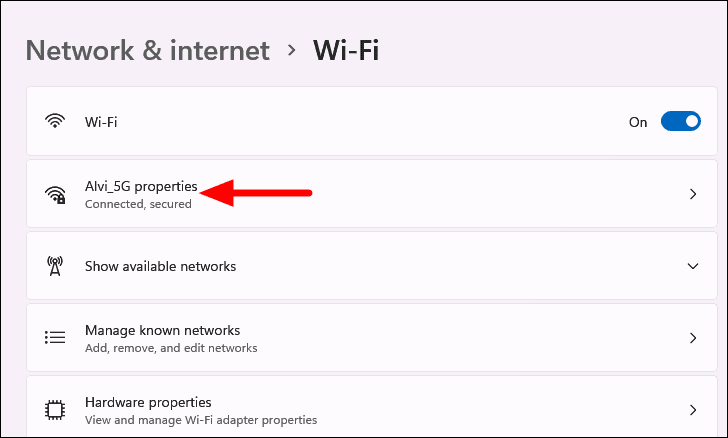
First, launch the ‘Settings’ app as discussed earlier to turn off metered connections. Then, select the ‘Network & internet’ tab from the left, and click on ‘Wi-Fi’ or ‘Ethernet’ (depending on the connection) on the right.
Note: Since the writer is connected to a wireless network, the following steps are for ‘Wi-Fi’. However, the steps for ‘Ethernet’ are quite the same.
Now, select your network connection.
Then, disable the toggle for ‘Metered connection’.
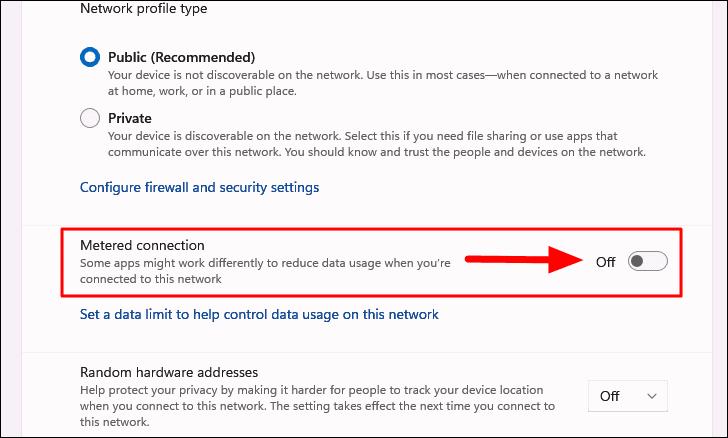
Check if there’s an increase in internet speed after disabling the metered connection. If not, move to the next fix.
7. Disable Windows Defender Firewall
Windows Defender Firewall protects your computer from attacks by restricting access to certain programs and other computers on the network. But, it’s also notorious for another reason – slow internet connection. We don’t recommend disabling the firewall unless you are facing major issues with the internet speed.
Note: The following steps are to disable the Windows Defender Firewall. In case you have a third-party firewall installed, check the respective website for instructions to disable it.
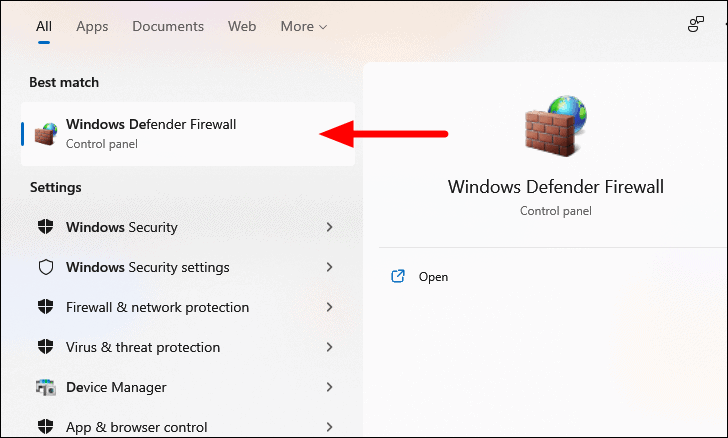
To disable Windows Defender Firewall, press WINDOWS + S to launch the ‘Search’ menu. Then, enter ‘Windows Defender Firewall’ in the text field at the top, and click on the relevant search result to launch it.
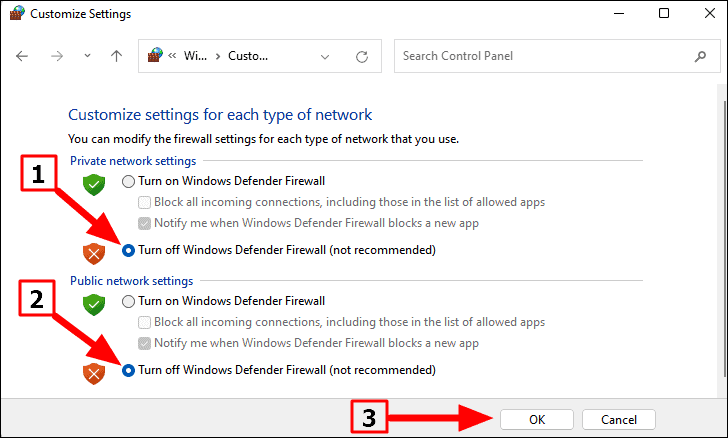
Next, select ‘Turn Windows Defender Firewall on or off’ from the left list of options.
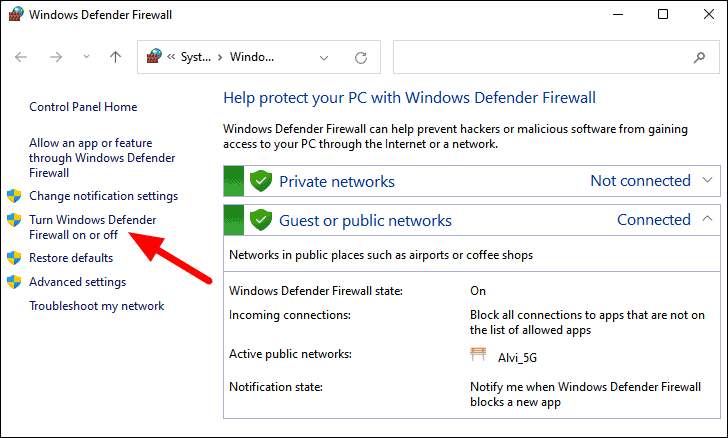
Now, select the ‘Turn off Windows Defender Firewall’ for both Private and Public network settings (though not recommended). Then, click ‘OK’ at the bottom to save the changes.
After disabling the Windows Defender Firewall, check if there’s an increase in the internet speed. If there isn’t, we recommend enabling it immediately.
8. Use a Different Web Browser
While you are busy reconfiguring settings, the problem may lie in the web browser itself. In this case, it’s recommended to switch to a better option. You can use Google Chrome, Microsoft Edge, Opera, or Mozilla Firefox for better internet connectivity along with higher speed.
9. Upgrade Your Internet Plan
If nothing works, you are left with the “last resort” – upgrading your internet plan. Your Internet Service Provider should be offering other plans with higher speeds. Identify the internet plan that best suits your needs and make the upgrade. Although this option wouldn’t be as cost-effective, it will help with a stable high-speed internet connection. Thus, boosting productivity and saving time while working.
These are the best fixes to increase the internet speed on Windows 11. However, there are other tricks that would work for different users. But, generally, not for all users. In case you come across other fixes and solutions to slow internet speed, feel free to try them out – only after verifying and confirming that your PC is out of danger.


