
Remote Server Administration Tools (RSAT) enable administrators to manage Windows Server roles and features from a Windows 11 PC. While these tools aren’t installed by default, adding them to your system is a simple process. This guide outlines two methods to install RSAT on your Windows 11 computer.
Install RSAT in Windows 11 Using PowerShell
If you prefer command-line tools, PowerShell offers a quick and efficient way to install RSAT components. You can opt to install all tools at once or select individual components based on your requirements.
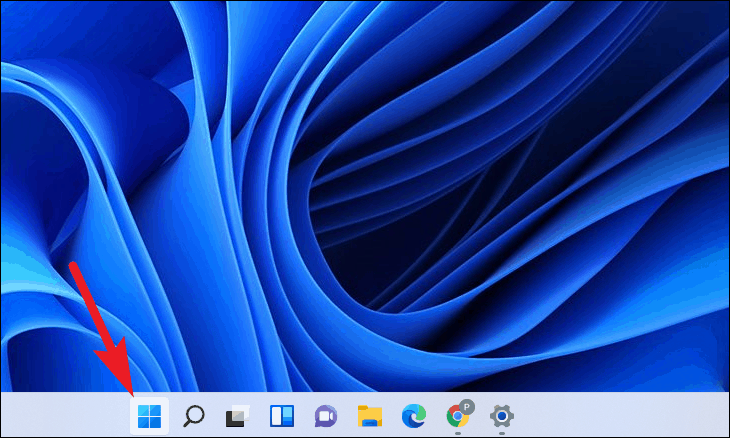
Start Menu icon on the taskbar and choose Windows Terminal (Admin) from the context menu.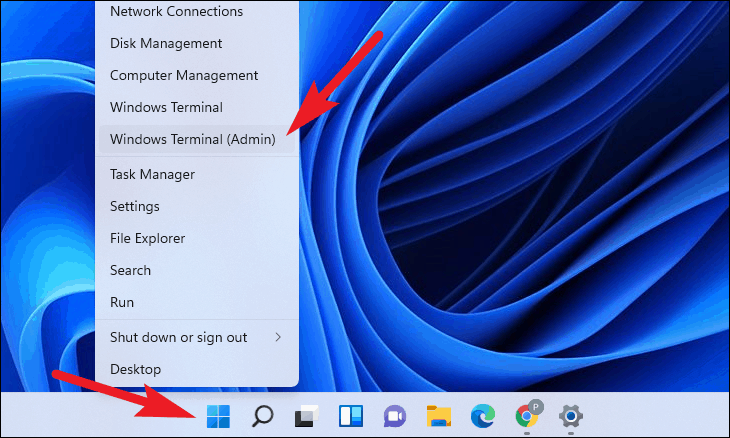
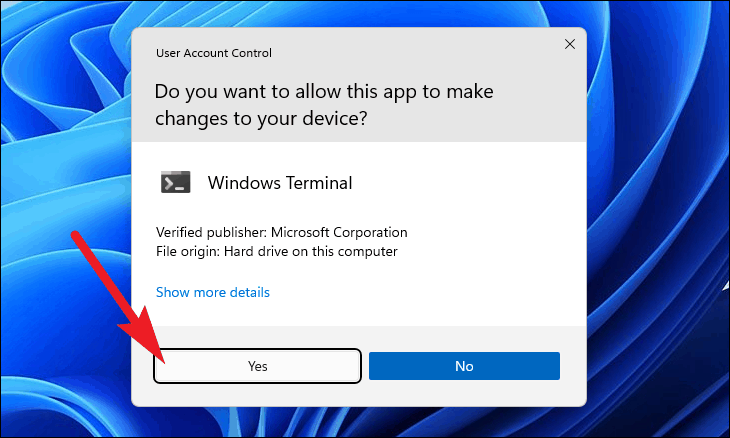
If prompted by the User Account Control, confirm the action. If you’re not logged in as an administrator, enter the admin credentials. Otherwise, click Yes to proceed.
Get-WindowsCapability -Name RSAT* -Online | Select-Object -Property DisplayName, State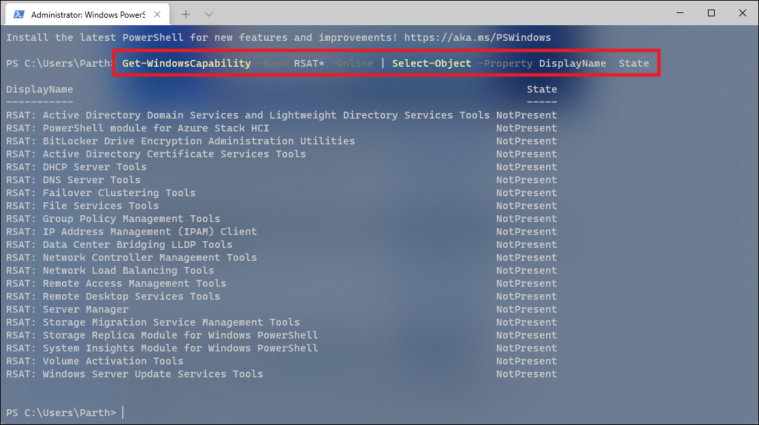
Install All RSAT Components at Once
Get-WindowsCapability -Name RSAT* -Online | Add-WindowsCapability -Online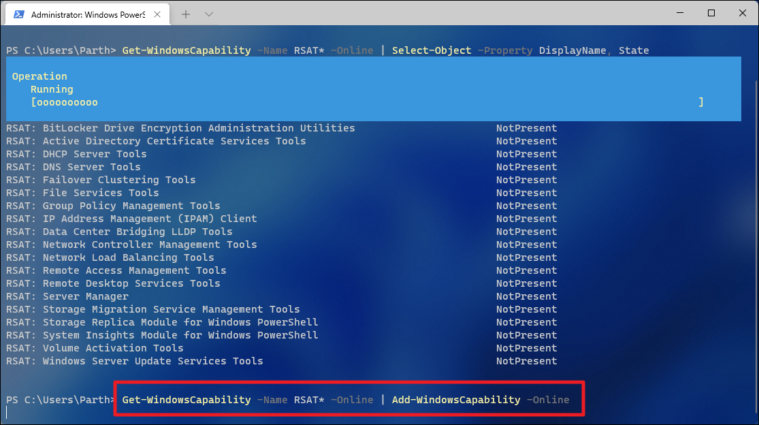
The installation process will begin and may take several minutes to complete, depending on your system and internet speed.
Install Specific RSAT Components
<tool_name> with the component’s system name:Add-WindowsCapability -Online -Name "Rsat.<tool_name>.Tools"Below is a table of available RSAT components and their corresponding system names:
| Tool Display Name | System String | Complete Argument |
| Active Directory Domain Services and Lightweight Directory Services Tools | ActiveDirectory.DS-LDS | Rsat.ActiveDirectory.DS-LDS.Tools |
| BitLocker Drive Encryption Administration Utilities | BitLocker.Recovery | Rsat.BitLocker.Recovery.Tools |
| Active Directory Certificate Services Tools | CertificateServices | Rsat.CertificateServices.Tools |
| DHCP Server Tools | DHCP | Rsat.DHCP.Tools |
| DNS Server Tools | DNS | Rsat.DNS.Tools |
| Failover Clustering Tools | FailoverCluster.Management | Rsat.FailoverCluster.Management.Tools |
| File Services Tools | FileServices | Rsat.FileServices.Tools |
| Group Policy Management Tools | GroupPolicy.Management | Rsat.GroupPolicy.Management.Tools |
| IP Address Management (IPAM) Client | IPAM.Client | Rsat.IPAM.Client.Tools |
| Data Center Bridging LLDP Tools | LLDP | Rsat.LLDP.Tools |
| Network Controller Management Tools | NetworkController | Rsat.NetworkController.Tools |
For example, to install the DHCP Server Tools, run:
Add-WindowsCapability -Online -Name "Rsat.DHCP.Tools"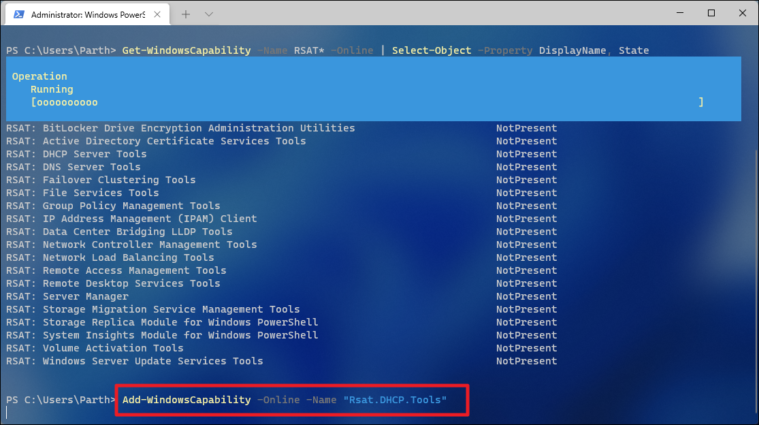
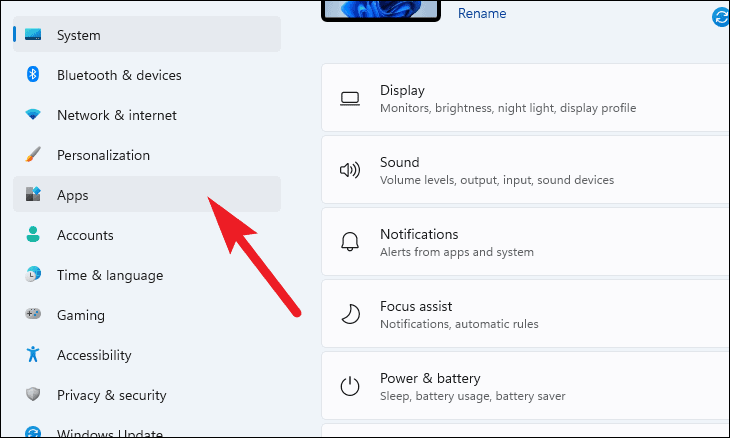
Install RSAT on Windows 11 from Settings
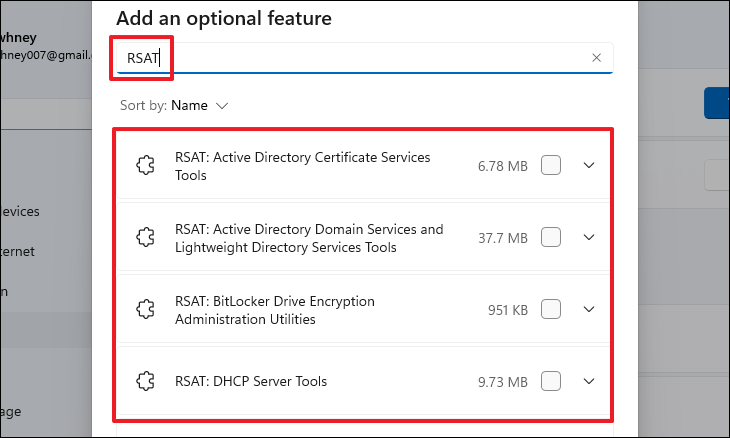
If you prefer a graphical interface, you can install RSAT tools through the Settings app.

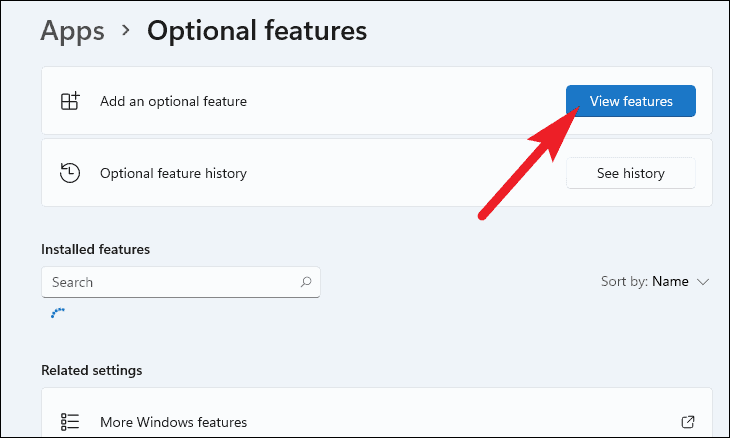
Next.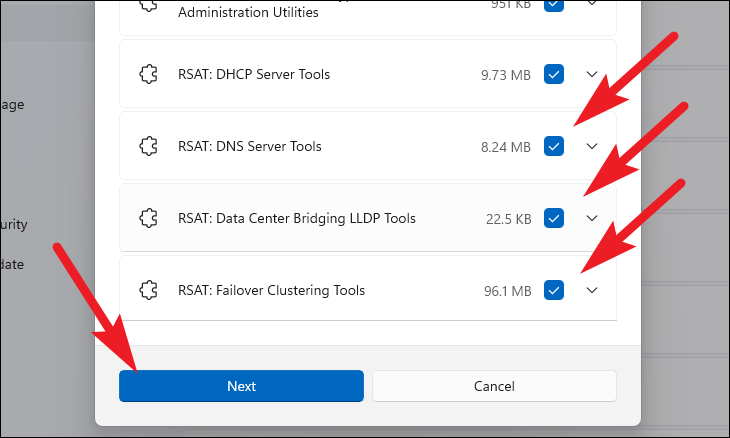
Edit or add more optional features. If everything looks good, click Install to initiate the installation.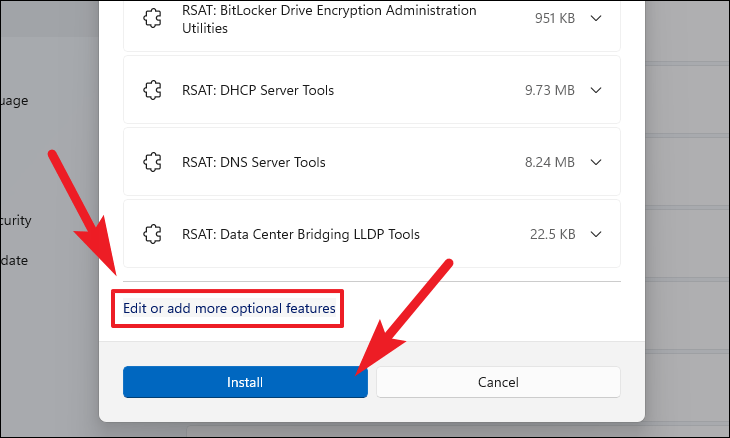
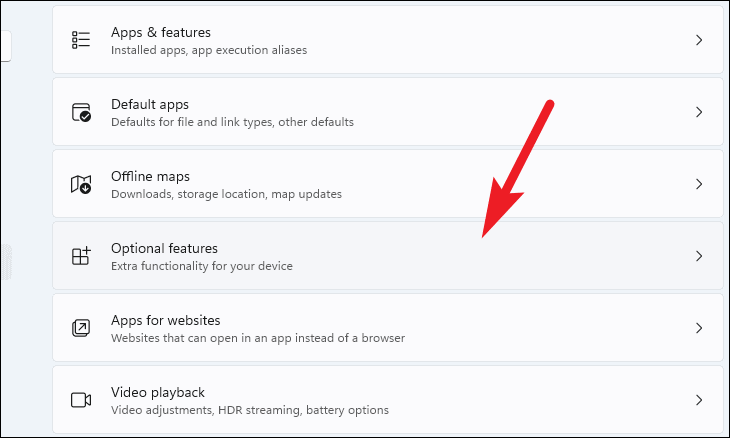
Optional features page.
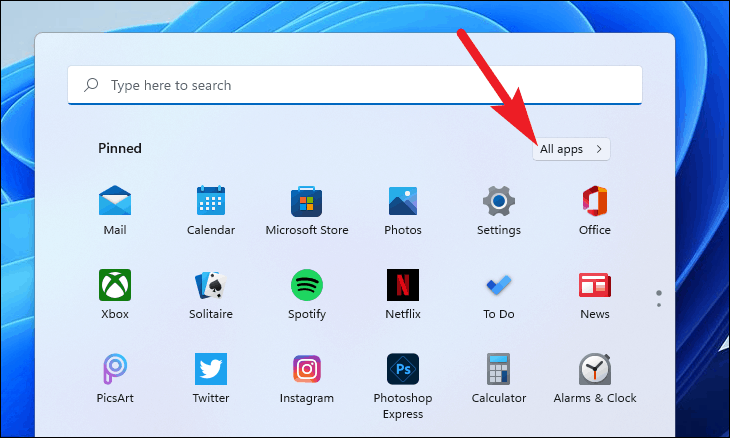
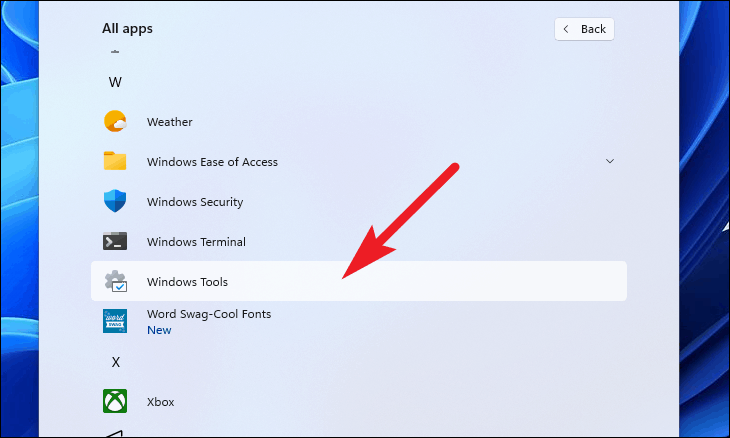
How to Access RSAT Tools in Windows 11
After installing RSAT tools, you can find them in the Windows Tools folder.
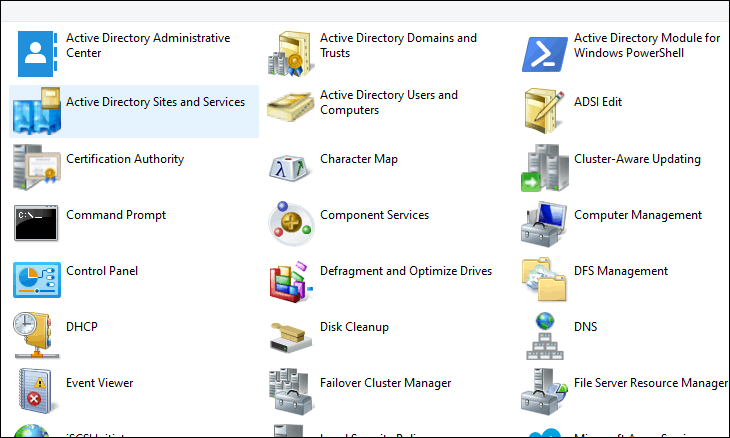
By following these steps, you can effectively install and access RSAT tools on your Windows 11 PC, allowing you to manage server roles and features directly from your workstation.


