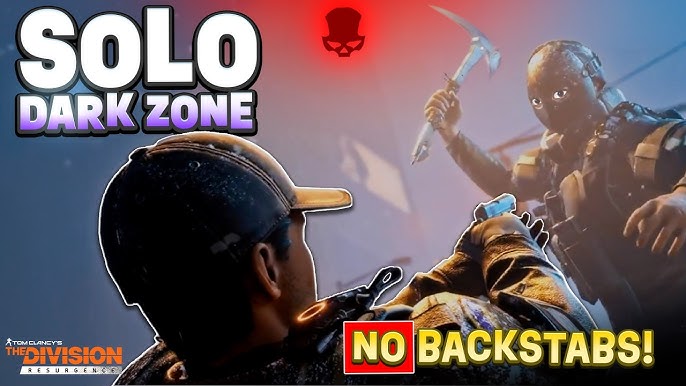
The Dark Zone in The Division Resurgence is a contained PvPvE arena where up to 20 agents share the same map, fight AI enemies, and try to extract contaminated loot before anyone kills them for it. Playing it alone changes how you approach every fight, since there is no teammate to revive you or watch your back at the extraction point.
Quick answer: Queue solo through the Activities Playlist so every other player is also solo, run bosses and landmarks to fill your nine-slot contaminated backpack, attach it to an extraction rope, and pull your loot out before the 20-minute session timer expires.
How to enter the Dark Zone solo
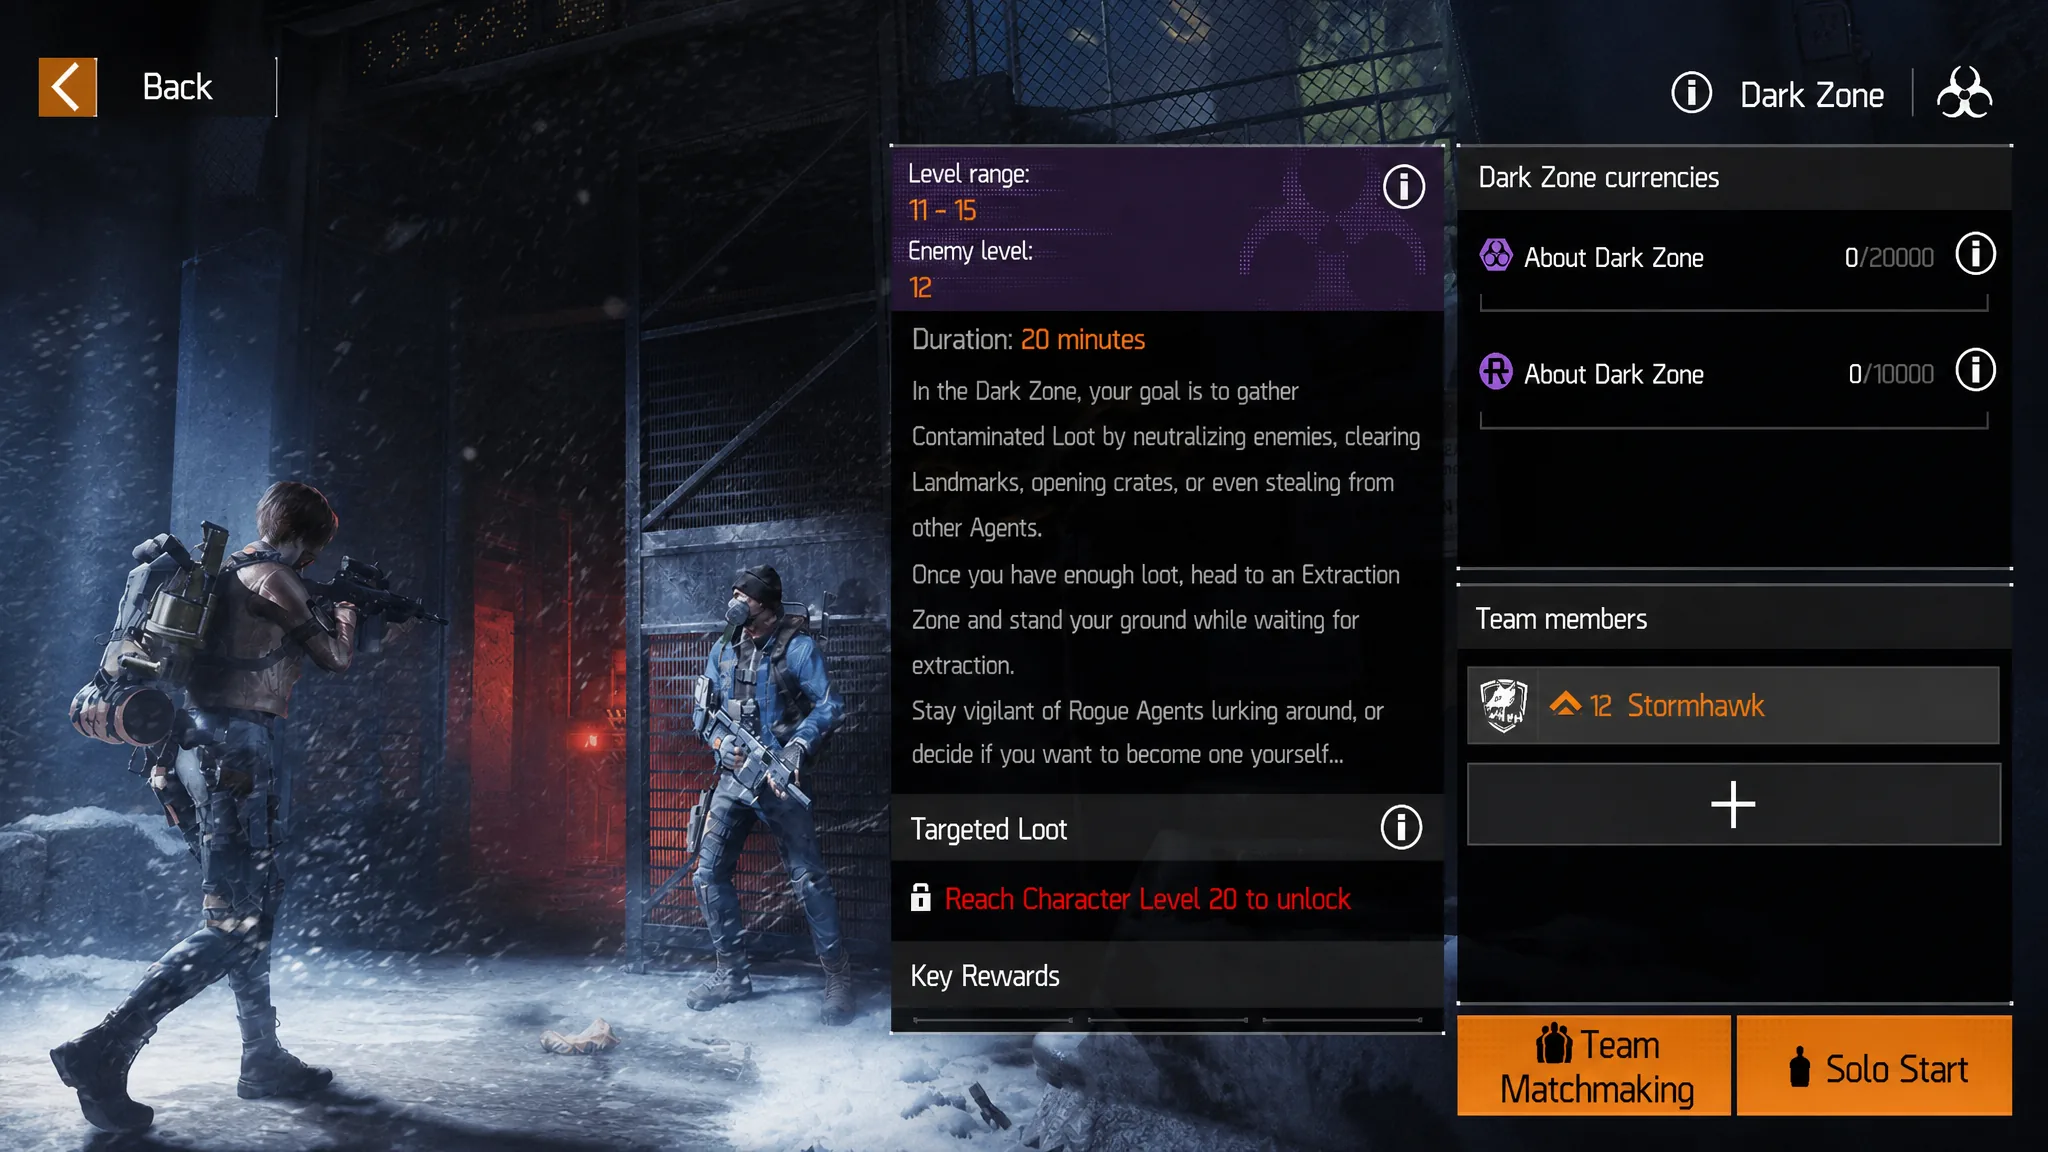
The Dark Zone unlocks early and is always online, meaning the map runs like a live server. When you join, other agents may already have been inside for five or ten minutes, farming bosses ahead of you. Around level 20 is a comfortable point to start, since the lobby scales to your level plus or minus roughly two.
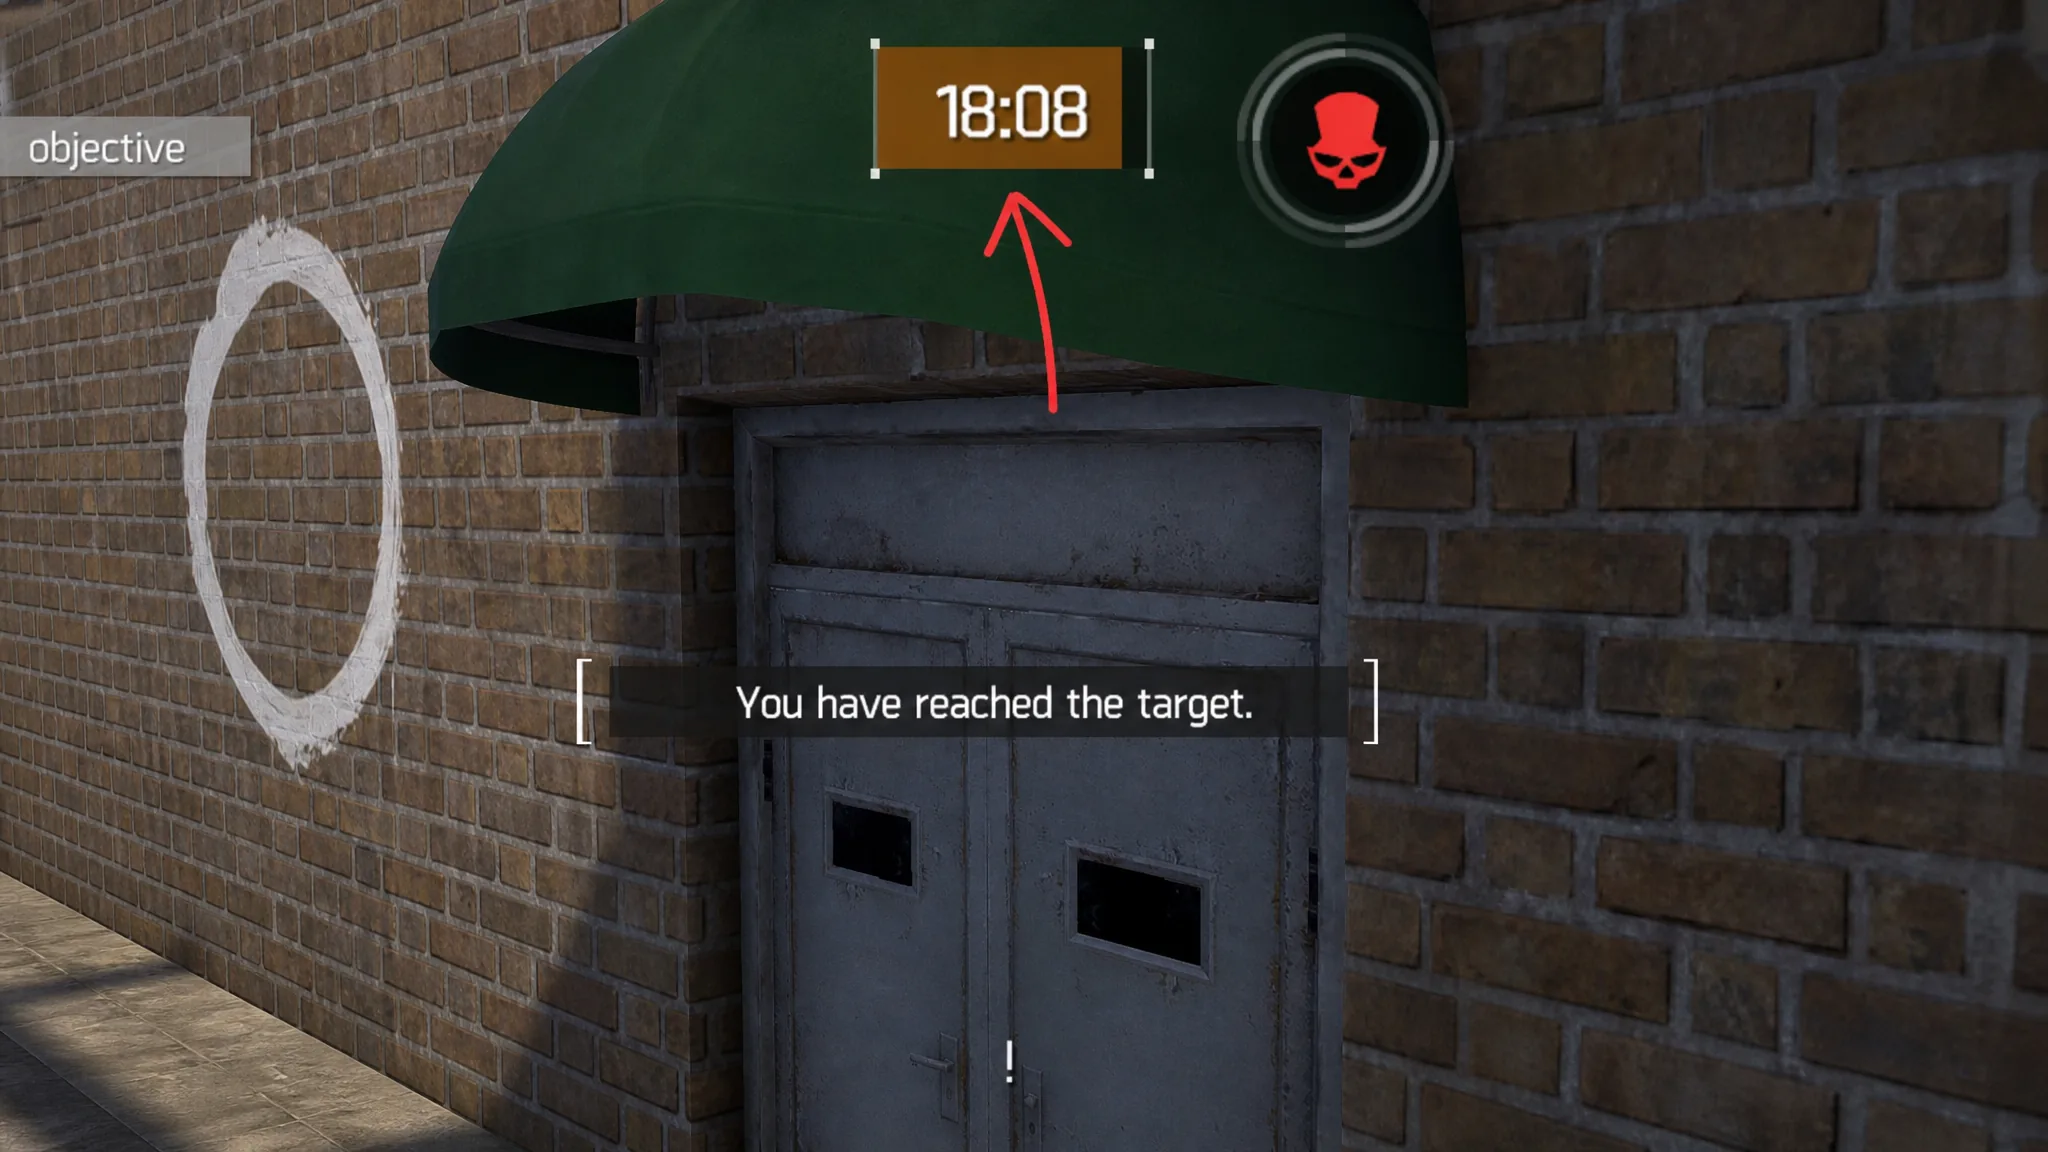
Each session lasts 20 minutes. Once it ends, a short countdown begins and a contamination effect drains your health in about five to seven seconds, killing you. Plan your run so you extract with time to spare.
Map activities and where the loot comes from
The Dark Zone map is static, so the core landmarks and boss spots stay in the same places every run. After a few sessions you will know where to go without opening the map. Everything is open, so any player can join your boss fight or landmark at any time, and rewards are shared once each participant deals enough damage.
| Activity | Map marker | What it gives |
|---|---|---|
| Extraction | Upward arrow | Pulls contaminated loot into your world storage |
| Landmark | Red fist | Wave defense; drops gear and skill mods |
| Boss | Red skull | Named enemy with backup troops |
| Boss chest | Golden chest | 3–4 items, spawns extra guards nearby |
| Contaminated zone | Purple territory | Loot crate; raises contamination meter |
| Safehouse | Orange house | Smuggler and hacked terminal utilities |
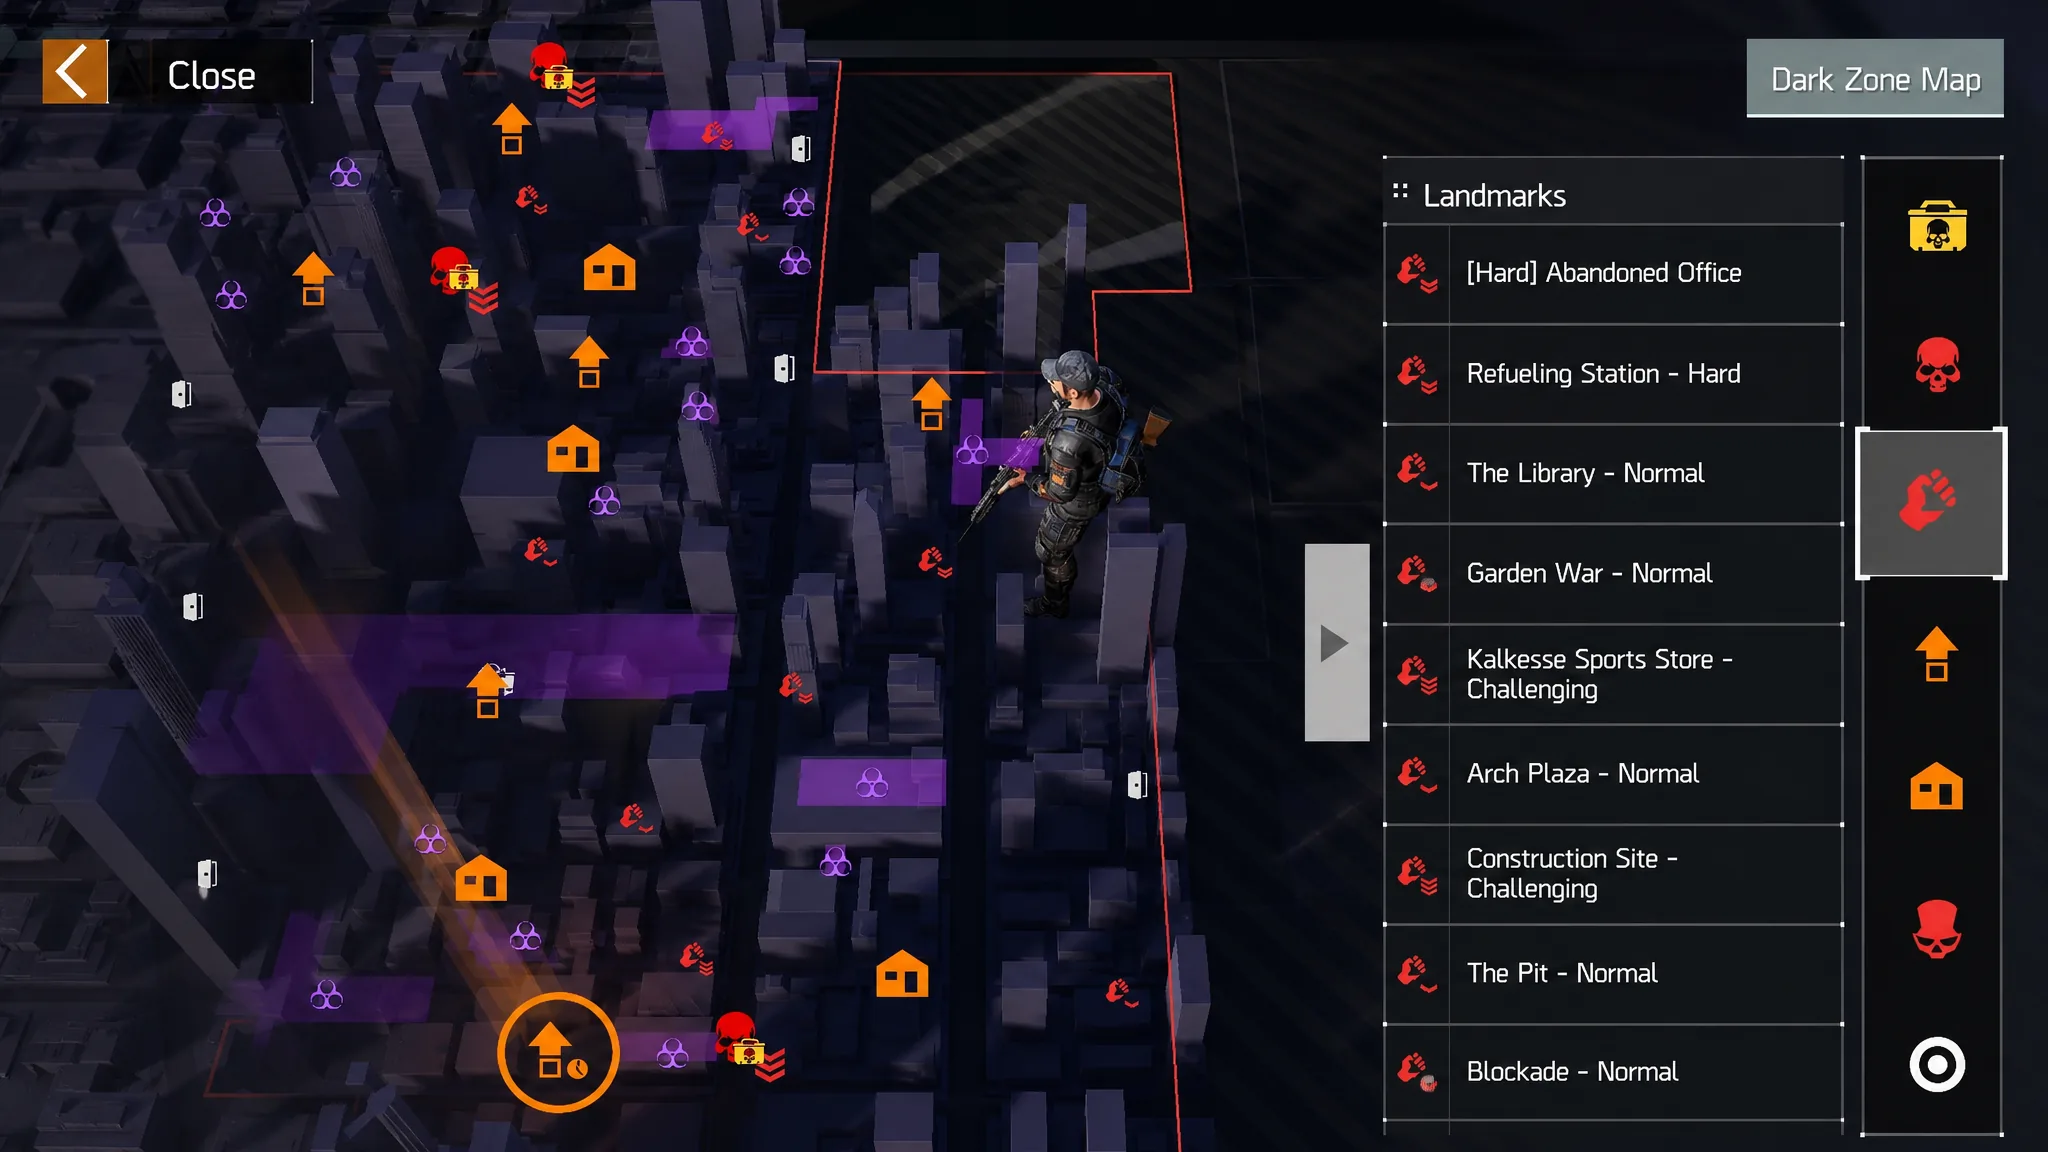
Landmarks are wave-based. Normal runs two waves, Hard runs three, and Challenging runs four, with the final wave adding a heavily armored mini-boss. They reactivate on a timer after being cleared. Many solo players skip them as a main activity because the rewards are modest, but they are a low-risk way to farm DZ Credits when the map is crowded with hostile players.
Contaminated zones slowly raise a meter while you are inside. If it fills to 100 percent, you die after a few seconds even if you leave the area, so grab the loot crate and get out. One boss sits inside a contaminated subway; the heavily armored Juggernaut boss there is not worth soloing, but the other bosses can be cleared before the meter caps.
The contaminated backpack and its 9-item limit
Everything you pick up inside the Dark Zone is contaminated and cannot be used on the regular map until you extract it. A separate contaminated backpack holds these items, and it caps at nine slots. If you die, this backpack drops on the ground, and anyone can loot it.
Because the backpack only holds nine items, you do not have to wait until it is full before pulling loot out. Extracting mid-run resets your available slots, so you can safely bank what you have and keep farming. If you already own decent gear, focus on skill mods and only grab weapons or armor when your bag is empty. Dismantling extracted mods later gives you extra DZ Credits.
How to extract your loot
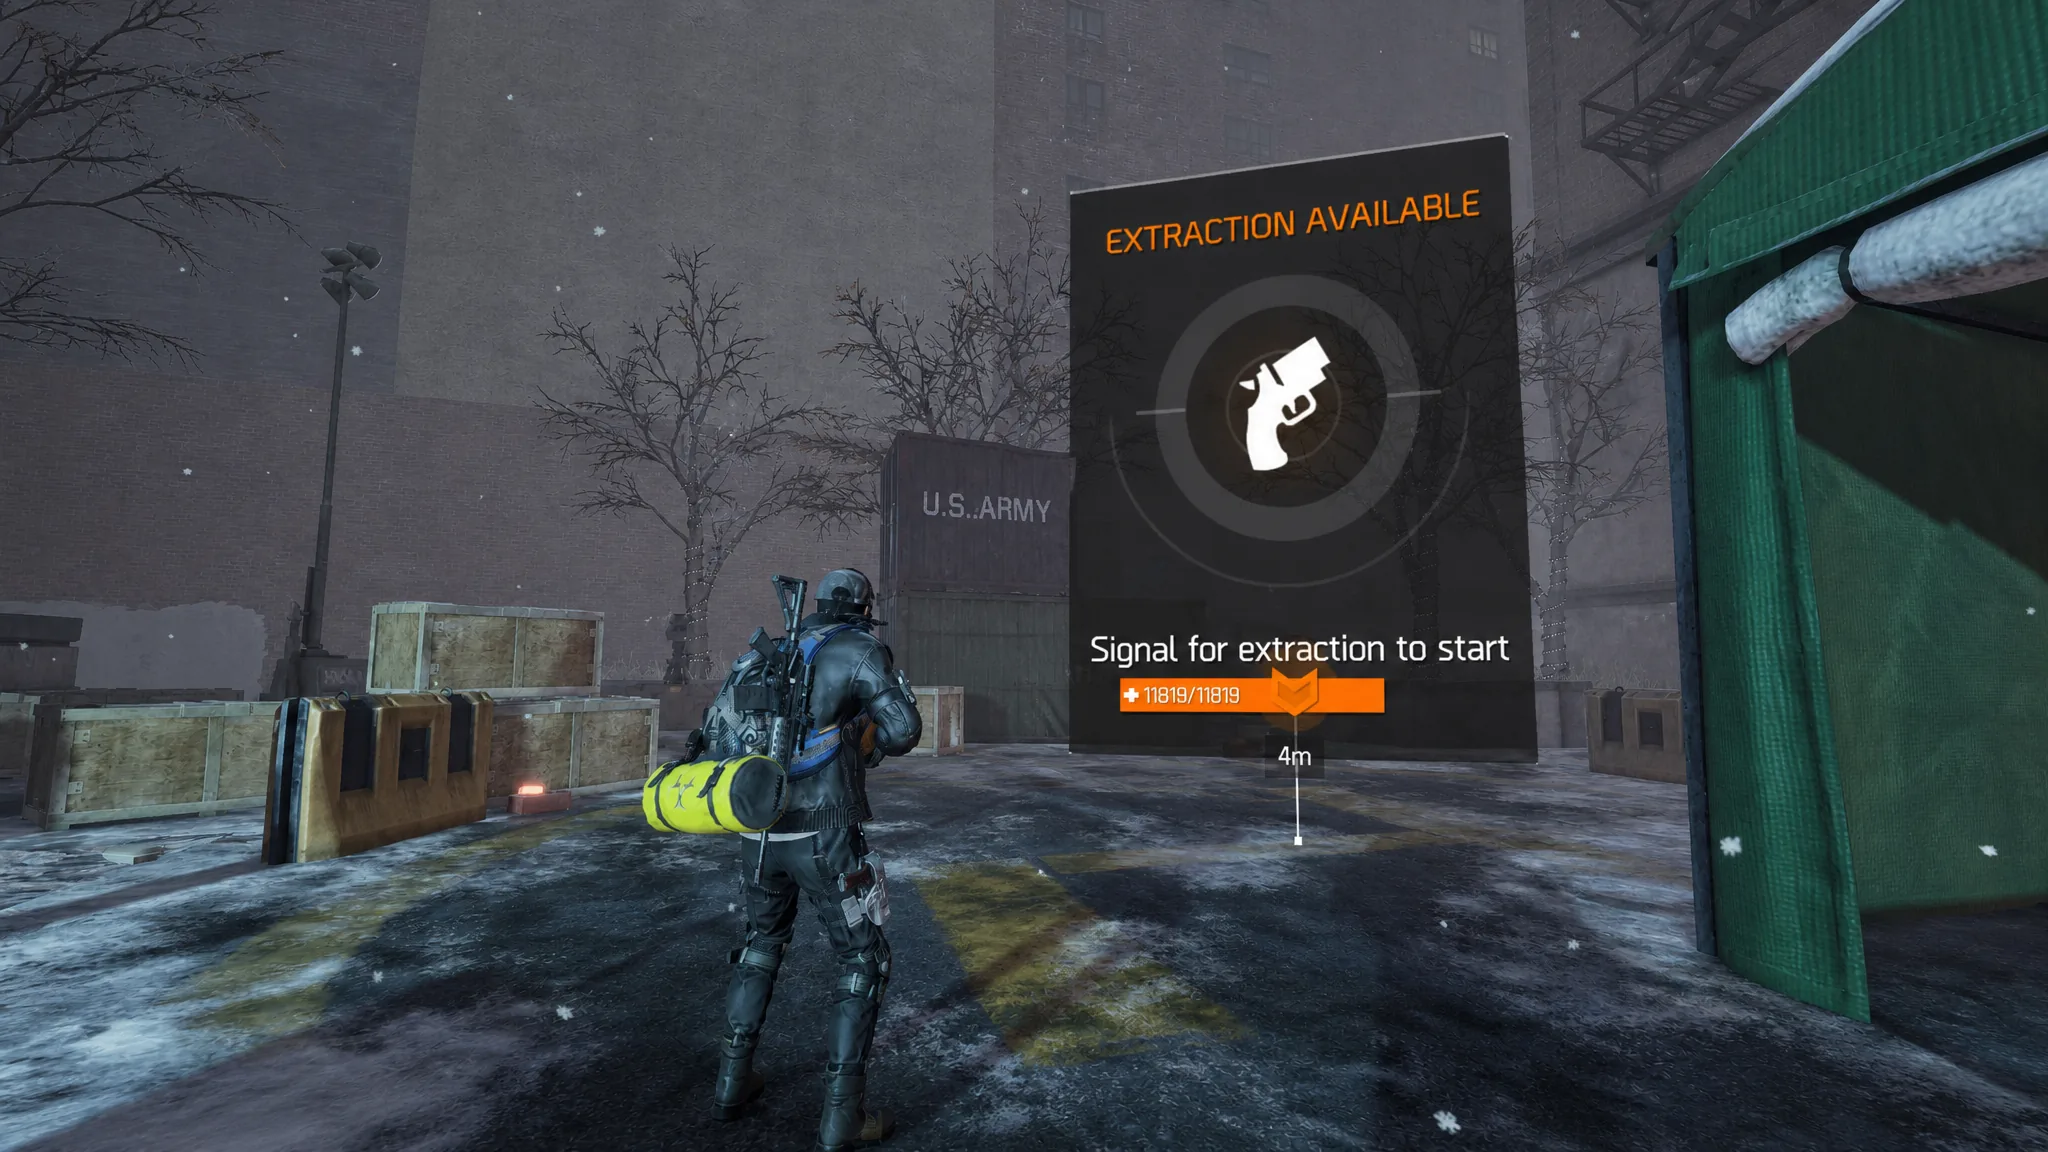
Extraction works much like it did in the earlier Division games. You reach an extraction point marked by an upward arrow, and the surrounding area is packed with generic AI enemies, mostly unarmored red bots with the occasional purple elite.
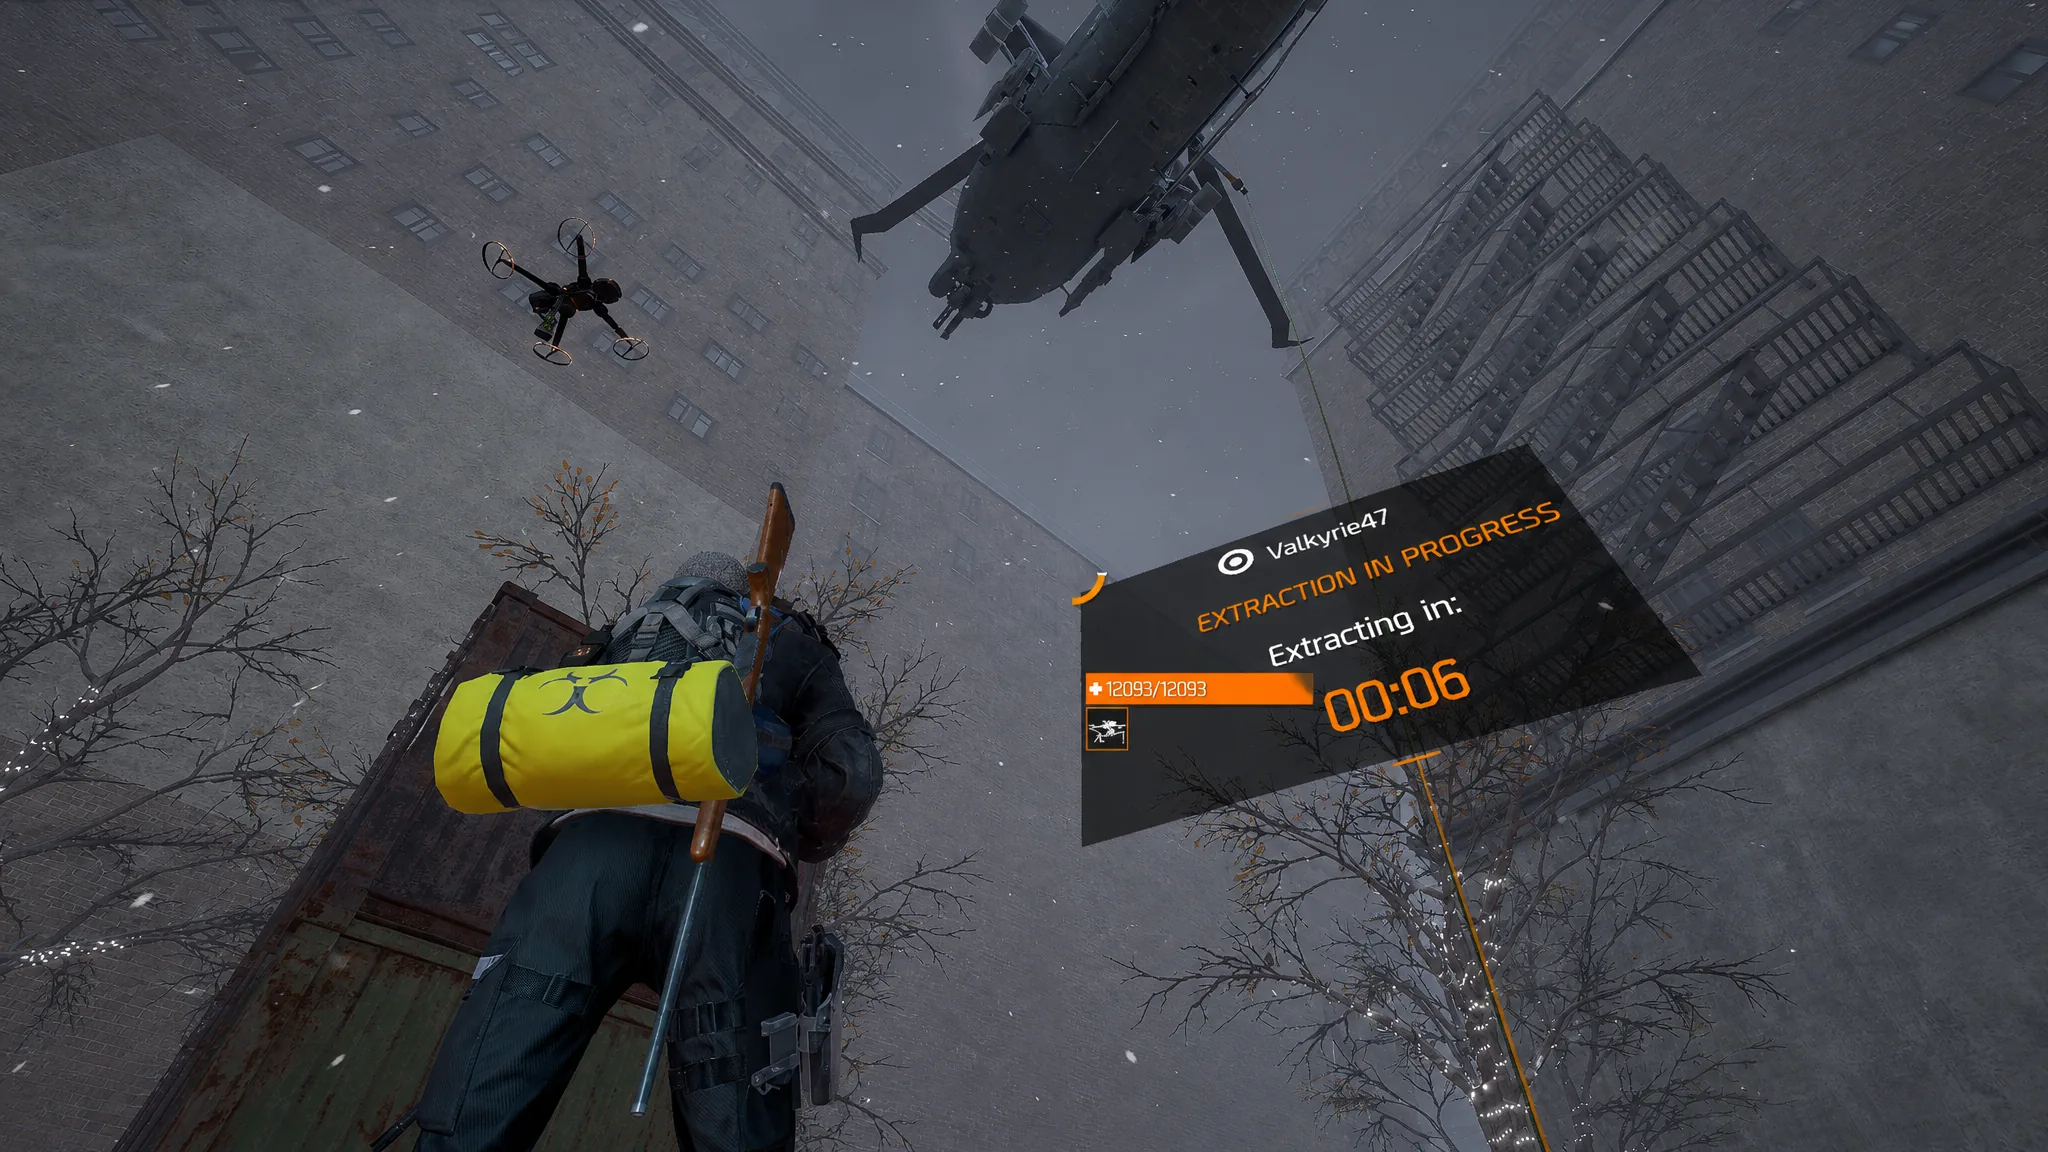
You know it worked when your extracted items appear in your Storage on the world map. From there you can equip or dismantle them. A common solo routine is to hit one or two extraction points to bank loot, keep farming, and only extract yourself at the end. If you extract loot but never extract your character, you still keep the banked items; you simply earn less DZ Intel and fewer DZ Credits from the run.
Rogue agents and how to survive them solo
A Go Rogue button sits at the top of the screen near the timer. Tapping it drops your friendly status and lets you attack other agents, who show up with red names. Friendly agents can only damage rogues until they go rogue themselves. As a solo player, the biggest threat is another agent flipping rogue right next to you, especially at an extraction point.
Rogues can also cut the extraction rope to steal whatever loot you attached. The animation freezes them in place, which makes them an easy target if you are ready, but it still costs you your bag if it succeeds. To lower your risk, extract at points far from active boss markers, since players who missed a boss kill often camp the nearest extraction.
If you are killed while rogue, you only drop about 30 to 40 percent of your loot, three or four items at most. The dropped items are randomized by the game rather than pulled from your actual backpack, which blocks direct item transfers between players.
- Separate from any player you cleared a landmark or bot with as soon as it is done.
- Watch for a non-rogue player quietly positioning behind you at an extraction; that is the classic setup before a rogue ambush.
- When you spot a rogue indicator, run and reposition rather than trading shots at a disadvantage.
Using the Safehouse and Smuggler
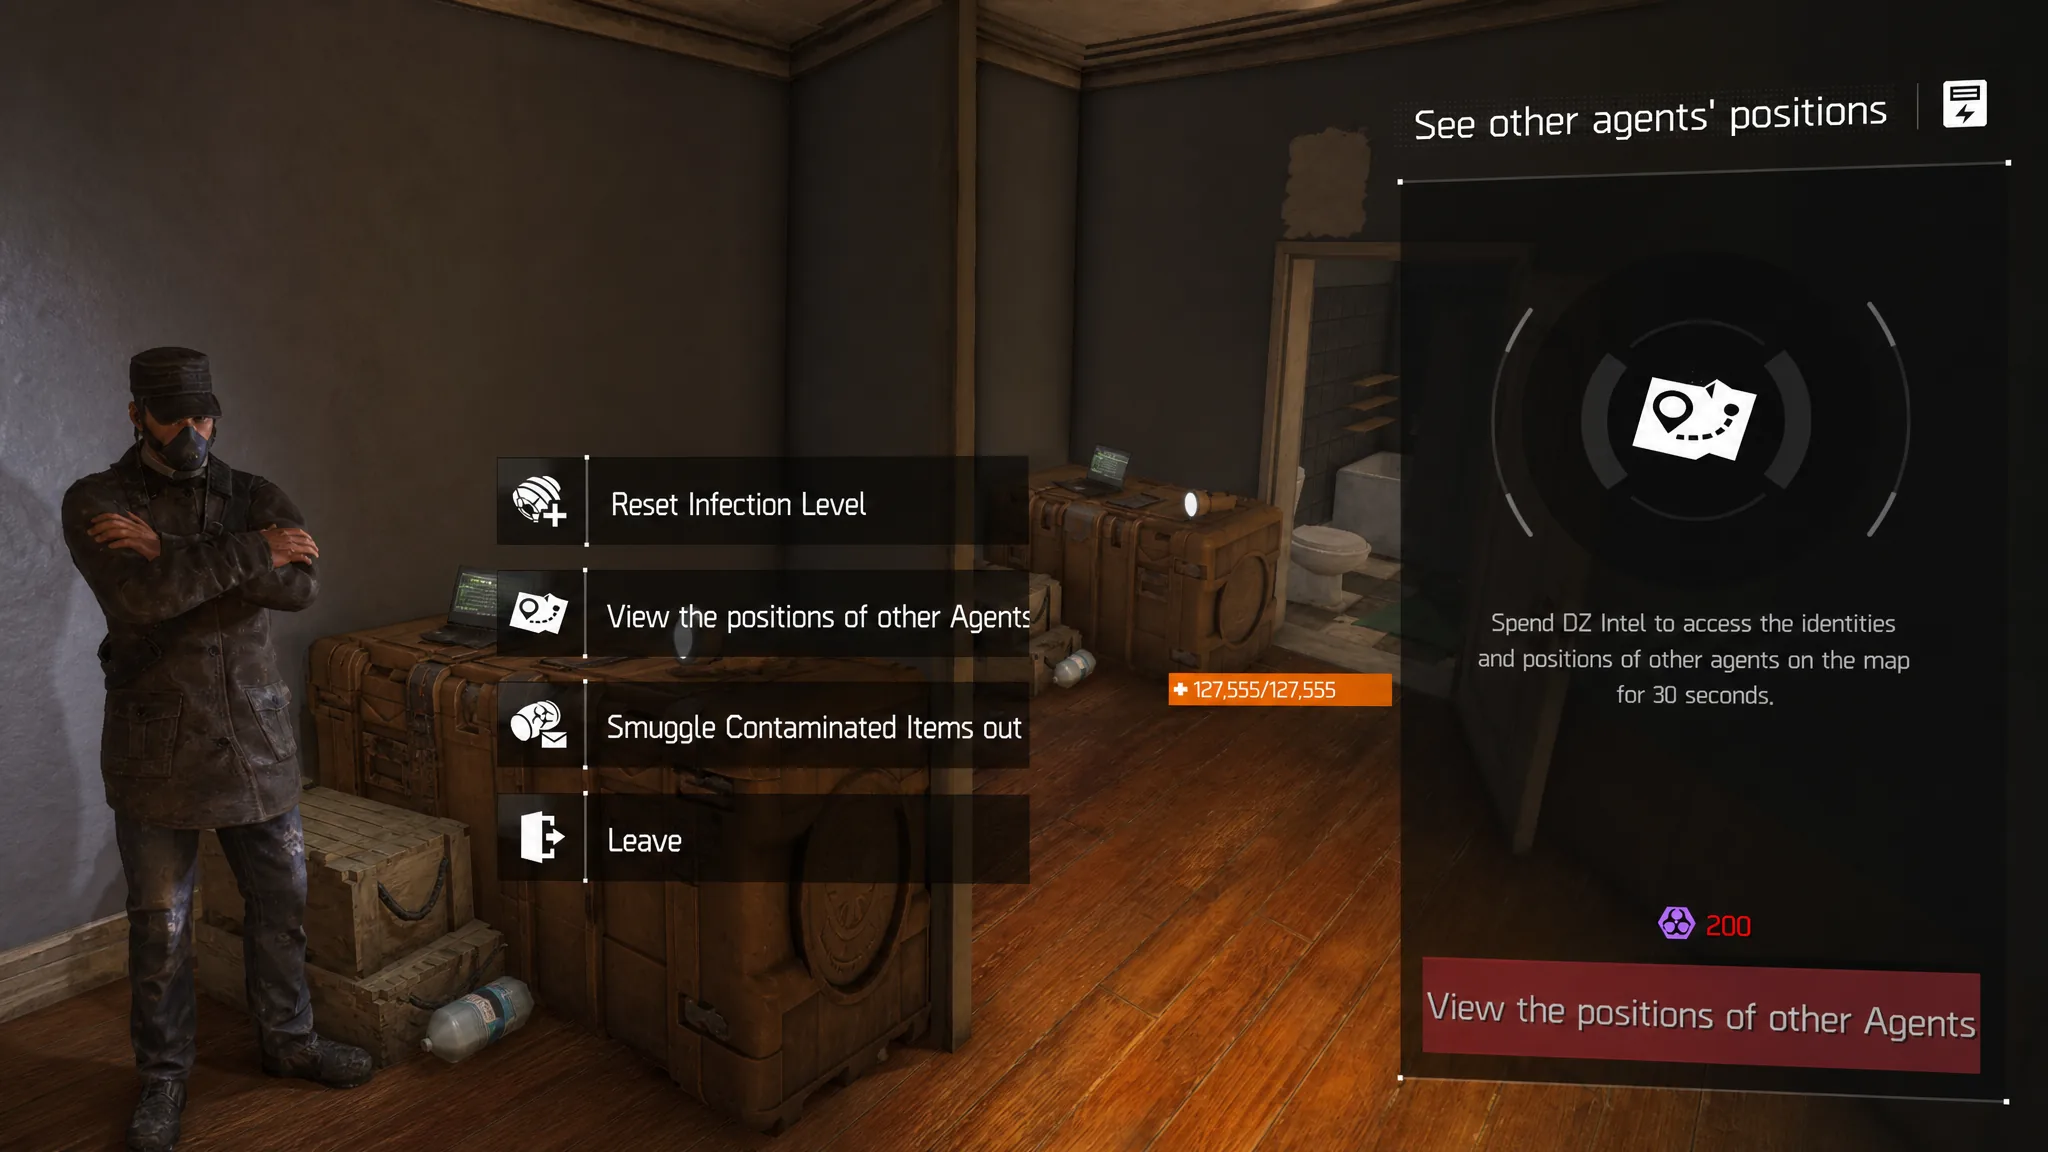
The Safehouse is easy to overlook, but it gives a solo agent two strong tools. The Smuggler can send your loot straight to your world storage without a helicopter extraction, three times per day, in exchange for DZ Intel. He can also clear your contamination meter and reveal the positions of other agents on the map. For a lone player worried about losing loot, sending it through the Smuggler is the safest way to bank a run.
Revealing every agent’s position costs 200 DZ Credits and is equally useful whether you want to avoid ambushes or plan a rogue attack. The Safehouse also has a hacked terminal that clears your rogue status for DZ Intel, so you can reset back to friendly without leaving the session.
Currencies and the DZ vendor
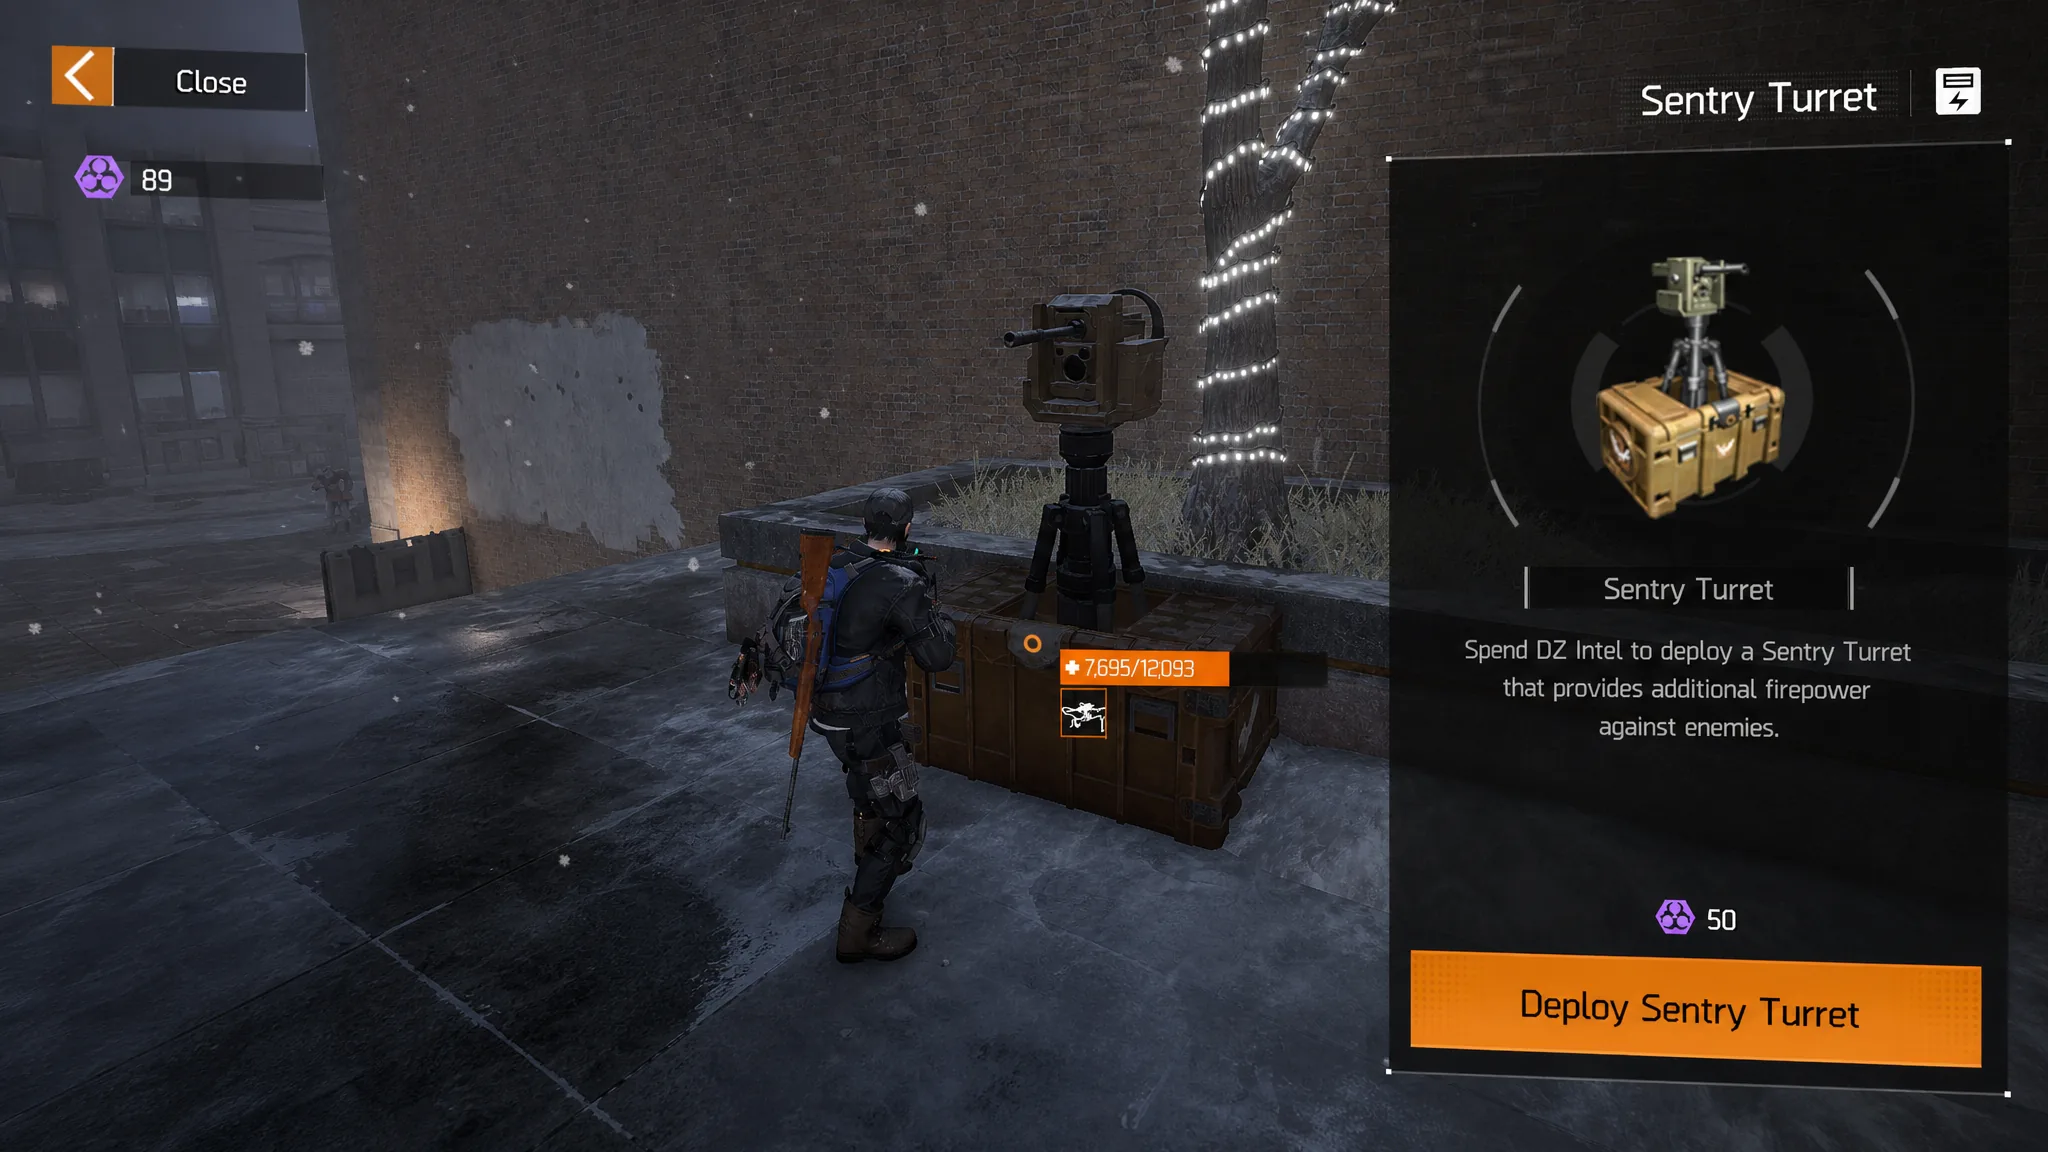
Two separate currencies drive Dark Zone progression. DZ Credits buy weapons, mods, and materials from the DZ Vendor at the Base of Operations, including an exotic SMG priced around 17,500. DZ Intel is spent inside the Dark Zone itself on turrets, the Smuggler, and the hacked terminal.
You can earn a capped amount of DZ Credits per week from killing bots, completing bosses and landmarks, and looting, but dismantling extracted skill mods on the world map adds more currency on top of that cap. Small interactable containers scattered on the streets near landmarks also drop credits, and opening a lot of them adds up quickly. Credits you gather in a run are kept even if you die; failing to extract simply reduces the payout.
Best specializations for solo farming
Survivability matters more than raw damage when you are alone, because you need to outlast a surprise rogue and either escape or win the fight. Bulwark, especially the Juggernaut subclass, lets you pop a shield and keep firing without worrying about how many enemies are shooting back. The Aegis operator is faster and farms quicker but needs careful positioning so you are not flanked. Field Medic leans toward running away and staying alive, while an offensive Tech Operator can let drones clear enemies from cover.
For pure PvE farming, Vanguard clears bosses and landmarks fast and can wipe the enemies guarding an extraction helicopter in seconds, though it lacks defensive tools if PvP starts. If your goal is farming skill mods, there is one detail that changes everything.
Most of the skill mods that drop in the Dark Zone are tied to your currently active specialization. Targeted Loot only raises the chance of the single specific mod you selected; it does not override the specialization-based drop pool. Switch to the specialization you actually want mods for before you enter, or the majority of your drops will be the wrong type.
A workable solo loop is to clear two bosses, extract your loot, then take a third boss or a landmark before extracting yourself. When rogues dominate the map, drop the loot chase, farm landmarks for credits, and reposition freely. The Dark Zone is the most consistent place to target the skill mods and gear you want, and playing it solo becomes far more manageable once you treat extraction as something you do early and often rather than once at the end.