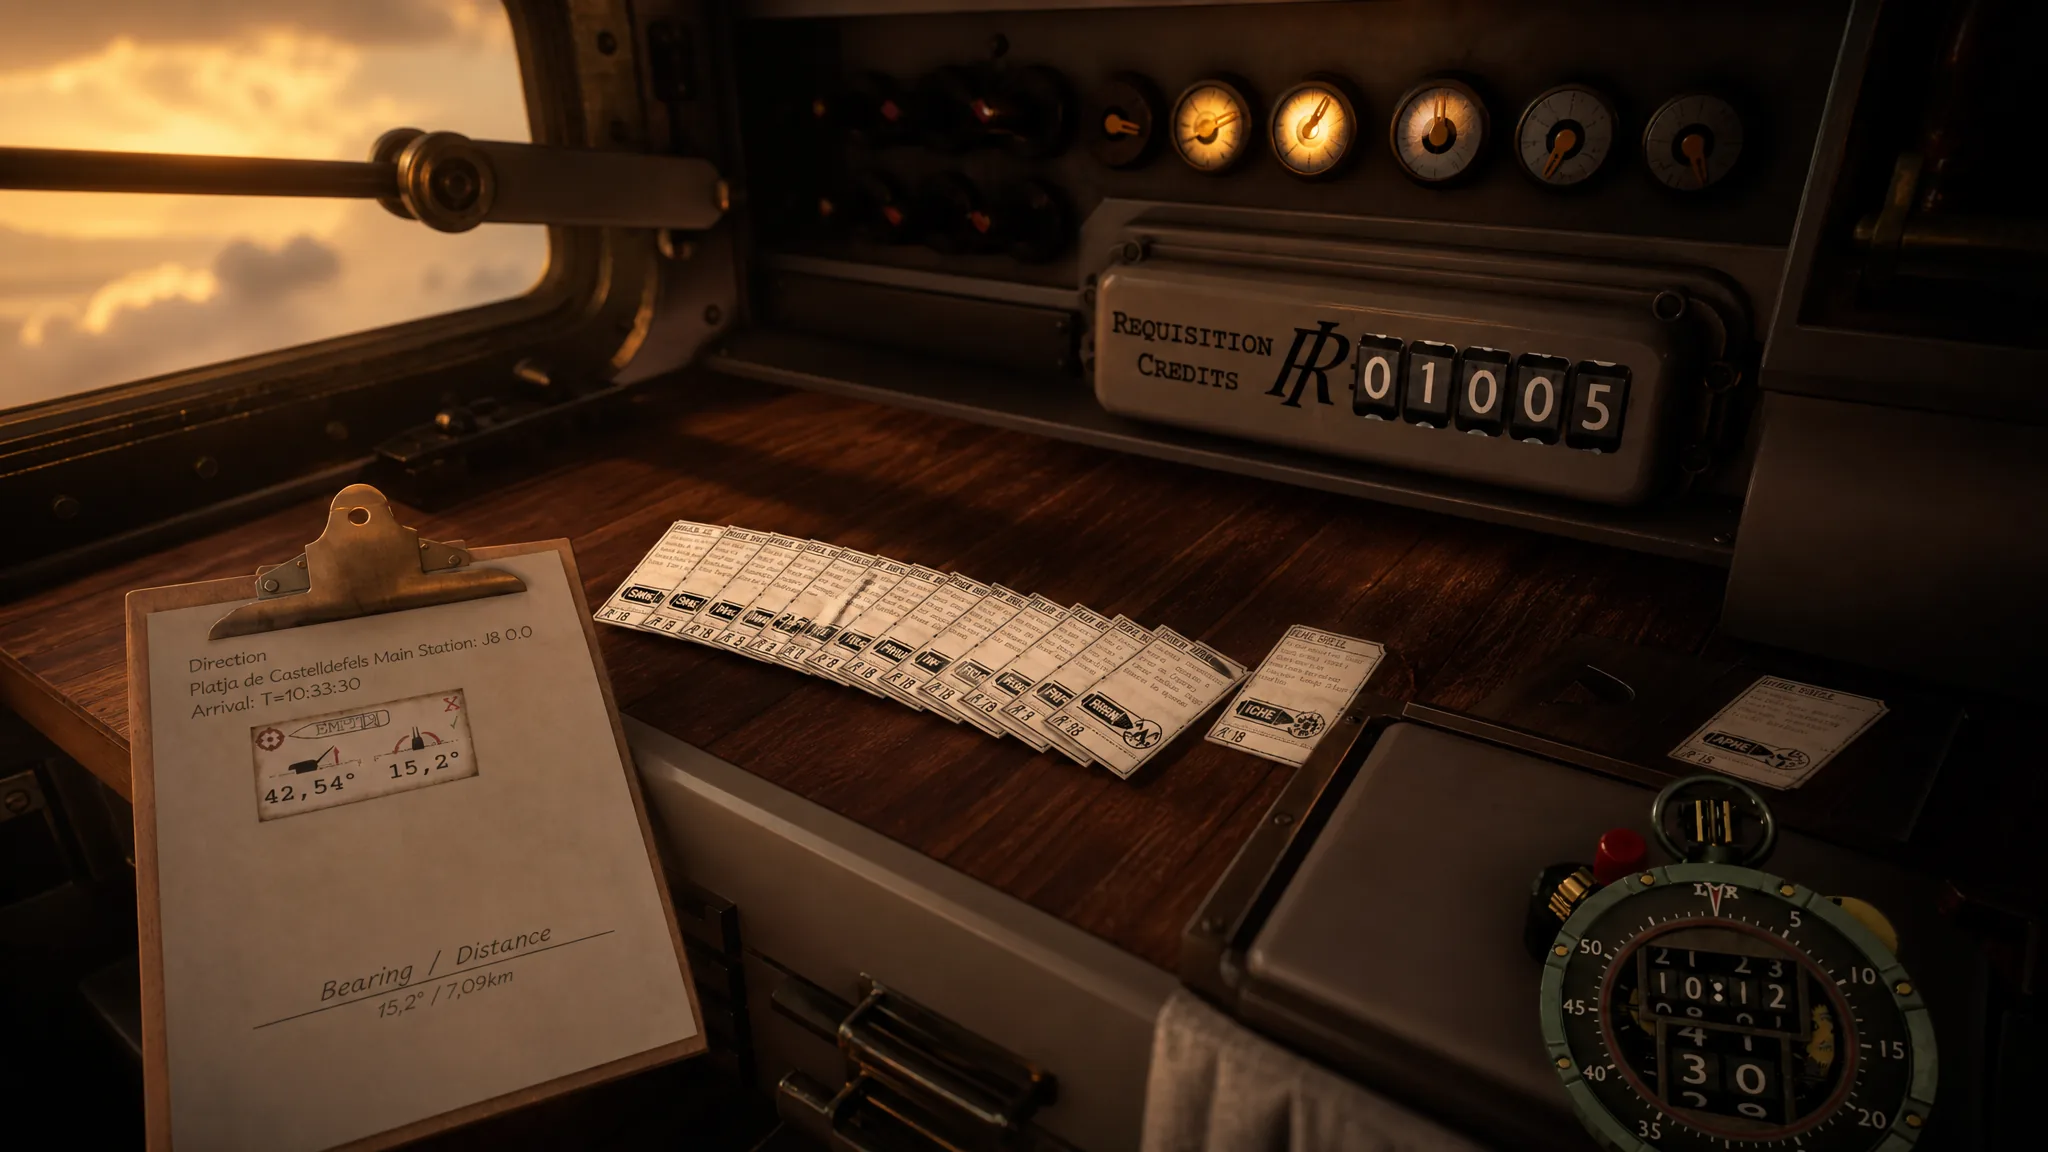
The turret in IRON NEST: Heavy Turret Simulator gives you a giant gun and a stack of orders, but the quiet decision that makes or breaks most missions is which shell you drop into the breech. Load the wrong round on a hardened target and you waste a shot you cannot take back. There are 21 shells in the released build, each tuned to a specific kind of target, and getting fluent with them is the difference between clean work and collateral damage.
Quick answer: Load HE for single soft targets, AP for bunkers and armour, HCHE when two or more soft targets sit in one circle, and remember that powder charges set your range while the shell only sets the effect. Any shell in the “A City Silent” list, even the inert practice round, will lock the destruction ending in the final mission.
Powder sets range, the shell only sets the effect
This is the single mechanic that changes how you play. How far your shot travels is decided by your powder charge and elevation, not by the shell you pick. The projectile identity governs what happens on arrival, not where it lands.
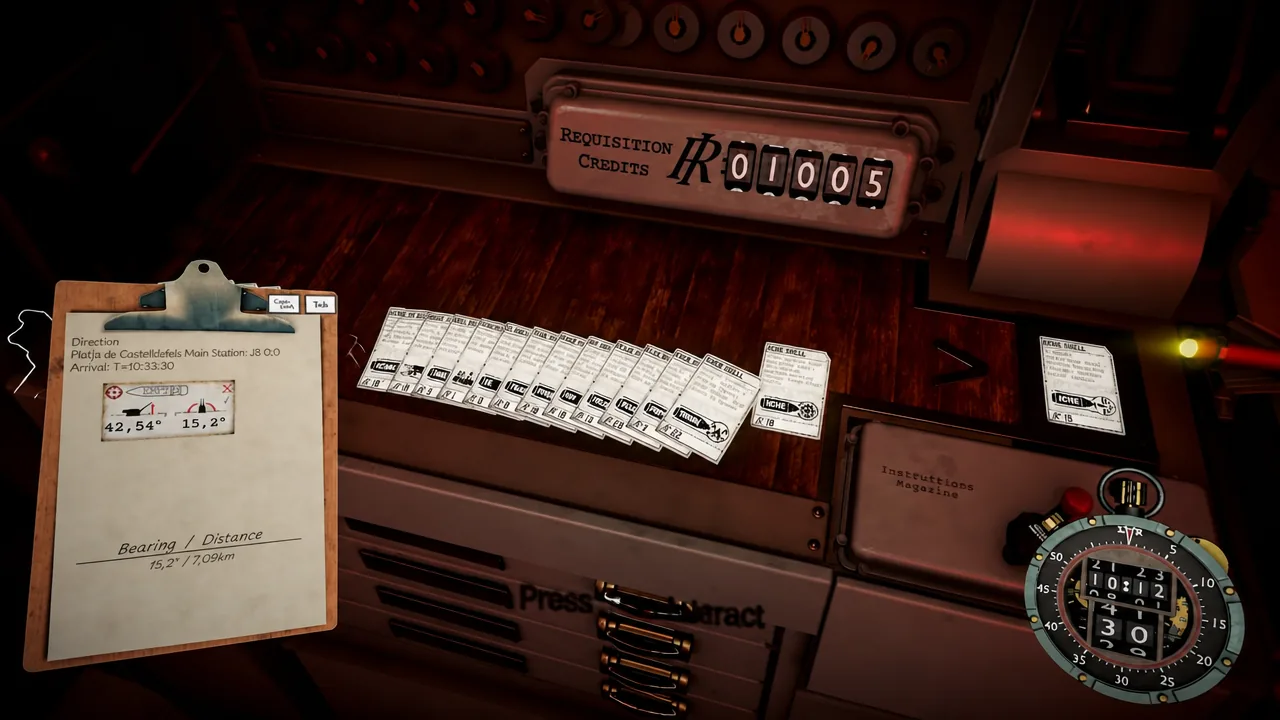
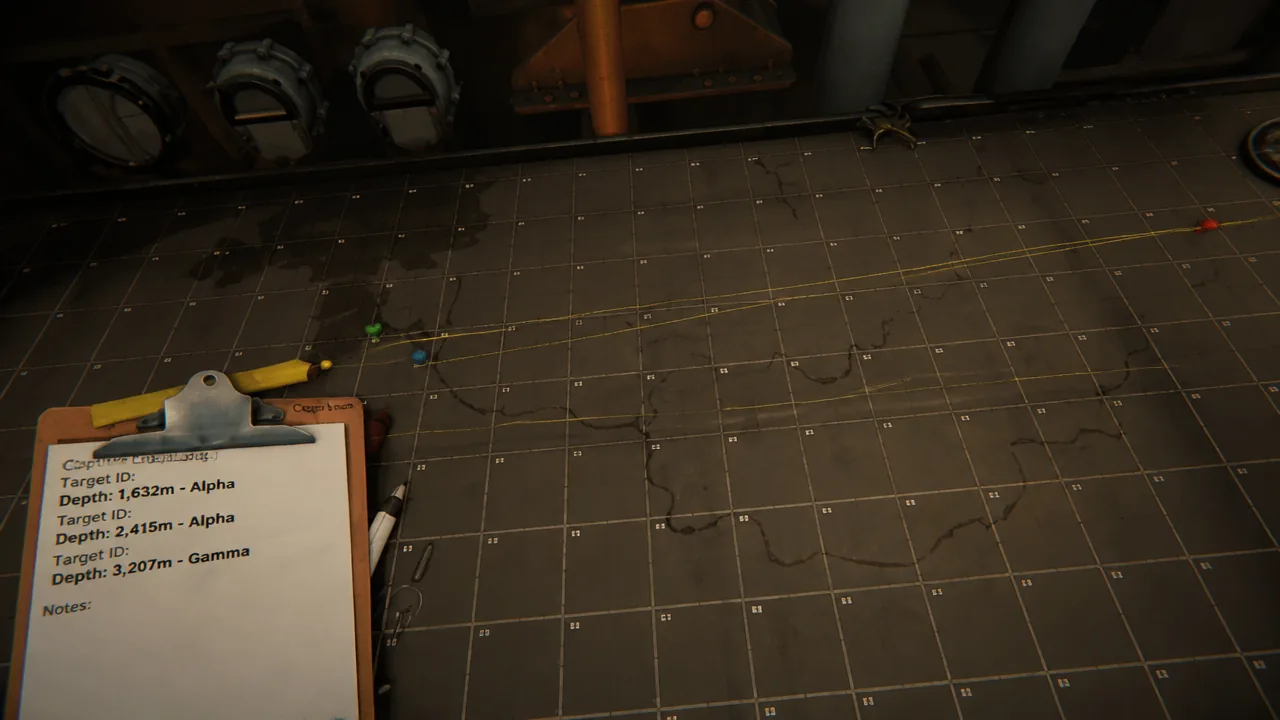
In practice that means once you have pinned a target with triangulation, the firing card holds for any round you like. Range a spot with a cheap practice shell and those same numbers carry over to the atomic shell. You never recalculate just because you swapped ammo, which is why it pays to nail the solution first and then decide what to send.
Note: keep the shell name and the powder count as separate notes at the loading station. The calculator asks for a number of charges and returns your elevation; the shell rack is a different input entirely. Confusing “more powder” with “more shell” is the fastest way to fire the wrong round or the wrong distance.
All 21 Iron Nest shells and their best targets
Blast values come from the game’s own data files. Cost is in requisition credits, and “mission” means the round is handed to you by a mission rather than bought freely. A dash means the shell is not sold on its own. If any list you find still shows PYRO, TGAS or PGAS as shell names, it is describing the old demo build, not the current 21.
| Code | Name | Blast | Cost | Best for |
|---|---|---|---|---|
| HE | High-Explosive | 0.25 | 3 | Single soft targets; your default round |
| HCHE | High-Capacity HE | 0.55 | 5 | Two or more soft targets in one circle |
| LE | Low-Explosive | 0.15 | — | Precision work near friendlies or civilians |
| AP | Armour-Piercing | 0.15 | 3 | Bunkers, tanks, coastal batteries, underground forts |
| APHE | AP High-Explosive | 0.25 | — | Armour when your firing solution is shaky |
| EQKE | Earthquake | 0.55 | 26 | Buried targets and bunker complexes |
| ATMC | Atomic | 3.00 | 666 | Story weapon only |
| CLMN | Cluster | 0.50 | mission | Spread-out infantry and vehicle columns |
| PLCM | Parachute Cluster | 0.15 | — | Targets moving through a point |
| INCN | Incendiary | 0.25 | mission | Fuel and ammo caches, dug-in positions |
| THRM | Thermal Incendiary | 0.35 | — | Dense flammable areas |
| WP | White Phosphorus | 0.75 | — | Suppressed troops, with a fire chance |
| TEAR | Tear Gas | 0.75 | mission | Revealing hidden units, setting up combos |
| PHGN | Phosgene | 0.62 | mission | Killing personnel, leaving buildings standing |
| CYAN | Cyanogen Gas | 0.75 | 28 | Large groups of infantry in the open |
| FLCH | Flechette | 0.62 | — | Wide sweeps against infantry on foot |
| PRPG | Propaganda | 0.50 | mission | Suppression and desertion, no casualties |
| SMK | Smoke | 1.00 | 1 | Directing your own infantry |
| STAR | Illumination | 0.50 | 1 | Night missions and cheap scouting |
| DRIL | Drill / Practice | 0.07 | — | Ranging shots with no collateral |
| EMPT | Empty | 1.00 | — | Unknown |
The three internal shell classes
The game groups every round into one of three families. Knowing which bucket a shell sits in tells you how it will behave against protected targets.
| Class | Shells |
|---|---|
| Anti-armour | AP, APHE, ATMC, EQKE |
| No damage | STAR, TEAR, WP |
| Standard | Everything else |
One oddity worth flagging: White Phosphorus lives in the “no damage” class even though it kills suppressed units and can start fires. Treat its class label as a category flag rather than a promise that nothing dies.
Shells that need a bit more nuance
Most of the roster is self-explanatory once you read the target column, but a handful reward a closer look.
APHE for imperfect armour shots
APHE is AP that forgives a near miss. You keep the penetration, but a medium bursting charge cleans up around the point of impact. Pick it when your firing solution feels shaky or when soft units are bunched around the hard target you actually want gone.
Parachute Cluster for targets on the move
PLCM drops the same six bomblets as the standard Cluster round, but on parachutes that stagger their impacts roughly ten seconds apart. That delay is the whole point. Use it against units moving through a location rather than sitting still in it, and for kill-streak medals that want spaced-out hits.
Flechette for infantry in the open only
FLCH covers a huge area but only harms infantry on foot in the open. Vehicles, armour, and anything under cover shrug it off completely. It is the narrowest use case in the game and genuinely strong inside that niche, so save it for exposed foot troops rather than mixed formations.
Gas rounds that spare the buildings
Phosgene clears personnel while leaving infrastructure intact, which makes it the clean pick when the objective is bodies and not rubble. Cyanogen covers large groups of infantry in the open. Tear gas does no damage on its own, but it flushes hidden units into view and sets up follow-up shots, so it works best as the first half of a combo rather than a finisher.
Your ammo choice decides the ending
In the final mission, the shell you fire is the ending you get. The game filters your last shot into one of four outcomes.
| Ending | Shells that trigger it |
|---|---|
| A City in Celebration | STAR, SMK, PRPG |
| A City Silent | HCHE, AP, HE, APHE, ATMC, CLMN, DRIL, EQKE, INCN, LE, PLCM, THRM |
| A City Subdued | TEAR, PHGN, CYAN, FLCH, WP |
| The Road Not Taken | No shell filter; reached by destroying artillery instead |
The trap is how broad the “A City Silent” list is. Nearly every conventional round counts, including the inert practice shell. That is how players fire a harmless test round to feel out the mission and accidentally lock in the destruction ending. If you are chasing a particular outcome, decide on your final shell before you touch the breech, not after.
Once the shell classes and that ending filter click, the rest becomes muscle memory. Range the target once, keep your shell name and powder count on separate lines, and match the round to the effect the order actually asks for. HE and AP will carry most of your missions; everything else is a specialist you reach for when the target demands it.