Pokémon Pokopia: All Treasure Map Locations in Bubbly Basin
Where every hidden treasure sits in Bubbly Basin and which Decorative Poké Ball each one hands over.
Where every hidden treasure sits in Bubbly Basin and which Decorative Poké Ball each one hands over.
by AllThingsHow Staff
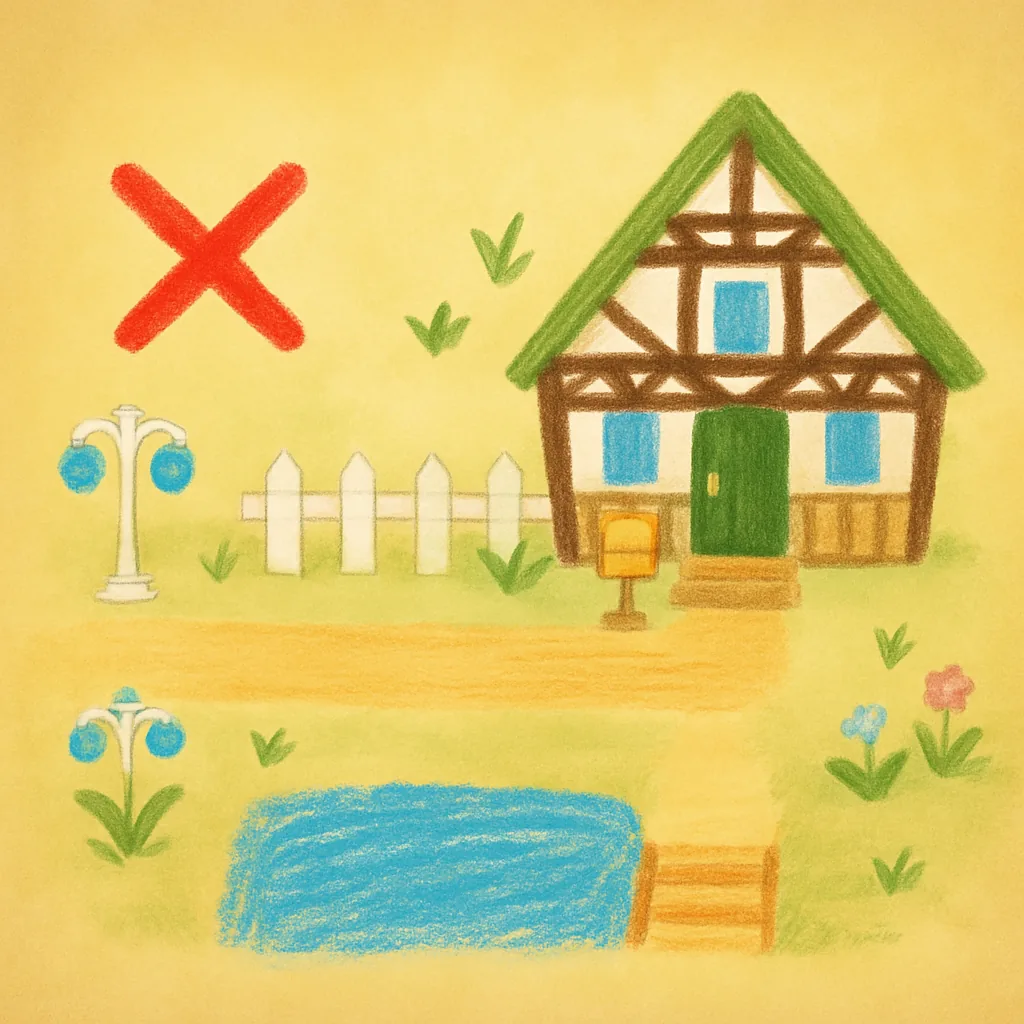
The Bubbly Basin area adds six buried treasures to Pokémon Pokopia, each one guarded by a hidden room and each one handing over a Decorative Poké Ball. Treasure Maps point you toward them, but here’s the useful part: you can walk straight to any treasure and grab it without ever holding the matching map.
Quick answer: Head to the six spots below and use Rock Smash on the marked rocks, sand, or algae to open each hidden room. You’ll collect the Decorative Great Ball, Heal Ball, Dive Ball, Net Ball, Lure Ball, and Quick Ball, which together unlock the Mermaid’s Gym habitat.
All six treasures and their rewards
Treasure
Reward
Treasure 1
Decorative Great Ball
Treasure 2
Decorative Heal Ball
Treasure 3
Decorative Dive Ball
Treasure 4
Decorative Net Ball
Treasure 5
Decorative Lure Ball
Treasure 6
Decorative Quick Ball
Note: Bringing a Pokémon with the Search Specialty and equipping the Dowsing Machine makes each dig faster, since it pings when you’re standing near the right spot. It isn’t required, though. You can find every treasure by exploring on foot.
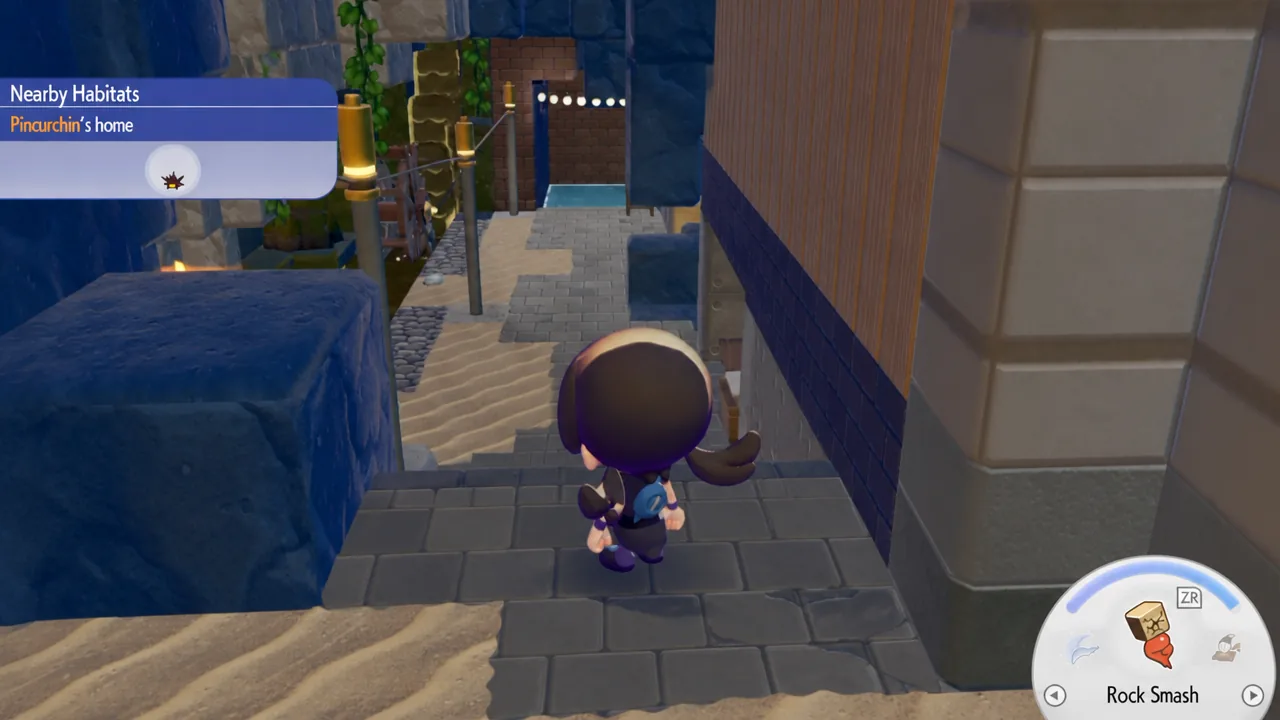
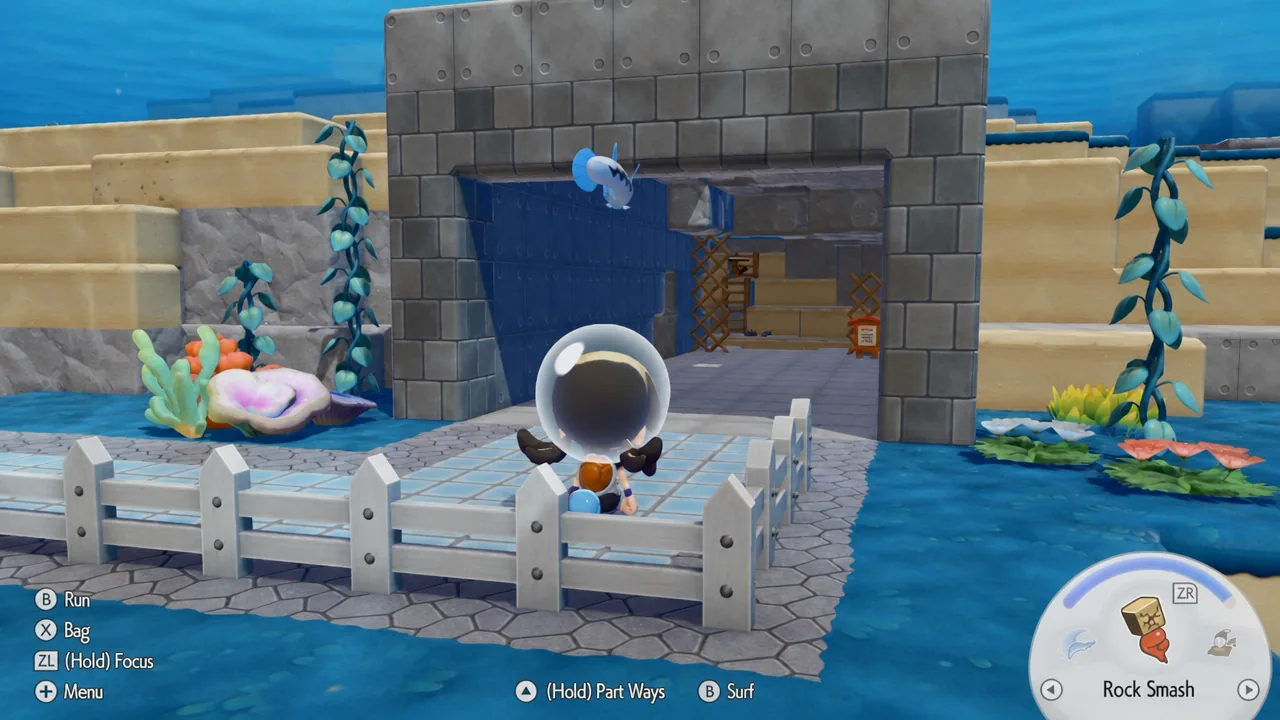
Break the Blue Rocks next to the bench, or where the bench used to be if you moved it. The wall opens into a hidden room and the Decorative Great Ball is inside. You can also reach the same room by breaking the wall opposite the nearby water wheel.
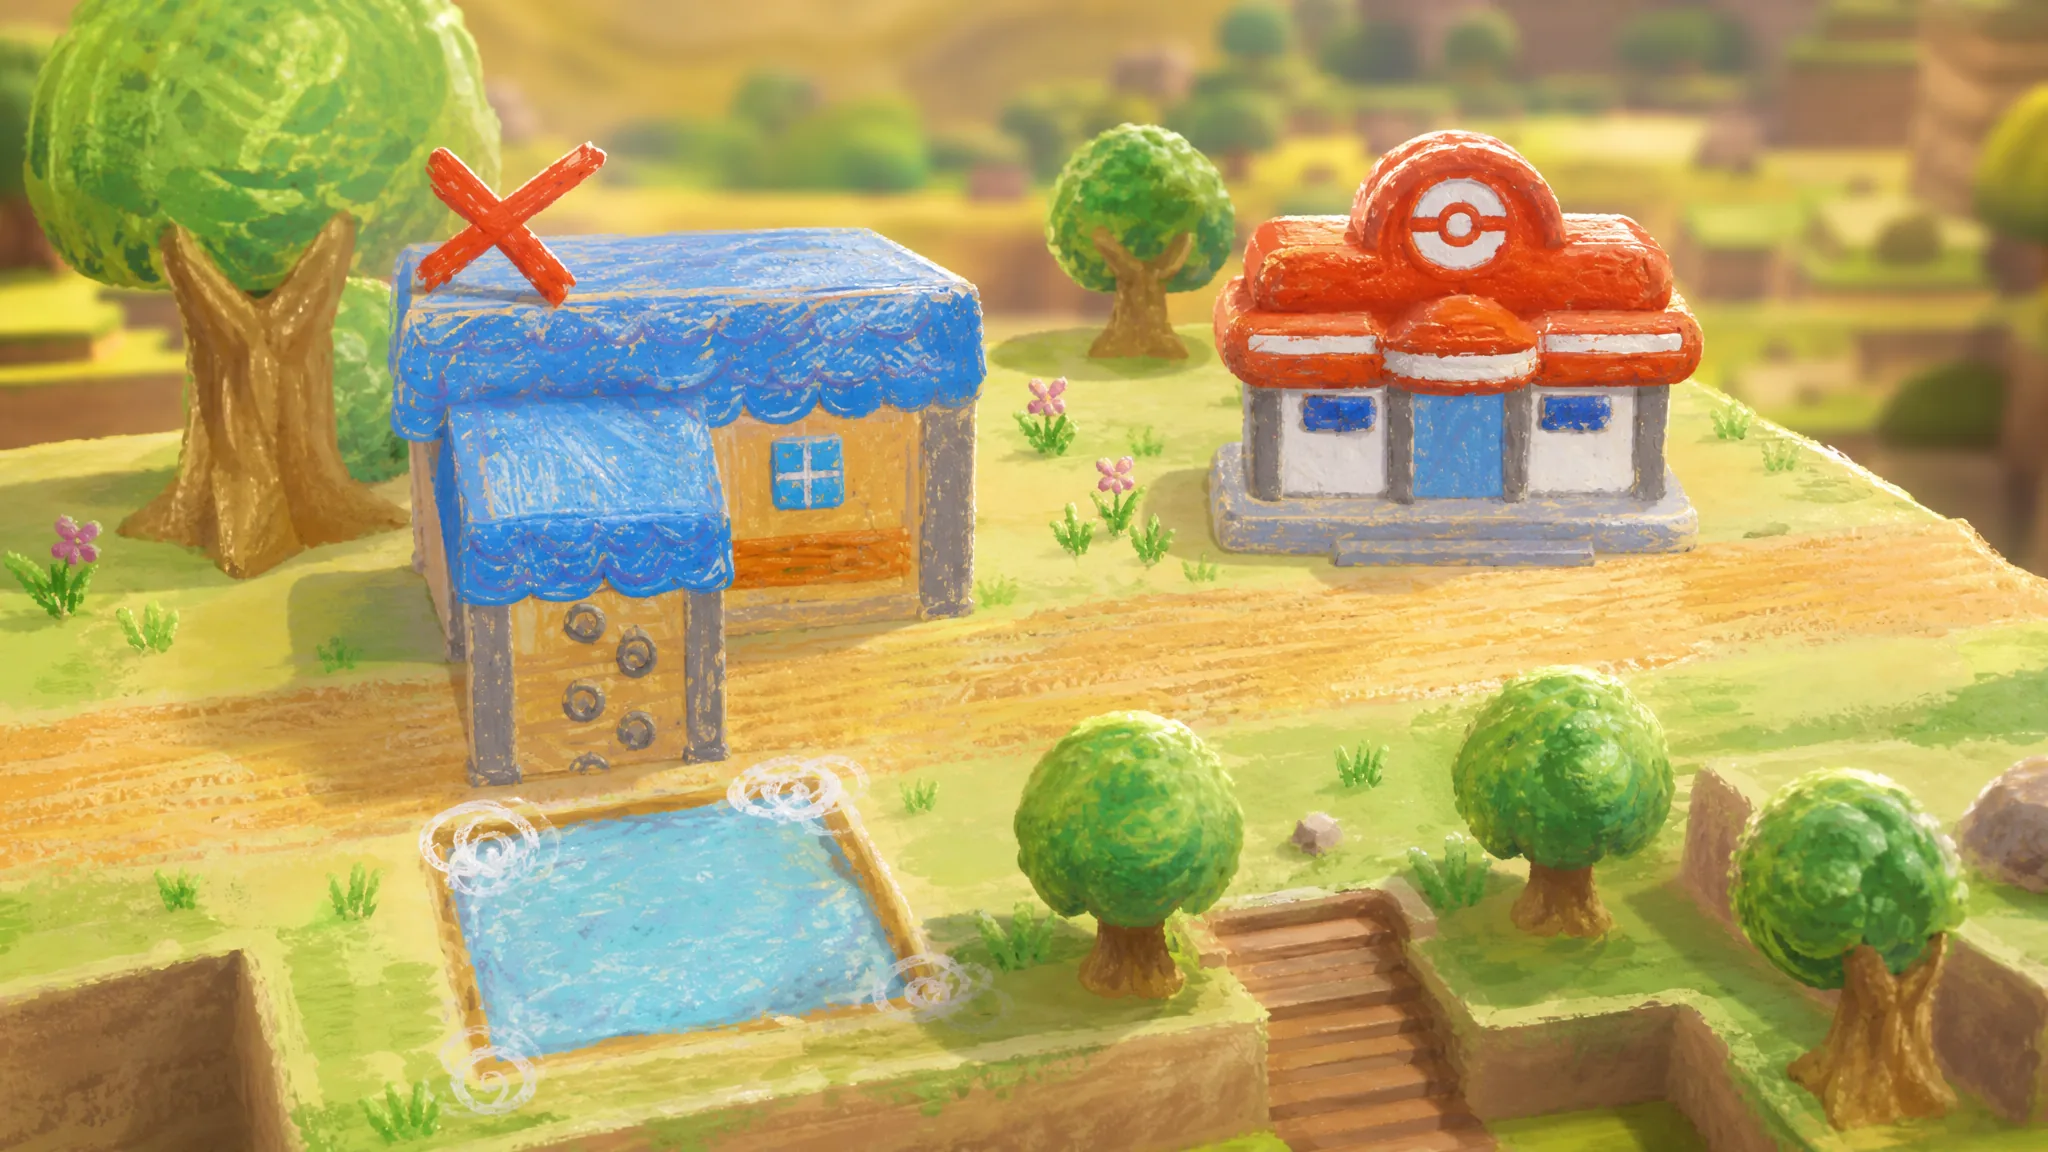
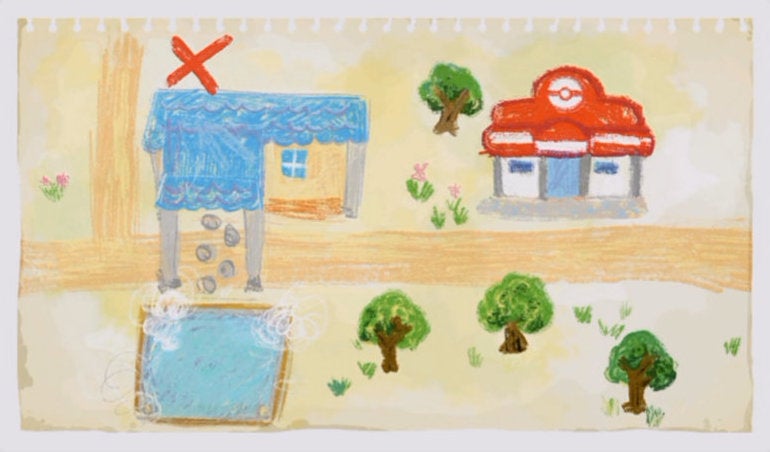
Move to the area past where the Ocean Temple gets built during the ‘Build the beautiful building’ Important Request, over toward the road by the ruined red tower. Look for the broken house with a workbench and an east-west sign.
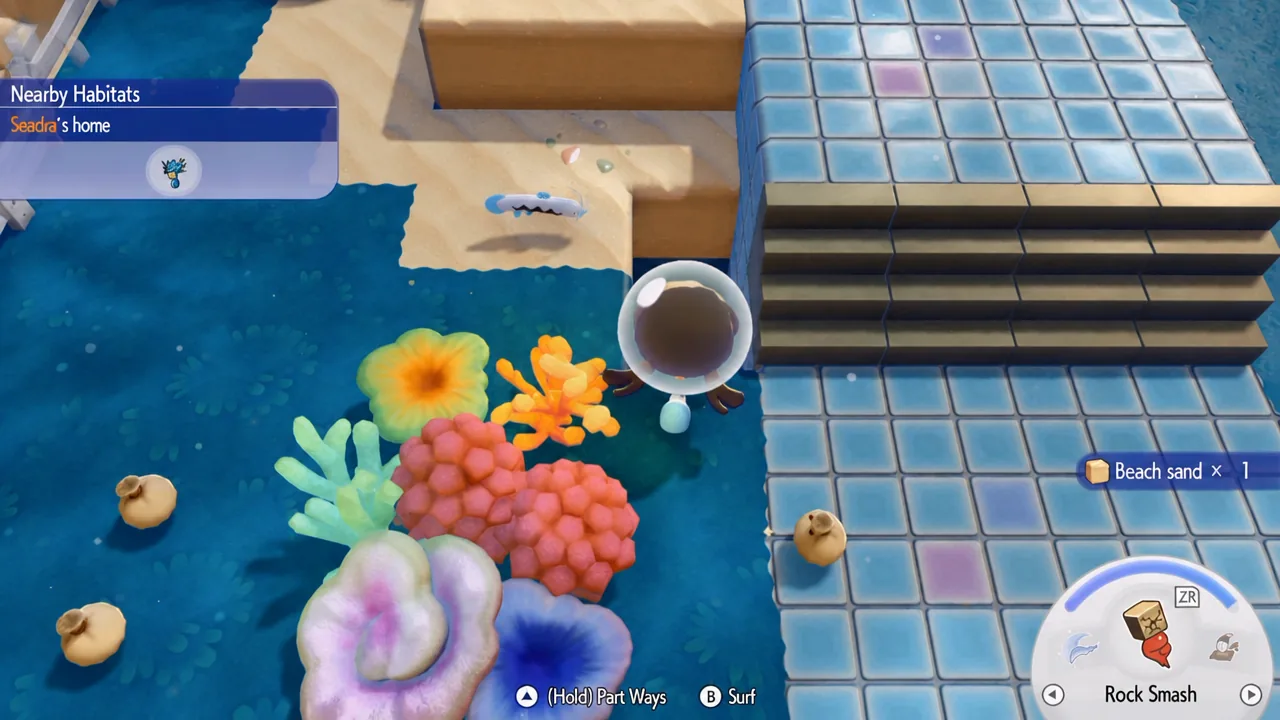
On the edge of the blue tile road, opposite the tower and to the right of the ruined house, break the Seafloor Algae blocks beneath the colorful corals. The floor gives way, so drop into the room below to grab the Decorative Heal Ball.
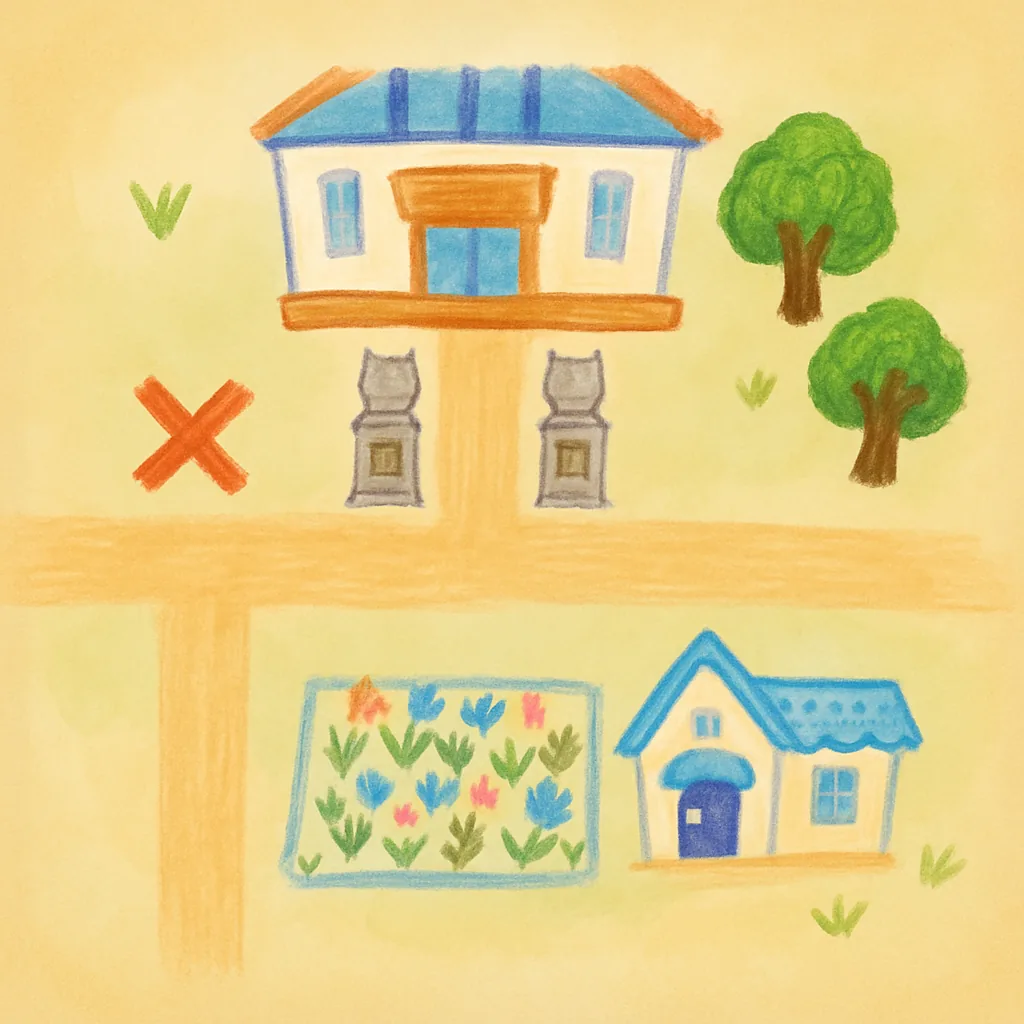
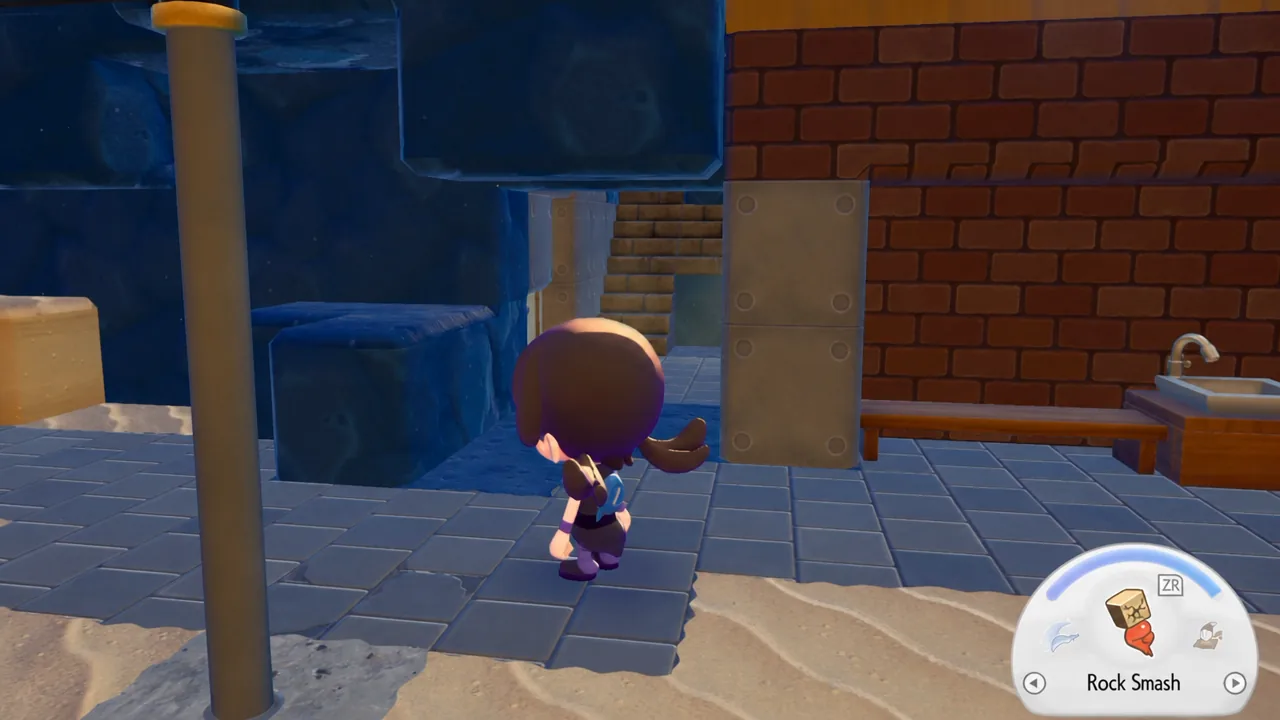
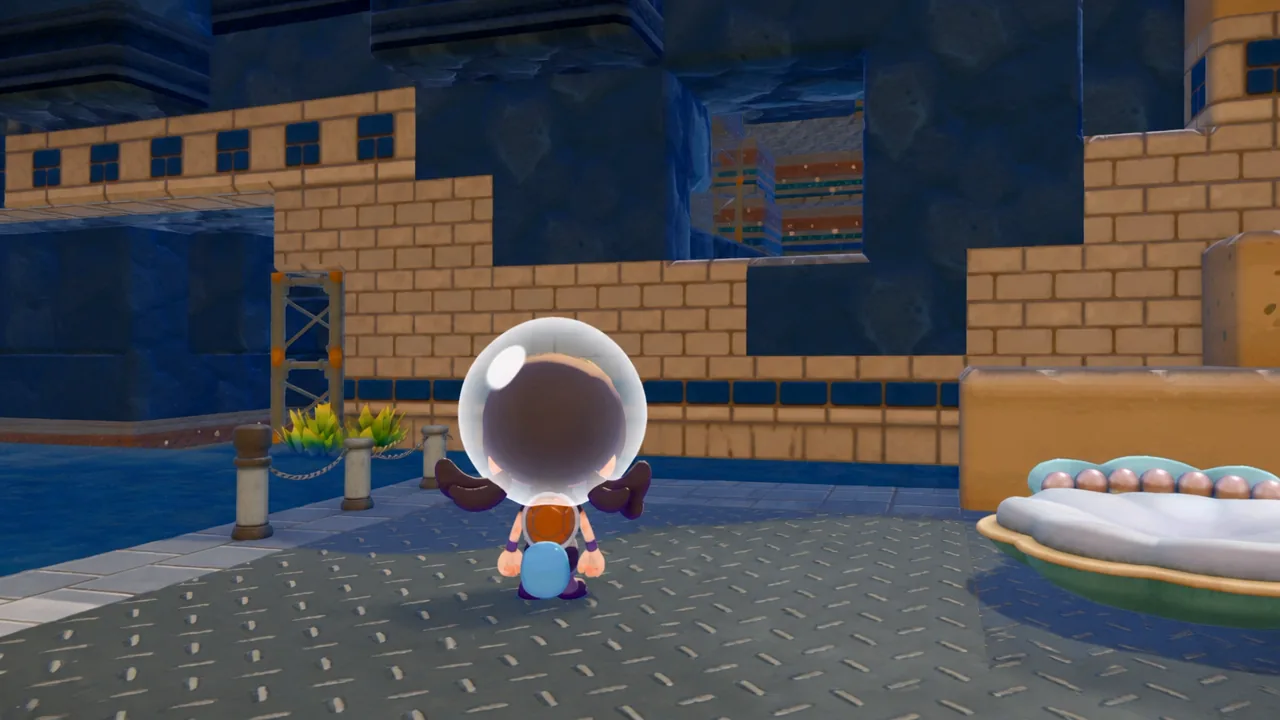
Go to the entrance square of Bubbly Basin where the metal blocks sit. You don’t need to enter the old Gym itself, just stand near it. This is the building with statues and mysterious pedestals out front.
Stand on the metal blocks and look right toward the stone wall built into the Blue Rock cliff. Smash the Blue Rocks above the point where the wall’s higher and lower sections overlap. A Search Pokémon helps a lot if you can’t pin the exact tile.
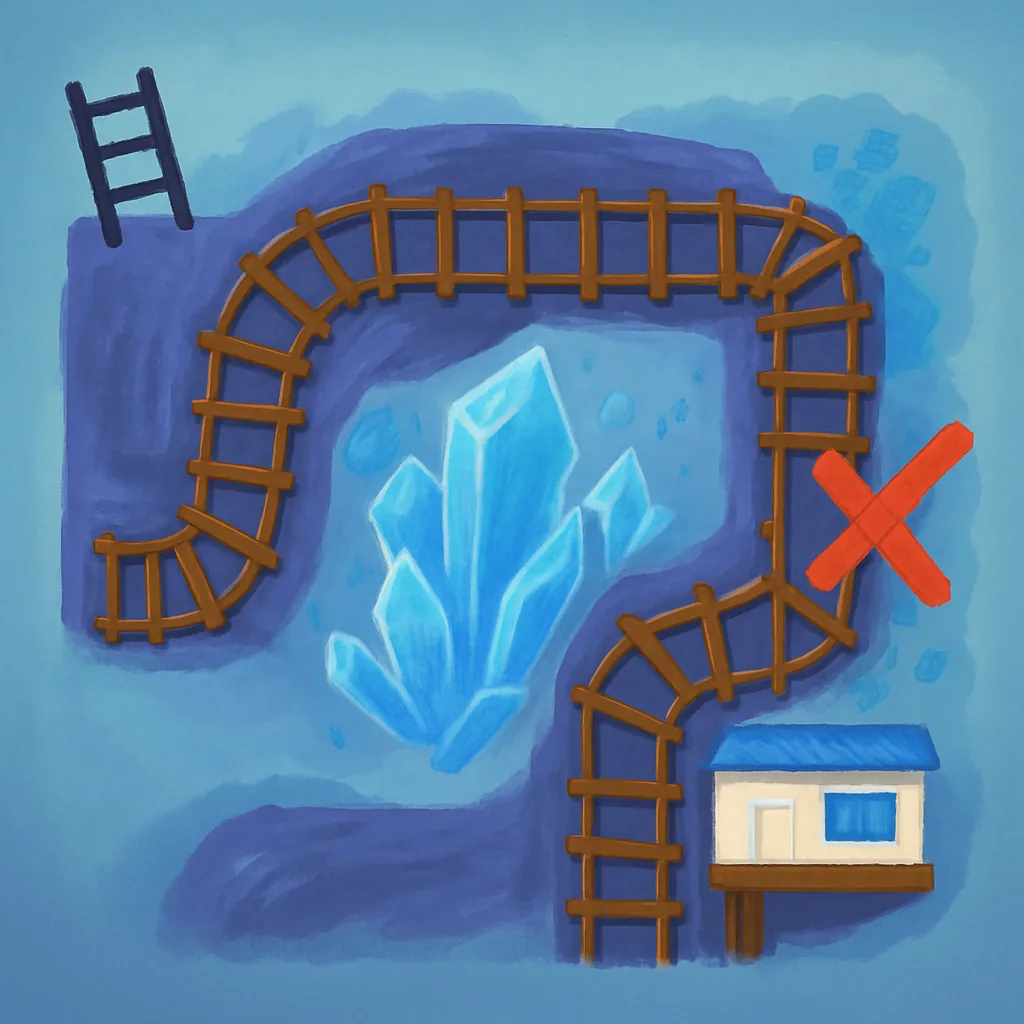
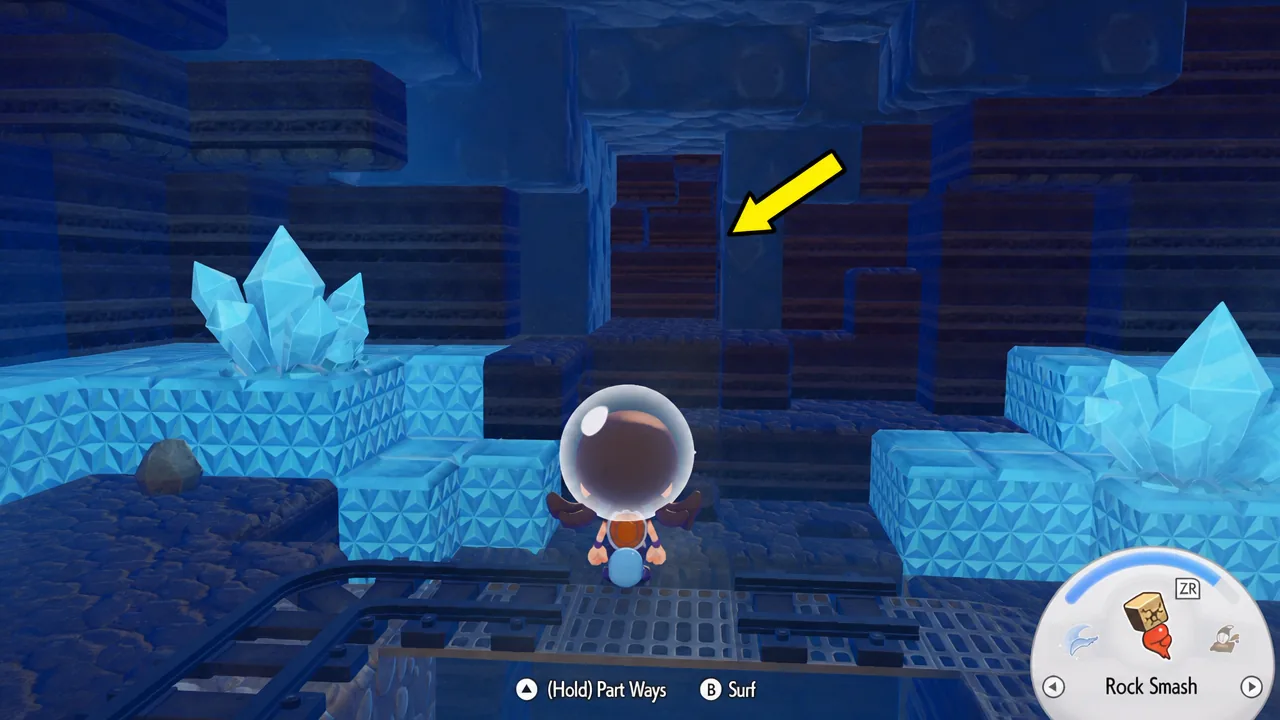
Enter the mines through the opening near the ruined garden, to the right of the ruined bridge. This is the same cave where you met Frillish and found the Starmie Doll during the story.
Follow the caves to the room with three large blue crystal blocks and the rail tracks. A clump of Blue Rocks sits between two of the big crystals, just east of the giant crystal.
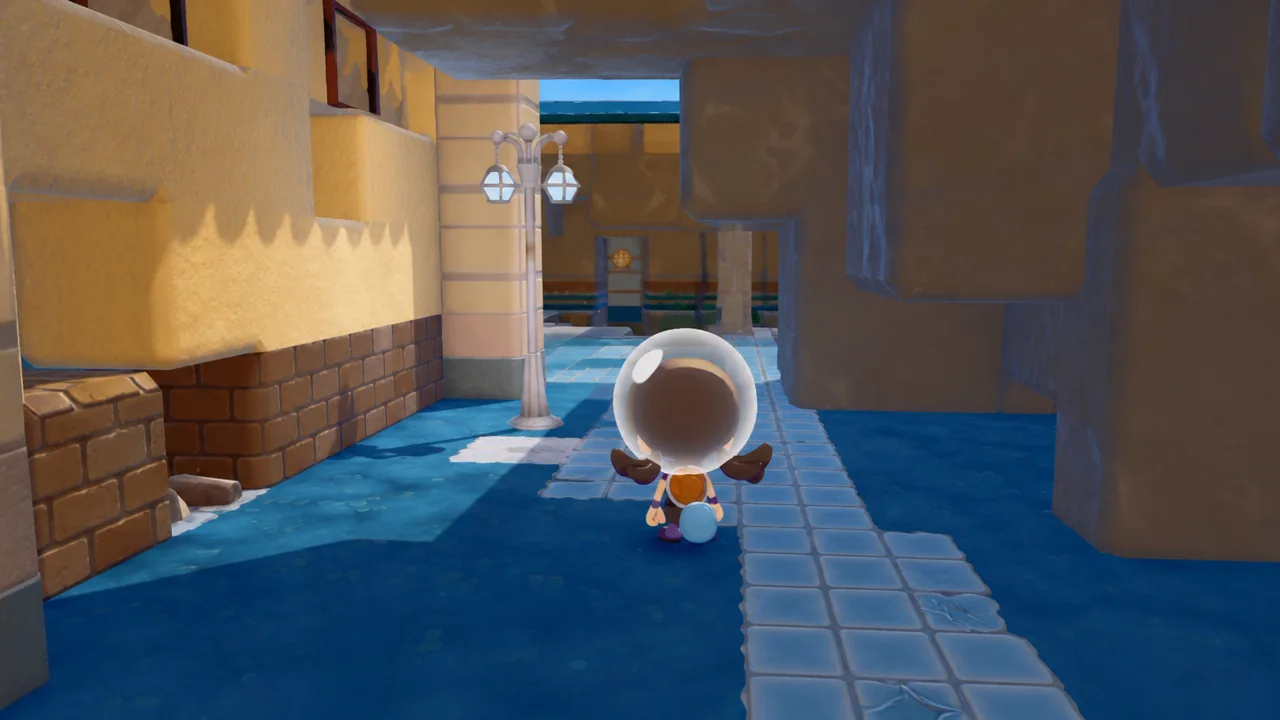
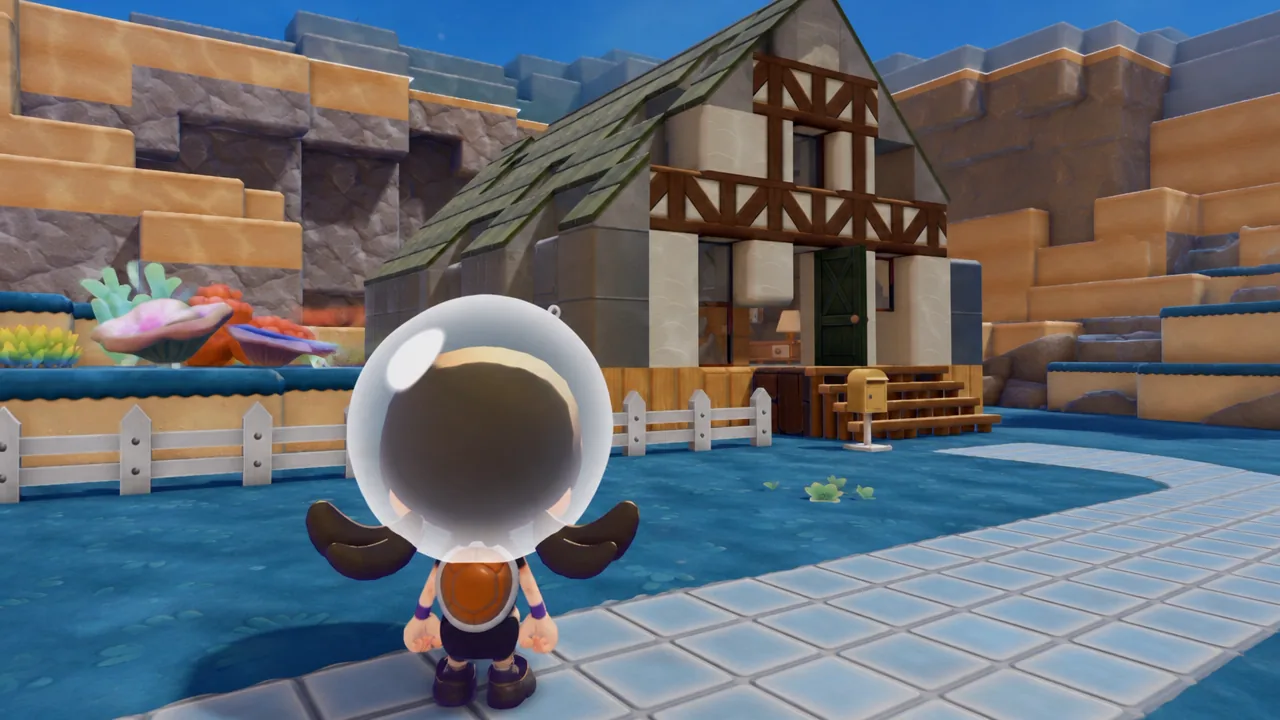
Cross the bridge in Bubbly Basin, pass through the children’s park, and follow the path right until you reach the house with the green roof, a fence, and a yellow mailbox. That’s Bill’s House, and it holds a Portal Pod inside.
To the left of the house is a lamppost against the cliff. Stand to the right of it, walk forward, and jump up the first layer of blocks. Stop before the second layer.
Break the top layer of that second block set, ideally the first four blocks in front of you, then drop down into the room to claim the Decorative Lure Ball. If you’d rather dig from inside the house, head down the basement stairs behind the cardboard boxes and break the Star-spotted Rocks to reach the same treasure.
Return to the stairs that lead to the Bubbly Basin Area Gate, the southern gate you first arrived through. To the left of the bottom of those stairs is a ruined house.
In the corner near that house, on the right-hand side, there’s a cluster of Star-spotted Rock. Smash it apart to open the room and take the Decorative Quick Ball.
Why the Decorative Poké Balls matter
Each treasure hands over a decoration, and grabbing one shows the “You found a decorative [Ball]!” message on screen. All six together are needed to build the Mermaid’s Gym habitat, which also asks for six Exhibition Stands and one Marine Sofa. Completing that habitat lets Starmie appear.
Once you’ve picked up a ball for the first time, its crafting recipe starts showing up among the daily shop specials, so you can make extra copies later without hunting them down again.
Collecting the Treasure Maps themselves
The maps are a Human Record entry, logged automatically under Bubbly Basin and taking up no inventory space. You find them by smashing the glowing blocks that appear at random spots around Bubbly Basin each day.
Whether a glowing block holds a Treasure Map is decided at random, the same way Mysterious Slates and other finds work. There are six maps total, you can only collect each one once, and you’ll need to keep breaking glowing blocks day after day until all six are logged. Since the treasure rooms themselves don’t depend on the maps, chasing the balls directly is the faster route if you just want the Mermaid’s Gym set finished.