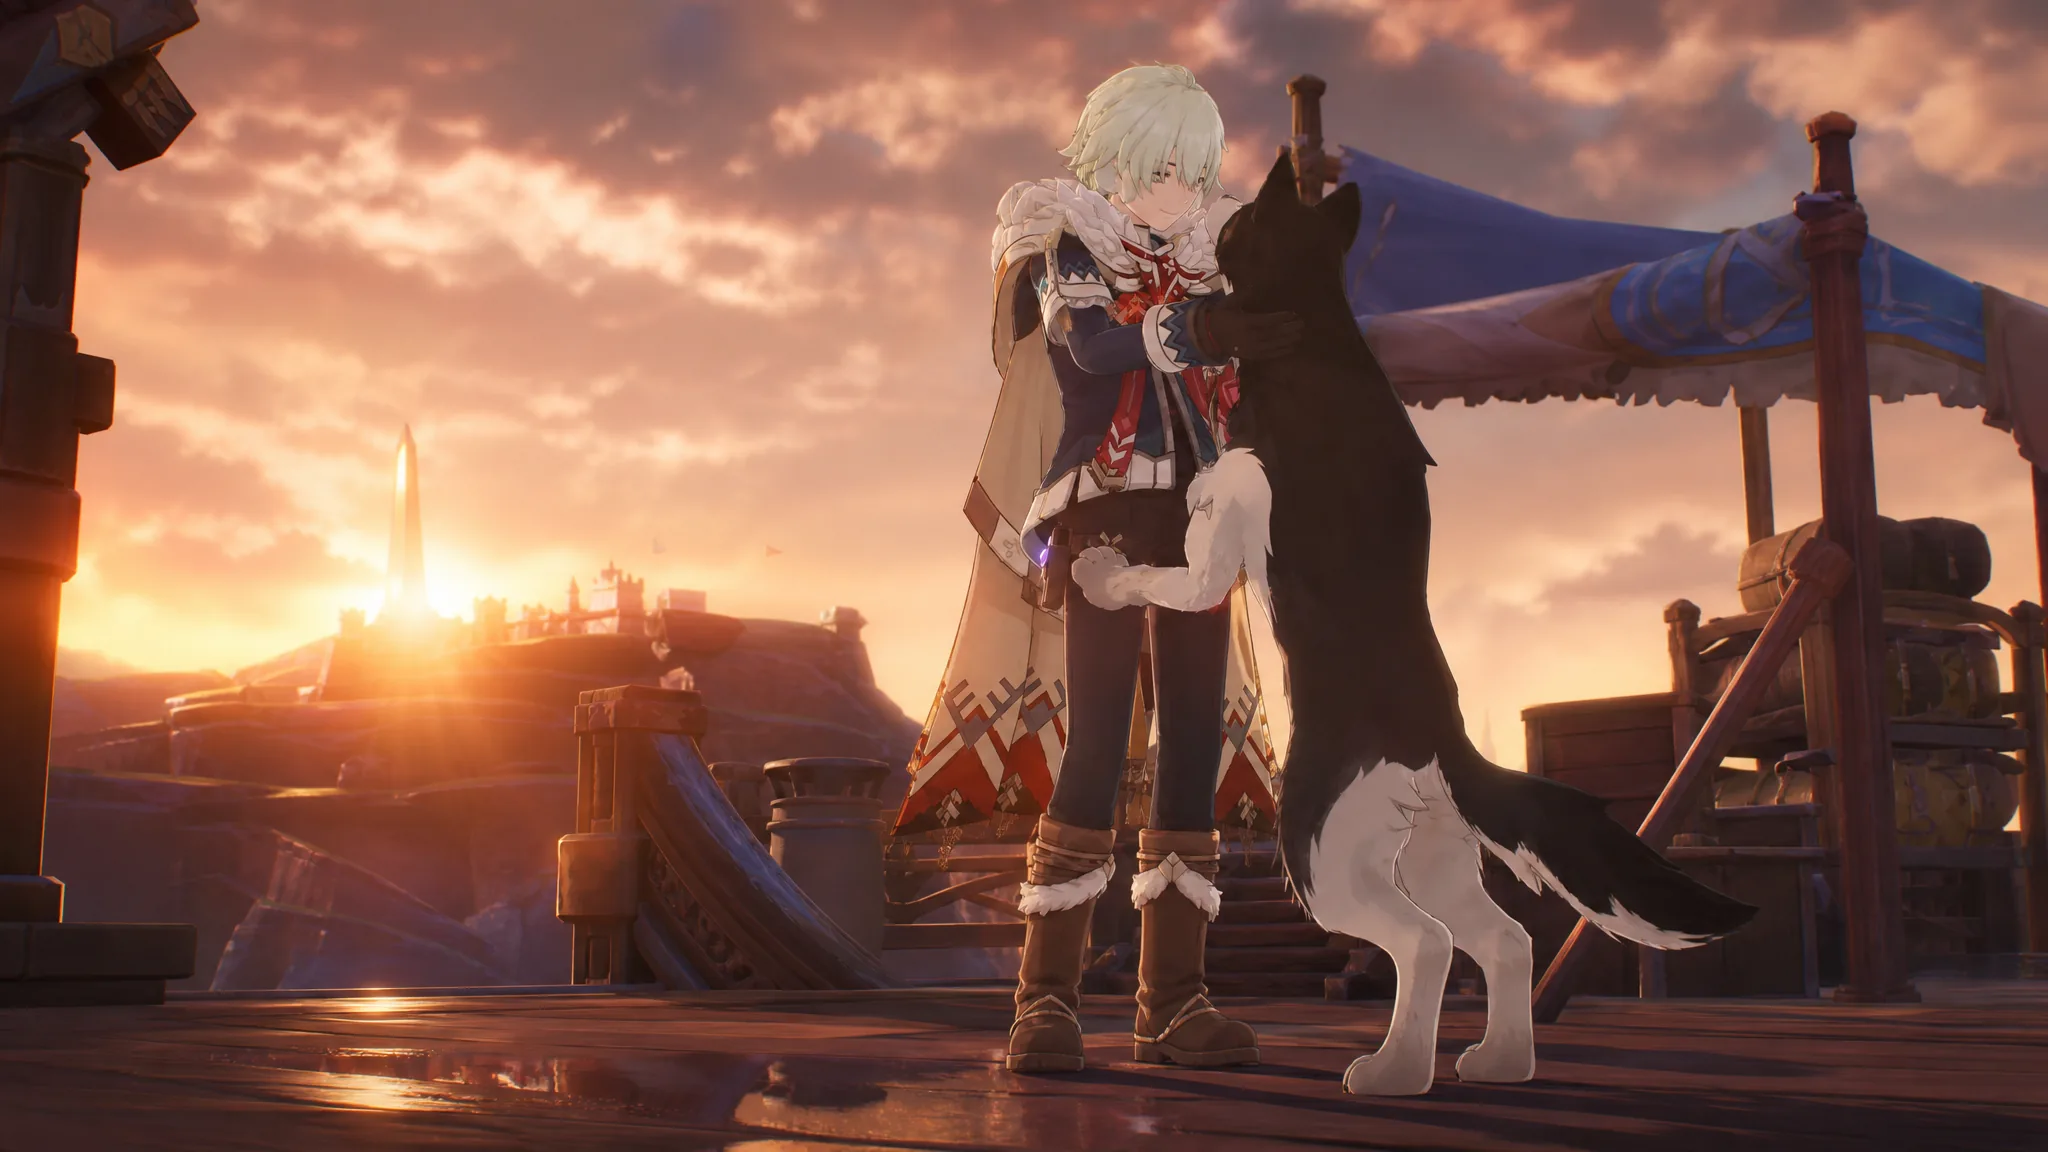
Alyosha arrives in Genshin Impact 7.0 as the first 4-star of the Snezhnaya arc, an Electro polearm support built around the Stellar-Conduct reaction. Because he is handed out for free through the 7.0 main storyline, most players start with a copy already, which makes his constellations easy to stack from limited banner duplicates. Not every star adds the same value, so the ranking below sorts all six by how much they actually improve his job as a buffer, healer, and off-field Electro enabler.
Quick answer: C6 is the strongest constellation and the one to chase, followed by C2 and C1 for consistency; C4 is a comfort pick, while C3 and C5 are minor talent-level bumps.
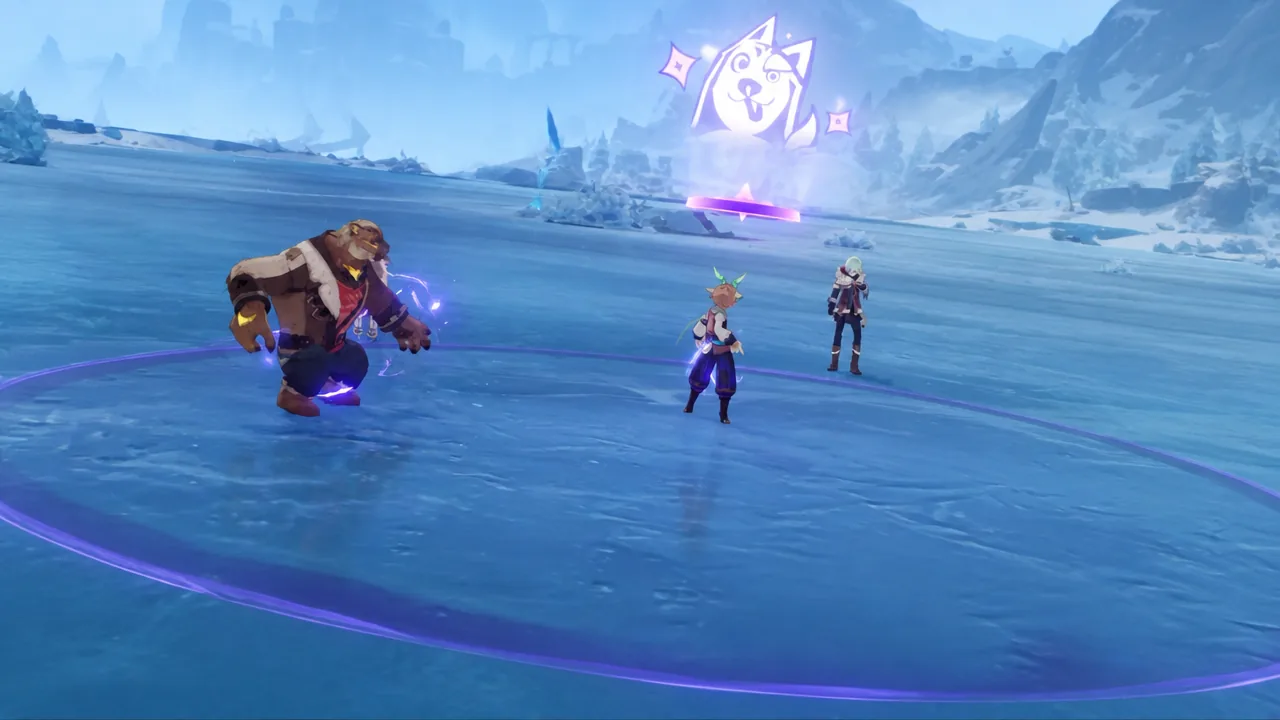
Alyosha constellation tier list
The table groups each constellation by its impact on Alyosha’s support kit. Rankings reflect the Version 7.0 kit and assume he is played in Stellar-Conduct teams, where nearly all of his value sits.
| Tier | Constellation |
|---|---|
| S | C6 – Standard Reclaimed |
| A | C2 – Howl From Afar, C1 – Frostvale Thunderclap |
| B | C4 – Harvest the Spoils |
| C | C3 – Friendly Call, C5 – When the Nightbird Falls Silent |
S tier: the constellation that defines him
C6 – Standard Reclaimed
C6 lets the Hunter’s Precision effect stack up to two times, and at two stacks it hands every nearby party member a flat 100 Elemental Mastery on top of the existing ATK and Stellar-Conduct damage buffs. For a reaction-focused team, that extra Elemental Mastery is a large swing in output. This is the payoff that turns Alyosha from a modest 4-star into a serious support piece, and it is the single upgrade worth prioritizing if you plan to invest in him at all.
A tier: consistency and uptime
C2 – Howl From Afar
C2 extends the duration of his burst, Hunter’s Advance, by six seconds. It also has Tugarin apply Hunter’s Mark before each of its attacks, though that application cannot activate an existing mark. The longer burst window means more taunting from the field, more Electro ticks, and more off-field uptime, while the automatic marking keeps his Hunter’s Precision buff cycling without Alyosha needing to land hits himself. This is the strongest early stopping point and pairs directly with C1.
C1 – Frostvale Thunderclap
C1 restores 15 Elemental Energy whenever a nearby party member triggers an Electro-related reaction on an enemy, on an 18-second cooldown. Since his kit already leans on Energy Recharge to fire his burst every rotation, this free energy smooths out his rotations considerably. It is also the cheapest star to reach because he is given out free, so a single banner duplicate unlocks it.
Note: C1 and C2 together give him close to permanent burst uptime, which is where his support value becomes reliable.
B tier: extra comfort
C4 – Harvest the Spoils
C4 makes Tugarin heal the nearby party member with the lowest HP percentage for 60% of Alyosha’s ATK on each attack. It is useful comfort for squishier teams, but the heal only targets one member rather than the whole party, so many setups still run a dedicated healer. That, plus the investment needed to reach it, keeps this below the uptime constellations.
C tier: talent-level bumps
C3 – Friendly Call
C3 raises the level of his Elemental Skill, Thunderbolt Strike, by three, up to a maximum of level 15. That slightly increases the Stellar-Conduct buff he provides. It is a reasonable pickup if you already have C2 and have primogems to spare, but it is not required to make him function.
C5 – When the Nightbird Falls Silent
C5 increases the level of his Elemental Burst by three, up to level 15. This is mostly a boost to his personal damage, which matters little for a character built to support. On the road to C6 it does scale up the field and Tugarin’s hits, but on its own it is the weakest reason to invest.
How this ranking was decided
Placements weigh each constellation by how much it strengthens Alyosha’s role as a Stellar-Conduct support: buff value, burst uptime, energy consistency, and team utility, with personal damage treated as low priority. This tier list reflects his Version 7.0 kit. Because he is a free 4-star with easy duplicate access, aim for C2 first for uptime, then push toward C6 if you run Stellar-Conduct carries like Sandrone, Wriothesley, or Odette, where his buffs pay off the most.