Yae Miko is a five-star Electro Catalyst character who now shines as an off-field trigger for the Stellar-Conduct reaction. After her Version 6.7 buffs, her Sesshou Sakura turrets can keep firing while you play another character, converting steady Electro pressure into Stellar-Conduct damage whenever a Cryo ally is on the field. The build below is tuned for that role.
Quick answer: Equip Kagura’s Verity (or Echoes of the Heart at R5 for free-to-play), run the four-piece Disenchantment in Deep Shadow set with Elemental Mastery on both the Timepiece and Goblet and a Crit circlet, and pair her with a Stellar-Conduct driver like Sandrone plus at least one Cryo unit.
Best weapons for Stellar-Conduct Yae Miko
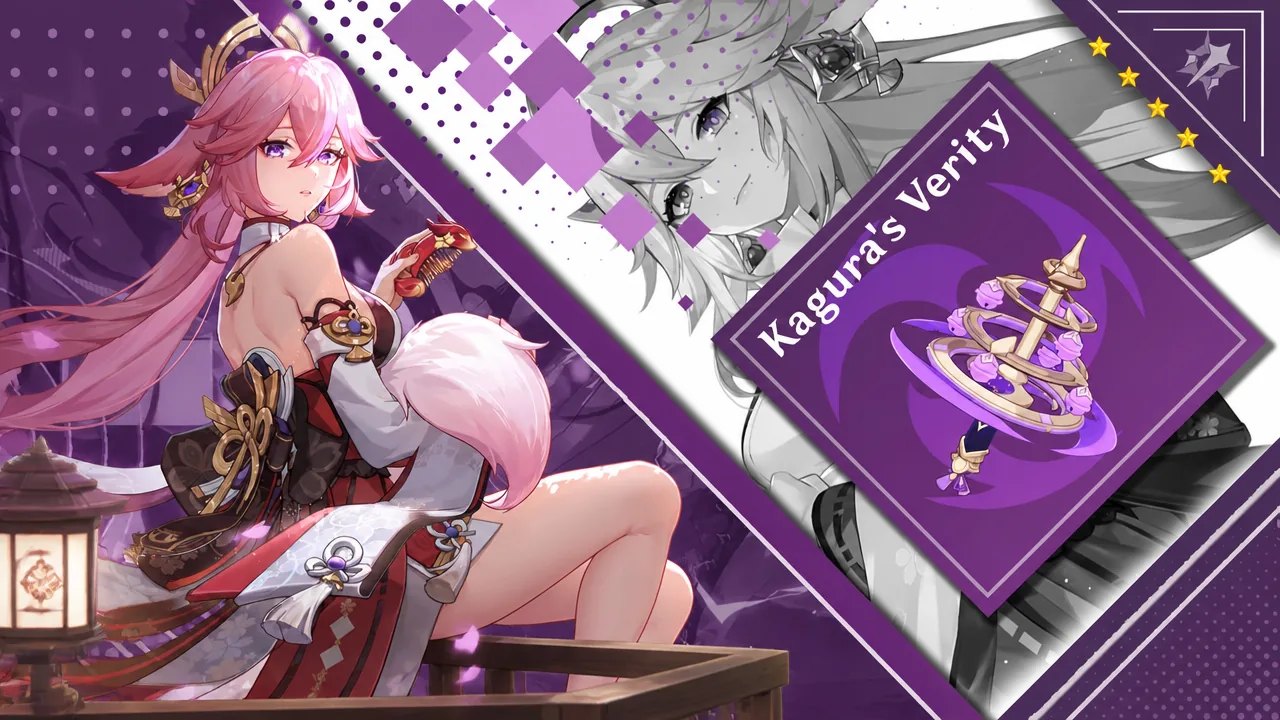
Kagura’s Verity remains her best-in-slot. It is her signature Catalyst and was updated alongside her kit, so its passive now feeds directly into Stellar-Conduct. If you cannot pull it, Echoes of the Heart is a craftable four-star that closes the gap and gives free-to-play players a viable option.
| Weapon | Base ATK | Secondary stat | Effect summary |
|---|---|---|---|
| Kagura’s Verity | 608 | 66.2% Crit DMG | Using an Elemental Skill grants Kagura Dance, increasing Elemental Skill DMG and Stellar-Conduct DMG by up to 12% per stack for 24s (max 3). At 3 stacks, gain a 12% All Elemental DMG Bonus. |
| Echoes of the Heart (R5) | 565 | 27.6% ATK | Triggering an Elemental Reaction raises Elemental Mastery by 120 for 12s; triggering a Stellar Glimmer reaction adds 32% Stellar Glimmer reaction DMG for 12s. Works off-field. |
With Kagura’s Verity, every Elemental Skill cast pushes her Stellar-Conduct damage higher, and the 66% Crit DMG keeps her hits sharp. Echoes of the Heart trades that Crit for a large Elemental Mastery spike plus a Stellar reaction damage bonus, which is why it matches the premium options closely in Stellar-Conduct teams.
Best artifact set and stat priority
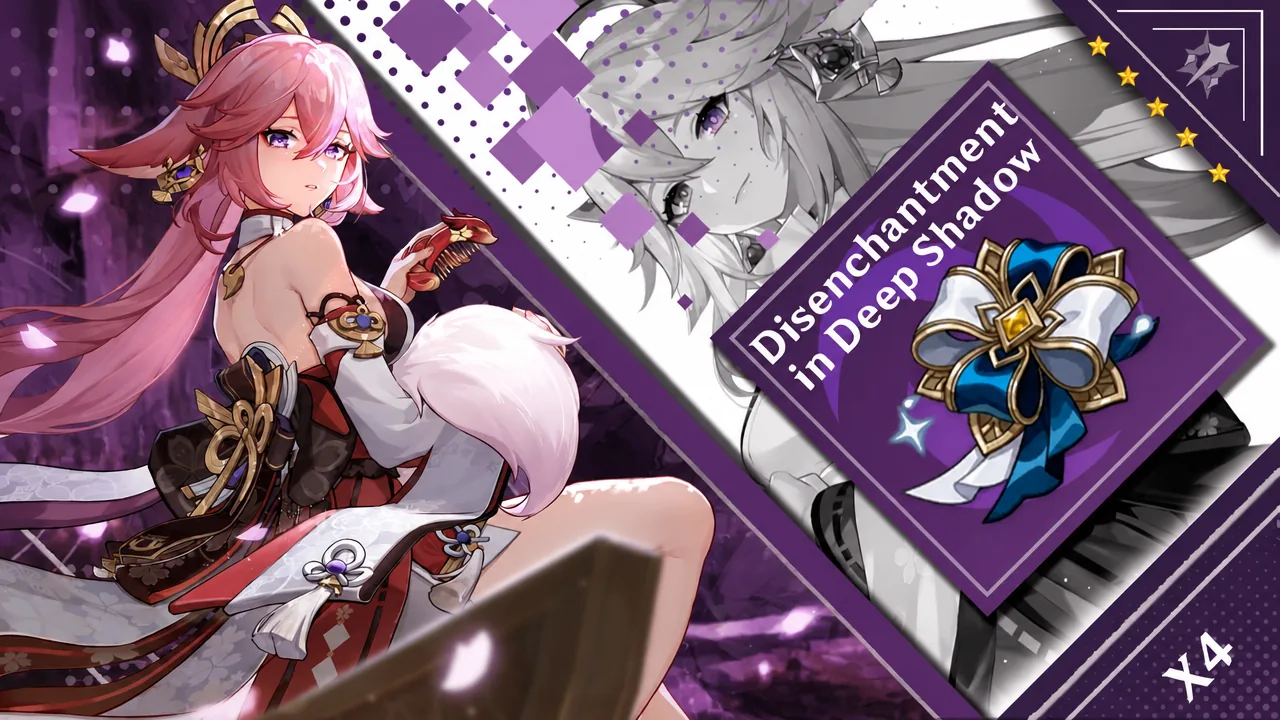
Disenchantment in Deep Shadow is the set built for Stellar-Conduct damage dealers. The four-piece bonus directly multiplies her reaction output and adds Crit Rate against affected enemies, which is exactly what her Sesshou Sakura need while she sits off-field.
| Piece | Effect |
|---|---|
| 2-Piece | ATK +18% |
| 4-Piece | Increases Superconduct Reaction DMG by 80% and Stellar-Conduct Reaction DMG by 40%. Attacking opponents affected by Superconduct or Stellar-Conduct raises that attack’s Crit Rate by 16%. |
For main stats, lean into Elemental Mastery and Crit. The circlet is where you patch whichever Crit stat your substats are missing.
| Slot | Main stat |
|---|---|
| Timepiece | Elemental Mastery |
| Goblet | Elemental Mastery |
| Circlet | Crit Rate or Crit DMG |
Prioritize substats in this order: Crit Rate, Crit DMG, then Elemental Mastery. Aim to balance your two Crit values so the 16% Crit Rate from the set does not overcap you.
Note: once you complete her rotation and swap out, the Sesshou Sakura stay on the field dealing Electro damage. A single Cryo ally is enough for those turrets to keep triggering Stellar-Conduct, so the set’s value stays high even while Yae Miko is inactive.
Best Stellar-Conduct teams
Yae Miko wants a driver who converts Superconduct into Stellar-Conduct, an off-field Cryo enabler, and a sustain unit. The two compositions below cover a premium setup and a more accessible variant.
Yae Miko, Odette, Sandrone, Qiqi
Sandrone acts as the on-field driver and, like Odette, turns Superconduct into Stellar-Conduct. Odette and Yae Miko supply off-field Cryo and Electro, while Qiqi adds extra Cryo application and healing. All four passives feed Stellar-Conduct damage, and Yae Miko’s turrets keep pace with the team’s Cryo output. You can swap Qiqi for Alyosha, another healer who also adds off-field Electro.

Yae Miko, Cryo Traveler, Alyosha, Diona
This is the free-to-play route. The Cryo Traveler replaces Odette and can also convert Superconduct into Stellar-Conduct. Alyosha and Diona provide off-field Electro and Cryo to keep the reaction chain going, with Diona covering healing. It is a solid, low-investment version that still clears content.

Constellation priority
C1 and C6 give the biggest gains for a Stellar-Conduct build, with C2 close behind. C4 is a middling stepping stone. The table ranks each by how much it moves her performance.
| Constellation | Effect | Value |
|---|---|---|
| C1 – Yakan Offering | Restores 8 Energy per Tenko Thunderbolt. After triggering Superconduct or Stellar-Conduct, or dealing Stellar-Conduct DMG, nearby party members gain 50% Electro DMG and Stellar-Conduct DMG Bonus for 10s, refreshed on retrigger. | Priority |
| C2 – Fox’s Mooncall | Sesshou Sakura start at Level 2, max level rises to 4, and range grows 60%. While turrets are out, Yae Miko and the active character gain 60–200 Elemental Mastery based on turret level. | Priority |
| C6 – Forbidden Art: Daisesshou | Sesshou Sakura attacks ignore 60% of enemy DEF, and her Stellar-Conduct Crit DMG is increased by 200%. | Priority |
| C4 – Sakura Channeling | Sakura lightning hits grant nearby allies 20% Electro DMG Bonus for 5s and restore 8 Energy every 5s. Elemental Burst DMG is increased by 100%. | Medium |
If you are choosing a milestone, C1 is the strongest single stop because its team-wide Stellar-Conduct and Electro buff scales the whole party, while C6 pushes her personal ceiling with DEF ignore and a large Crit DMG jump. Put those pieces together and Yae Miko becomes one of the most reliable off-field Stellar-Conduct triggers available.