Hitting a target with a mortar in Hell Let Loose: Vietnam comes down to one thing. You set the launch angle to match the distance shown by the target ping. Lower angles reach farther, higher angles land closer, and the mapping between the two is fixed. Once you know the numbers, aiming becomes a quick lookup rather than guesswork.
Quick answer: Line the vertical line of the mortar reticle over the enemy ping, then raise or lower the barrel until the elevation matches the pinged range. For example, a 175m ping needs 67°, and a 225m ping needs 49°.
Who does what in a mortar squad
A mortar squad runs on three roles working together. The gunner carries the Wrench and Hammer tools needed to build the mortar in a suitable spot, fires the flare gun over the enemy, and marks targets. Each mark shows up as a ping with its distance attached, which is the number you aim by.
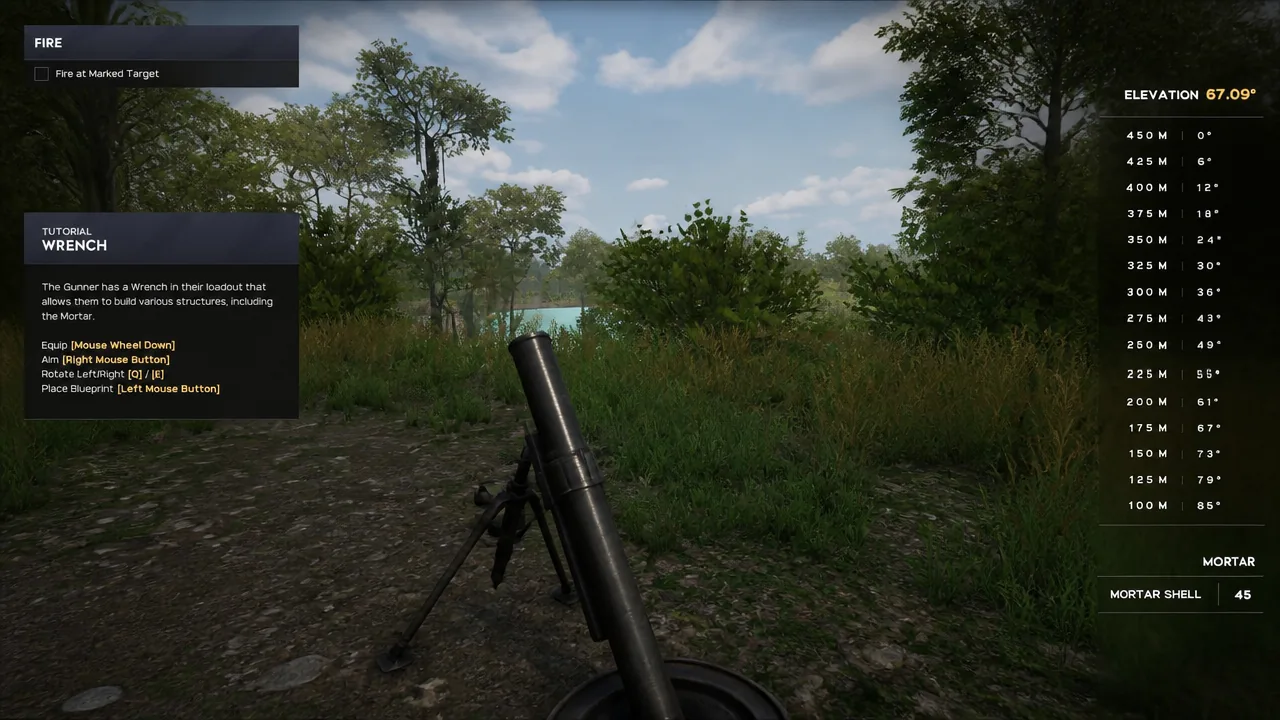
The observer takes that ping and turns the mortar toward the enemy, then sets the correct elevation. The support drops a shell into the tube and fires. After the first round lands, the gunner watches where it hits and calls corrections so the observer can adjust direction and range for a tighter shot.
Mortar angle to range chart
The elevation you set decides how far the shell travels. Read the distance on the target ping, then dial the barrel to the angle that matches it. The relationship is inverse, so a flatter barrel throws the round farther and a steeper barrel drops it in short.
| Angle (degrees) | Range |
|---|---|
| 0 | 450m |
| 6 | 425m |
| 12 | 400m |
| 18 | 375m |
| 24 | 350m |
| 30 | 300m |
| 36 | 275m |
| 43 | 250m |
| 49 | 225m |
| 55 | 200m |
| 67 | 175m |
| 73 | 150m |
| 79 | 125m |
| 85 | 100m |
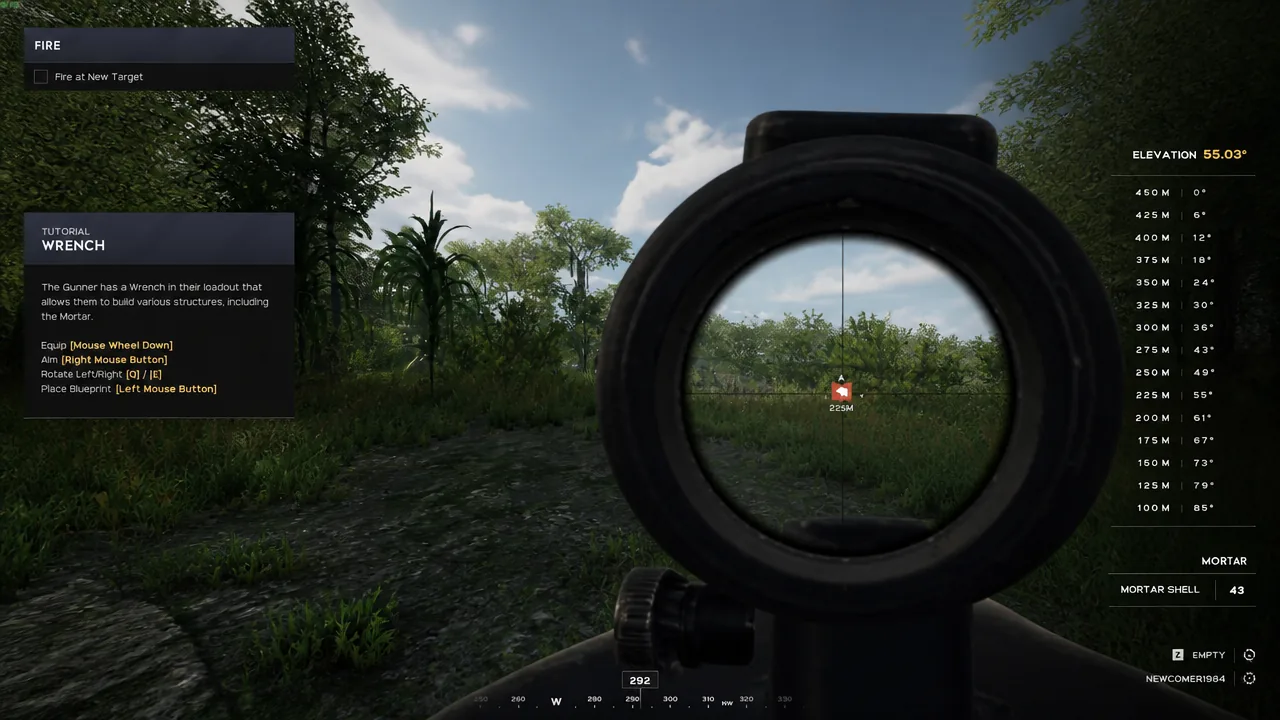
Note: If a ping falls between two listed distances, nudge the angle slightly toward the closer value and let the gunner’s spotting correct the rest.
How to set a mortar for a marked target
Common reasons a shot misses
Most misses trace back to a mismatch between the ping distance and the angle you set. If the shell overshoots, your barrel is too flat, so raise the angle. If it drops short, the barrel is too steep, so lower it. Direction errors come from the vertical reticle line drifting off the ping, so recheck your left-right alignment before firing the next round.
Keep the gunner talking through each impact. A single corrected shot is usually enough to walk rounds onto a stationary target, and staying inside the chart’s angle range keeps every shell predictable.