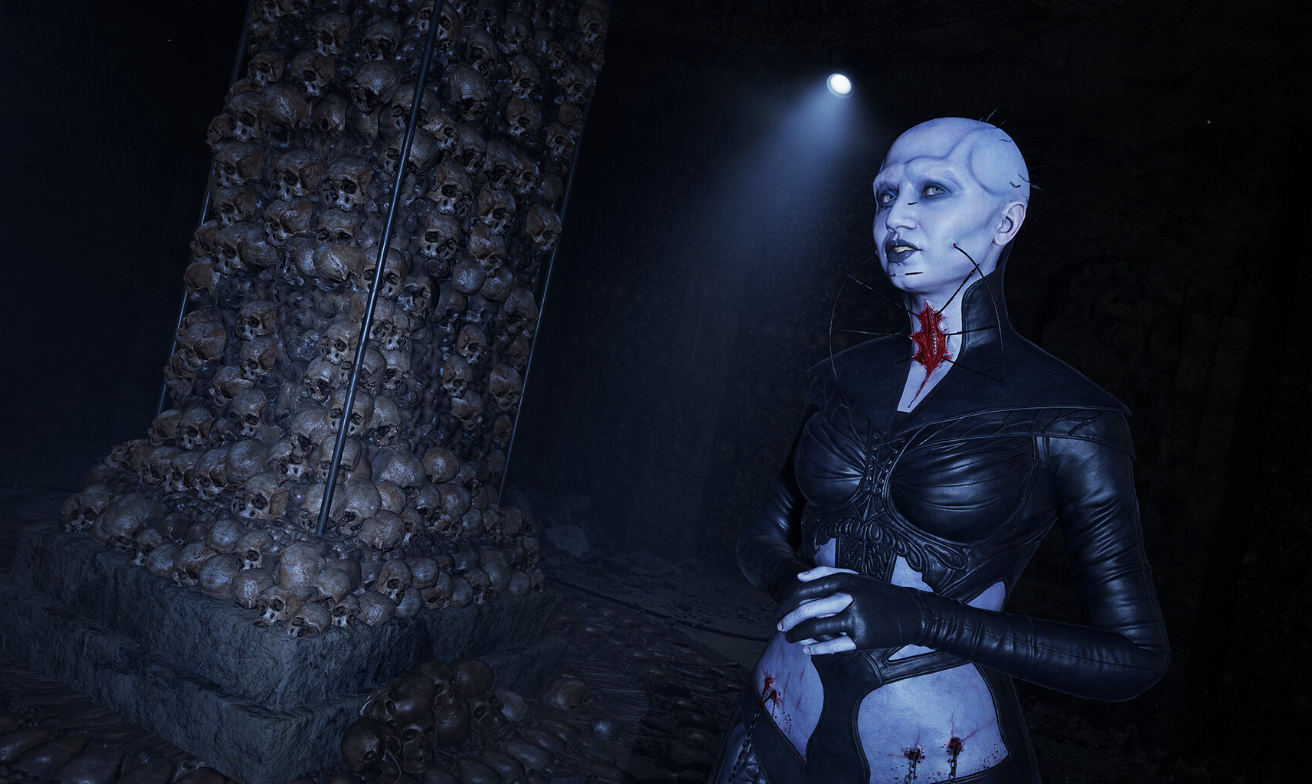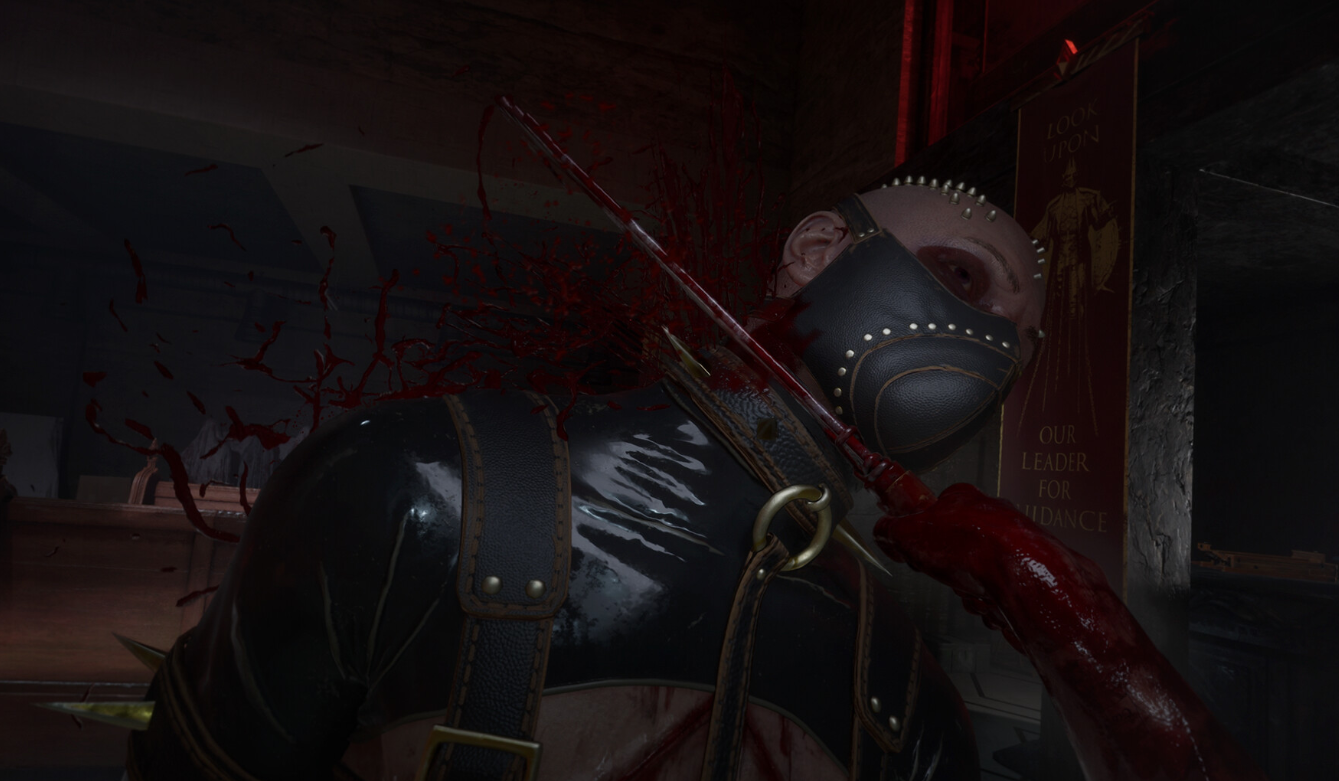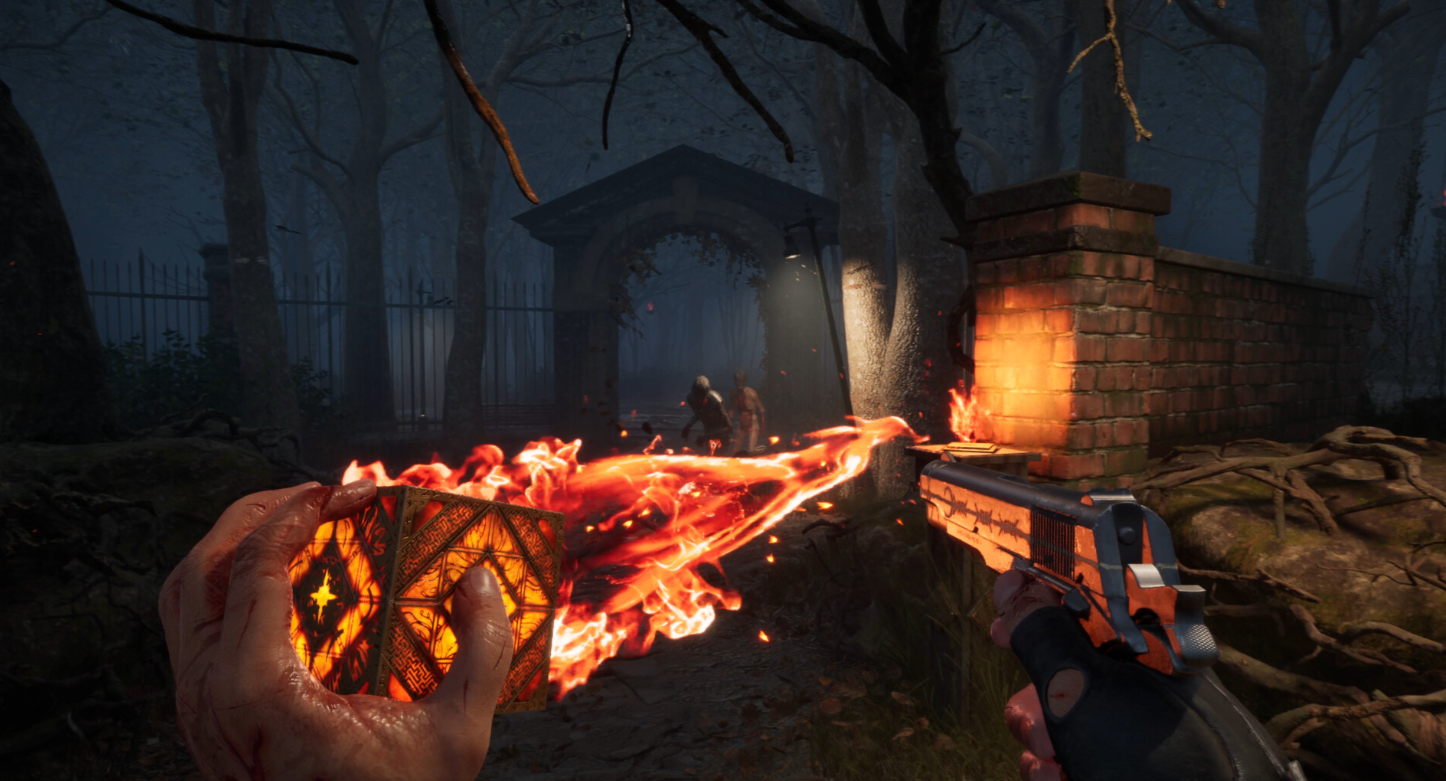
Sunny’s Soul Pillar sits deep in the Field of Souls, the area Pinhead sends you into after your meeting with him. Every pillar there holds a trapped soul, and Sunny’s opens only when you reshape the Genesis Configuration into the silhouette that acts as its lock. Getting there means slipping past pursuing Cenobites and clearing a floating-block door first.
Quick answer: At Sunny’s pillar, rotate one end of the Configuration once, flip to the opposite end, change its configuration twice without rotating it, then confirm. The pillar activates.
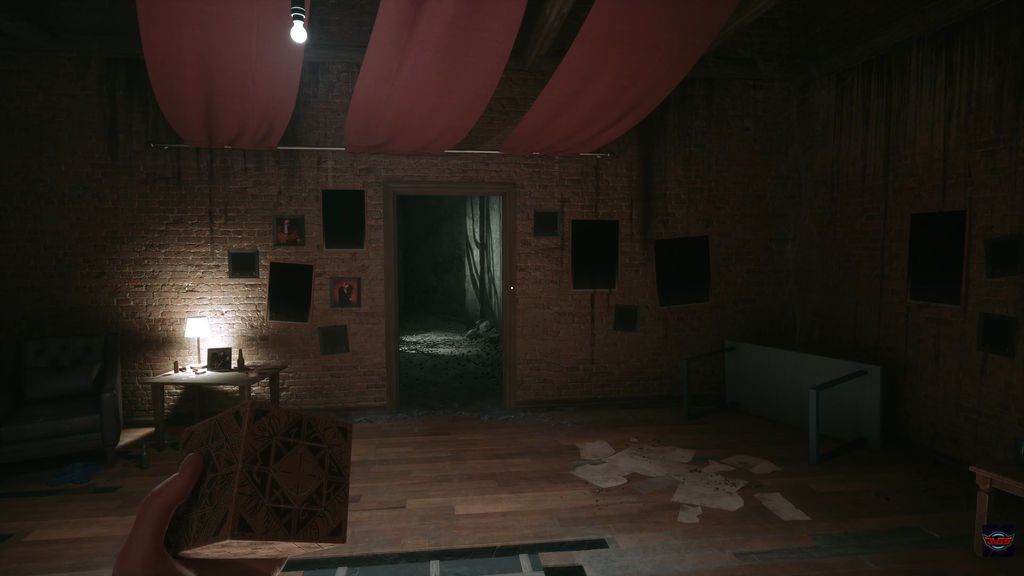
Reach Sunny’s pillar: the floating-block door
Before the pillar itself, the route runs through a chase. Walking Cenobites follow you through narrow corridors, and you keep moving until you drop into a room with several pillars and a sealed door. Progress stops here until you move two blocks that hang in the air on the far side of the room.
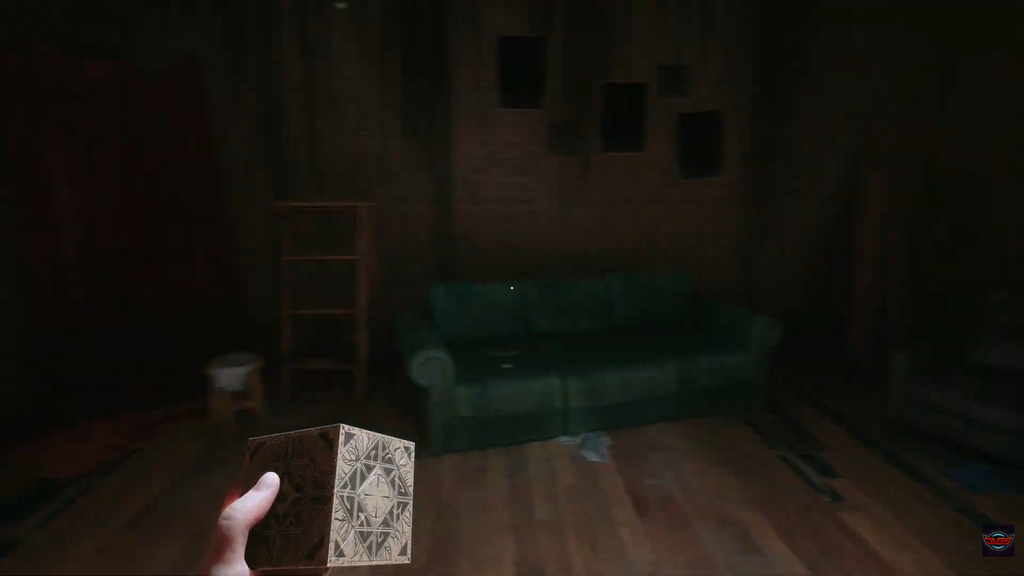
If nothing happens, the block is close but not touching. Check the alignment from a different angle, since the camera can make it look connected when it is not.
Grab the Max Suffering upgrade in the Field of Souls
An offshoot in the Field of Souls contains a Suffering stand that permanently increases the Configuration’s maximum Suffering. Suffering is the blue gauge at the lower-left of the screen; it indicates how much charge the cube holds for picking up objects and throwing them at enemies. A longer gauge lets you do this more times before it runs out.
After the scene where the protagonist tries to hang himself, you arrive in a foggy area littered with broken pillars. Skip the direct route to the main objective and follow the paths branching around the rubble; one of them reaches the stand. Interact with it to raise the cube’s maximum charge.
Solve the Soul Pillar Configuration puzzle
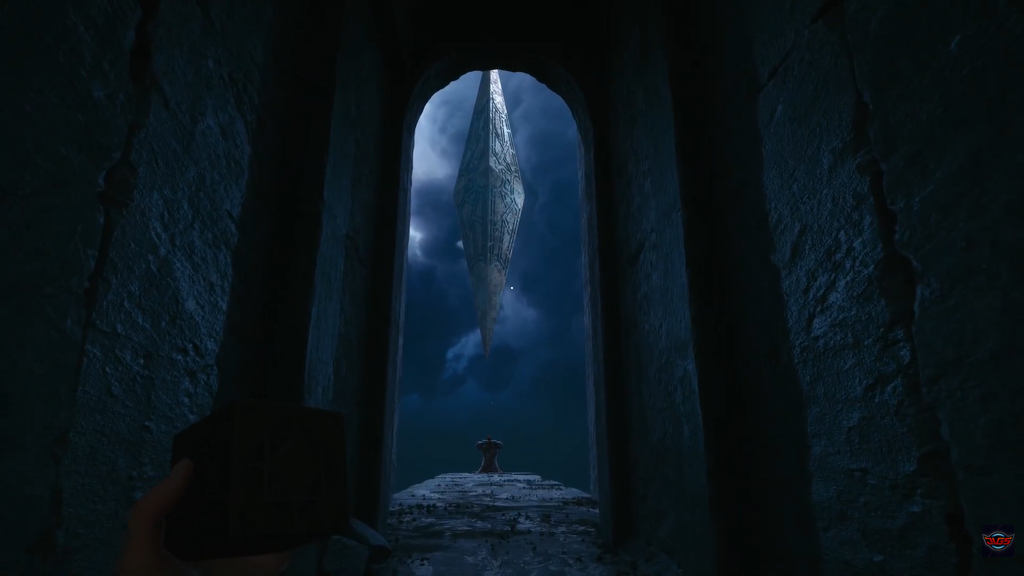
At Sunny’s pillar, interact with the socket to start the three-dimensional puzzle. The goal is to match the cube’s shape to the indentation in the pillar. The trick is knowing that rotating a face and changing its configuration are two separate actions, and mixing them up stops the cube from fitting.
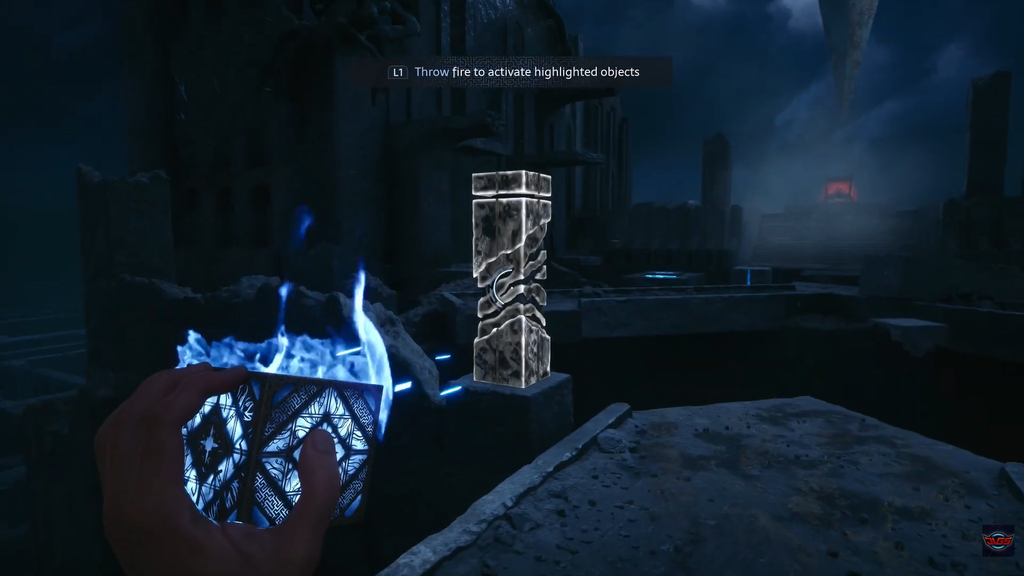
If the attempt fails, recheck your inputs. The first end needs exactly one rotation, and the second end needs exactly two configuration changes with no rotation.
You know it worked when the shape slides into the pillar’s recess and the mechanism triggers a cutscene, with the pillar collapsing afterward.
What happens after you free Sunny
Activating the pillar reaches Sunny, but she is in a far worse state than expected. Releasing her soul alone does not restore her, so the next objective begins here: you must bring three hearts to Sunny to return her to the condition she can live in. That search sends you into new areas with fresh enemies and more puzzles ahead.