Gaming News

In the Dwelling of Life Walkthrough in Genshin Impact (Version 7.0)

Every subquest, puzzle solution, and boss fight needed to finish this Flamefeather Valley world quest and claim the Eye of Graeae fragment.

Every subquest, puzzle solution, and boss fight needed to finish this Flamefeather Valley world quest and claim the Eye of Graeae fragment.

In the Dwelling of Life is the world quest chain that opens up the Flamefeather Valley region in Snezhnaya, introduced with Genshin Impact Version 7.0. It runs through seven linked subquests, mixes Prime Ice Construct puzzles with TPS-mode shooting, and ends with the second fragment of the Eye of Graeae. The route is long, so knowing where each lever, keycard, and boss sits keeps you moving without backtracking.

Quick answer: Activate the Statue of the Seven in Snezhnograd during the Great Deeds on the Tundra subquest of the Everwinter Without Mercy Archon Quest, fast travel to Morepesok, then walk southwest to the Statue of the Seven and approach the Volkodlak on the frozen pond to start the chain.


How to unlock and start the quest

The chain becomes available as soon as you activate the Statue of the Seven in Snezhnograd. That area only opens while you progress the Great Deeds on the Tundra subquest inside the Everwinter Without Mercy Archon Quest, so finish that step first.

Once Snezhnograd is unlocked, fast travel to Morepesok. The simplest route uses the event waypoint for the Mutual Aid in Bloom: Into the Frostlands event, which drops you close to the city. You can also take the Train to Morepesok Station, found on the left side of the Station Map in the Train interface. From Morepesok, head southwest to the Statue of the Seven in Flamefeather Valley and approach the Volkodlak on the frozen pond. Defeating that enemy triggers the first subquest.
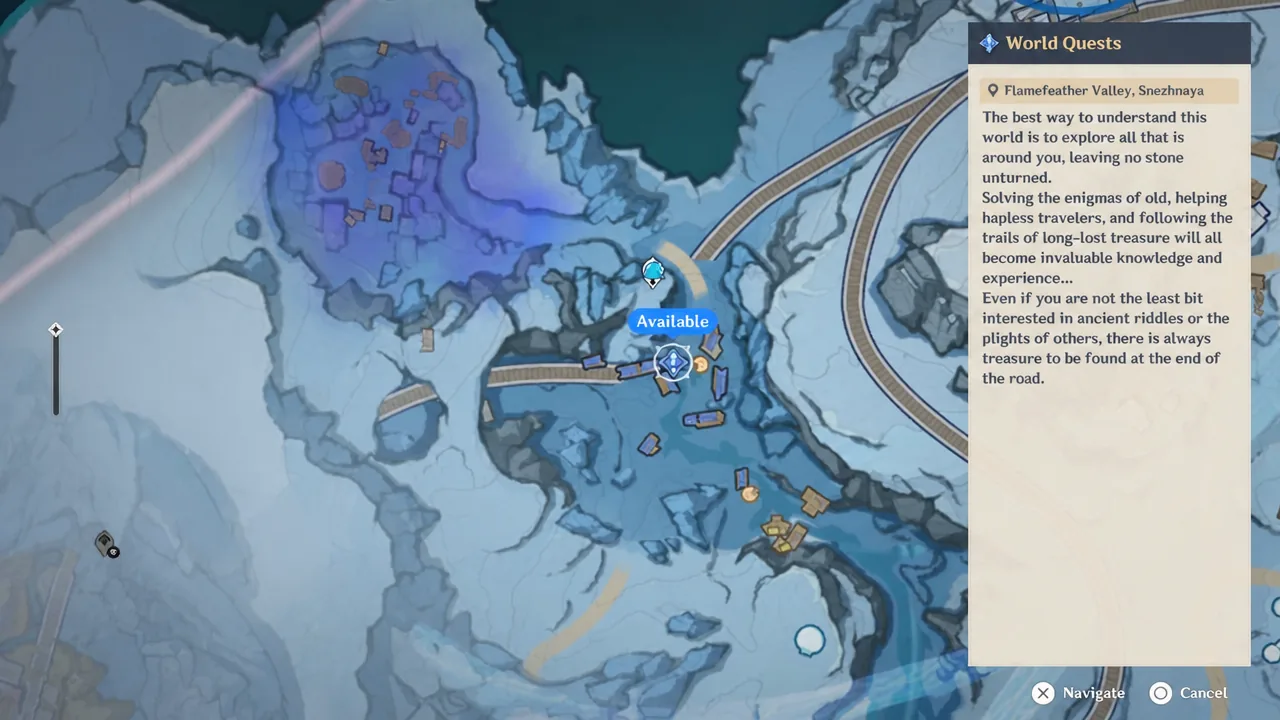
genshin-impact-in-the-dwelling-of-life-quest-full-walkthrough - how to trigger and start the quest
Image via HoYoverse

Subquest order and objectives

The chain runs through seven parts in a fixed order. Each one begins automatically when the previous finishes.

#SubquestMain task
1A Sprout Without a GardenerClear the tunnel and reach Okurov with Nastya
2Transplanted From “Yesterday” to “Tomorrow”Move through the station and follow Nastya until you fall into the sewer
3Down in the DumpsCollect three keycards and return to the surface
4Back on One’s FeetEnter Ove’s house, grab the Control Wheel, ride the elevator
5Forbidding Doors of MelancholyReach the assembly hall and find Nastya’s “home”
6To Rest in a Forgotten FieldDefeat the boss on the path
7Chorus of SolaceWitness the ending and claim the Eye of Graeae fragment

A Sprout Without a Gardener

After the opening fight, the defeated NPC mentions a stash in an abandoned tunnel. Follow the quest marker west until the objective changes to clearing the obstacle blocking the tunnel entrance.
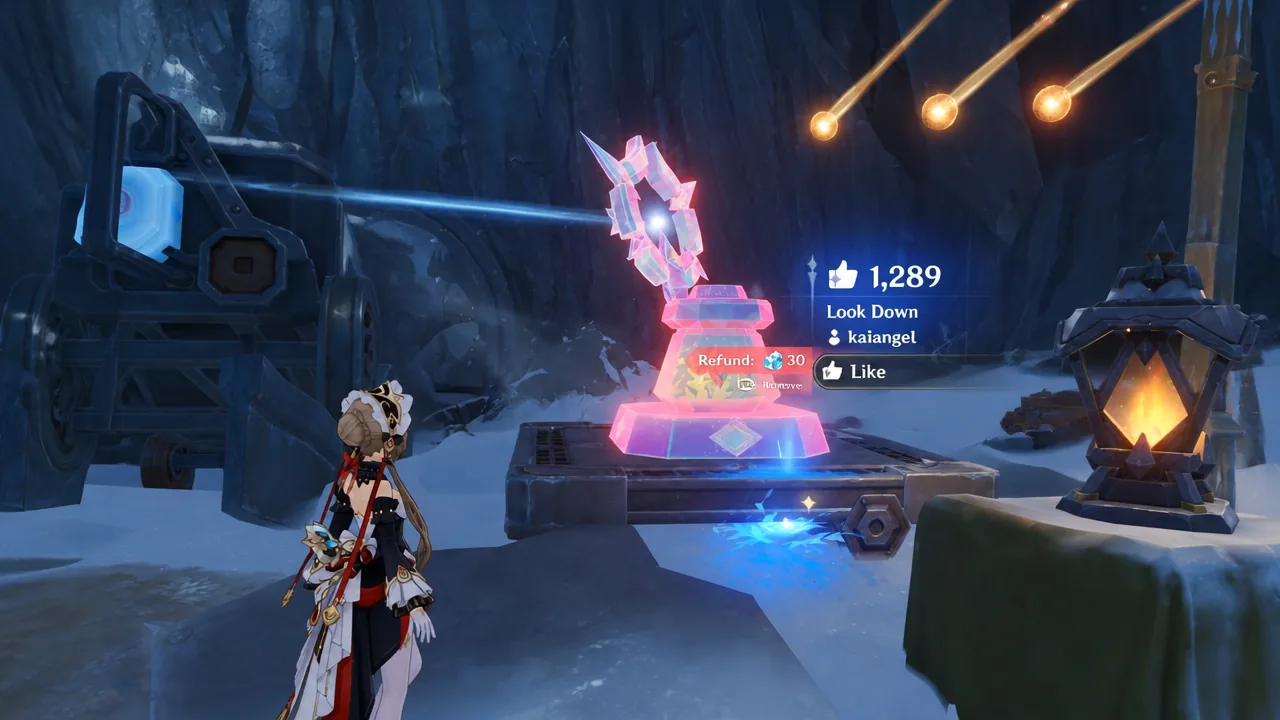
Open the Prime Ice Construct build menu and Remove the existing Grappling Gun. Hover over the structure and destroy it so the cart clears the blocked cave.
genshin-impact-in-the-dwelling-of-life-quest-full-walkthrough - a sprout without a gardener - clear the obstacle blocking the tunnel entrance
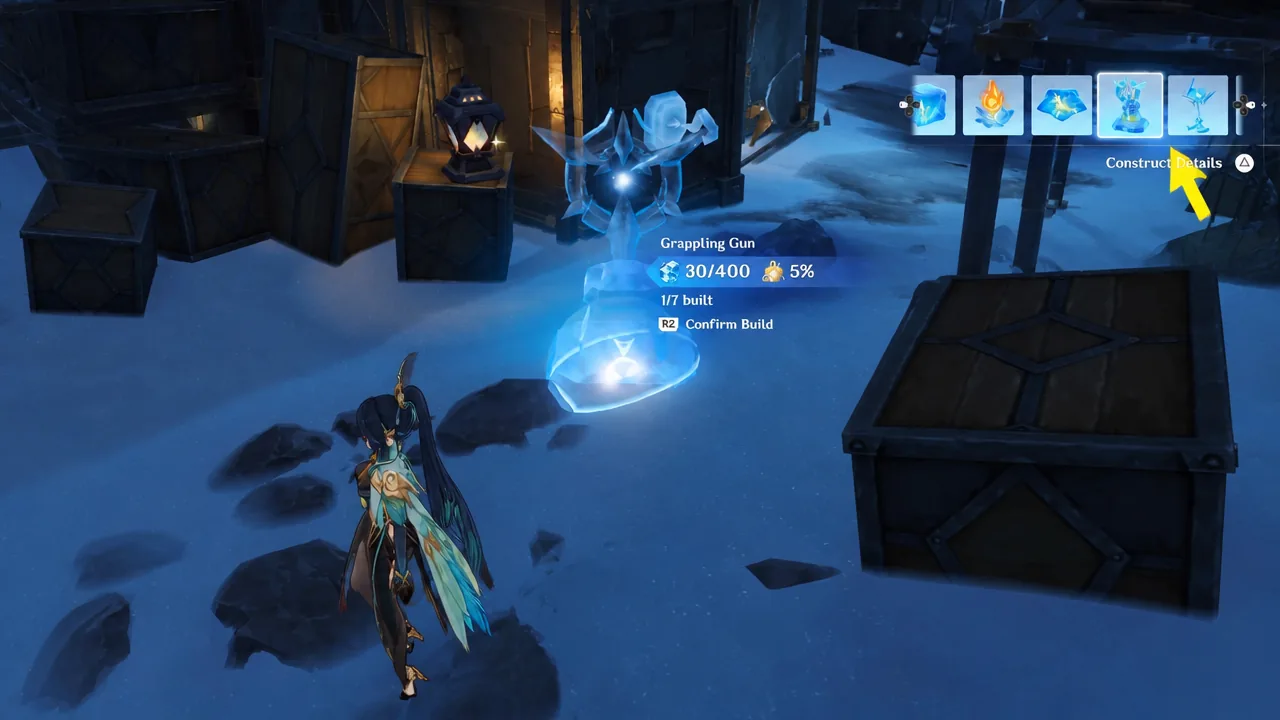
Enter the tunnel and build a Grappling Gun next to the hook on one of the containers to pull and destroy it. This opens the latch and reveals the stash space.
genshin-impact-in-the-dwelling-of-life-quest-full-walkthrough - a sprout without a gardener - explore the stash hiding behind the tunnel
Claim the Exquisite Chest, then keep going deeper until you meet a young girl on the floor. Talk to her, and the objective updates to opening the path to Okurov.
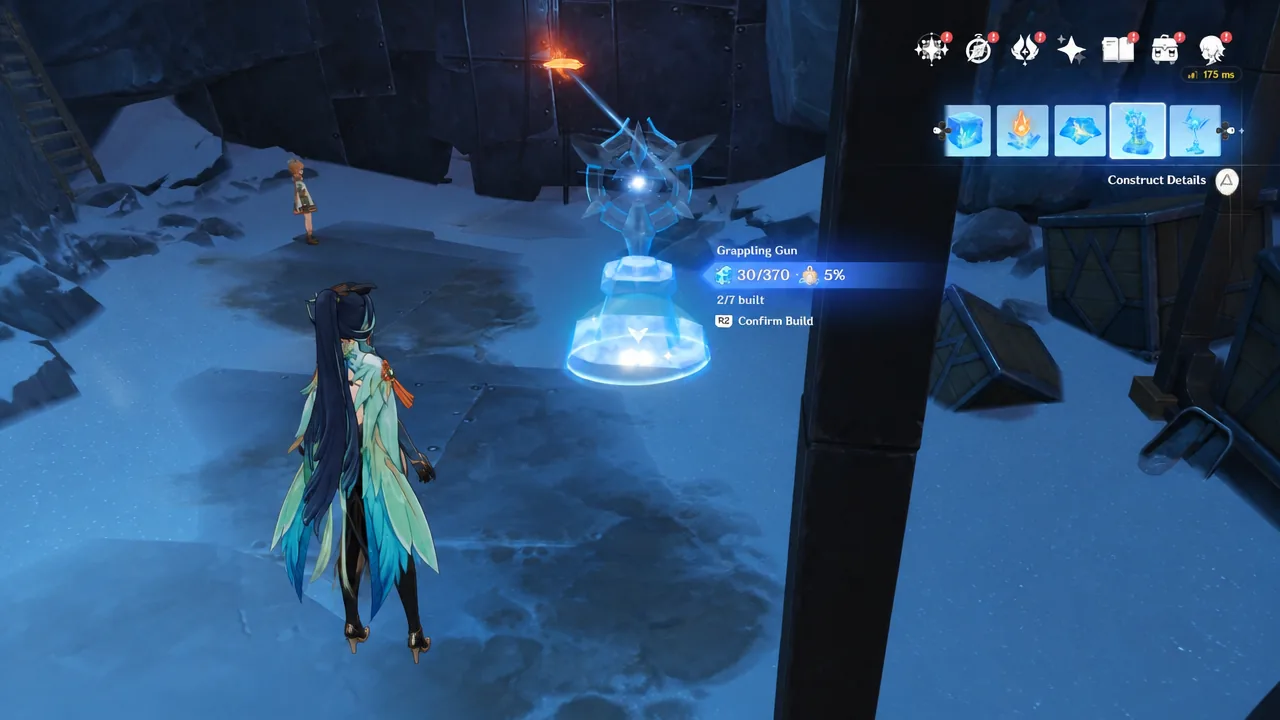
With Nastya’s help, build another Grappling Gun to remove the blockade. Follow the path inside to finish this part and begin Transplanted From “Yesterday” to “Tomorrow”.
genshin-impact-in-the-dwelling-of-life-quest-full-walkthrough - a sprout without a gardener - open up the path to okurov

Transplanted From “Yesterday” to “Tomorrow”
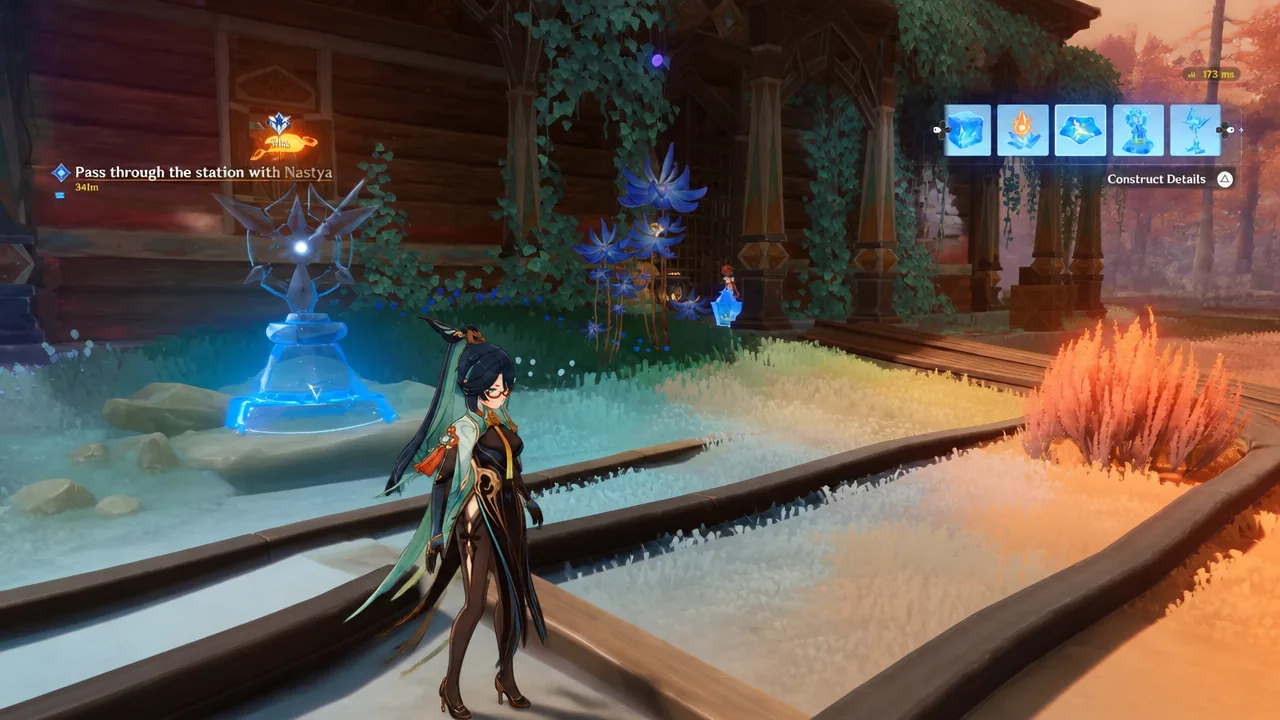
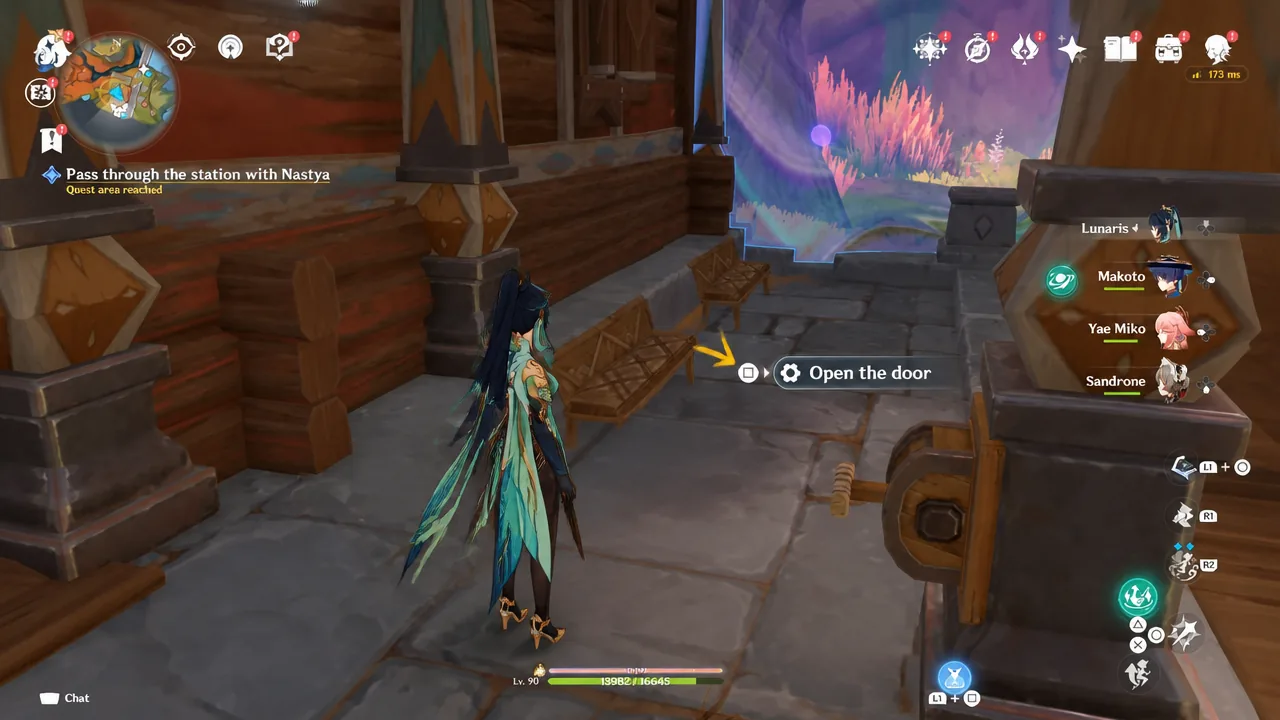
Follow the marker to the station. Build a Grappling Gun near the window to open a way inside.
genshin-impact-in-the-dwelling-of-life-quest-full-walkthrough - a sprout without a gardener - pass through the station with nastya
Jump inside and pull the lever by the counter to open the door for Nastya.
Head upstairs to go outside, then take the detour to the other side of the roof.
genshin-impact-in-the-dwelling-of-life-quest-full-walkthrough - Transplanted From Yesterday to Tomorrow - go up the stairs
Leap off the roof to the far side.
genshin-impact-in-the-dwelling-of-life-quest-full-walkthrough - Transplanted From Yesterday to Tomorrow - jump through the roog
Pull the lever on the other side to open the second gate so Nastya can pass.
genshin-impact-in-the-dwelling-of-life-quest-full-walkthrough - Transplanted From Yesterday to Tomorrow - open back door
Nastya starts a game of hide-and-seek, but only she can move freely through the barrier. Skip the waiting and simply follow her. As you go, some Leshy wake up and attack, so be ready to fight. Take detours around the shifting barrier until you catch up.

You then meet two more Leshy that stay passive, but a mysterious creature attacks and knocks you into the sewer. That ends this part and starts Down in the Dumps.


Down in the Dumps and the three keycards

This is the longest part of the chain. The goal is to escape the sewer, which means investigating the control room, collecting three keycards, and opening the main door before riding the elevator up. The Eye of Graeae grants access to TPS mode here, since elements stop working in the cavern.

Move through the sewer until you reach a closed door and open it with the control wheel. The next room’s wheel is missing. Find it on the nearby boxes, pick it up, and use it to lift that door partway. Press the sprint button twice to slide underneath.
Cross the water on the far side. Switch your grenade launcher to the Pyro setting to blast the boxes in the way, then craft a Grappling Gun and jump onto the floating plank to reach the control room area.
Investigate the Sewer Entrance/Exit Guide to learn the three keys open the door to the surface. Pick up the Gunstock blueprint in this room as well. The Blue key sits on the control panel here. Remove it and use it on the closed door to the left, then craft a cube in its slot so the door stays lifted while you take the key back.
Use the Blue keycard on the next terminal to lower the water, remove the card, and rush to the door downstairs before the water rises again. Use the key near that terminal to open it.
Inside, find the White key and craft a Grappling Gun to open the blocked path. Use the White key on the terminal outside, next to the Blue key terminal. Paimon brings the Blue key over, which opens another door at the bottom.
Go through that door and climb the pipes to reach the Red card. Clear the enemies, then return to the main terminal to recover the Blue and White keys. Use all three in the final room to open the main door.
Examine the Leshy in the sealed tube to wake it, defeat it, and take the control wheel from its head. Use the wheel to open the next door and ride back to the surface.

Back on One’s Feet

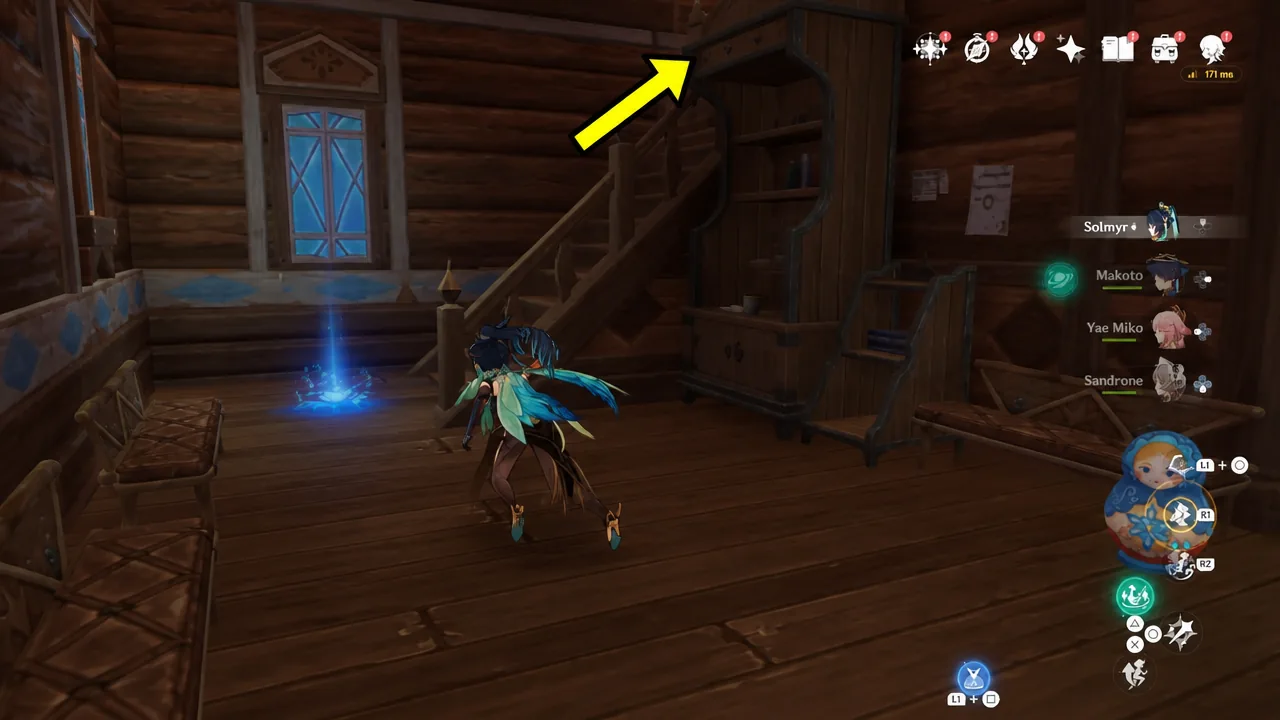
Follow Nastya to a closed house, called Ove’s house. Climb the stacked boxes in front of the door to reach the roof, then drop through the chimney to get inside.
Destroy two wooden boxes to reveal the basement. Use the grenade launcher on its Pyro setting if the crates block the way down.
Build a Grappling Gun to clear the blockade in the cellar. Pick up the lever at the marked spot, return to the gate, and apply it to open the gate.
Grab a second lever inside and open the Precious Chest nearby. A fight starts here, so be ready. Slide through the opening to continue, building a Prime Ice Construct Cube first if you need room to slide.
Pick up the Control Wheel and leave the cellar. Regroup with Nastya, defeat Furiosa on the way to the assembly hall, and activate the elevator to end this part.

Forbidding Doors of Melancholy

Move the curtain

At the blocked door, investigate where Nastya stands, then the main door with the small hole. She slips through and opens it. Inside, use Grappling Guns to pull the chandelier down, then Remove the gun to let it rise again. Repeat this until you reach the far lever, and pull it exactly when Paimon counts down to one. Pulling it early or late does nothing.

Head to the door leading home

Craft a Grappling Gun to pull the disk, then build a Cube to block its movement. Remove the Grappling Gun to lock it in place. Use launching platforms and Grappling Guns the same way to climb between platforms and reach the levers that open the main door. Go downstairs and regroup.

At the giant wheel, craft a Grappling Gun on the left platform, then build a cube in the wheel’s broken space. Dismantle the Grappling Gun to open the door and take the elevator to the next room.

Investigate the strange room

Investigate three notes in the room. Two sit on the ground floor and the third is on the second floor. Picking up the third note triggers a safety mechanism and traps you, so protect Nastya at range until she reaches you. Use the item on the console that trapped you to reveal a hidden path, then follow it outside toward her home.


To Rest in a Forgotten Field and Chorus of Solace

Continue along the path until you meet the boss, Zhara, the Immortal Firebird. Keep firing with your gun until it goes down. Clearing this fight leads into the final part.

In Chorus of Solace you witness Nastya’s decision and claim the second fragment of the Eye of Graeae, which completes the entire In the Dwelling of Life chain. The story continues in the On One Side a Palace, On the Other a Tomb questline.

How you know it worked: The quest tracker marks In the Dwelling of Life as complete, Flamefeather Valley becomes fully accessible, and the Eye of Graeae fragment lands in your inventory. If a puzzle fails to trigger, the usual causes are pulling the Forbidding Doors lever off Paimon’s “one” count, or letting the sewer water rise before you reach the downstairs door in Down in the Dumps.