Palworld 1.0 scatters some of its most useful equipment far off the main quest path. Several of these items sit behind barrier towers, side quests, or high level tech unlocks, and each one changes how you fight, build, or manage your Pals. Below are the exact locations, costs, and effects for 14 of them.
Quick answer: The strongest hidden gear is tied to fixed map coordinates and vendors. Pal Tamer’s Glasses sits at (5, 123), the Phantom Ring at (89, 424), the Depresso Suit at (20, -230), and the V1 Armor is bought with Battle Tickets at the Arena. Everything else unlocks through leveling or side quests.
Hidden cosmetic outfits and how to unlock them
Two full cosmetic sets are missable if you never leave the story route. Both are crafted at the Pal Dressing Facility once you own the schematic.
The Depresso Suit, which includes the Depresso Armor and Depresso Helmet, comes from an NPC near Lake Center at coordinates (20, -230). To receive it, trade 20 High Quality Cloth and 100 Venom Glands.
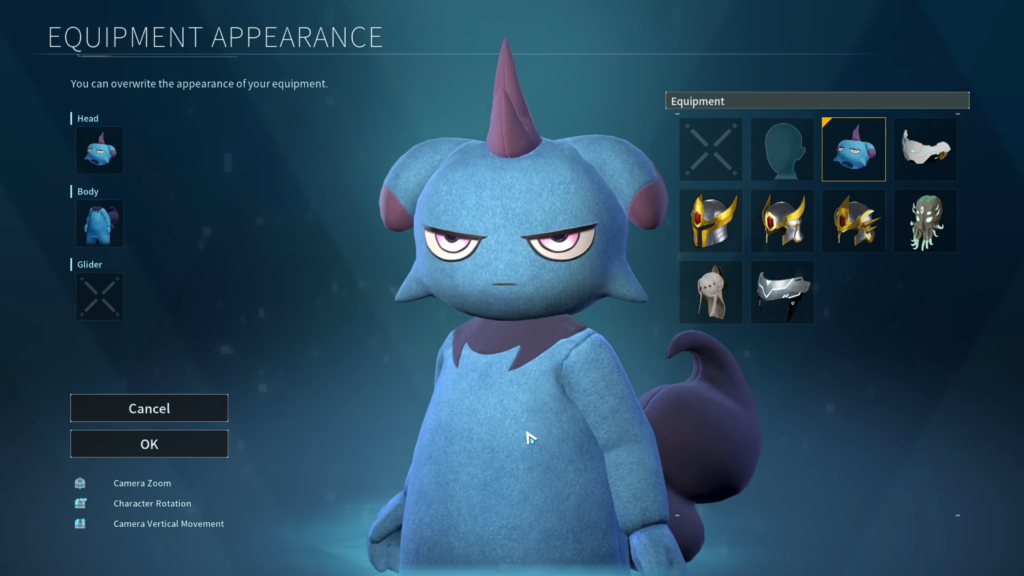
Zoe’s Halloween Costume takes more work. Defeat Zoe at the Rayne Syndicate Tower, then complete her questline at the Desolate Church to earn the schematic. After that, craft the skin using 5 Cloth and 5 Leather.
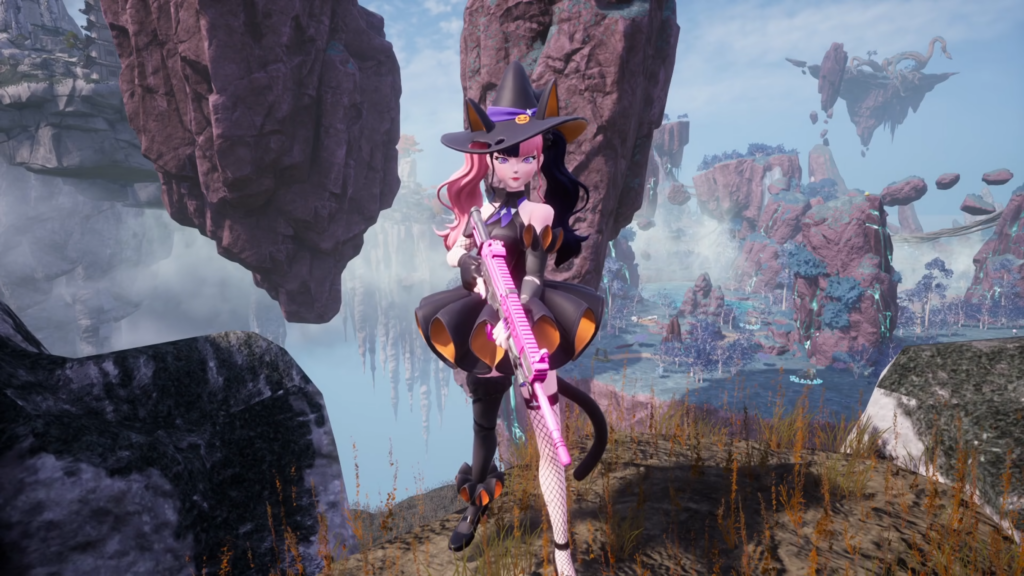
| Outfit | How to get it | Cost |
|---|---|---|
| Depresso Suit (Armor + Helmet) | NPC near Lake Center at (20, -230) | 20 High Quality Cloth, 100 Venom Glands |
| Zoe’s Halloween Costume | Beat Zoe at Rayne Syndicate Tower, finish her Desolate Church quest | 5 Cloth, 5 Leather (craft) |
Mozzarina burgers for base and combat buffs
Mozzarina meat feeds into two of the best food buffs for base work and fighting. The two burgers cover different needs, so keep both stocked.
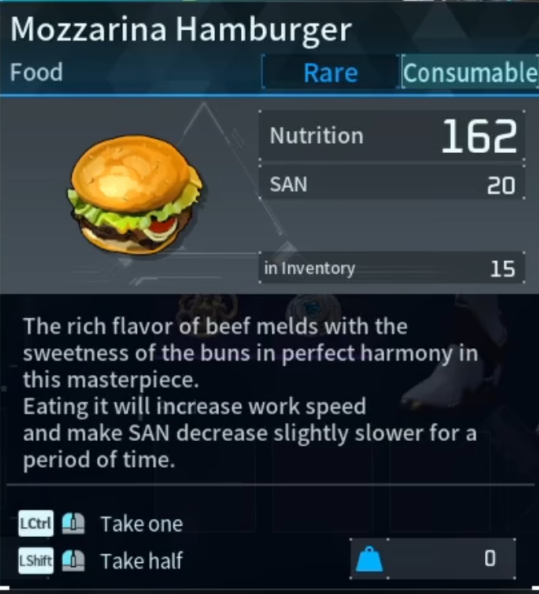
| Food | Effect |
|---|---|
| Mozzarina Hamburger | +50% work speed, +25% sanity resistance |
| Mozzarina Cheeseburger | +20% attack |
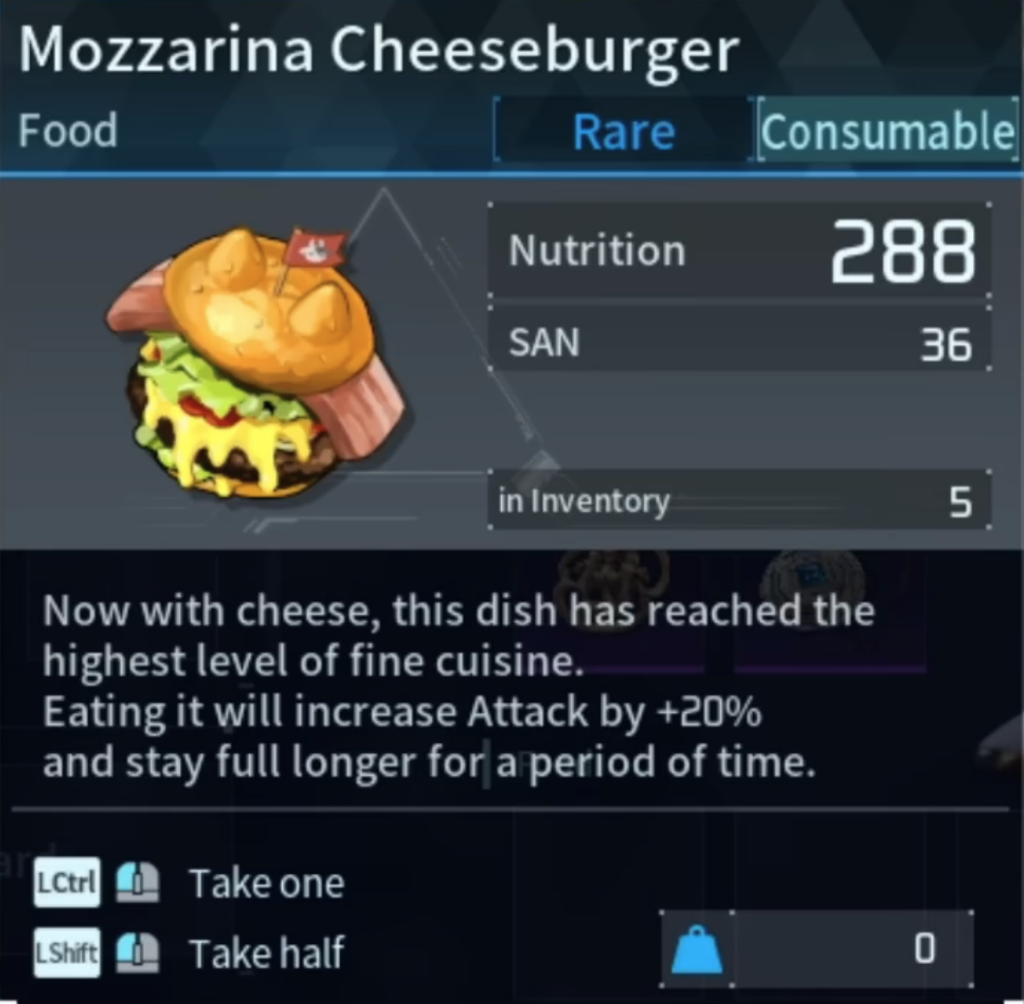
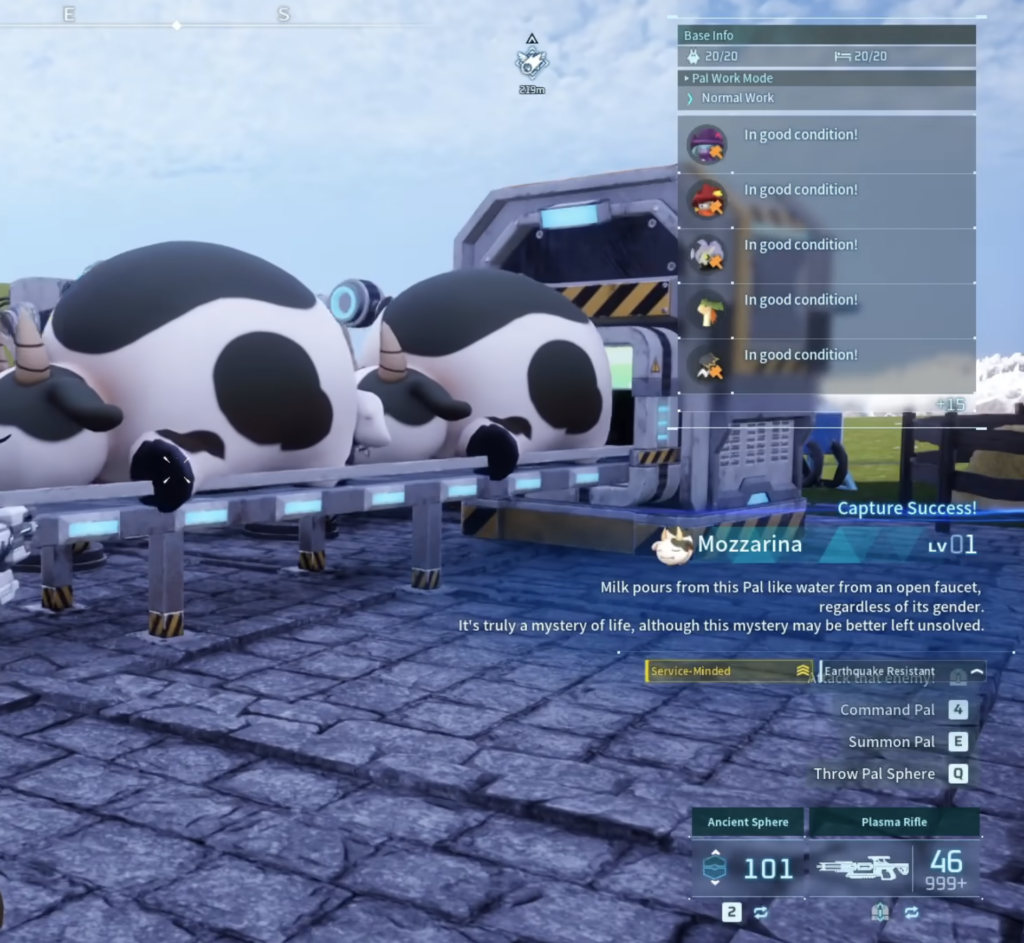
You need a steady supply of Mozzarina meat to keep these going. Breed Mozzarina at a Breeding Farm, then process the extras through the Pal Disassembly Conveyor for a fast, repeatable meat supply instead of hunting one at a time.
Accessories and armor hidden at barrier towers and the Arena
Three pieces of gear stand out for capturing, survivability, and dodging. Two are looted from barrier towers, and one is bought at the Arena.
Pal Tamer’s Glasses (5, 123)
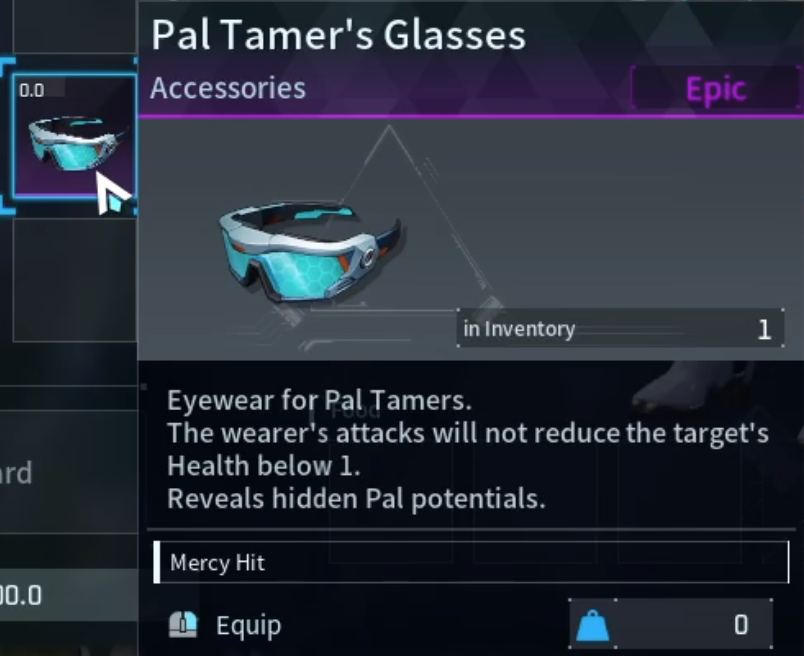
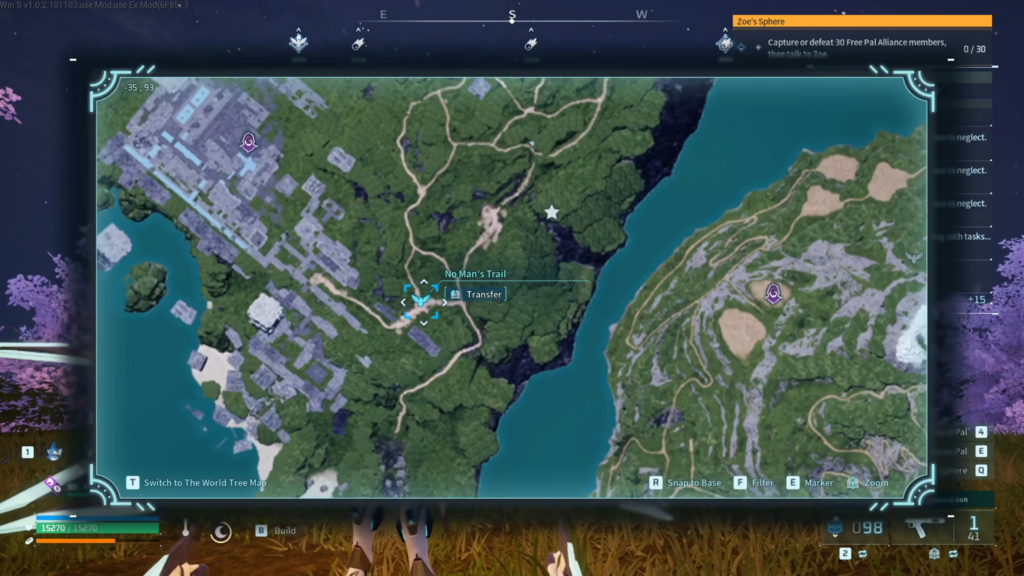
The Pal Tamer’s Glasses are a straight upgrade over the Ring of Mercy. They prevent you from killing Pals while you weaken them for capture, and they also reveal a Pal’s IVs so you can judge quality before throwing a sphere. Find them at the No Man’s Trail barrier tower, coordinates (5, 123).
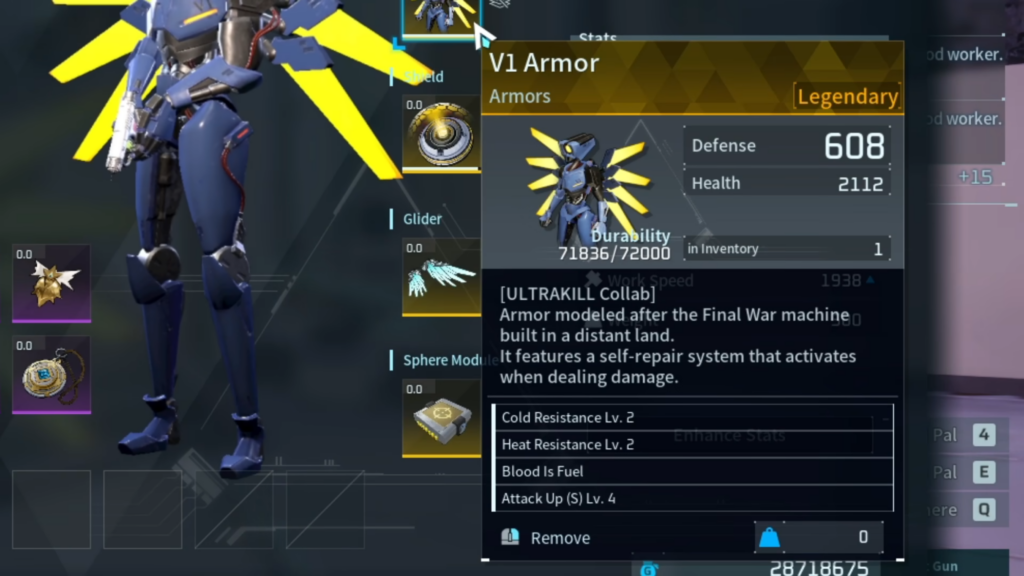
V1 Armor and the “Blood is Fuel” passive
The V1 Armor carries the “Blood is Fuel” passive, which grants life-steal whenever you deal damage. You buy it with Battle Tickets at the Arena rather than crafting it. A V2 Armor also exists as a higher tier version.
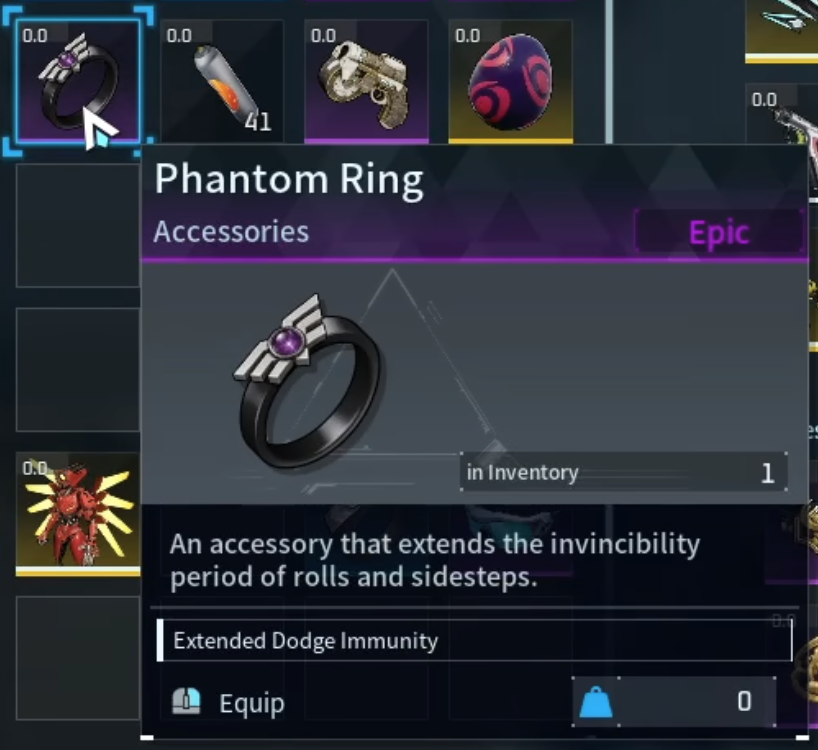
Phantom Ring (89, 424)
The Phantom Ring extends your invincibility frames during rolls and side-steps, giving you a wider window to dodge heavy attacks. It is located at the Thawtide Cape barrier tower, coordinates (89, 424).
| Item | Effect | Where |
|---|---|---|
| Pal Tamer’s Glasses | Prevents killing Pals, reveals IVs | (5, 123), No Man’s Trail tower |
| V1 Armor | “Blood is Fuel” life-steal on damage | Arena, bought with Battle Tickets |
| Phantom Ring | More i-frames on rolls and side-steps | (89, 424), Thawtide Cape tower |
Auto-attacking weapons and the Megaboost Gun
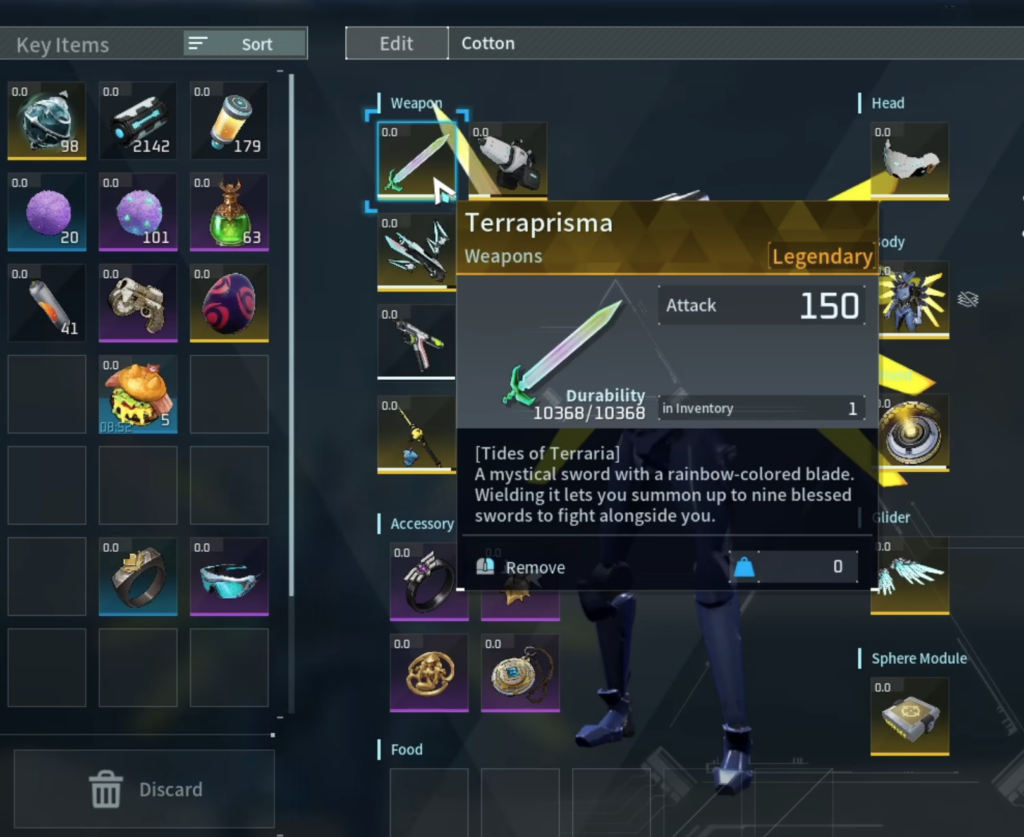
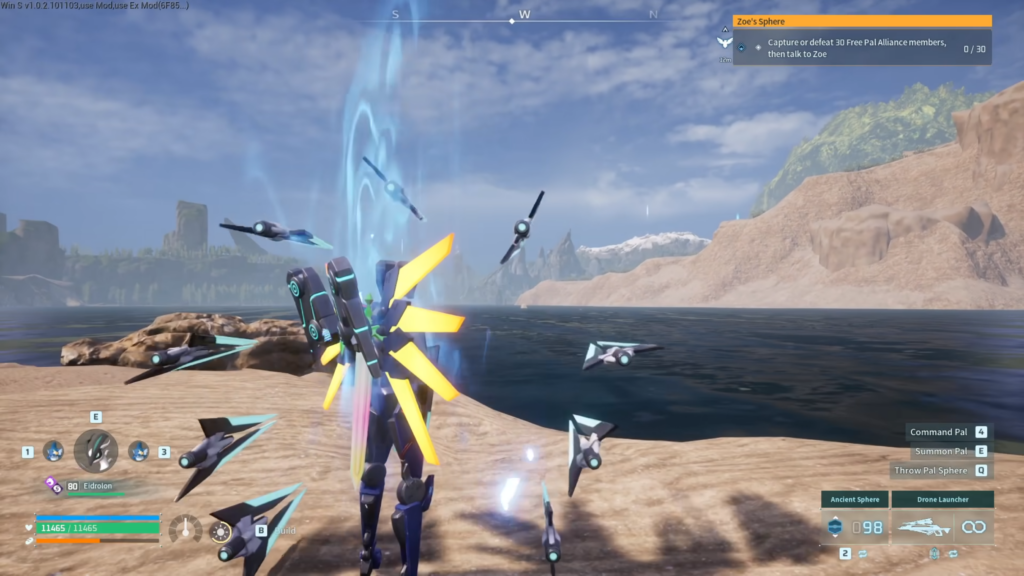
A few weapons keep working even after you swap to something else. The Terraprisma and the Drone Launcher both summon helpers, swords for the Terraprisma and drones for the launcher, that continue fighting on their own after you switch weapons. That lets you stack passive damage while you focus on another attack.
The Megaboost Gun works differently. Unlocked at level 63, it shoots your own Pals to temporarily raise their attack and defense stats, turning a support tool into a real combat advantage. It is the stronger version of the earlier Boost Gun.
The super jump mobility combo
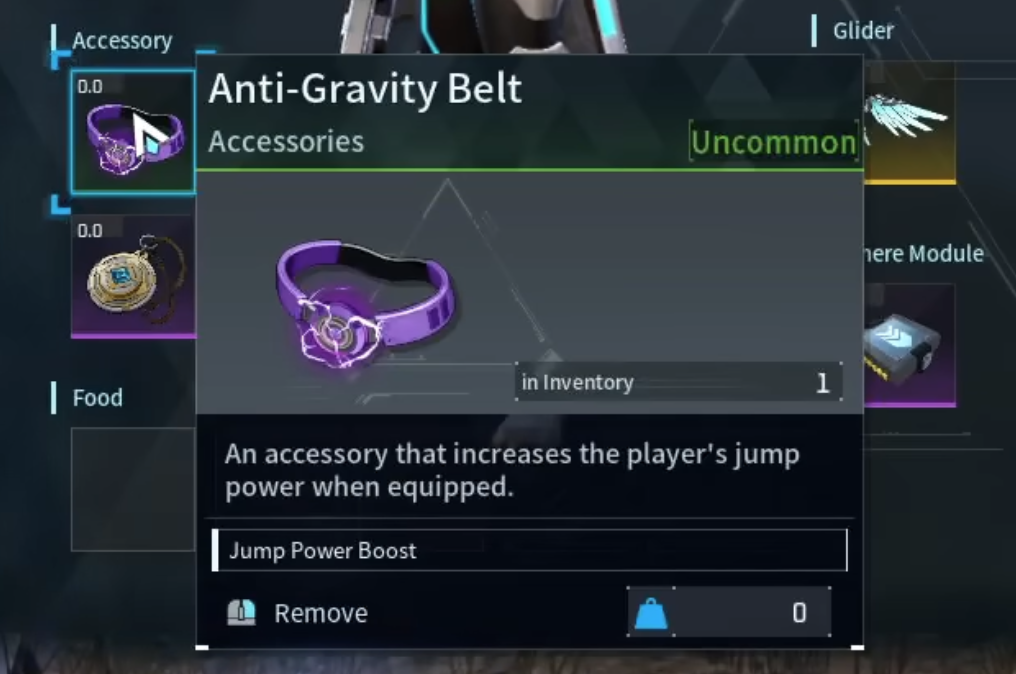
You can chain three items together for extreme vertical movement. Combining the Anti-Gravity Belt, Valenteil’s passive, and the Triple Jump Boots produces massive jumps and high-speed grapple momentum, which makes crossing terrain and reaching high ledges far faster than a standard glider route.
Pal Recovery Grenade for instant AoE healing
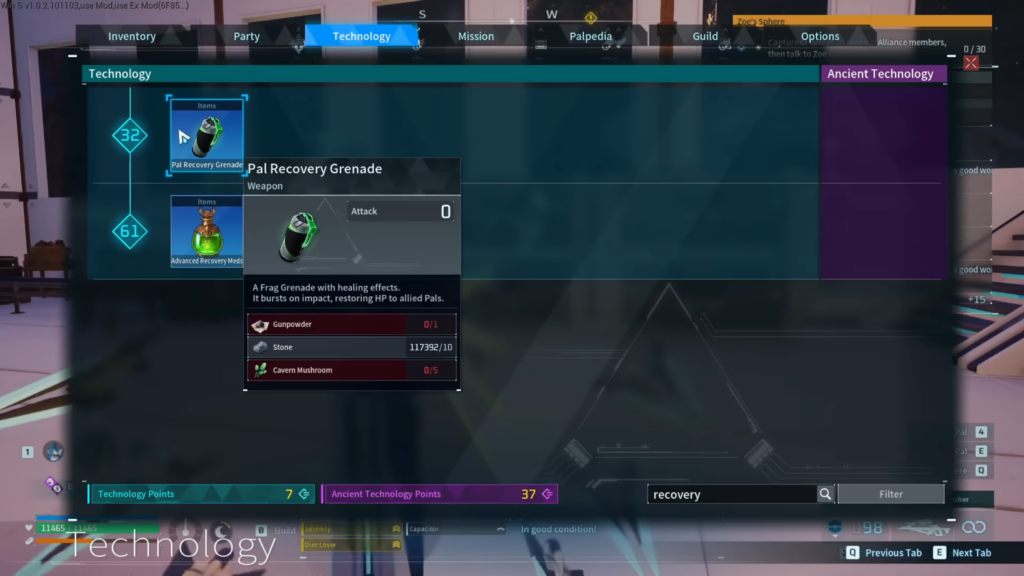
The Pal Recovery Grenade unlocks at level 32 and delivers instant area healing to your Pals, restoring 10% of their max HP at once. It is useful during long fights when swapping Pals out to heal would cost you tempo. Cavern Mushrooms, one of the materials in this supply line, can be bought from merchants for 500 gold each.
Sakurajima building schematics
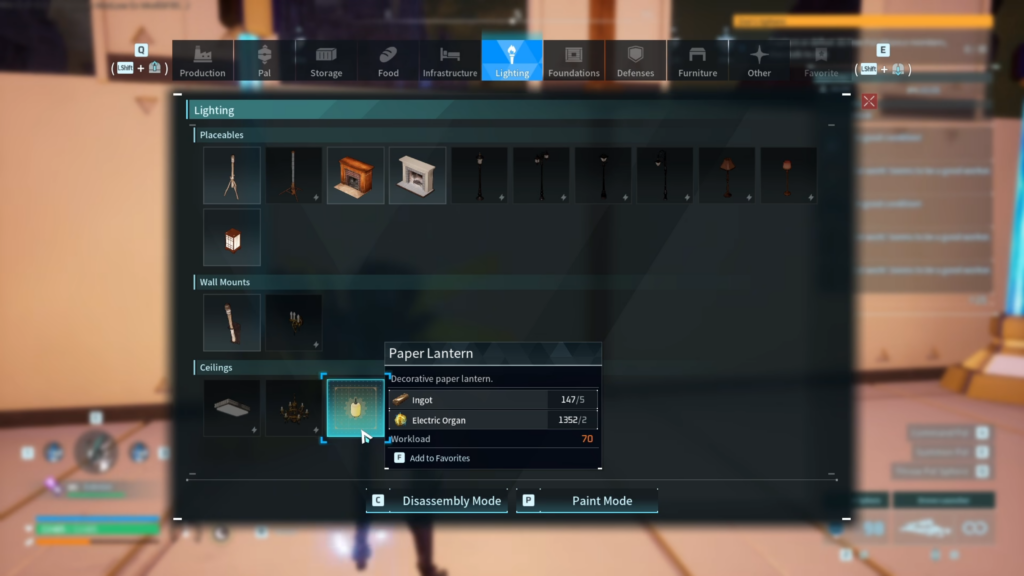
Chests around Sakurajima hold unique decorative building schematics you cannot craft elsewhere, including the Yakumo Statue and the Paper Lantern. If you want a themed base beyond the standard build menu, searching those chests is the way to get the parts.
Note: Barrier tower loot and vendor stock sit at fixed points, so once you know the coordinates you can grab the Pal Tamer’s Glasses, Phantom Ring, and Depresso Suit in a single travel loop before returning to base work.