Water Breathing in Slayers 2 is harder to start than most Breathing Styles. Urokodaki, the Water Trainer, sits in a hidden room near Bamboo Grove Sanctuary that you can only reach through a submerged tunnel. He also charges more than the early trainers. Flame Breathing needs 10 Demon Horns, while Water Breathing needs 30. Bring everything with you on the first trip, because the swim in is the part you won’t want to repeat.
Quick answer: Reach Level 25 with 5,000 Wen and 30 Demon Horns. Swim through the hidden tunnel near the Bamboo Grove island house to reach Urokodaki, then finish all six training tasks.
Water Breathing requirements in Slayers 2
Urokodaki checks for three things before he hands out the training. If you are missing any of them, the questline won’t start.
- Level 25 or higher, earned through quests and combat
- 5,000 Wen, mostly from NPC quests and fights
- 30 Demon Horns, farmed from Hoyuzo enemies
Level 25 is the minimum, not a comfortable level. You can clear the training and the final duel alone at roughly Level 45 or above. Below that, bring a second player for the boss fight.
Farming Demon Horns
| Enemy | Drop chance | Horns per drop |
|---|---|---|
| Hoyuzo Subordinates | 30% | 1 |
| Hoyuzo Boss | 50% | 3 |
If you can beat the Hoyuzo Boss, farm it. Three horns at even odds gets you to 30 much faster than Subordinates, which drop one horn less than a third of the time.
Urokodaki location: The hidden tunnel at Bamboo Grove
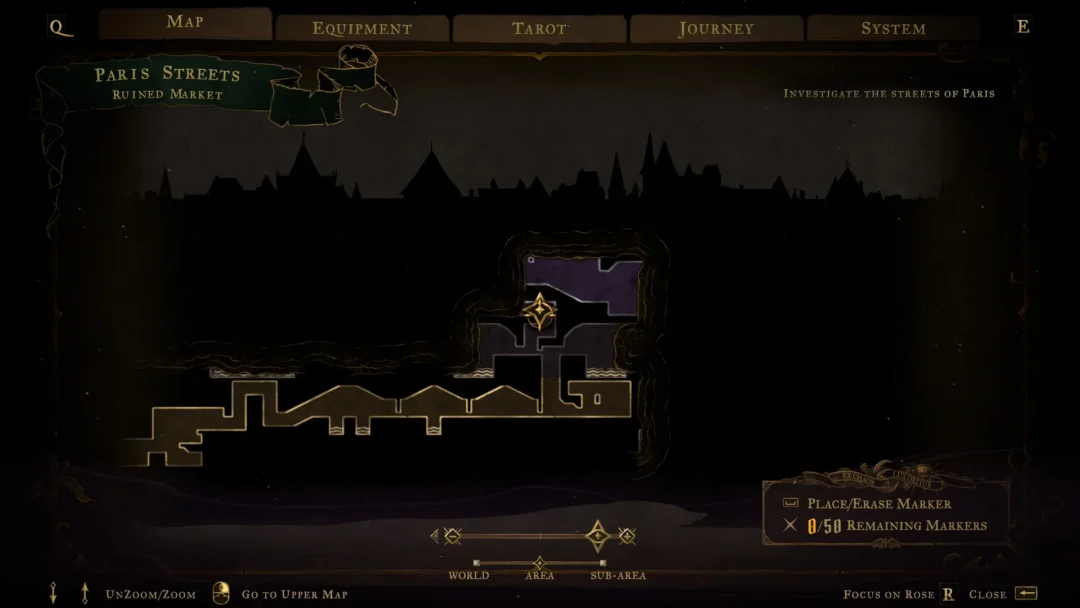
On the main map, look in the upper-right corner for Bamboo Grove Sanctuary. Urokodaki’s room sits immediately below it. Since the entrance isn’t marked, use the island’s small house and bridge to find your way.
If your oxygen runs out before the ladder, you drown. Swim directly through the passage on a single breath.
Starting the Water Breathing Training quest
Talk to Urokodaki and choose “I’ll learn Water Breathing (Lv. 25)”. “Not yet” closes the conversation without starting anything. Once you pay the Wen and horns, your tracker shows “Water Breathing Training 0/6.”
The chain is strictly sequential. Each objective is locked until the one before it registers, and the quest marker moves to the next training spot after every clear. Several of the middle tasks are at the Butterfly Estate, so expect a trip away from Bamboo Grove before you come back for the last two.
| Order | Task | Tracker goal |
|---|---|---|
| 1 | Parkour Dungeon | 0/1 |
| 2 | Push ups | 0/1 |
| 3 | Boulder Push | 0/1 |
| 4 | Aim Training | 0/1 |
| 5 | Underwater Rocks | 0/5 |
| 6 | Defeat the Water Trainee | 0/1 |
Completing the full quest awards Exp +900, Wen +405, and the Water Breathing unlock.
How to clear each Water Breathing training task
Parkour Dungeon
This task is pure platforming with no button timing. The course has six sections, and you get three lives. Each fall or death costs one. Make careful, controlled jumps instead of rushing, and reach the end to clear it.
Push ups
Locate the training mat marked for you and activate it. A series of prompts will appear on screen; press each as its indicator aligns with it. Continue until the progress bar hits 100%. This is a straightforward rhythm check, with no concealed elements.
Boulder Push
At the marked boulder, interact with it and push it in the white arrow’s direction along the path. Apply controlled inputs to stay on course rather than turning unnecessarily. The task is complete when it arrives at the endpoint.
Aim Training
Launch the exercise at the target range. Targets appear rapidly in different parts of the screen, so click each before it vanishes. Continue until progress reaches 100%. This is among the easier stages in the chain.
Underwater Rocks
This step sends you back to the water around Bamboo Grove Sanctuary to collect five glowing blue rocks from the lakebed. It catches more players than any other task, because the rock positions are randomized every run. There’s no fixed route to memorize. The rocks always look the same, though. Each one glows bright blue, and you can usually spot it from above the surface if you scan the water before you dive.

Your oxygen drains faster than it seems to at first. Collect one rock per dive and surface before going for the next. Don’t try to chain several together. The crystal spawn point you set earlier also pays off here, since drowning puts you right back at the lake.

The step is done when the tracker reads 5/5. That only completes task five. The style stays locked until the final fight.
Defeat the Water Trainee
The last task is a mini boss fight against Water Trainee Sabito, just outside the training area. He’s faster than the trainees in the other Breathing Style quests, and his AoE attacks can finish you in one hit if you stand inside them. Block, back out of his range when he winds up, learn his attack rhythm, and hit him in the openings instead of trading blows. Bring a working weapon, and bring a partner if you’re close to Level 25.

How to confirm Water Breathing is unlocked
After Sabito falls and all six objectives are registered, a popup shows Water Breathing marked “NEW!” beside your quest rewards, and the style is added to your roster. To verify it, open the Skill Tree and select the Water branch. The Water Breathing node is now available to select.
The quest gives you the base style only. Each technique, including Water Surface Slash, Whirl Pool, Water Wheel, Constant Flux, and Dead Calm, costs its own Skill Points in the tree. Dead Calm also requires Water Mastery 53, 15 Skill Points, and a win against Giyen at Bamboo Grove Sanctuary.
If the Water branch is still missing after the rocks show 5/5, check the quest tracker. In most cases its last marker is still pointing you to Sabito, and the unlock arrives once you win that fight.