

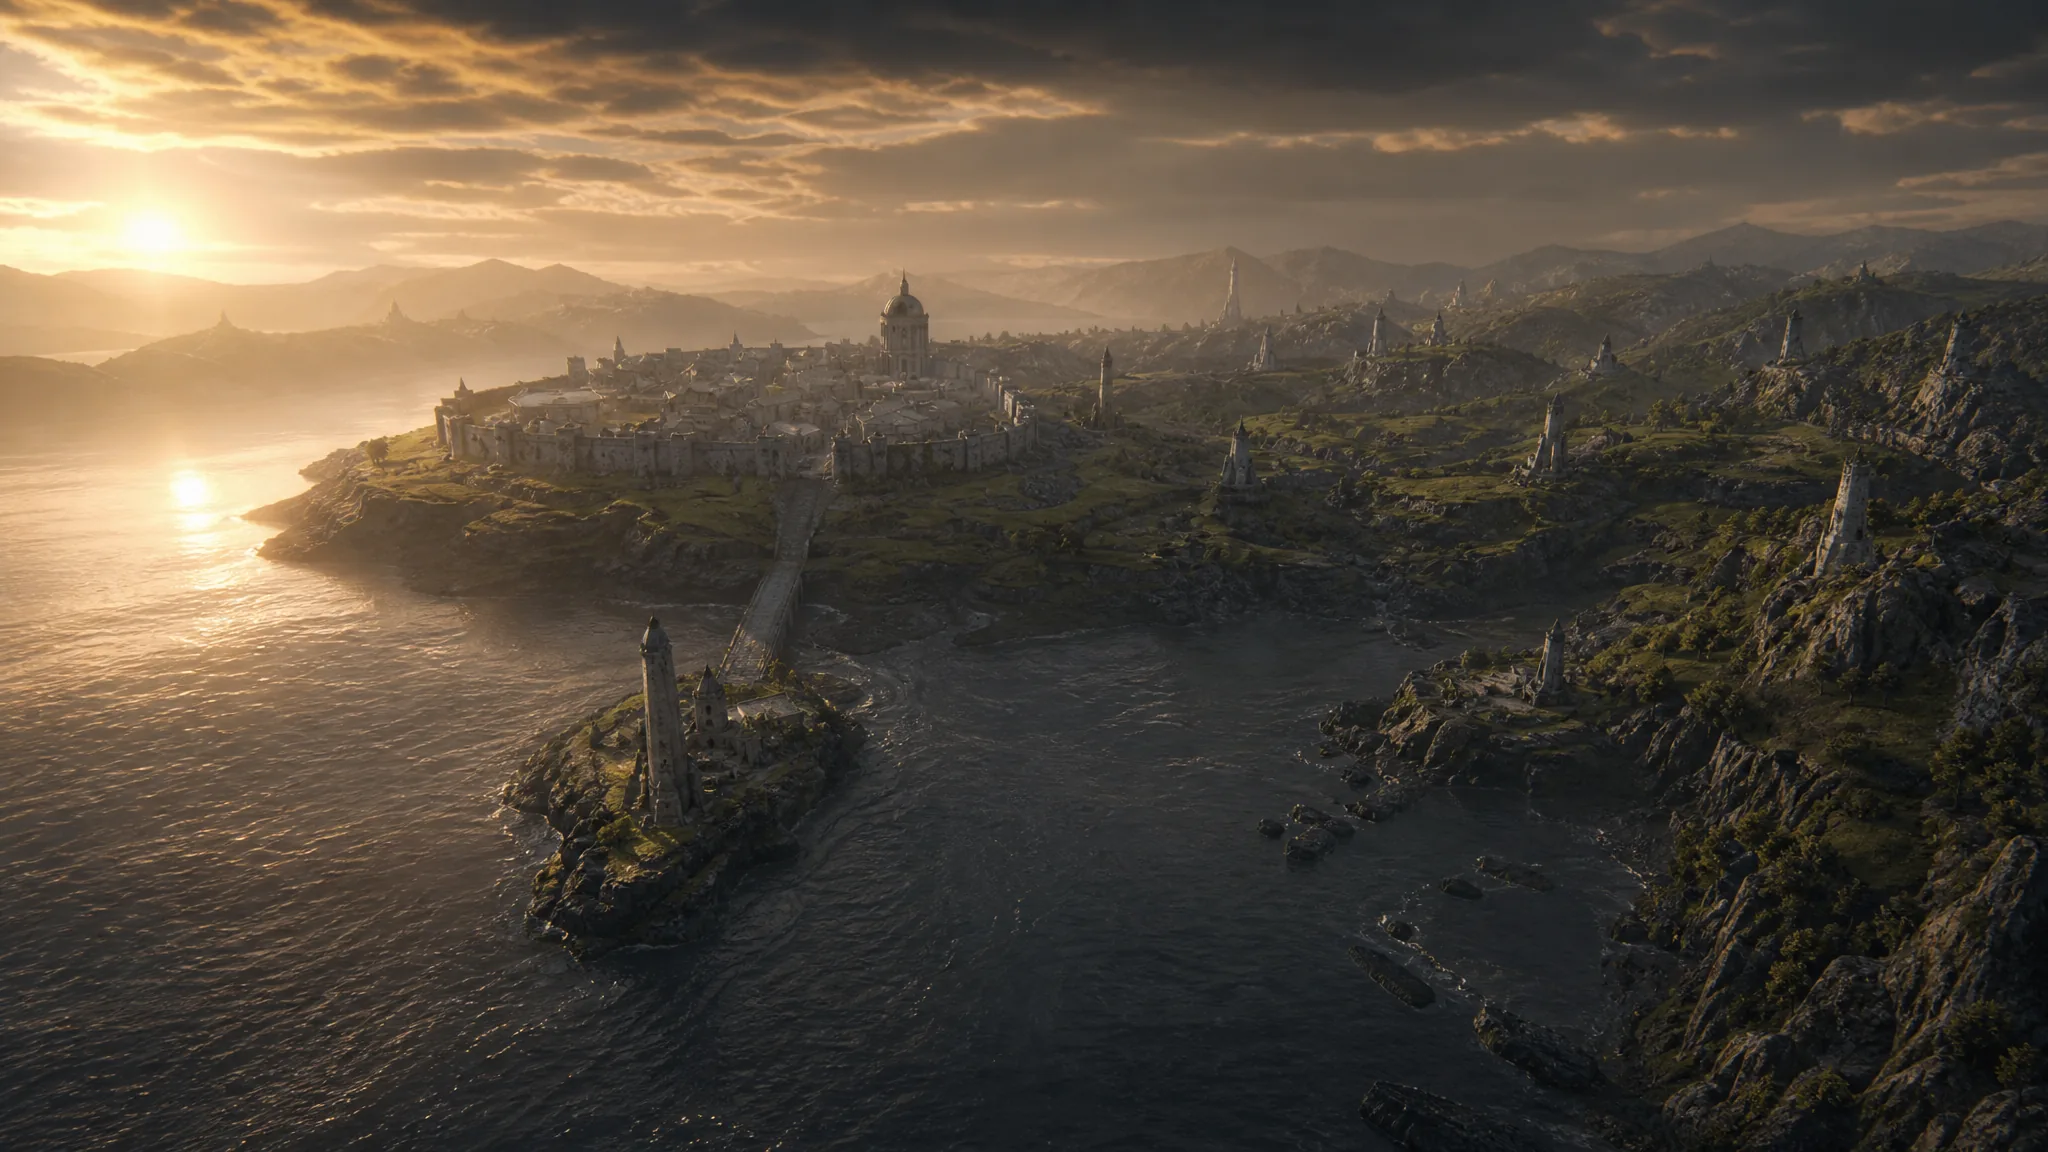
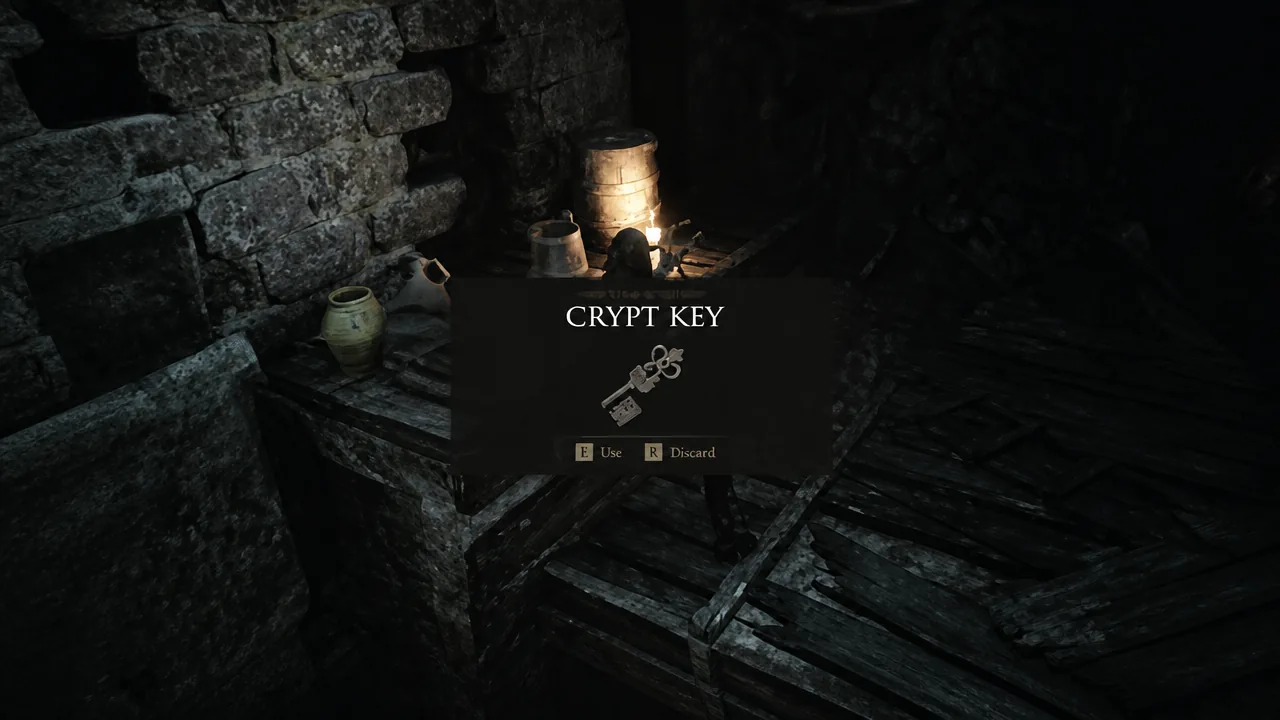
The Crypt Key is a single-use door opener in Mortal Shell 2, and the item text only tells you it “opens a door within a dungeon.” It never says which one. The key sits in the far west of the map, while the door it fits is all the way over in the east, so the whole task is really about crossing Fainweald twice.
Quick answer: Pick up the Crypt Key on the Desolate Peak, on a shelf above the entrance to the Illusionist’s Cache dungeon near Baghead. Then take it to the Hall of Echoes door in northeastern Fainweald, south of the Grisha Hunting Grounds, and use it there to unlock the dungeon.
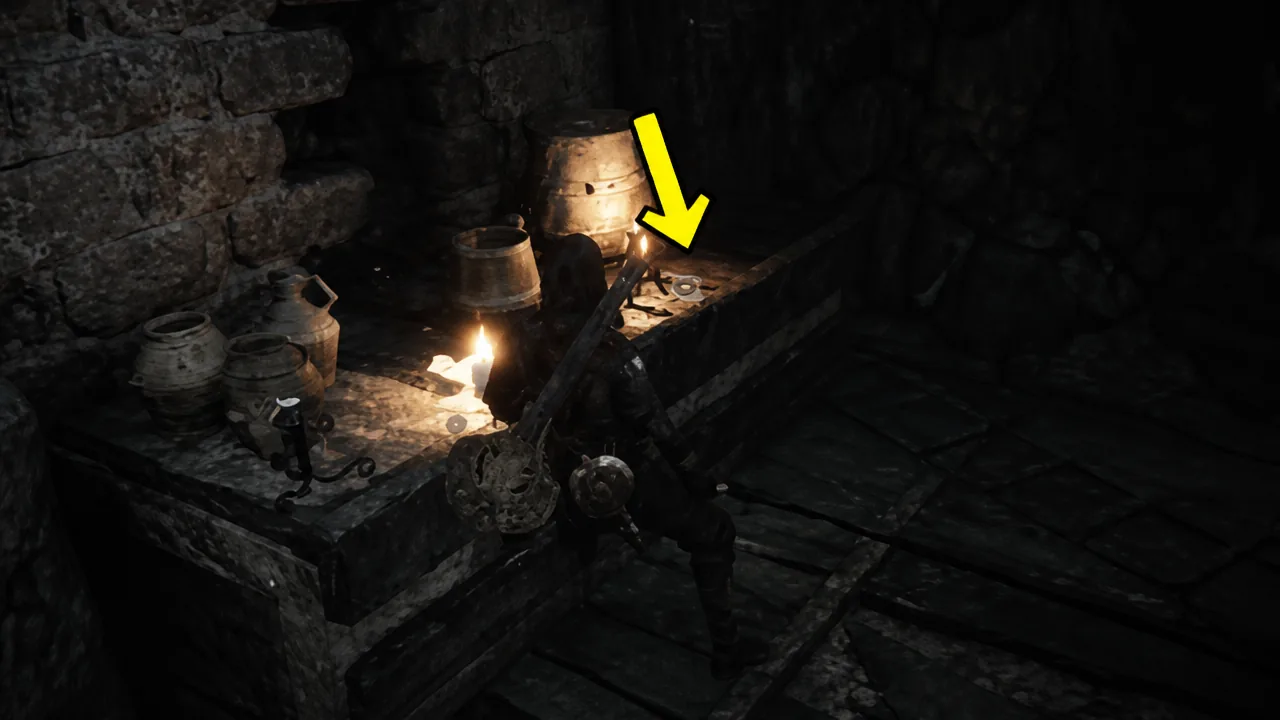
Where the Crypt Key is on the Desolate Peak
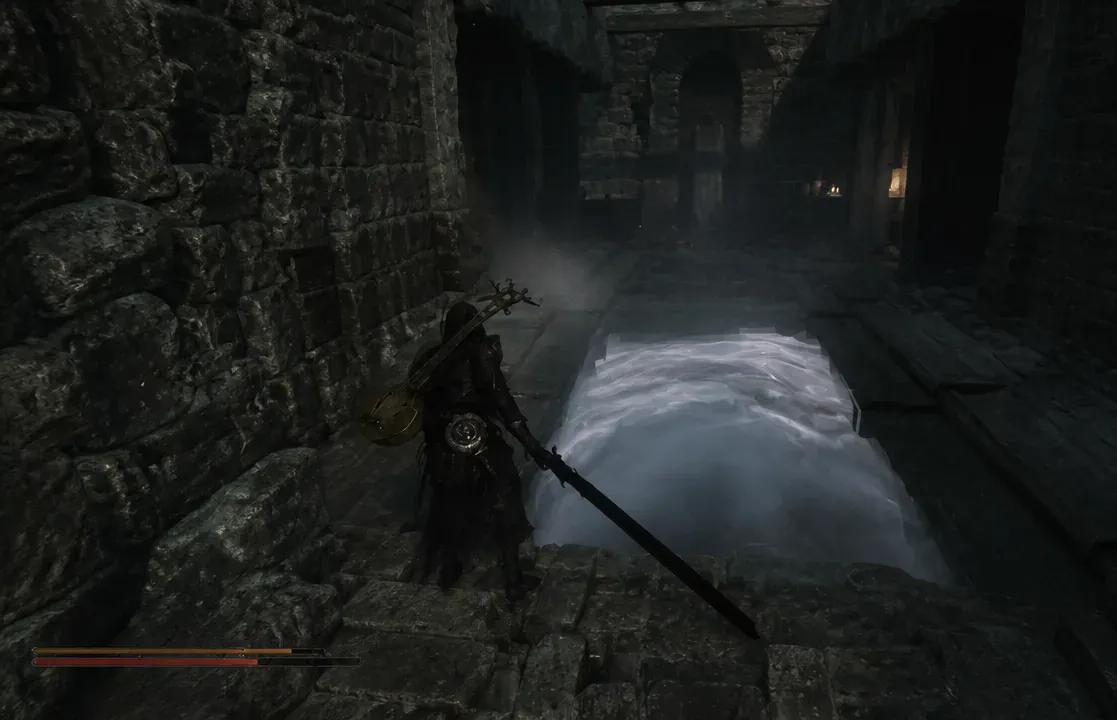
The key is in the western reaches of Fainweald, in an area called the Desolate Peak. You will find it on a shelf directly above the entrance to the Illusionist’s Cache dungeon, right next to where Baghead sits on his throne. Baghead is a returning face from the first game, and he has a request tied to this spot.
There is no beacon sitting right on top of the key, so you have to travel in. Two routes reach the Desolate Peak.
| Route | Path to the Desolate Peak |
|---|---|
| From Widow’s Overlook | Head north from the Widow’s Overlook beacon, circle west, then take the Bone Gate south of the Citadel of Penance across to the Desolate Peak. |
| Through Nochte | Use the Bone Gate south of the Widow’s Overlook beacon to reach the Nochte zone. Go straight west through the swamp to the Outskirts of Nochte beacon, then circle south to the Bone Gate at the top and take it to the Desolate Peak. |
| From the Citadel of Penance | If you have already reached the Citadel of Penance, follow the sloping path down to the lower cliffside. Just past the Bloodcrused Lithopod (the giant stone crab miniboss), an archway acts as a jump-off point down to Baghead’s area. |
Picking up the key
Where to use the Crypt Key in Mortal Shell 2
The Crypt Key unlocks the door to the Hall of Echoes dungeon in the northeastern part of Fainweald. The door sits directly south of the Grisha Hunting Grounds dungeon and just south of the Stones of Remembrance. No beacon sits close to it, which is why the trip feels awkward.
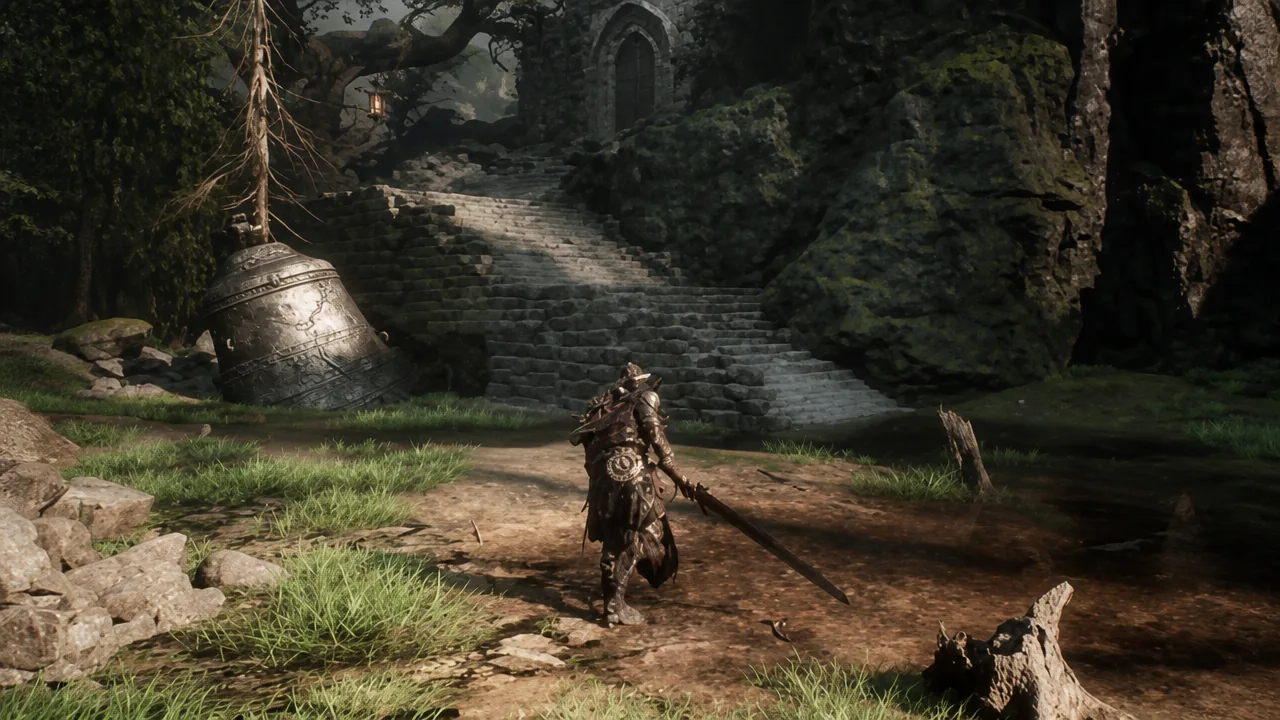
Fastest route to the Hall of Echoes door
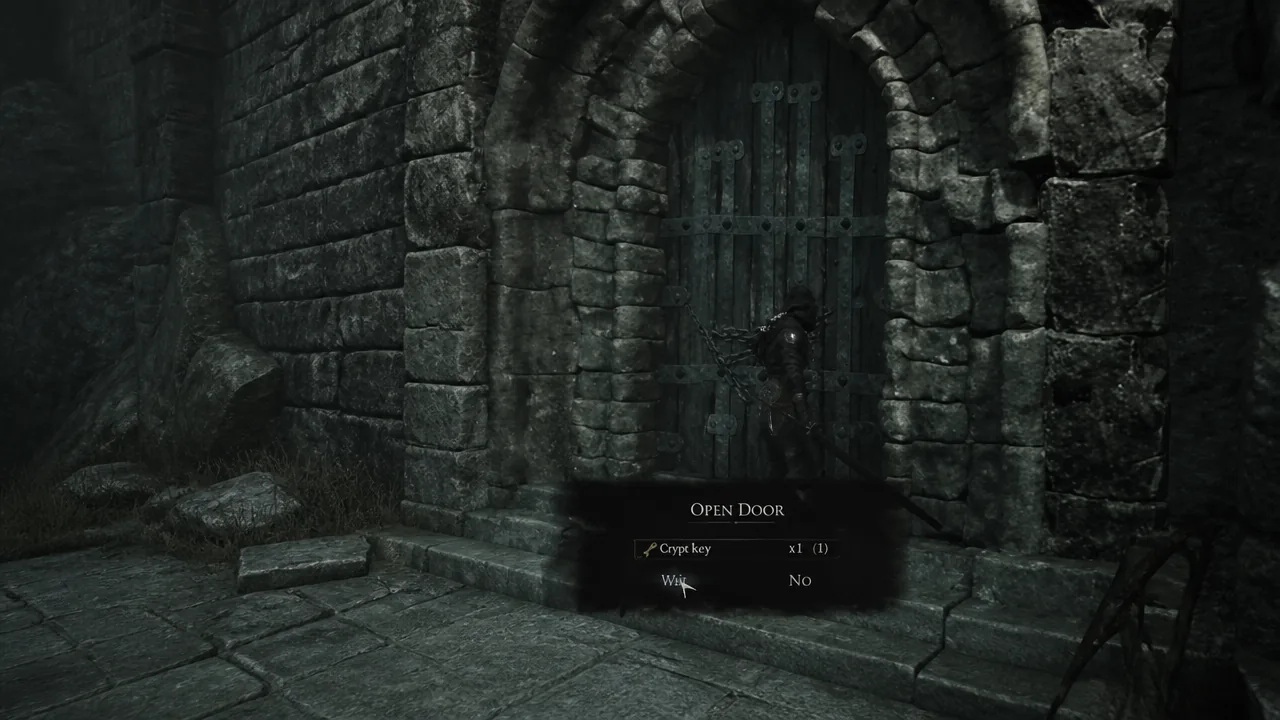
You will know it worked when the door opens and the steps down into the Hall of Echoes become accessible. The key is consumed in the process, so there is nothing left to do with it afterward.
What is inside the Hall of Echoes
Head down the steps into the tunnel and watch for the Coffin Eye. To progress, strike the stone block so it lands on top of the pressure plate, which opens a small chamber. Inside that chamber you can collect three rewards.
| Item | What it does |
|---|---|
| Winterglass Gem | Sell it to Merrick for 1,000 coins. |
| Dorsalite | Upgrade material for weapons and sidearms at the Tarforge. |
| Sheephead Totem | Loot it by killing the sheep in the room. It turns you into a sheep to stay undetected and passively lowers enemy maximum health by a small percentage. |
That clears the whole loop, from the shelf on the Desolate Peak to the locked door in eastern Fainweald. The only real friction is the distance, so once the corruption east of the Shattered Beacon is cleansed, the return trips become far quicker.





