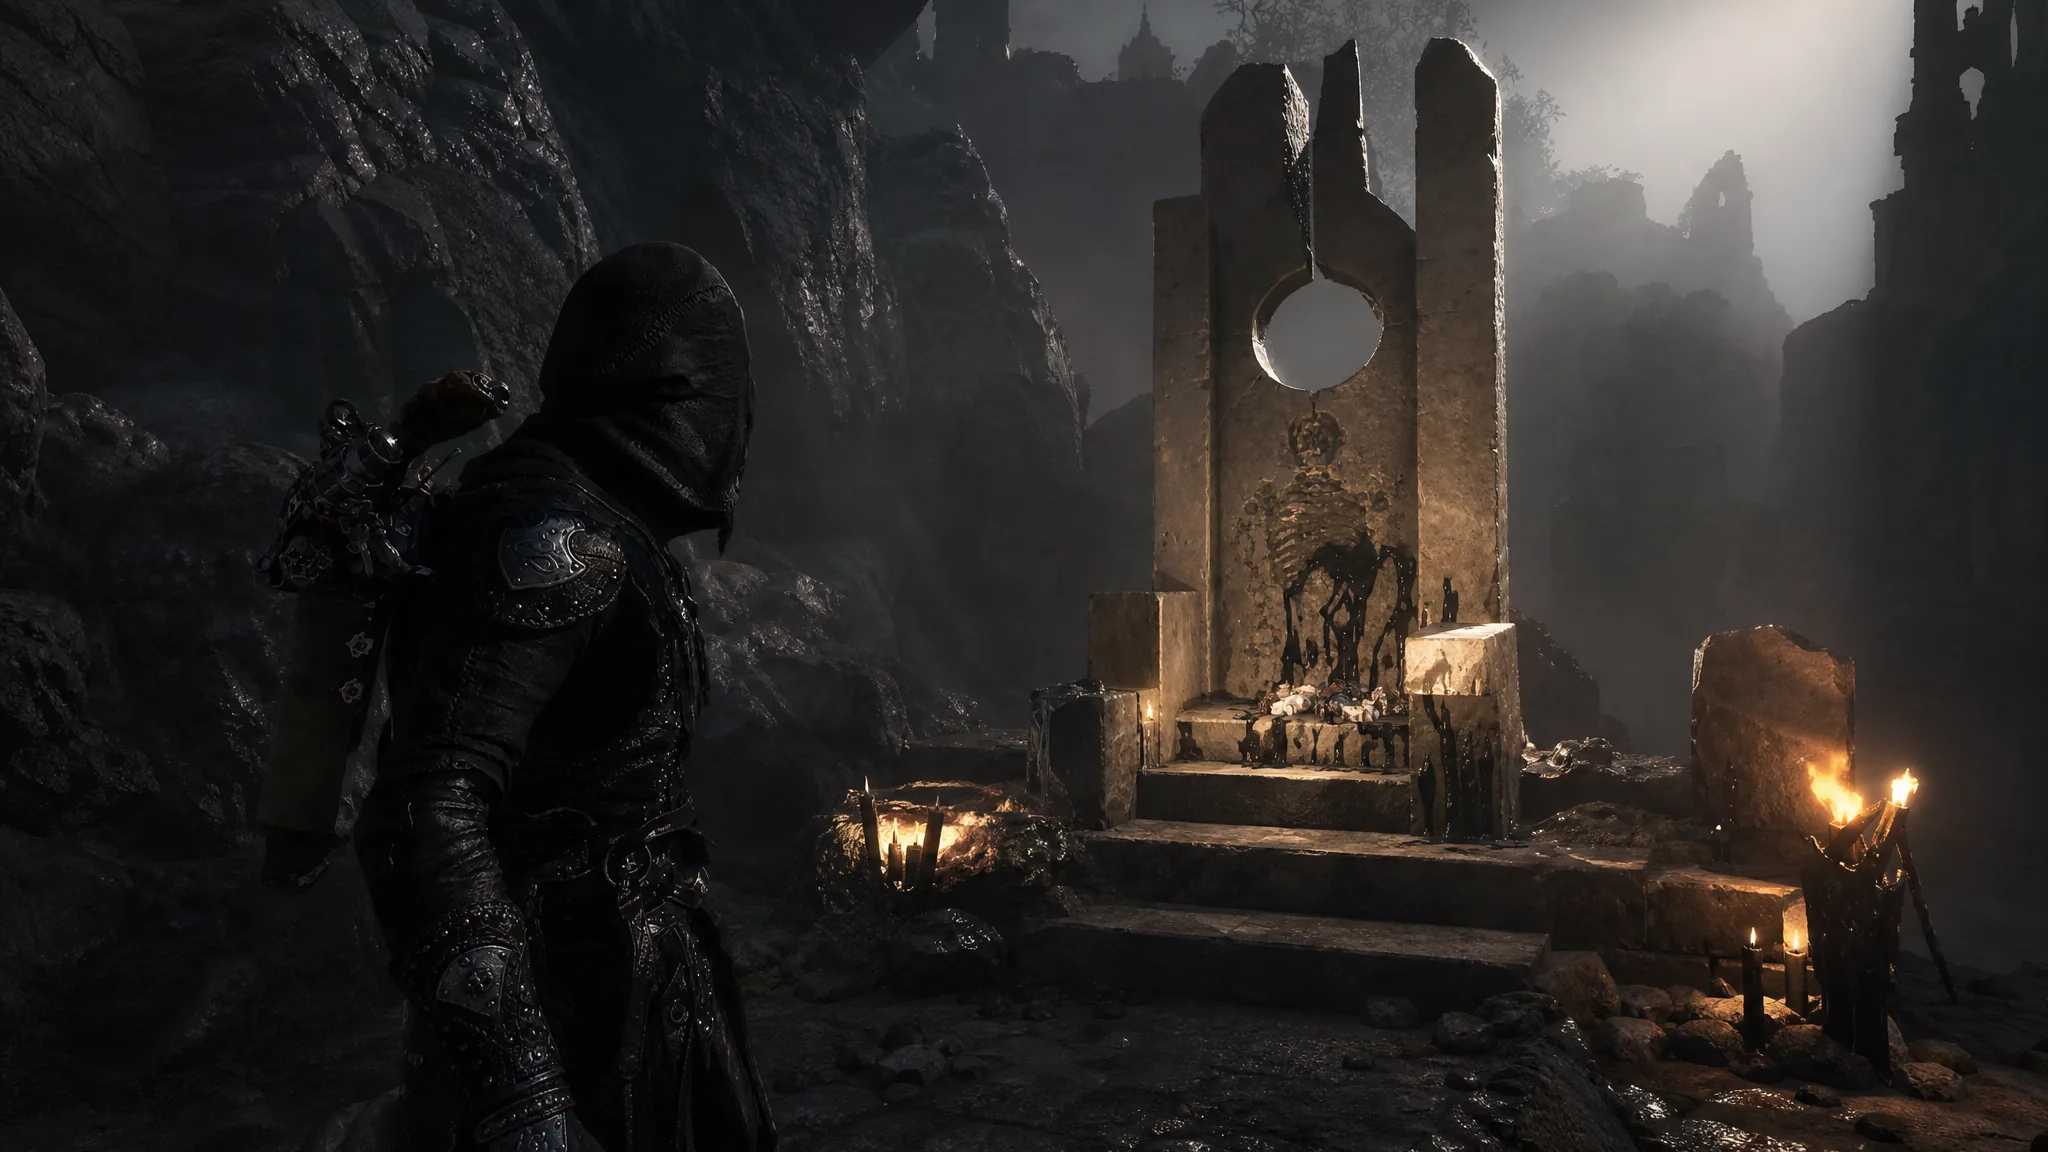
The Slayer Seal is an optional equipment piece in Mortal Shell 2 that turns your sidearms into stagger machines and heals you every time you riposte. It sits on a stone throne inside Marrow Keep, your main hub, and you can pick it up early in the campaign without any special requirement.
Quick answer: Reach Marrow Keep, go to the beacon/fast-travel point in the hallway, take the tunnel to the outdoor area near Merrick’s cave, and grab the glowing item from the stone throne overlooking the ocean. Do not equip it yet if you still want achievements on that save.
Slayer Seal location in Marrow Keep
You can reach the Slayer Seal roughly one to two hours into the game, depending on how quickly you clear the opening area. The seal never moves, so you can return for it at any point.
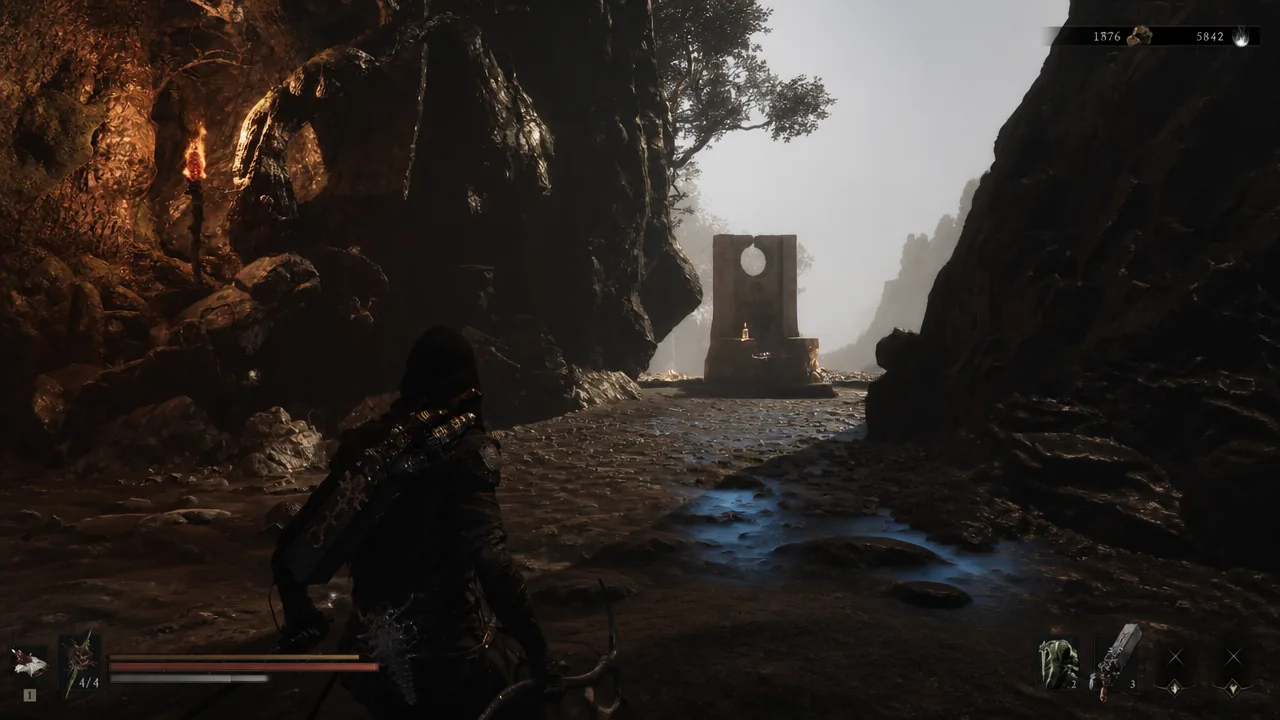
Picking it up is safe on its own. Equipping it is the action that carries a penalty, so holding the seal in your inventory changes nothing.
What the Slayer Seal does
Equipping the Slayer Seal replaces your usual Seal abilities, such as Parry or Harden, with a ranged-focused kit built around Break damage. Break works like the stagger or posture systems in other Soulslike games. Fill an enemy’s Break gauge and they are knocked out of the fight briefly, opening them up for a high-damage riposte.
| Ability | Effect |
|---|---|
| Gloomslayer (sidearms) | All equipped sidearms deal Break damage, letting ranged attacks stagger enemies. |
| Gloomslayer (restoration) | Performing a riposte restores some Health and Resolve. |
| Slayer Punch | A charged, gap-closing attack that makes you invulnerable, dashes forward, and deals massive Break damage. If it breaks the target, it automatically ripostes them. |
Note: The seal does not lower enemy stats. Foes still hit for the same damage and attack just as aggressively. The advantage comes from your ability to stun with ranged weapons and heal off every riposte, which is why many players treat it as an easy mode.
The playstyle leans hard on a good sidearm. The crossbow pairs especially well, since a few shots can stagger a target, trigger a riposte, and return your ammo in the process.
The achievement trade-off
The moment you equip the Slayer Seal, it disables further achievement and trophy progress on that save file. A prompt warns you about this before you commit. Because the penalty is tied to equipping and not to owning the seal, you can carry it around safely and swap it on only when you decide the trade is worth it.
A common approach is to complete a standard playthrough first to clear trophies and achievements, then equip the seal on a later run to enjoy the ranged build. There are also achievements designed specifically around the Slayer Seal’s playstyle, so equipping it unlocks a different set even as it closes off the standard ones.
Building around the Slayer Seal
The seal rewards Tarstones that lean into its strengths. Slotting Tarstones that raise ranged attack damage, increase Break damage, or improve Resolve generation compounds the effect and makes fights far more forgiving. With enough Break output, you can chain stuns and ripostes to keep your Health topped up between hits.
Night Mode, the opposite dial
If the Slayer Seal tilts the game toward easy, Night Mode tilts it the other way. It is a toggleable state that makes enemies tankier, deadlier, and more aggressive, while increasing the Gloom and Coins they drop. That makes it useful both for players chasing a harder run and for anyone wanting to level up or farm currency faster.
To enable it, you first need the Gloombound Flame. It sits in the starting area of the Fainweald region. From the Widow’s Overlook beacon, go down the sloping path into a muddy section with gravestones, where a miniboss called the Great Arbiter of Flesh guards a glowing item. Grab it and retreat.
Return to the top of the Marrow Keep elevator and light the extinguished lantern (the brazier) with the Gloombound Flame. This summons Thestus, who lets you call on the night to switch to Night Mode, and lets you bring back daylight whenever you want to revert to standard difficulty.
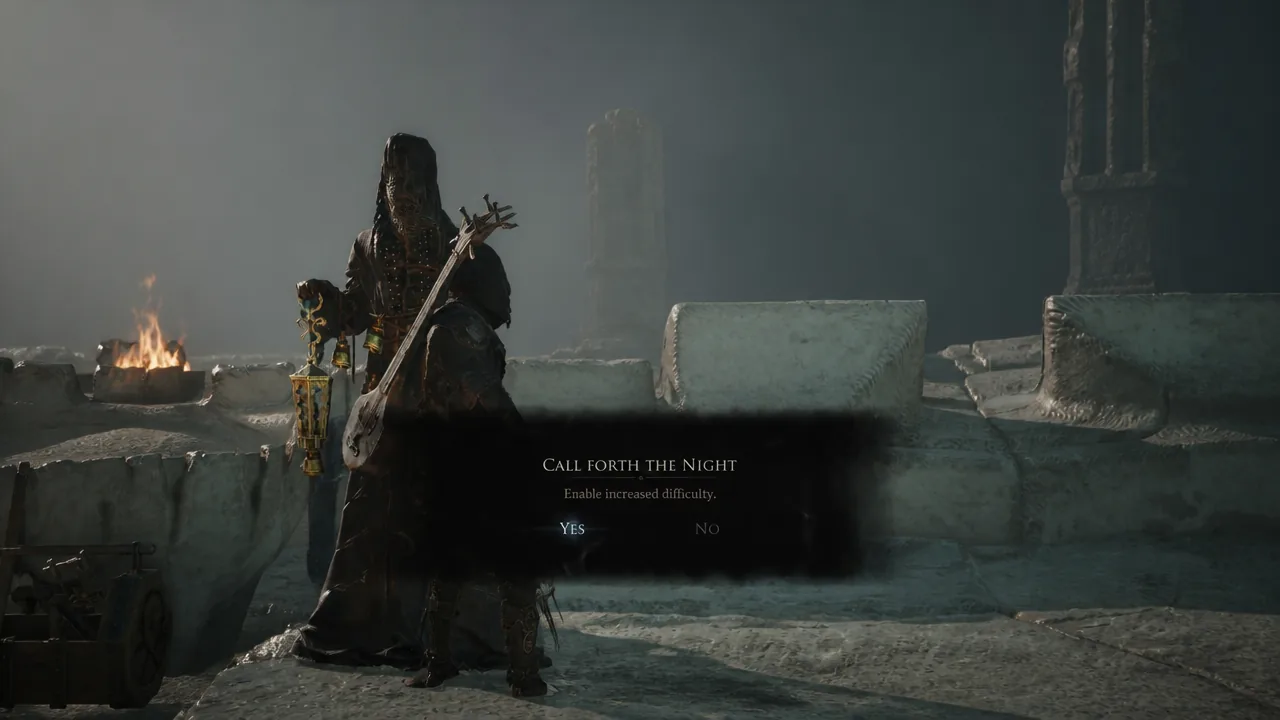
Night Mode also unlocks dungeons across the map that are otherwise inaccessible. It reveals hidden content tied to darkness, often flagged by a riddle line reading, “By the light of day, the truth remains sealed. And yet in darkness all shall be revealed.” If you want every dungeon and every achievement, you will need to turn the night on at some point.
Between the two systems, the Slayer Seal and Night Mode give you a way to dial Mortal Shell 2 up or down without a traditional difficulty menu. The safest plan is to hold the seal, run the campaign normally for trophies, and only equip the Slayer Seal once you are ready to trade standard achievements for a heavy-hitting ranged build.