Your Harbinger in Mortal Shell 2 starts out nearly powerless. Real strength comes from claiming the Shells of fallen warriors, each one carrying its own active ability, passive perk, and playstyle. Nine Shells exist in the game, but only eight can be kept and used in the main campaign. The rest are spread across the regions of Fainweald and Mammon, and several are locked behind bosses or specific items.
Quick answer: Find each Shell’s remains and complete its memory sequence to claim it. Tiel and Proxima are near the Widow’s Overlook and Blackridge Pass beacons, Gragu, Eredrim, and Smert are elsewhere in Fainweald, and Lazlo, Sariel, and Genessa are in Mammon. Harros is prologue-only and cannot be reclaimed.

All 8 Shells and how to unlock them
| Shell | Region | Unlock condition |
|---|---|---|
| Tiel | Fainweald | Interact with his corpse in a grave southeast of Widow’s Overlook |
| Proxima | Fainweald | Enter the Shattered Beacon northeast of Blackridge Pass |
| Gragu | Fainweald | Bring the Heart of Vatra to him in the One-Legged Wolf Tavern |
| Eredrim | Fainweald | Defeat the Warden in the Citadel of Penance |
| Smert | Fainweald | Complete the blood ritual west of the Outskirts of Nochte |
| Lazlo | Mammon | Defeat Vellen, Lord of Mammon in the Crypts of Mammon |
| Sariel | Mammon | Defeat Sariel, the Endless in the Chamber of Becoming |
| Genessa | Mammon | Return Sester’s Censer to Genessa in Marrow Keep |
The two Fainweald Shells you can grab first
Tiel
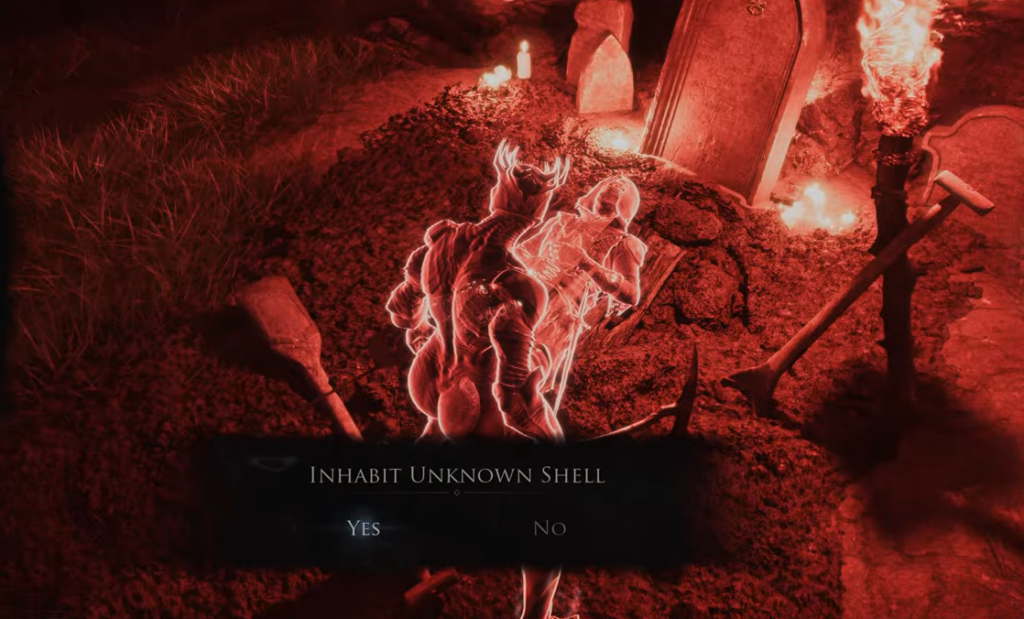
Tiel is the fastest Shell to claim. From the Widow’s Overlook beacon, head southeast past the Great Arbiter boss arena. Ignore the cultists, keep moving past the tree, and look for a small camp ringed by wooden walls. Inside, a coffin is half-buried in the ground to your left. Interact with it and let the memory play out to take Tiel.
Tiel is a stealth fighter built around invisibility. His Lingering Shadow active sets up a Shadow Strike with his dagger, and his Shadow Dash passive turns a well-timed dodge into invisibility with stagger damage.
Proxima
Proxima sits close by. From the Blackridge Pass beacon, head northeast until you reach a spot where enemies are fighting one another, then take the path on the left that rises slightly. Deal with the four-legged, insectoid enemy patrolling the area and enter the glowing Shattered Beacon ahead. This is not a normal beacon for leveling or cleansing. Proxima’s remains rest on a coffin inside, unguarded.
Proxima is a tank. Her Grafted Armor passive gives a base 15% chance to mitigate melee or ranged hits, cutting that damage by 50% and preventing stagger. Her Biosampler active fires a hook that pulls small enemies to her or drags her to larger ones before a lightning follow-up.
Gragu: return the Heart of Vatra
Eredrim: beat the Warden in the Citadel of Penance
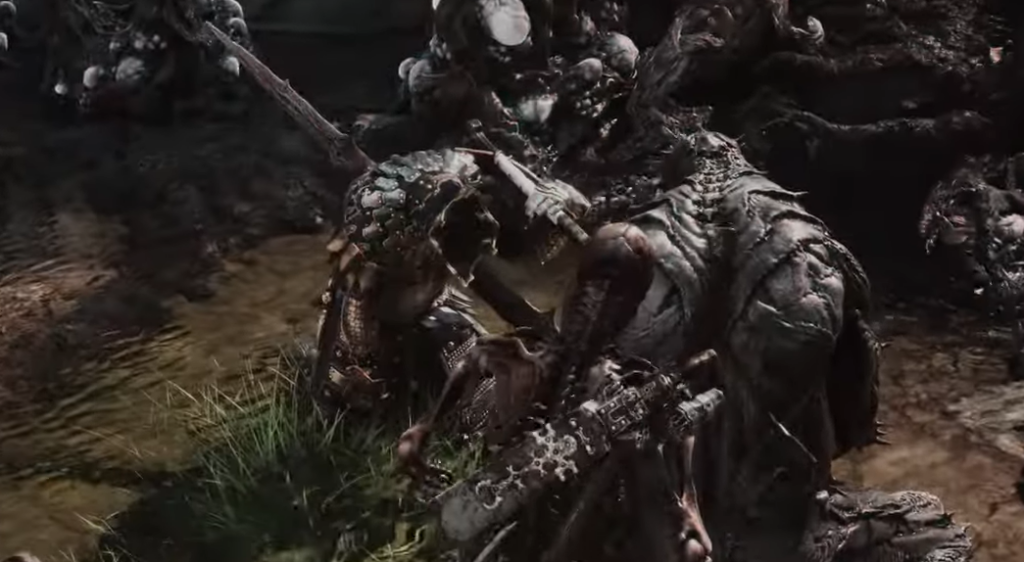
Eredrim is in the boss arena inside the Citadel of Penance, in the northwestern part of Fainweald. There are two ways in. You can defeat the Bloodcursed Lithopod southeast of the Citadel to get the Citadel Gate Lever and open the main gate, or you can interact with the coin pouch (a bag) on the bridge northeast of the One-Legged Wolf beacon to teleport straight into the prison cells.
If you use the bag, break out of the cell, then take the lift up and move toward the center. The floor in the middle collapses into a fighting pit. Interact with the coin pouch on the ground to start the Warden fight. Defeat the Warden, then tag the knight’s corpse in the arena to unlock Eredrim.
Eredrim is a boss-killer. His Shoulder Bash deals heavy Break damage to a single target, the Ethereal Diapason bell spreads a small amount of Break to nearby enemies, and his Executioner passive finishes low-health foes.
Smert: complete the blood ritual
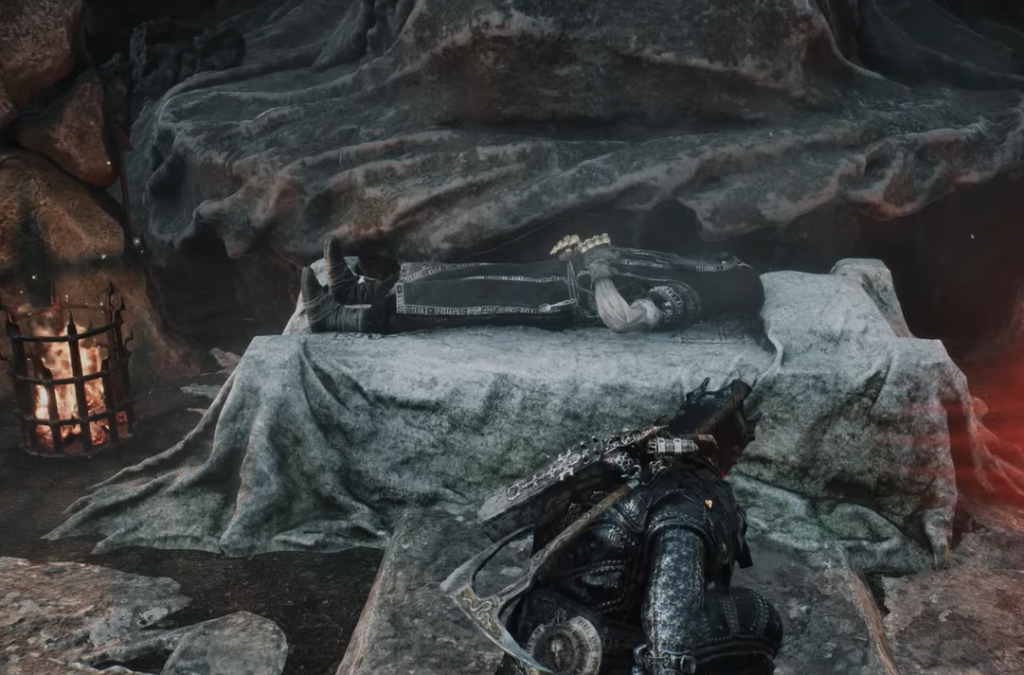
Smert waits in the western swamplands, at a ritual ground west of the Outskirts of Nochte beacon. On the bluff you will find three circular pools. One is already filled with blood; you need to fill the other two.
Approach an empty pool and make a Blood Offering. Each offering costs a full health state and knocks you out of your Shell into Harbinger form. This is the part that trips players up, so read the next line carefully.
Do not make a Blood Offering while in Harbinger form, or you will die. After the first offering, clear the surrounding enemies, deal melee damage to reclaim your Shell, and only then fill the second pool. With both pools filled, Smert’s body glows and you can claim the Shell.
Smert’s Miracle stops time and lets his unarmed hits apply Chaos stacks that detonate when time resumes, and it can be extended into Overtime at the cost of health. His Deadly Revelation passive grants Faith at 10% health or lower.
The three Mammon Shells
Lazlo
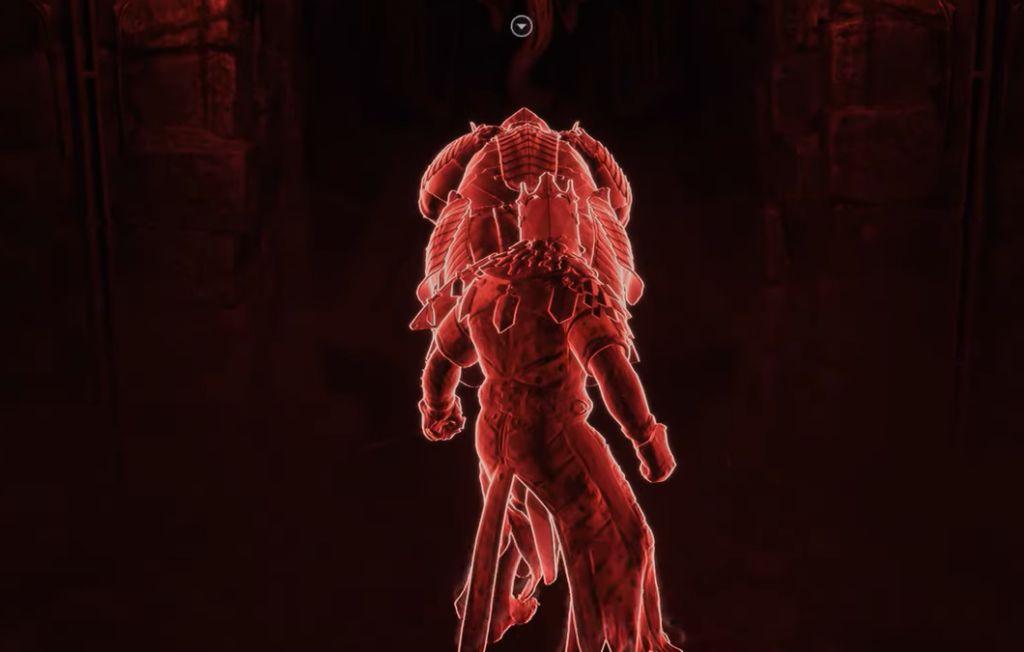
Lazlo is sealed inside the Crypts of Mammon in the western part of the region. From the Outskirts of Mammon beacon, push west through the High Lord’s Courtyard, fighting past Armored Knights and Coffin Eye Beholders, and enter the keep. Deep inside you face Vellen, Lord of Mammon. Defeat him and continue into the final chamber to find Lazlo’s corpse.
Lazlo’s Retribution heats his armor to release a shockwave, and repeated use triggers Overheat for a stronger burst that inflicts Burn but temporarily disables his armor. His Fortified Plate passive gives a base 10% damage reduction while the armor is on.
Sariel
Sariel is a two-stage fight in the southeastern part of Mammon. Tag the Silent Steps beacon, then use the jump gate to reach the high ledges. Sariel, the Endless attacks in the open area. Damage him enough and he flees, opening the way up the steps into the Chamber of Becoming dungeon.
Inside, the fight continues. In his final phase he revives unless you destroy the four statuettes, also described as lightning rods, on the sides of the arena. Break all four first, then finish him. Defeating Sariel rewards the Clockwork Scythe weapon, and the last chamber holds the Caged Hystrix sidearm. Inhabit Sariel to watch his memory and complete the unlock.
Sariel’s Exodus of Thorns sends parasitic thorns to hunt enemies and stack Curse while inflicting Pain on himself. His Purge passive converts 50% of incoming damage into Pain when he has none, and speeds up his dodges at max Pain.
Genessa
Genessa is the most hidden Shell. Sester Genessa is an NPC in Marrow Keep, so exhaust her dialogue first. To free her Shell, head to the eastern landmass in Mammon and tag the Abbey Entrance beacon. Nearby, a field of red specters flickers in and out. Interact with the object there to be pulled into a separate arena against the Sester Secundus boss.
Defeat Sester Secundus to receive Sester’s Censer, then bring it back to Genessa in Marrow Keep to relive her memory and claim the Shell. Her Faithful Doubles active creates copies to fight alongside her, backed by the Duality passive.
Why you lose Harros
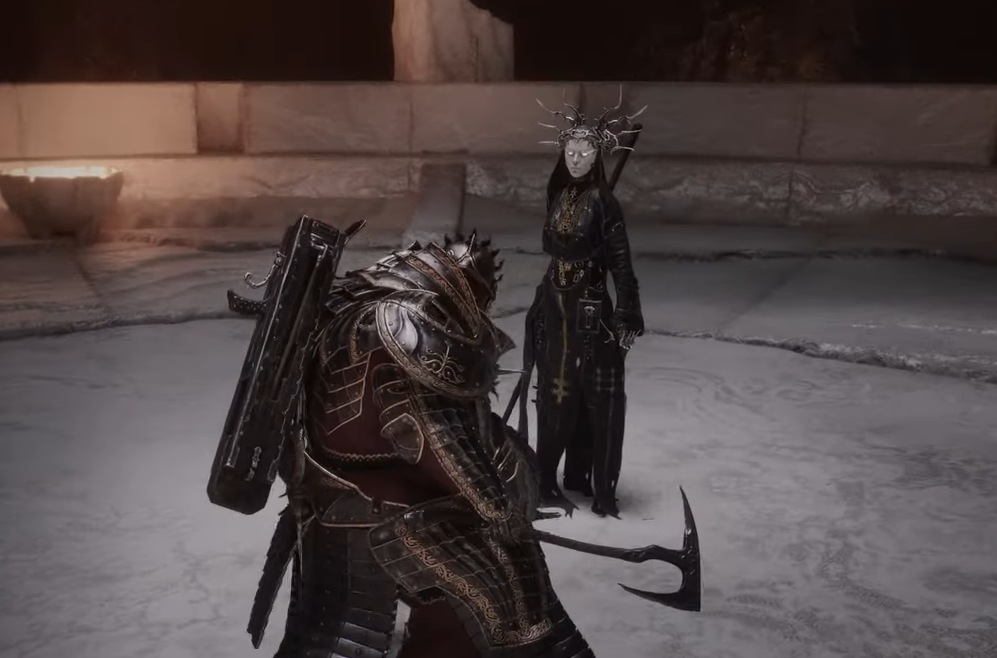
Harros is the balanced starter Shell from the first game, and he is handed to you during the prologue. He is not one of the eight you keep. When the prologue ends you lose access to Harros permanently as part of the story, so there is no route to reclaim him later. You still keep the hardening mechanic afterward.
How to confirm a Shell is unlocked
Every Shell works the same way once you reach its remains. Interacting with the body triggers a memory sequence. When that sequence finishes, you gain the option to switch to that Shell, which confirms the unlock. Two Shells, Tiel and Proxima, get their general locations marked on your map by Zhirelle when you first speak to her at Marrow Keep.
After a Shell is yours, raise your bond with it using Glimpse through the Shellkeeper in the Marrow Keep hub. Each bond level opens a higher perk tier for that Shell’s abilities, so the Shells you plan to main are worth investing in early.