Seven of the eight Shells in Mortal Shell 2 can be pinned to your map after you talk to the right NPC in Marrow Keep. The eighth one can’t. Sester Genessa, the woman who runs combat training in the hub, is a Shell herself, and the game never marks her questline for you. There’s no Glimpse to spend, no map icon to chase — just a specific fight in Mammon and an item you have to carry back.
Quick answer: Fast travel to the Abbey Entrance Beacon in Mammon, head northwest and kill the two Gloombound Ritualists, touch the lantern the Sesters are staring at, beat Sester Secundus for the Sester’s Censer, then offer it to Genessa in Marrow Keep.
What you need before starting the Genessa questline
You have to be deep enough into Mammon to reach the Abbey area in the southeastern part of the region. The Abbey Entrance Beacon is the anchor for the whole thing, so activate it before anything else — you’ll want the short walk back if the Ritualists go badly.
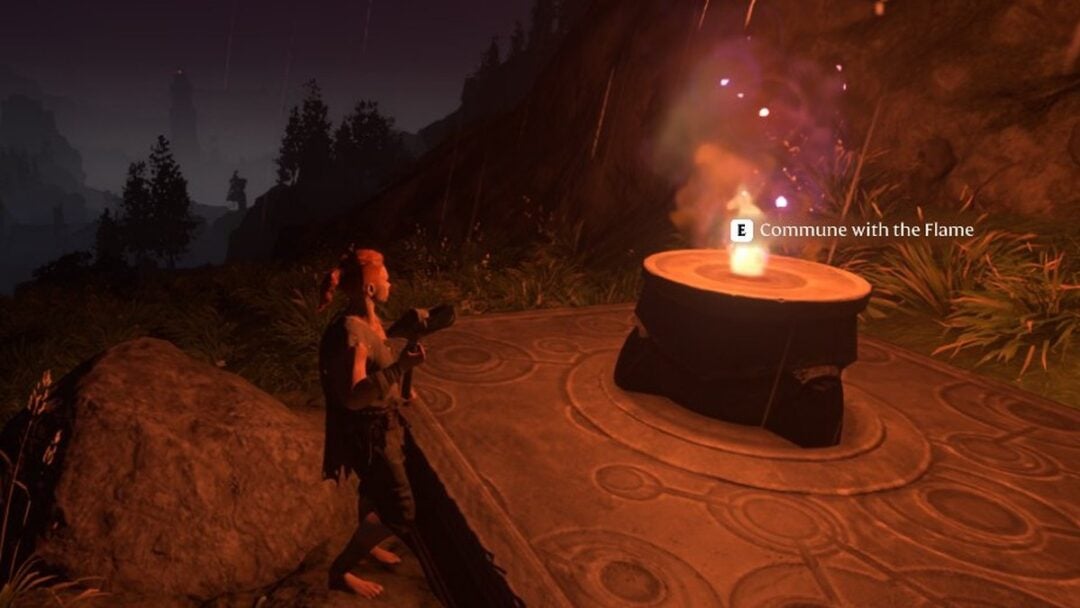
The clearing you’re looking for sits past the Abbey entrance, near Sester’s Refuge, and it’s easy to identify: red trees, and glowing Sester Genessa figures standing among the graves. Nothing here is gated behind a currency, so if you’ve been hoarding Glimpses for map reveals, don’t spend them trying to find this one.
How to beat the two Gloombound Ritualists at the Abbey
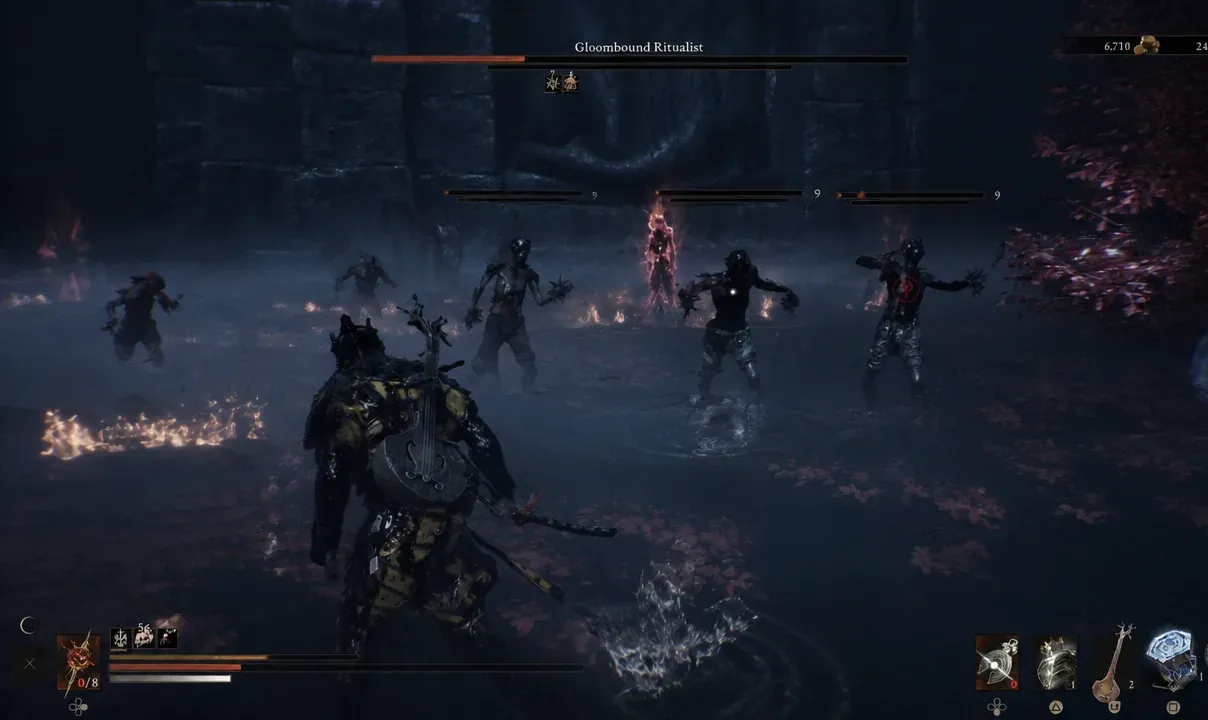
Note: If you’re low after the fight, walk back to the Beacon before touching anything. The next step teleports you straight into another boss with no chance to heal in between.
Where to find the lantern and how to beat Sester Secundus
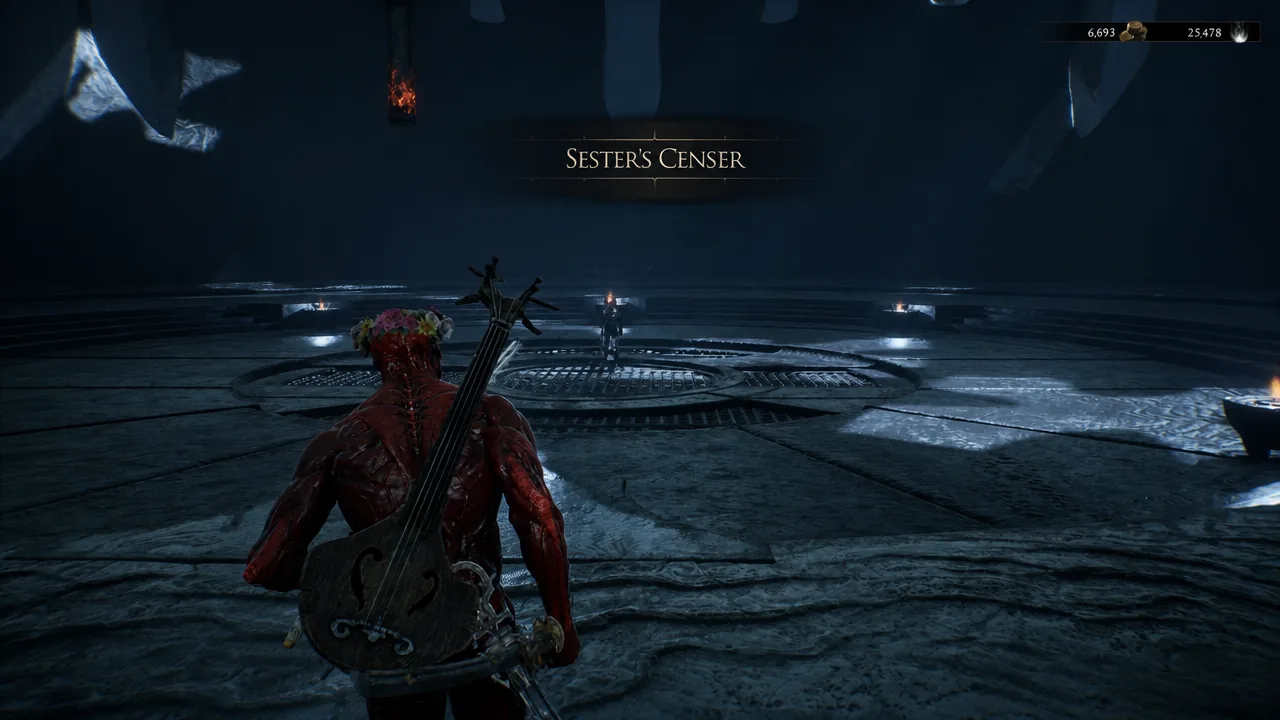
She drops the Sester’s Censer on death. The item description spells out what to do with it, so if it’s in your inventory, the fight registered.
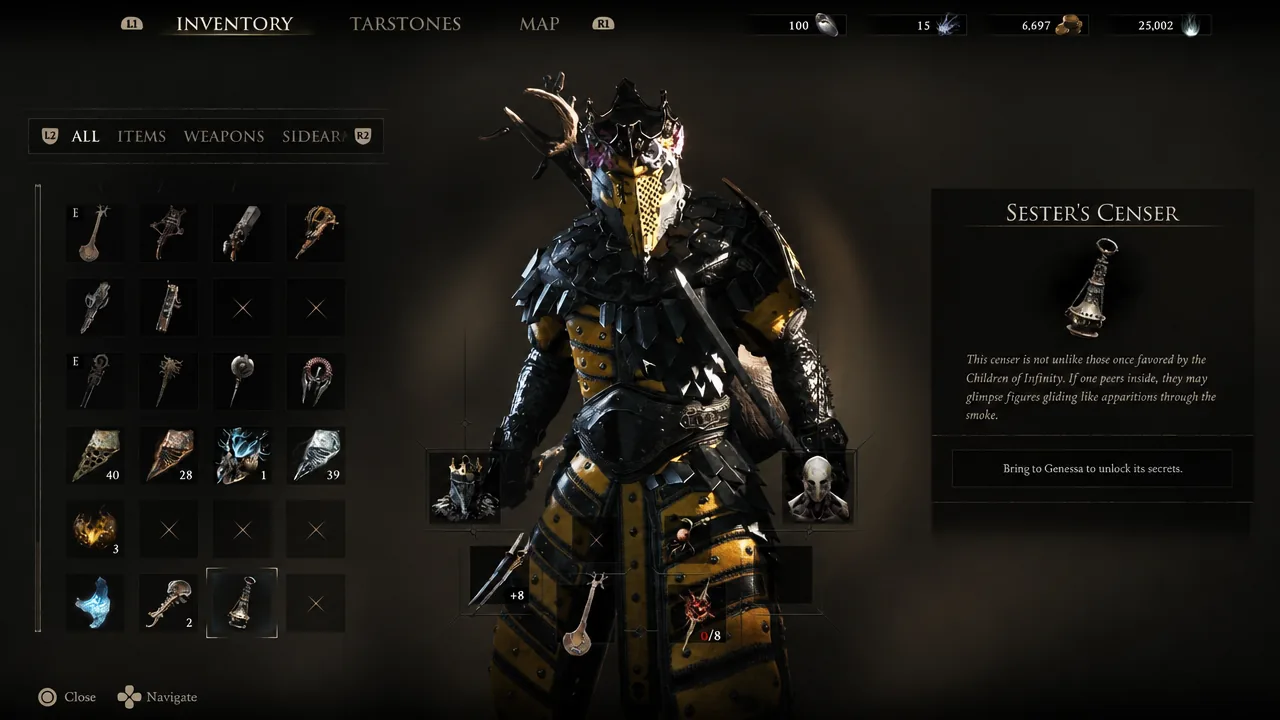
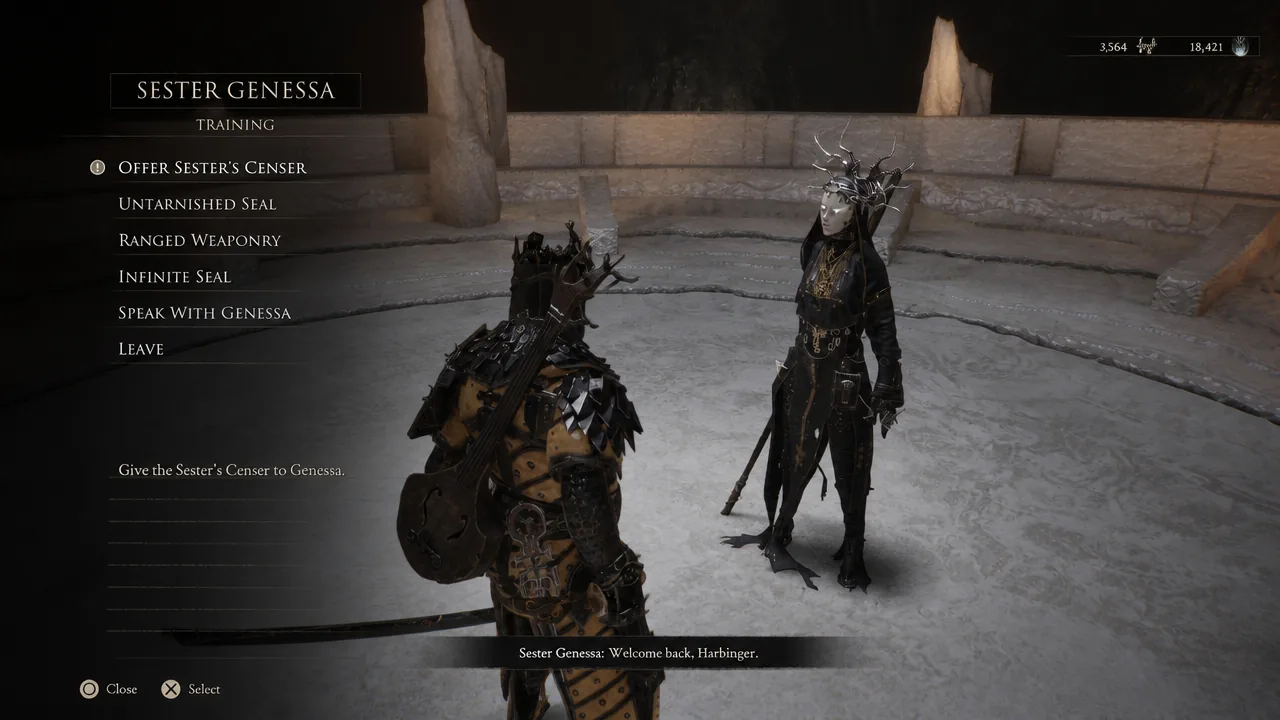
How to give the Sester’s Censer to Genessa in Marrow Keep
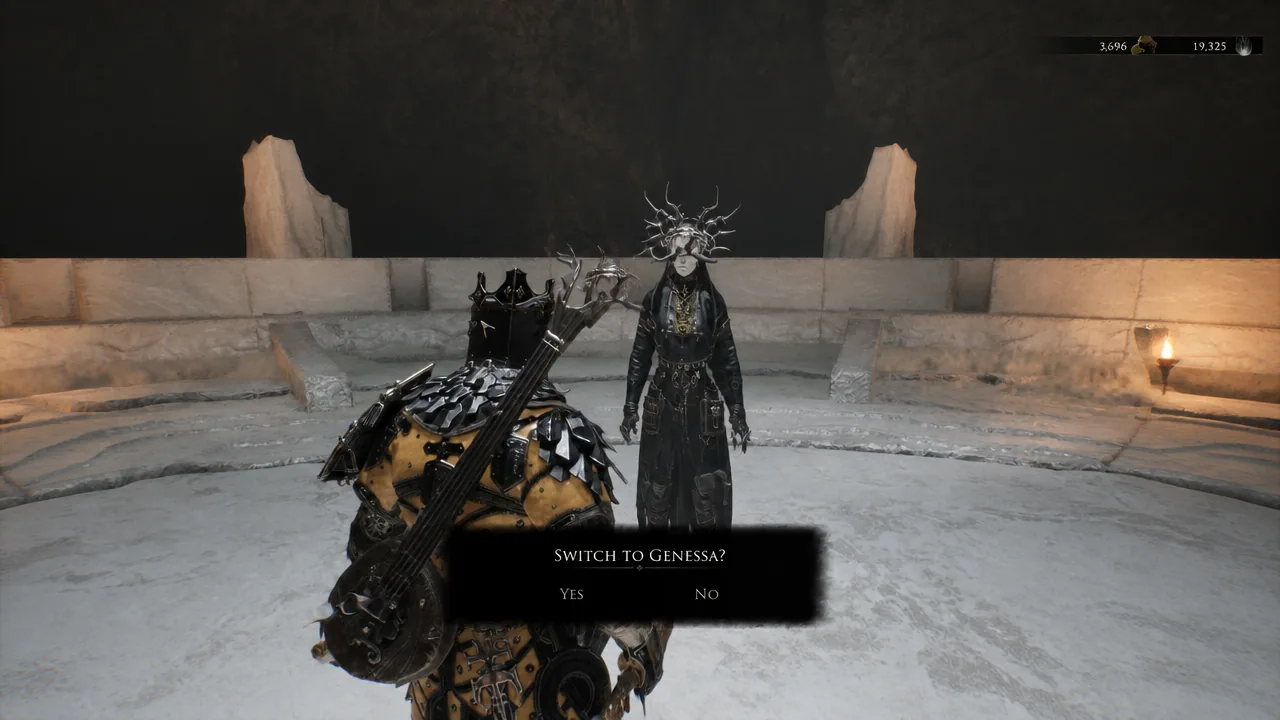
Genessa’s abilities and how she differs from other Shells
Genessa doesn’t work like the rest of the roster. Her Shell Ability summons doubles that attack whatever you’ve targeted before vanishing. Her passive, Duality, is the bigger change — when her Shell is severed, she becomes Stray instead of dumping you into Harbinger form.
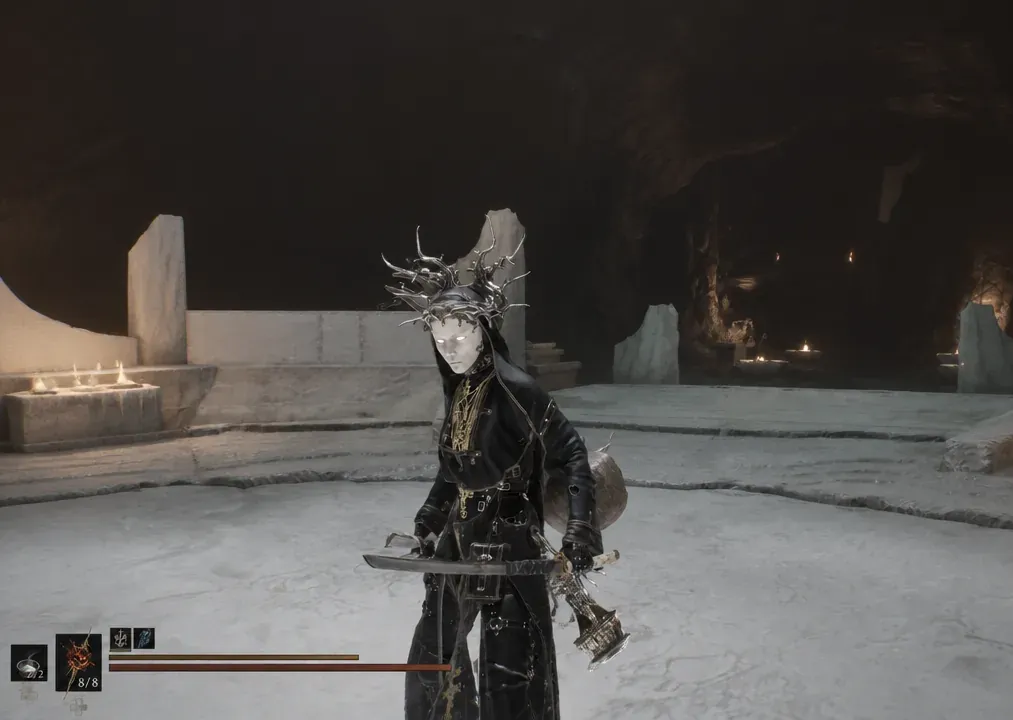
The trade-off is that you can’t recover your normal Shell state once you’re Stray. In exchange, you get a second summoning ability whose doubles copy your weapon and sidearm attacks. Upgrading her also happens somewhere else entirely — the Stray Sester who takes Genessa’s spot in Marrow Keep handles it, not the usual Shell upgrade flow.
| Detail | Genessa |
|---|---|
| Map marker | Cannot be marked; no Glimpse required |
| Unlock item | Sester’s Censer, dropped by Sester Secundus |
| Shell Ability | Summons doubles that strike the target, then vanish |
| Passive | Duality — becomes Stray instead of Harbinger when severed |
| Stray state | Doubles copy weapon and sidearm attacks; no return to Shell |
| Upgrades | Handled by the Stray Sester in Marrow Keep |
If the Genessa unlock isn’t triggering
Two things stop this cold. The first is the lantern — it only becomes interactable after both Gloombound Ritualists are dead, so if nothing happens when you approach it, one of them is still alive somewhere in the clearing. The second is the Censer itself. Sester Secundus has to actually die for it to drop, and dying to her sends you back without it.
Beyond that, the Offer Sester’s Censer line only appears on Genessa’s dialogue menu while you’re holding the item. If you’re standing in front of her and the option isn’t there, check your inventory before retracing the route.
With her added, that’s all eight Shells accounted for — and since each one has its own achievement plus a separate one for the full set, Genessa is usually the last box left to tick.