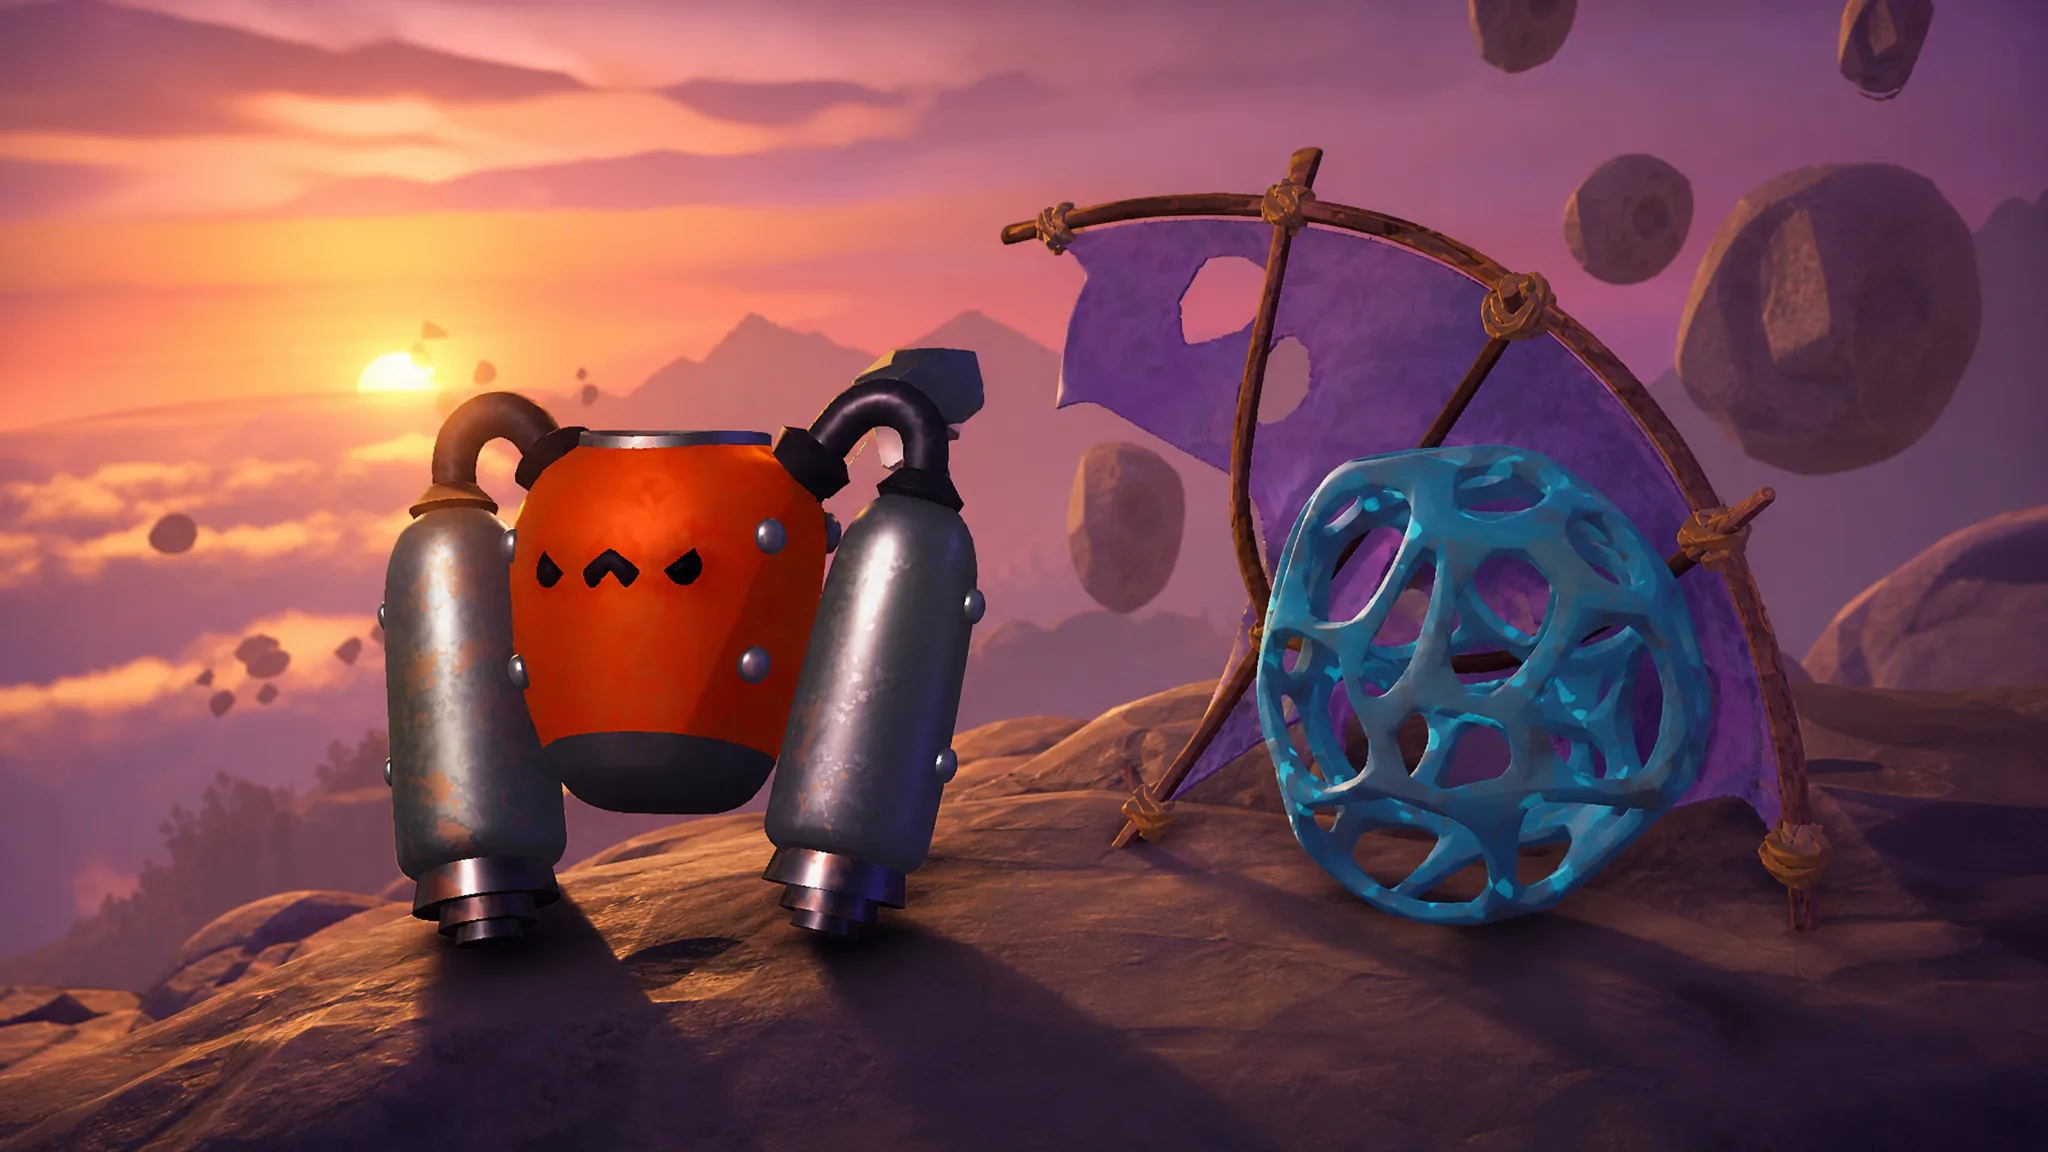
The Final Ascent closes out PEAK with two fresh biomes, GLOOM and THE CITADEL, and a pile of new gear that changes how Scouts move up the mountain. Some of it is straightforward, like a Glider stuffed inside a random suitcase. Some of it will kill your friend on purpose.
Quick answer: The update adds 14 new items. Ten spawn from containers or the environment (Jetpack, Rocketpack, Glider, Warp Fungus, Anti-Zooka, Candlestick, Fanny Pack, Clown Luggage, The Early Worm, Ritual Dagger), and four are Scout Amulets found only at Amulet Statues.
All new Final Ascent items and where they spawn
Everything below is looted or found in the world. Nothing here is guaranteed on a given run, so treat the spawn column as where to look rather than where it will definitely be.
| Item | Effect | Where it spawns |
|---|---|---|
Jetpack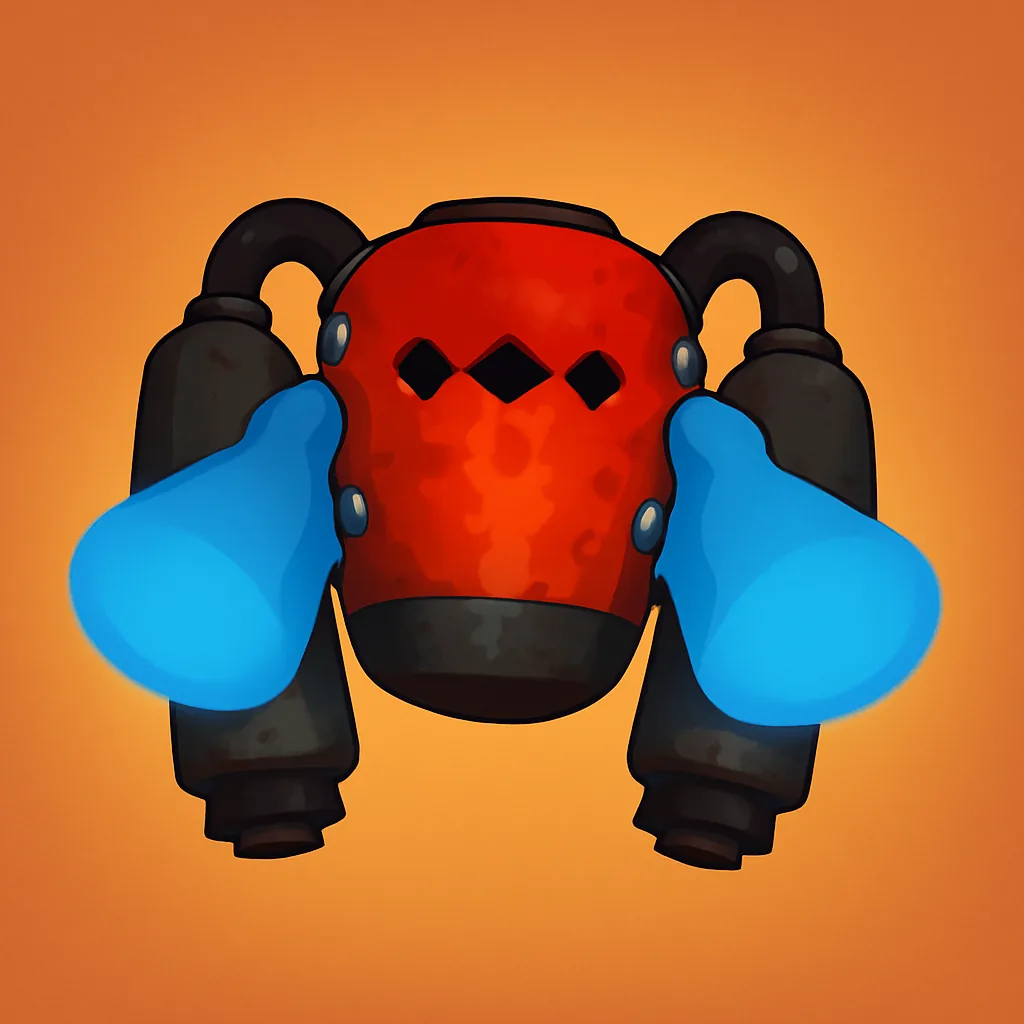 | Launches you upward in bursts. Burns fuel, which is topped up with assorted items found on the mountain. | Luggage. Takes the Backpack slot. |
Rocketpack | Fires you into the air for about four seconds, then detaches and explodes roughly five seconds in. | Regular Luggage. Replaces a Backpack or Fanny Pack. |
Glider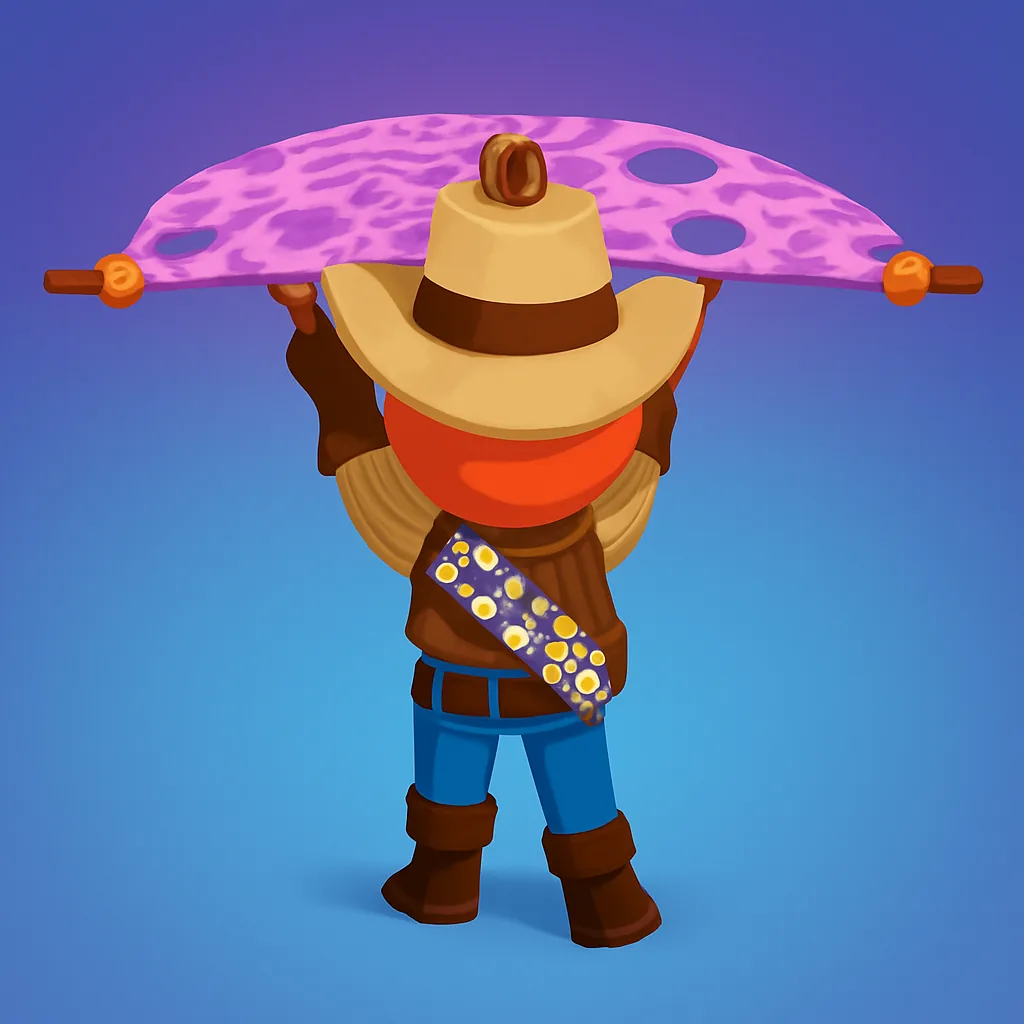 | Glides long horizontal distances. Drains stamina the whole time it is open. | Random in luggage chests and crates. |
Warp Fungus | Throwable. Teleports you to wherever it lands. One use only. | Grows on walls. |
Anti-Zooka | Fires an anti-gravity field with three charges. Anyone caught inside is thrown upward. | Ancient Luggage and Ancient Statues, mostly in GLOOM and THE CITADEL. |
Candlestick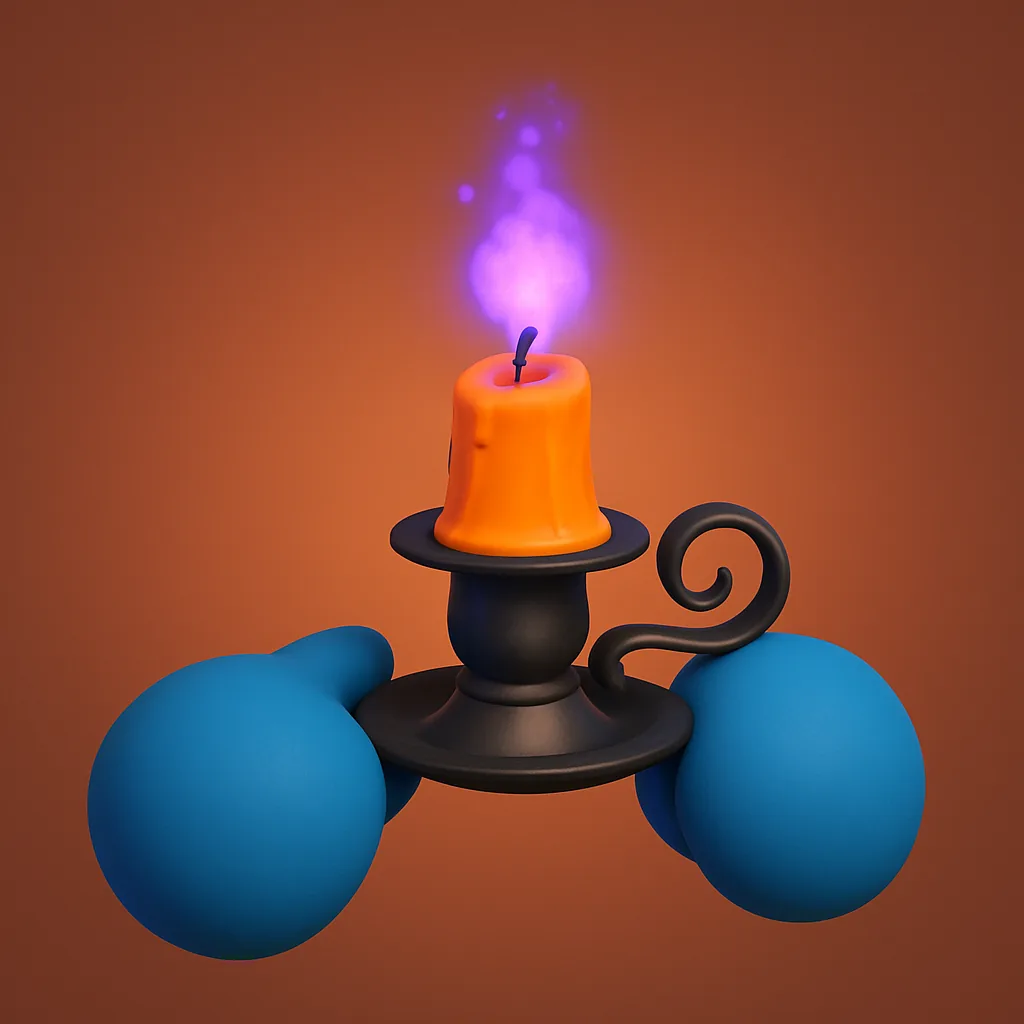 | Blocks the Drowsy effect for anyone within 7 meters and clears GLOOM’s visual fog within 4 meters for about 30 seconds. | Luggage and Big Luggage in GLOOM and THE CITADEL. |
Fanny Pack | Adds two inventory slots. Cannot be worn alongside a Backpack. | Directly inside Luggage. |
Clown Luggage | A luggage type full of novelty gear. Lollipop, Balloon Bunch, and Cannon all show up inside. | Random across the biomes. Look for the clown face on the case. |
The Early Worm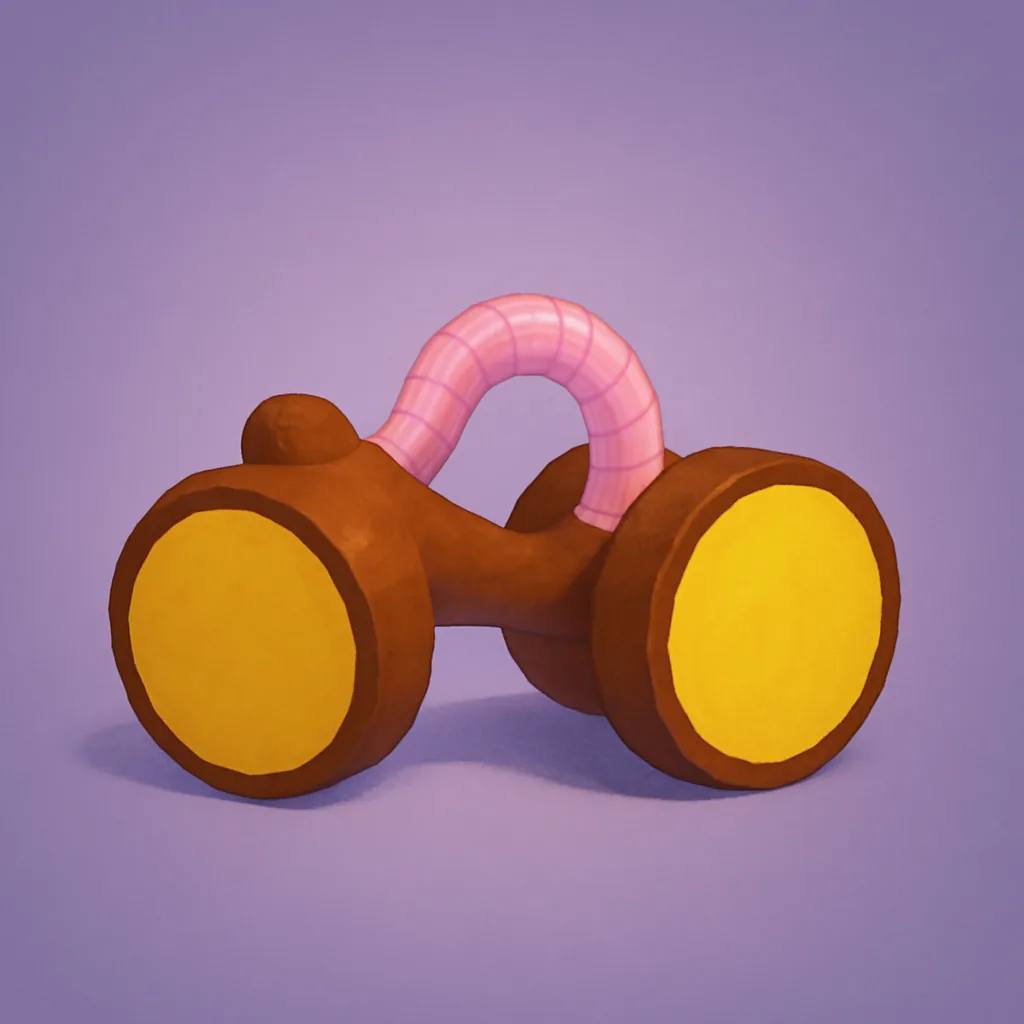 | Removes 5 Hunger and wipes the Drowsy effect entirely when eaten. | GLOOM only. A small pink worm circling on the ground, no fixed spawn. |
Ritual Dagger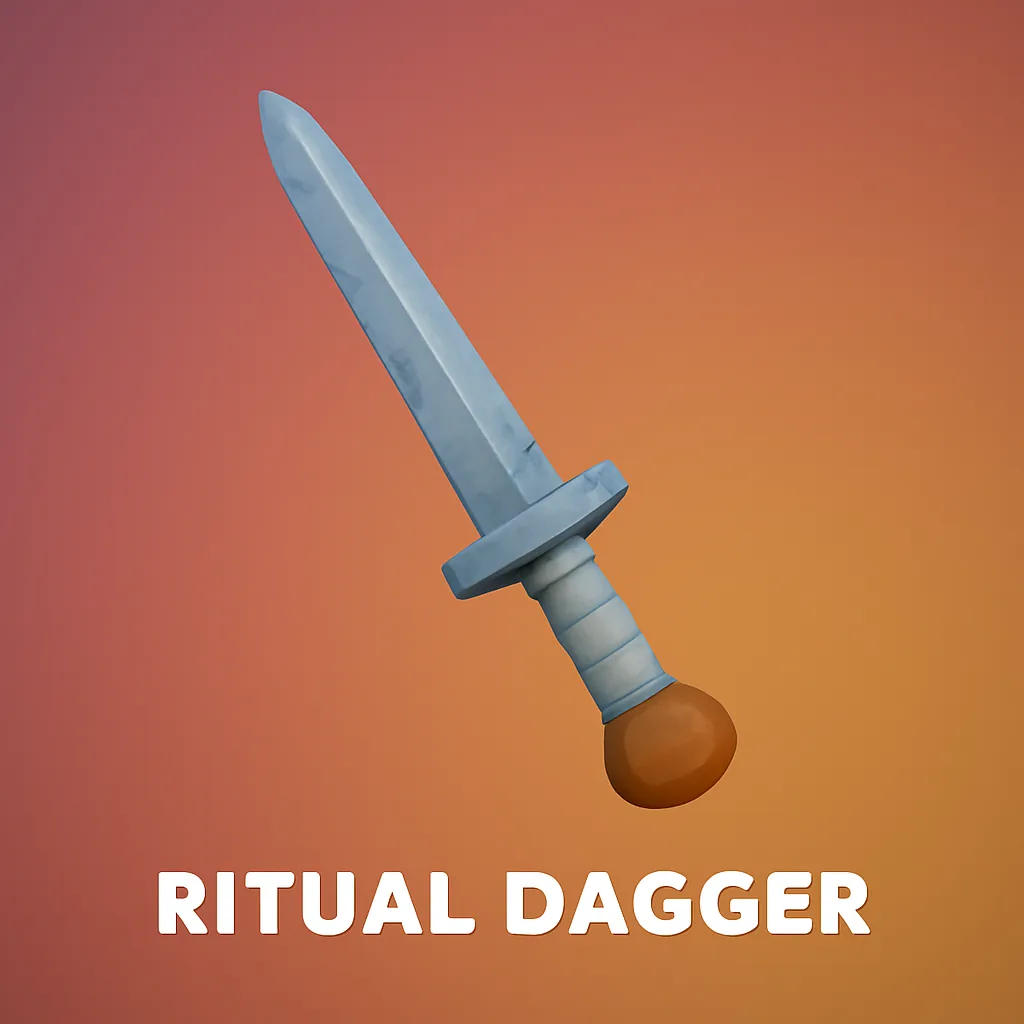 | Sacrifices another Scout. You get a full stamina bar, 100 Bonus Stamina, and most negative status effects removed. | Ancient Luggage and Ancient Statues. Co-op only. |
Scout Amulets and what each one costs in Petrify
The four Scout Amulets are Mystical Items that only appear at Amulet Statues. Every one of them is powerful, and every one of them stacks Petrify on the person who activates it. The stronger the effect, the higher the bill.
| Amulet | Effect | Petrify |
|---|---|---|
Scout’s Tenacity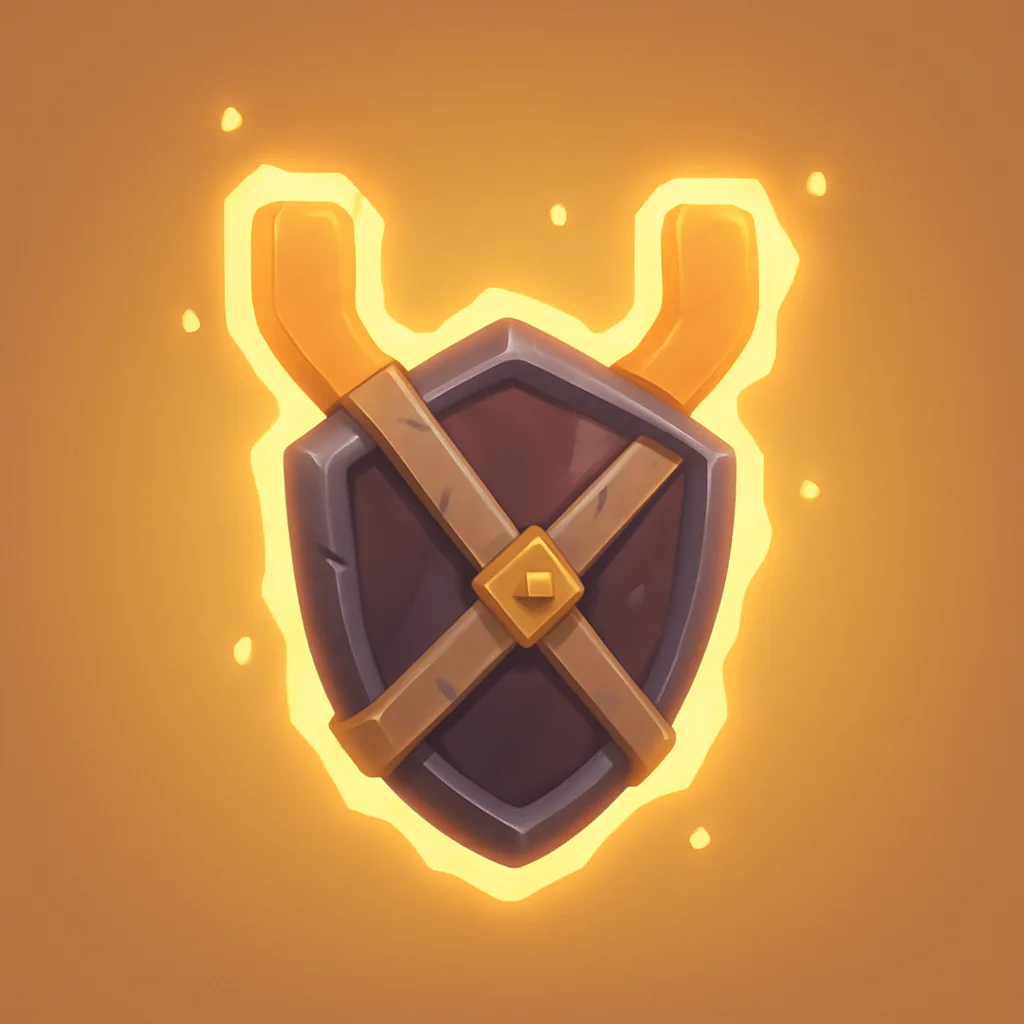 | Removes up to 60 points of Injury, Spores, Poison, Cold, Heat, and Drowsy, plus 10 seconds of invincibility. Works on you or another Scout. | 10% |
Scout’s Initiative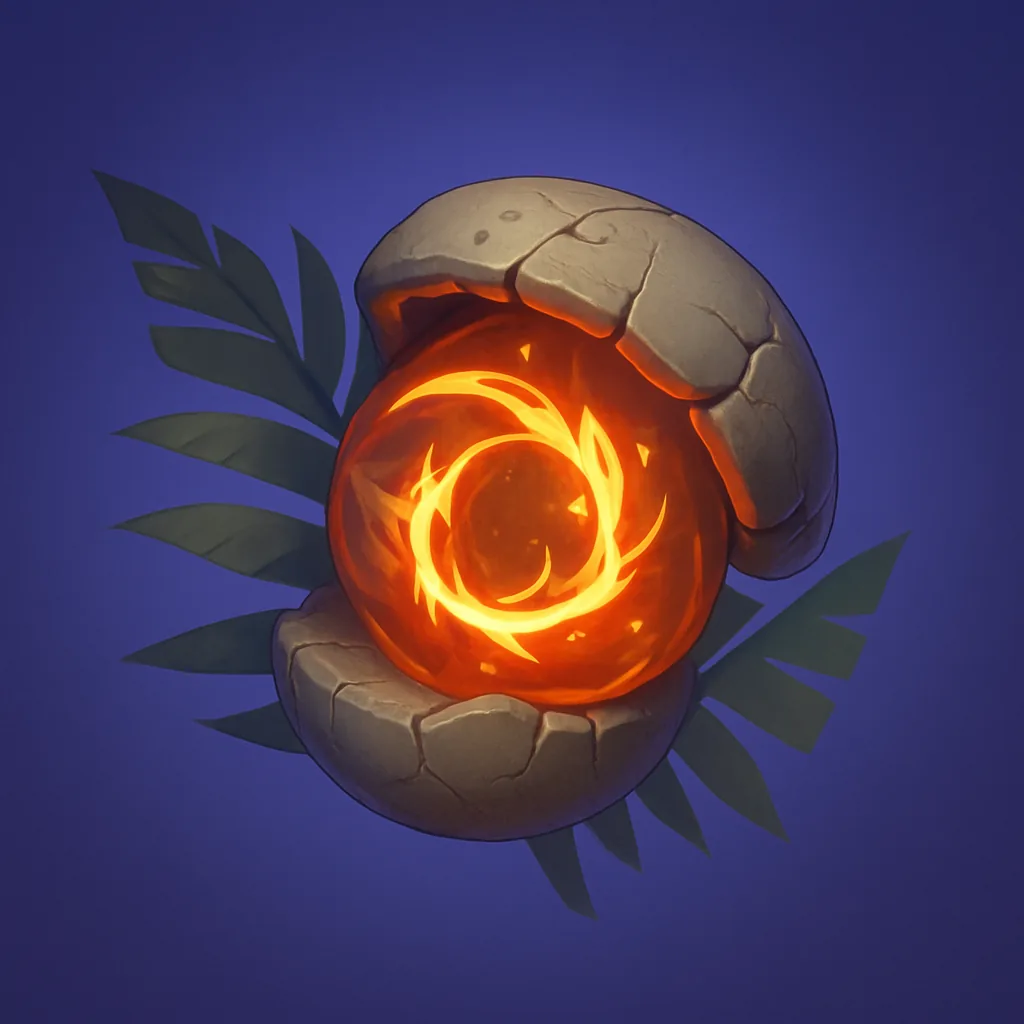 | Grants a double jump and slow falling, which makes long drops and risky gaps survivable. | 10% |
Scout’s Generosity | Duplicates nearby eligible items so the team can copy supplies instead of hunting for spares. | 25%, scaling with what you copy. Duplicating another Mystical Item hurts far more. |
Scout’s Ambition | Drops a bubble that gives Infinite Stamina to you and any Scouts nearby. | 40% |
Note: Ambition is the one to save for a long vertical section where the whole group is climbing at once, since the bubble covers everyone standing in it.
How the new movement gear actually behaves
Going up: Jetpack, Rocketpack, and Anti-Zooka
The Jetpack is the reliable one. It sits in your Backpack slot, so you trade storage for the ability to skip a nasty overhang, and fuel drains quickly enough that you should plan short bursts rather than sustained flight.
The Rocketpack is the reckless one. Someone else normally has to light the fuse while you are wearing it, though solo Scouts can drop it, light the fuse, and pick it back up. You get about four seconds of flight before it detaches and detonates around the five-second mark, which leaves you falling from height. Pairing it with a Glider is the difference between a shortcut and a crater.
The Anti-Zooka fires an anti-gravity field and holds three charges. Holding left click adjusts how fast and how far the projectile travels. Anyone standing in the field gets flung upward, which works for boosting a teammate onto a ledge or catching someone mid-fall before the landing kills them.
Going across: Glider and Warp Fungus
The Glider covers horizontal ground instead of vertical, letting you cross a gap rather than climb around it. It eats stamina while deployed, so check your bar before you commit and leave enough in reserve to grab a wall when you land.
Warp Fungus grows on walls and works as a throwable teleport. Wherever it lands is where you end up. It vanishes after a single use, which makes it worth hoarding for a stretch you genuinely cannot climb.
Surviving GLOOM with the Candlestick and The Early Worm
GLOOM’s fog builds Drowsy on anyone standing in it, and visibility is bad enough that you often cannot see what is grabbing you. A lit Candlestick handles both problems for a stretch. It shields every player within 7 meters from Drowsy and clears the visual effects within 4 meters for roughly 30 seconds.
The Candlestick also doubles as an offensive tool. Bringing its flame near a Ghost burns the thing away, which is one of the three ways to deal with them alongside a Belltower and a Faerie Light.
The Early Worm is the cleanup option. It only spawns in GLOOM, it moves in circles on the ground, and there is no fixed location, so you have to actually look. Eating it strips 5 Hunger and clears Drowsy completely.
Fanny Pack and Clown Luggage change how you loot
The Fanny Pack solves an old co-op annoyance. Backpacks normally appear at the start of a run or at a campfire between biomes, which means a Scout who misses one is stuck with base inventory until the next checkpoint. The Fanny Pack spawns straight out of Luggage and adds two slots, so anyone can grab storage mid-biome. The catch is that it and a Backpack are mutually exclusive.
Clown Luggage is a new container rather than a tool. It carries a spread of novelty gear, and it shifts where several existing items turn up, since the Lollipop, Balloon Bunch, and Cannon now spawn inside it. The cases wear a clown face and can appear in any biome.
The Ritual Dagger is a co-op trade, not a heal
The Ritual Dagger only functions with another player in the run. Using it on a teammate sacrifices them outright, killing them instantly and handing you a full stamina bar, 100 Bonus Stamina, and the removal of most negative status effects. It is a last-ditch button for a climb that is otherwise going to end the expedition.
Which new items unlock badges
Five of the new items feed directly into Final Ascent badges. Each one pops on screen the moment the condition is met, and the cosmetic is added to your wardrobe right away. Badges count on every difficulty except Custom.
| Item | Badge condition | Reward |
|---|---|---|
| Glider | Hang Gliding — travel 100m without touching the ground | Cargo Outfit |
| Clown Luggage | Jester — open three cases in a single expedition | Jester Outfit, Jester Hat |
| Candlestick | Exorcist — burn a Ghost with a fire source | Gothic Outfit, Gothic Hat |
| The Early Worm | Well Rested — find and eat it in GLOOM | Sleepy Guy Outfit, Sleepy Guy Hat |
| Ritual Dagger | Last Resort — heal over 75% of your health at once by sacrificing a teammate | Toga, Laurel Hat |
Two of these fail for predictable reasons. Hang Gliding will not trigger if you clip the terrain before hitting 100m, so launch from a genuinely high point with stamina to spare. Last Resort needs you to be badly hurt before the stab, since the badge measures how much damage the dagger heals in one go, and it will never fire in a solo run.
If you are heading back up for the first time since the update, the honest starting kit is a Fanny Pack for slots, a Candlestick for GLOOM, and whichever movement tool you happen to find first. The Amulets are worth saving until a climb is genuinely threatening to end the run, because Petrify does not go away just because the moment passed.