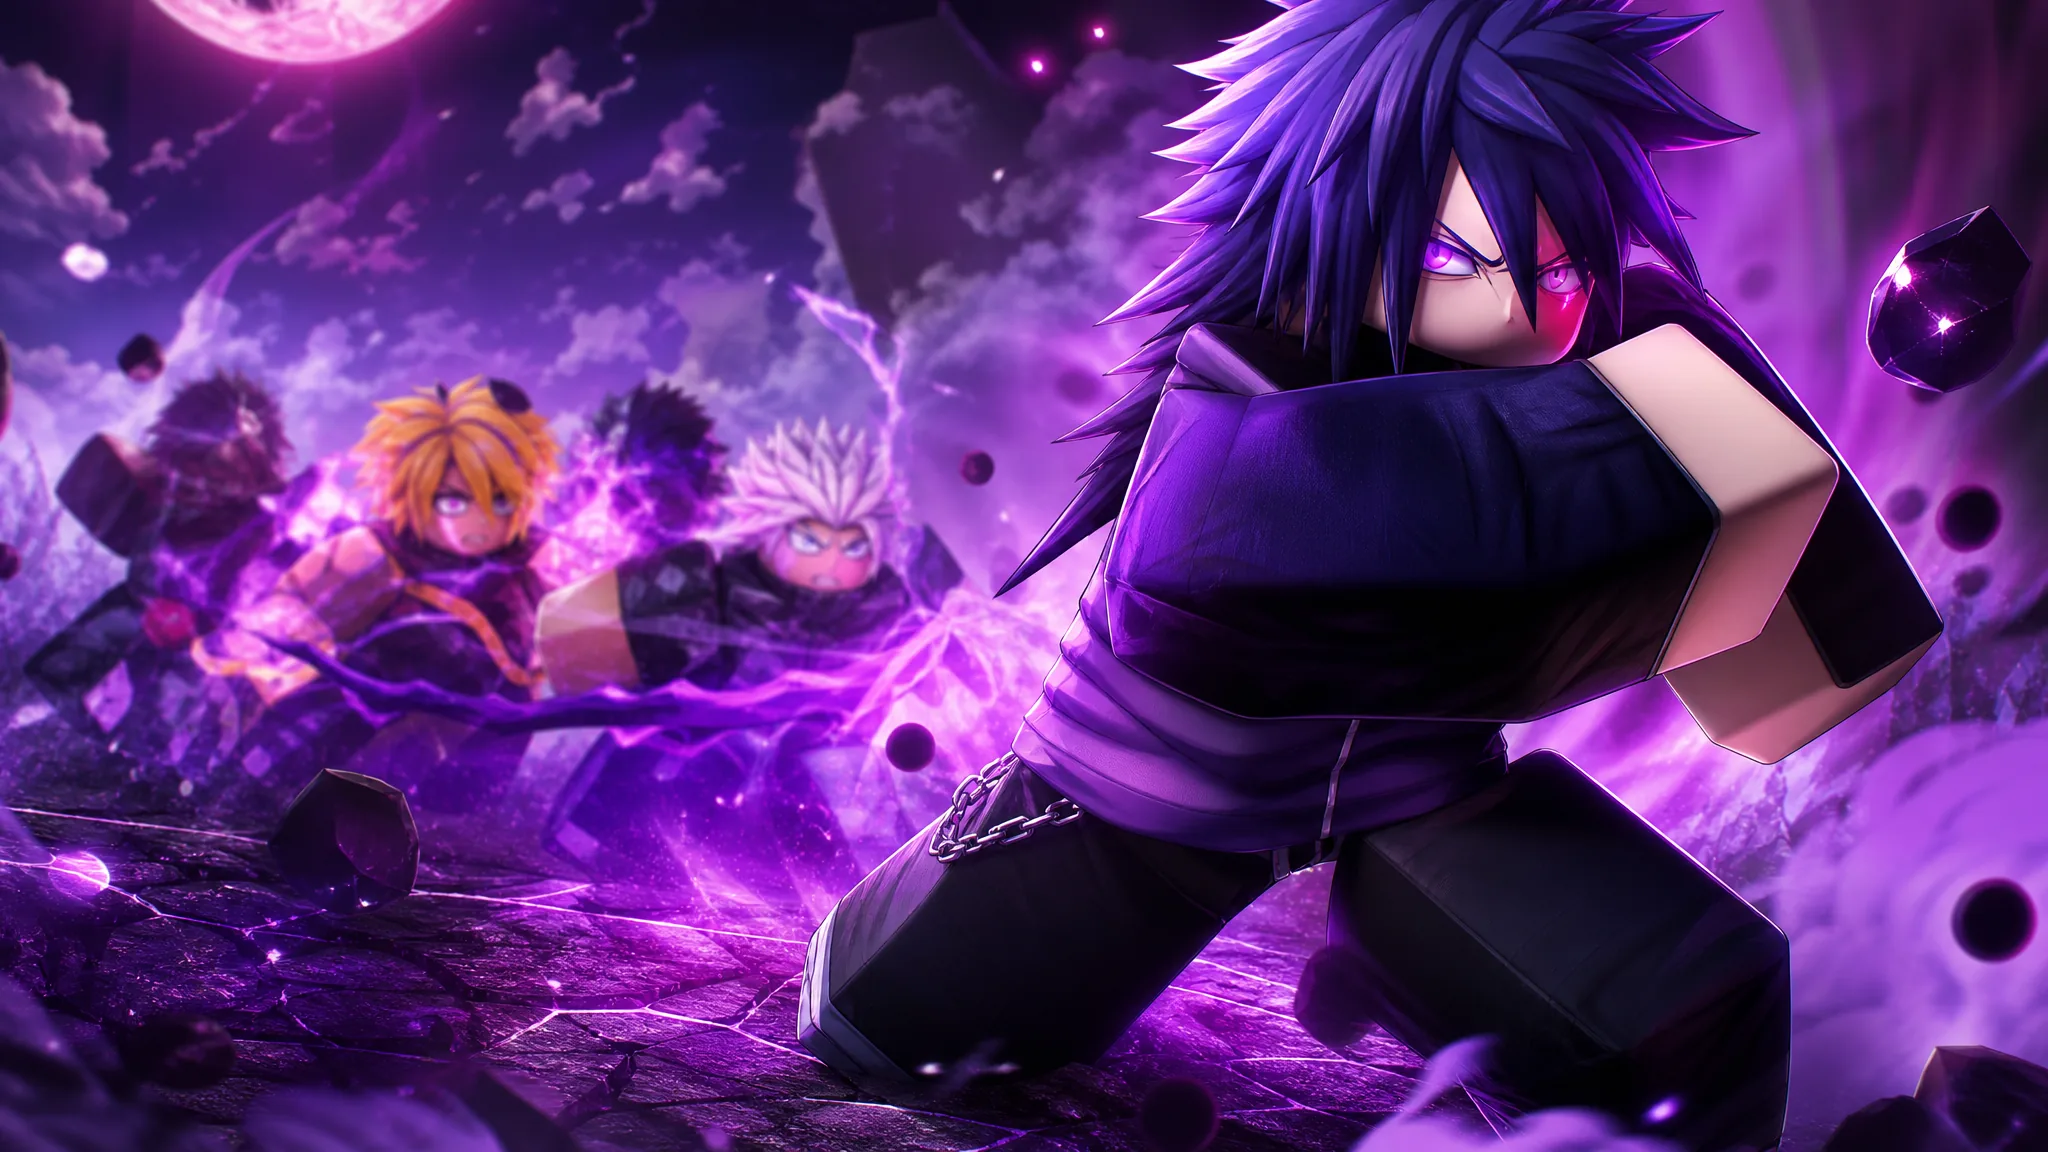
Modora is the Secret-rarity Madara Uchiha unit in Anime Origins, and it is not something you pull from a banner. It sits at the end of a two-part Trial chain in the Hidden Sand, gated behind a crafted item and two of the hardest waves in the game. The developers have trimmed the difficulty of the second Trial, but you still need a strong, upgraded loadout to walk out with the unit.
Quick answer: Craft the Ghost Gunbai at the Crafting NPC (three Gunbai parts plus 9,500 Coins), use it to clear all 15 waves of Hidden Sand Ghost’s Trial, then use the Key of the Ghost it drops to clear Hidden Sand Ghost’s Trial II. Modora is the completion reward for Trial II.
Ghost Gunbai crafting requirements
The Ghost Gunbai is the key that opens the whole questline. Every component comes out of Artifacts, so farming those is the real time cost here, not the Coins.
| Requirement | Amount | Where it comes from |
|---|---|---|
| Gunbai Staff | 1 | Artifacts |
| Gunbai Base | 1 | Artifacts |
| Gunbai Bandage | 1 | Artifacts |
| Coins | 9,500 | General play |
Hidden Sand Ghost’s Trial: 15 waves and the Razo boss
The first Trial runs 15 waves of steadily tougher enemies, defended with the units in your selected loadout. Wave 15 sends the Razo boss down the path with 6,520 Shield sitting on top of 21,740 Health, so you need sustained single-target damage rather than pure wave clear by that point.
Clearing it pays out Gems, Gold, and Ramen, but the item that matters is the Key of the Ghost. Use the Key from your inventory the same way you used the Gunbai, and it drops you into the second Trial.
Hidden Sand Ghost’s Trial II: the run that awards Modora
Trial II is another 15-wave run, but the ceiling is far higher. The final wave brings the Someone boss, carrying 56,610 Shield and 161,750 HP. It periodically halts on the path to stun your units before resuming its march toward your base, which is where most attempts fall apart — stunned units stop contributing damage exactly when the boss is closest.
Finish it and the run pays out Modora, the Ghost of War Title, Trait Rerolls, Gems, and Gold. You know it worked when Modora appears in your unit collection at Secret rarity and the Ghost of War Title becomes selectable on your profile.
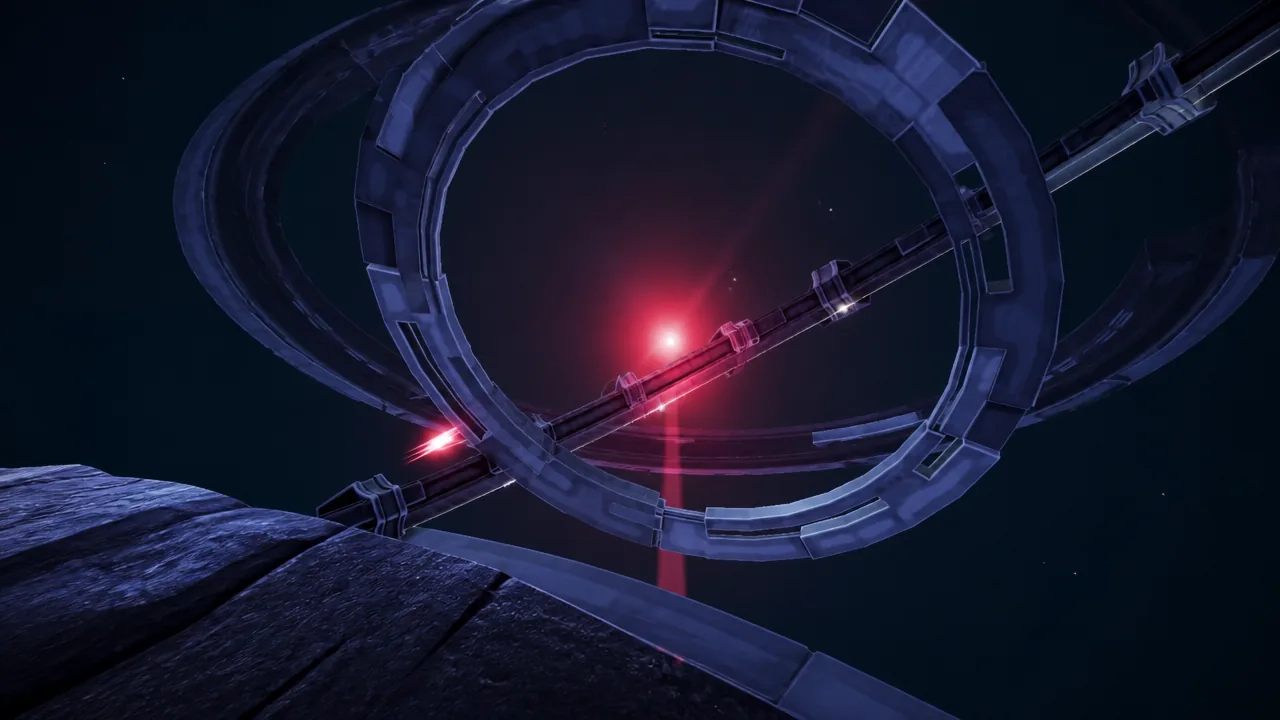
Note: both Trials use the loadout you had equipped when you activated the item, so check your team and upgrades before pressing Use. If you want to practice the boss patterns without burning progress, the Trials run inside the official Anime Origins experience like any other stage.
Evolving Modora into Madaro (Edo Tensei)
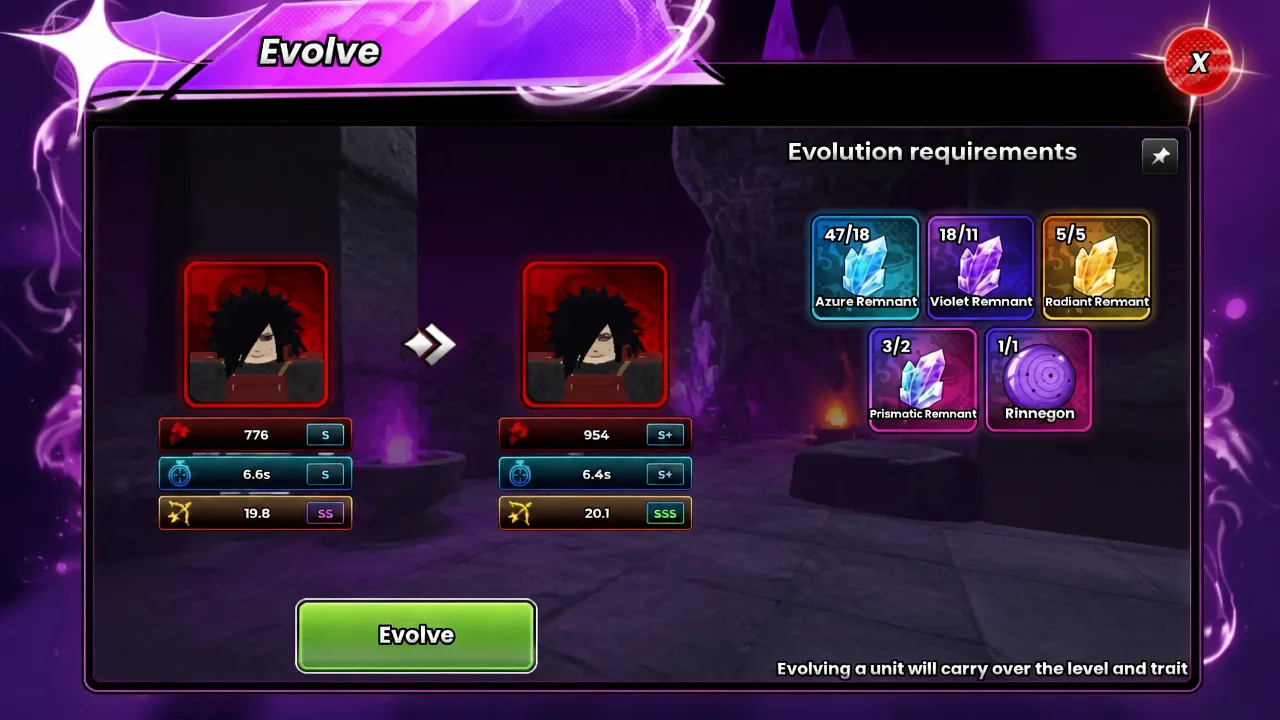
The base unit is only half the package. Evolution turns Modora into Madaro (Edo Tensei), and it needs a stack of Remnants plus one rare eye item.
| Material | Amount | Source |
|---|---|---|
| Azure Remnant | 18 | Challenges, Merchant (Coins) |
| Violet Remnant | 11 | Challenges, Merchant (Coins) |
| Radiant Remnant | 5 | Challenges, Merchant (Coins) |
| Prismatic Remnant | 2 | Challenges, Merchant (Coins) |
| Rinnegan | 1 | Sand 4 Artifacts |
Open the Evolve screen with Modora selected, fill every material slot, and hit the green Evolve button. The confirmation is immediate — the unit card renames itself to Madaro (Edo Tensei) and the stat panel updates with the evolved values.
Madaro (Edo Tensei) passives and Heaven Splitter
The evolved unit is a Ground placement with the Fire element and a 1,000 Yen placement cost. Its job is wave clearing by default, but the ability turns it into a boss killer for one big window.
| Passive / Ability | Effect |
|---|---|
| Heaven’s Pressure | Every 5 attacks, a Sosano Blade slams the target for 75% of the unit’s Damage in an AOE and applies Calamity for 6 seconds. Calamity detonates after a delay, repeating a portion of the damage dealt while the mark was active. |
| Sosano Time | Starts at 20 seconds. Kills before Sosano is used add time: +3s per normal enemy, +10s per Mini Boss, +15s per Boss, up to a 180-second cap. |
| Sosano Ribcage | 50% chance to block an incoming debuff or Crowd Control, granting 3 seconds of immunity to both. |
| Heaven Splitter (Ability) | Manifests Perfect Sosano for a slash dealing 500% of the unit’s Damage at triple the unit’s normal Range. |
Because Sosano Time banks duration from kills, the practical play is to place Madaro early, let it farm normal waves and mini bosses to stack seconds, then trigger the transformation for the boss wave. Fully upgraded, the unit shifts from Ground to Hybrid typing, and its damage climbs from the low thousands at max level to roughly 26.3K at 10/10 upgrades, with attack rate tightening to about 4.6 seconds and Range reaching 30.
Best Trait and Ascension buffs for Modora
Immortal is the Trait to chase, since it stacks +200% Damage, -15% Cooldown, +20% Range, and +20% Income. The Cooldown cut matters more than it looks — Heaven Splitter is the unit’s whole boss-damage plan, so getting it back sooner changes runs.
Modora also supports five Ascension levels, each adding a flat stat bump.
| Ascension | Buff |
|---|---|
| I | +3% Damage |
| II | +5% Range |
| III | +5% Damage |
| IV | +25% Crit Chance |
| V | +25% Crit Damage |
The two Crit tiers are the payoff, so pushing all the way to Ascension V is what makes the Heaven Splitter burst land hardest. Get the Gunbai crafted, clear both Trials with a team that can actually chew through six-figure boss HP, then spend your Remnants — everything after that is upgrade math.