

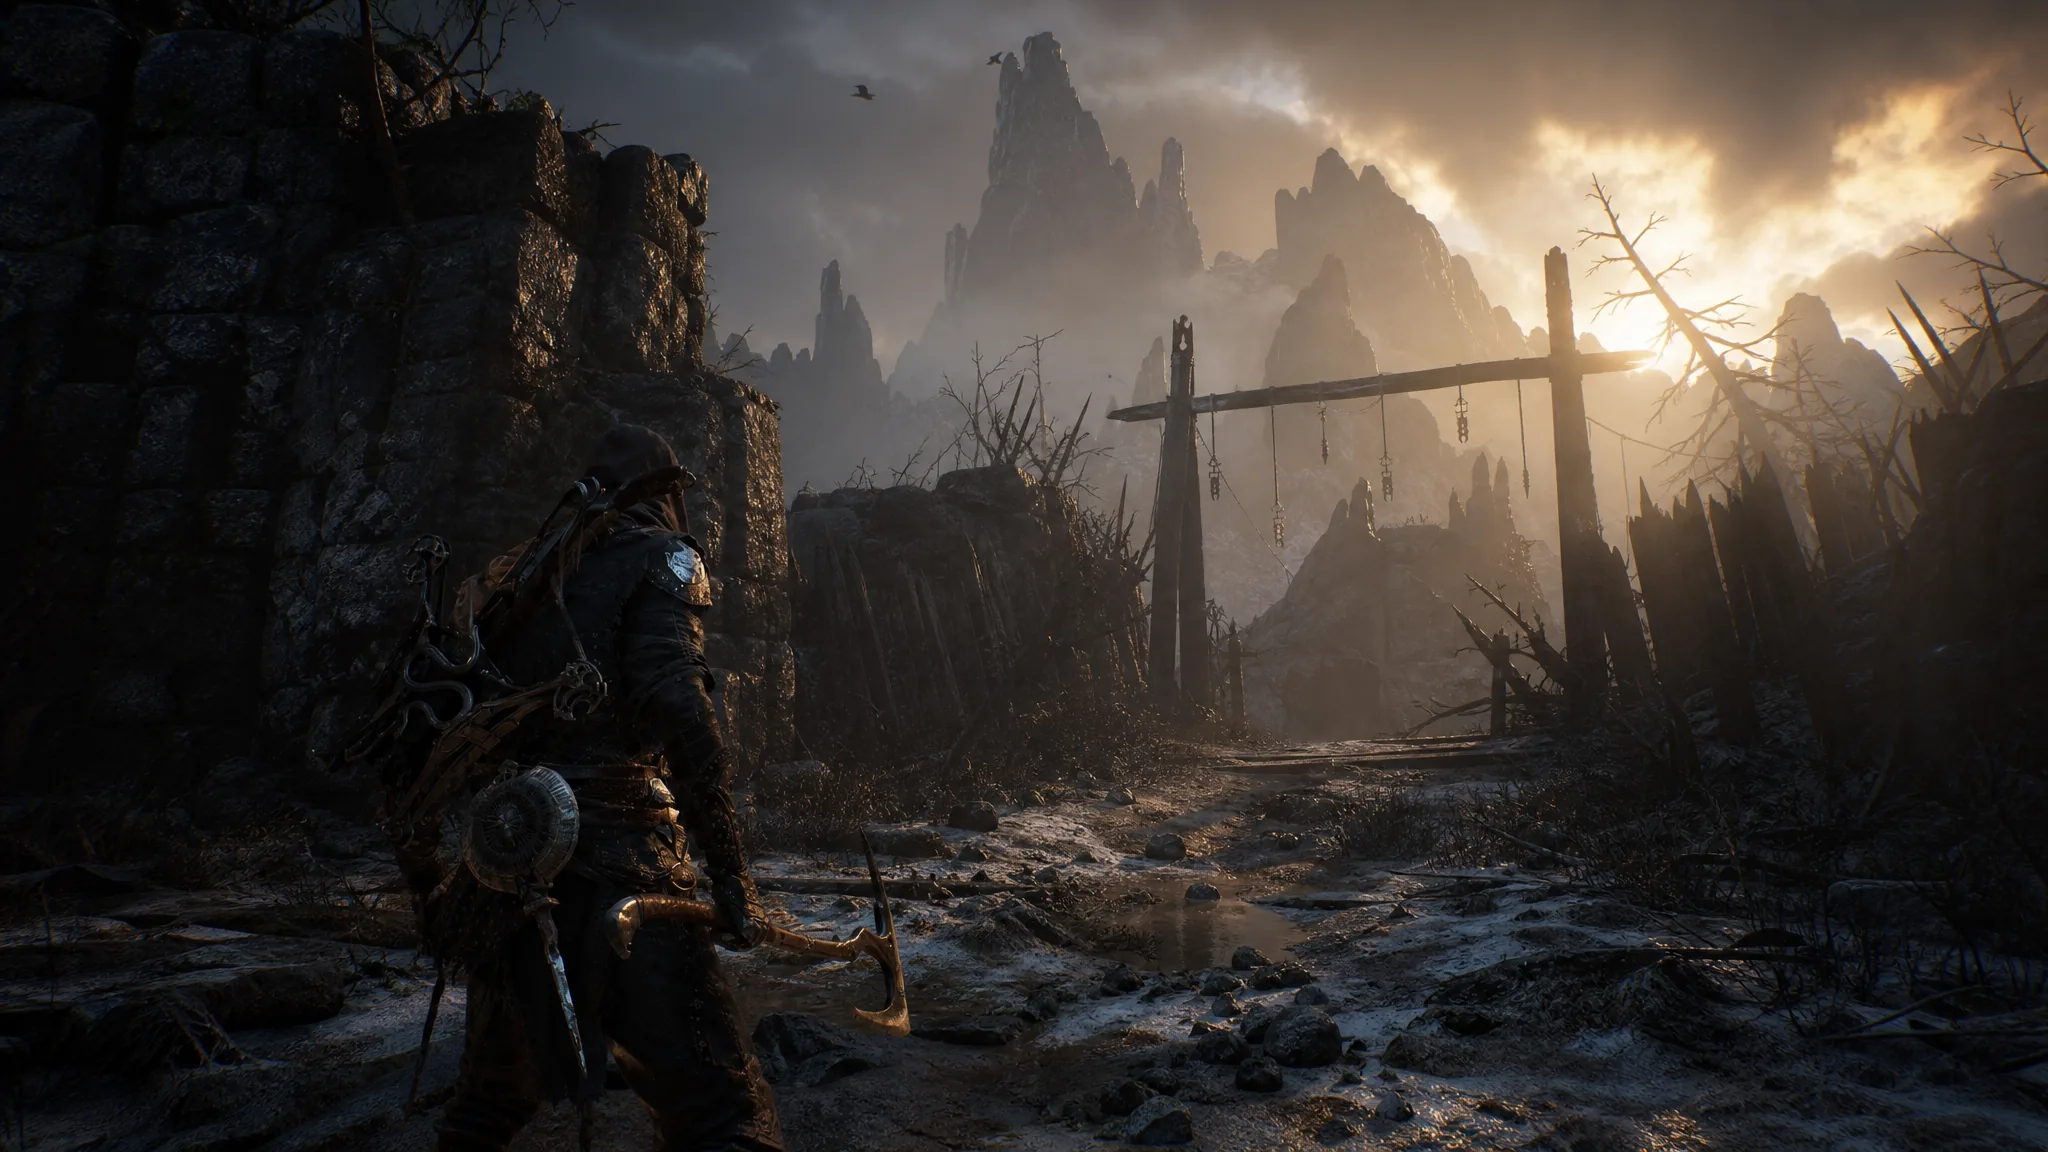
Coins are the everyday currency in Mortal Shell 2. They pay for vendor stock, weapon upgrades, and Tarstone upgrades at the Tarforge in the Marrow Keep, and they run out faster than you expect. Killing enemies for coin pouches works, but it is slow and dangerous. There is a far cleaner method that turns harmless mobs into a repeatable income stream.
Quick answer: Equip Proxima with the Tier 3 Collector ability, fast travel to the Sunken Village Beacon in the Glutted Mire, kill the nine sheep in the pasture across the rope bridge, rest at the beacon to respawn them, and sell every Extracted Specimen to Merrick in the Marrow Keep for 100 coins each.
What Proxima’s Collector ability does
Collector is a passive on Proxima’s skill tree. With it active, enemies you kill have a chance to drop an Extracted Specimen. The specimen is not currency by itself, but Merrick buys each one for a flat 100 coins, and there is no cap on how many you can hold or sell.
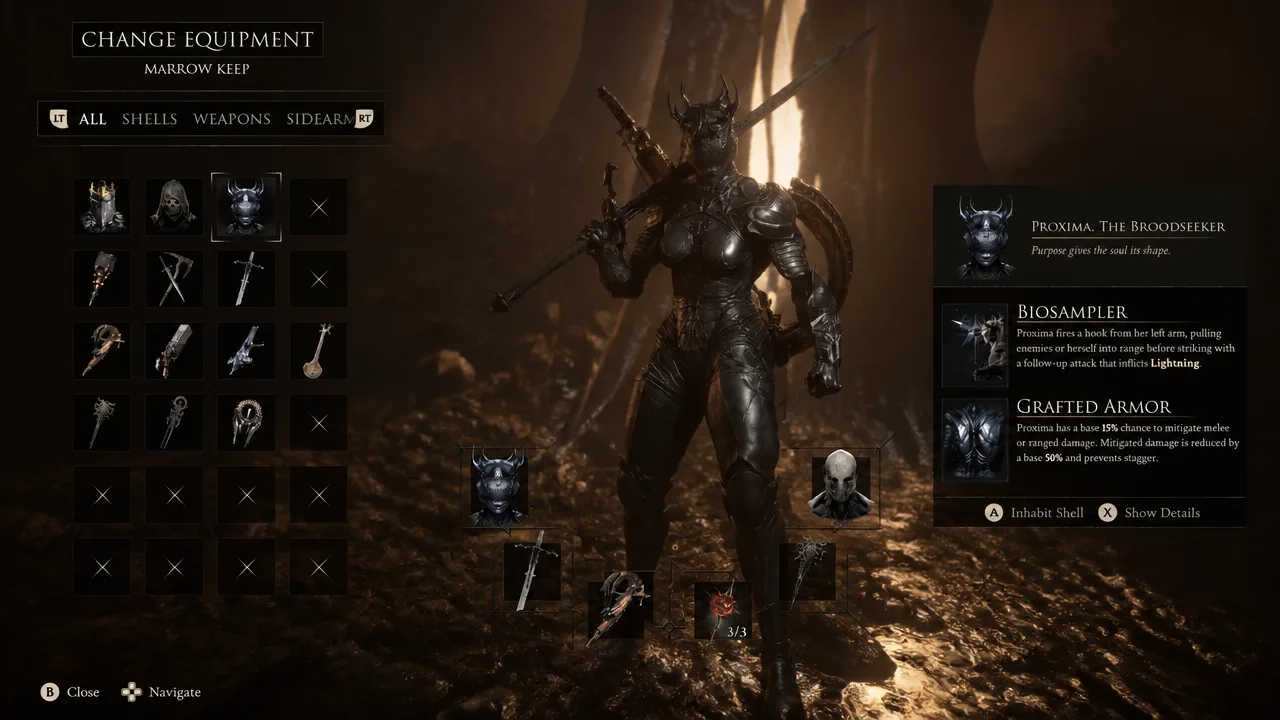
Two things trip people up here. Collector sits at Tier 3 in the tree, so you need a Tier 3 Shell bond with Proxima before it unlocks, and that is a real investment of Shell Points earned by leveling your Harbinger. The good news is that the weapon does not matter. You do not need Proxima’s Biosampler, and any melee weapon works as long as you land the killing blow while wearing her.
| Collector level | Effect on kills |
|---|---|
| Level 1 | 20% chance to harvest a Specimen |
| Level 2 | 40% chance to harvest a Specimen |
| Level 3 | 35% chance to harvest +2 Specimens |
Level 2 roughly doubles your yield per kill, so that is the point where the farm starts feeling worthwhile. Level 3 stacks on top by occasionally tripling a single drop.
The Sunken Village sheep loop in the Glutted Mire
Collector works anywhere, but the pasture beside the Sunken Village Beacon is the best place to abuse it early. Nine sheep graze in a fenced green field across the rope bridge. They barely fight back, they cannot realistically kill you, and they respawn on demand. That combination is what makes the loop better than grinding a real enemy camp.
Note: the sheep themselves do not drop coin pouches, and their Gloom payout is only 40 to 60 per kill. The entire value of this spot is the specimens.
How to confirm the farm is working
Open your inventory after a lap. Extracted Specimens appear as a stackable item, and the inventory screen lists the coin value you get for selling it, so you can do the math before you travel back. If the count is not climbing at all across several sheep, Collector is not active, either because you are not wearing Proxima or because the ability has not been unlocked at Tier 3.
The other common miss is killing with an ally or a hazard instead of yourself. The drop only triggers on your killing blow.
Boost your coin income further
A few systems stack on top of specimen farming once you move on to real enemies that actually drop coin pouches.
| Boost | What it does |
|---|---|
| Justiciar’s Stone | Support Tarstone. Slain foes drop more coin at Lv. 1, then +2%, +4%, and +6% coin at Lv. 2 through Lv. 4. Found behind the Broodshell Swarm in the Stones of Remembrance. |
| Night Mode | Enemies gain HP and hit harder, but Gloom and coin payouts increase, and night-exclusive vendors appear. |
| Auto Pick Up Gold | Game settings toggle that vacuums up coin pouches as you walk over them, so nothing gets lost in swamp clutter. |
To switch on Night Mode, grab the Gloombound Flame from a headstone in the sandy graveyard behind the Widow’s Overlook beacon, then use it on the extinguished lantern at the top of the Marrow Keep and speak to the NPC who shows up. It is worth turning on if you plan to farm somewhere with actual enemies, since the sheep gain nothing from it.
One-time coin sources worth grabbing early
Before you settle into any loop, clear the fixed payouts sitting around the world. Gorf, the enormous frog you meet near Widow’s Overlook, hands you a Marsh Pearl every time you feed him the mushroom he asks for, starting with a Weltcap from a nearby tree. Each Marsh Pearl sells to Merrick for 2,000 coins, and his early requests can net you several of them before he relocates past Blackridge.
Beyond that, chests in the open world and inside dungeons hold coins outright, and clearing the Overrun Quarry in the Stones of Remembrance is worth 2,000 gold on its own. Sellable valuables also accumulate in your inventory as you explore, and Merrick takes all of them.
When the sheep stop being enough
The economy scales as you progress. Upgrade costs climb, vendor prices climb, and a 4,000-coin haul that felt generous in the Mire stops covering much later on. At that point, keep Collector running but move it onto denser groups of real enemies, since those drop coin pouches on top of specimens. The cultists and tree monster near the Blackridge Pass Beacon, and the zombies in Blackridge Hamlet, are convenient targets for that.
Treat the pasture as your early-game bank, not a permanent solution. Get Collector to Level 2, clear the sheep a handful of times to fund your first weapon upgrades and vendor purchases, and let the rest of your coin income come from the enemies you were going to kill anyway.





