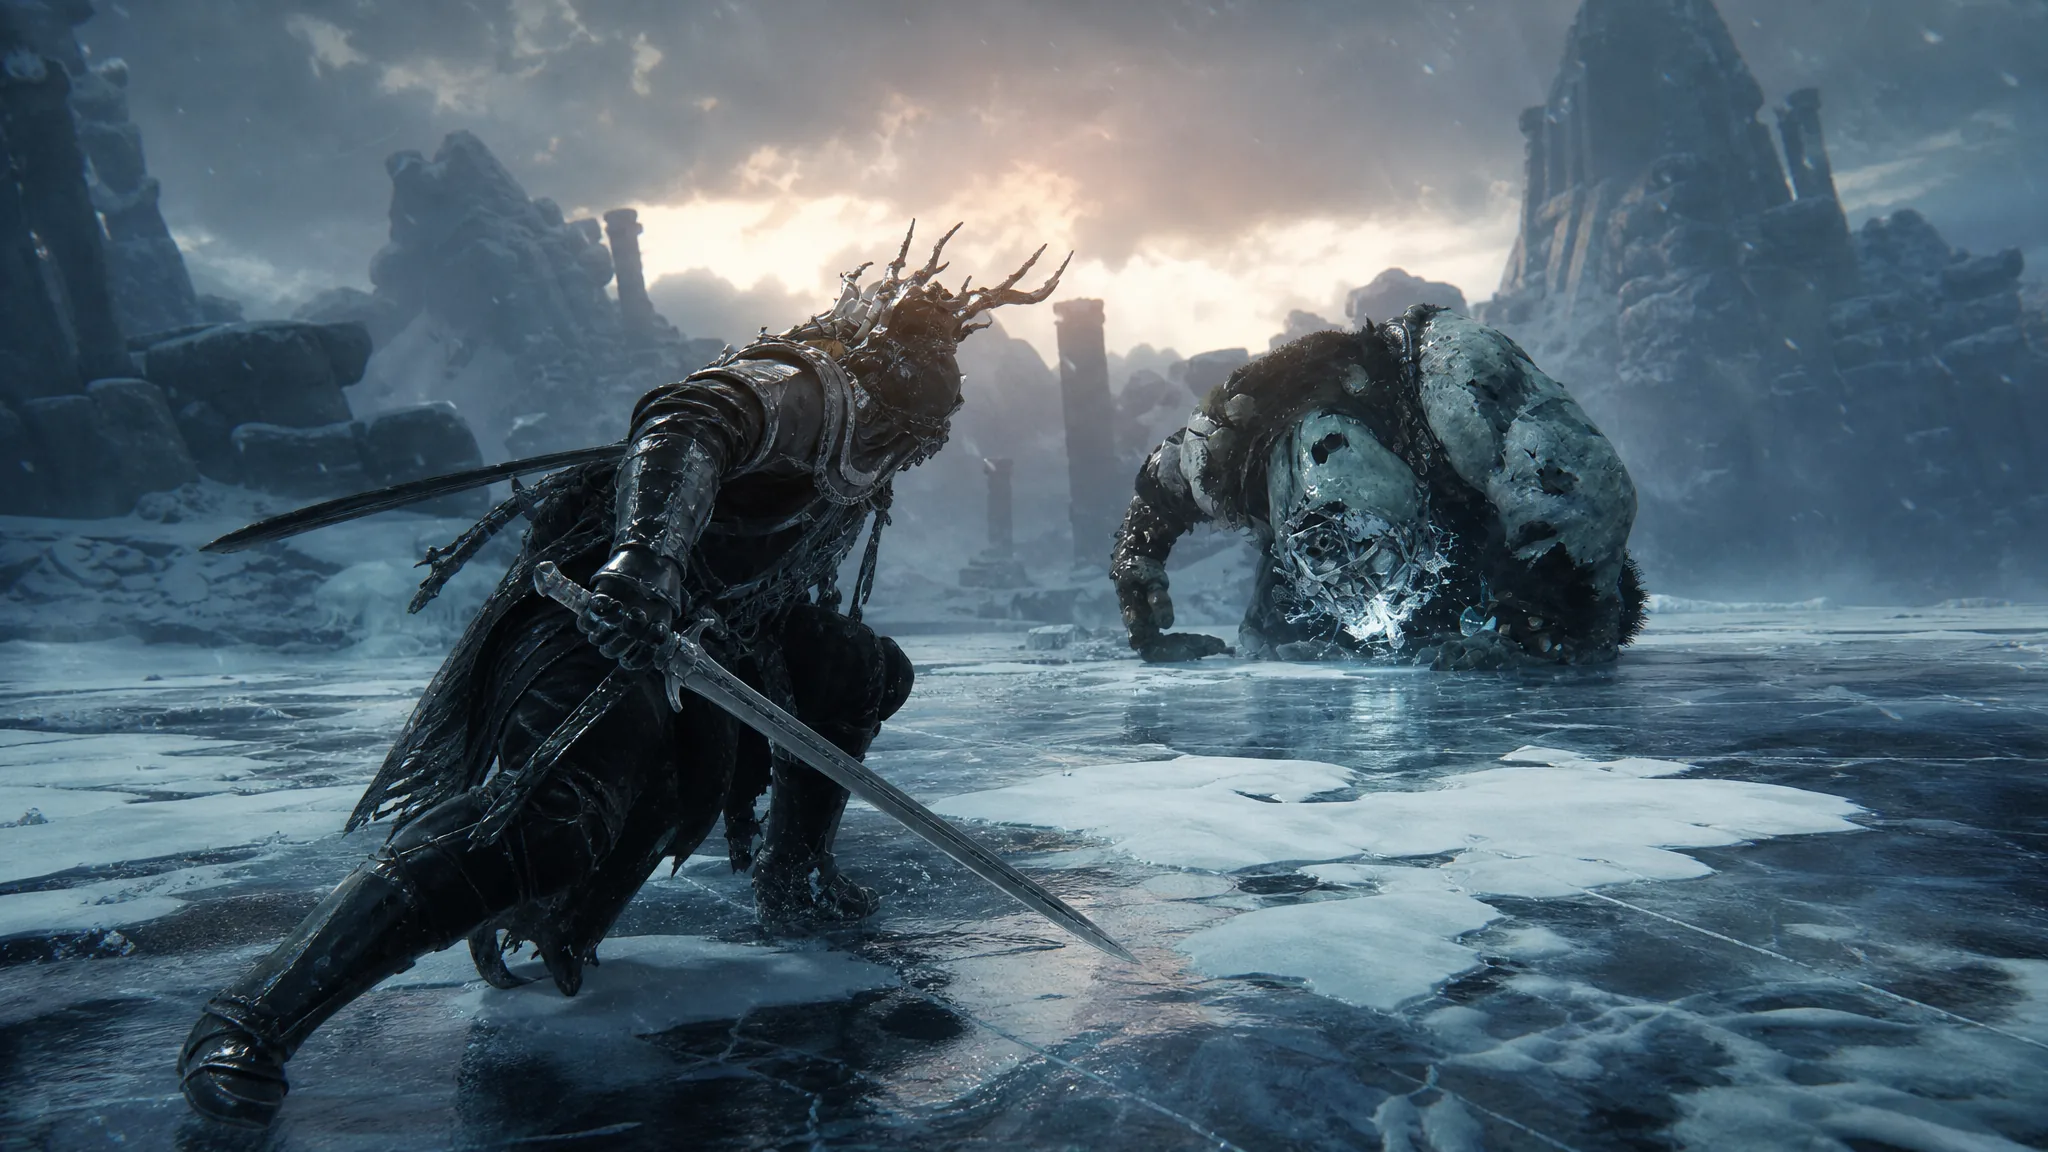
Droeg the Conqueror is one of the six Corrupted Gate bosses in Mortal Shell 2, a hulking frost troll who swings a giant bone club inside the snowed-in Conquered Temple. Beating him opens the Conqueror’s Hoard beacon and clears the way to the Frostshard Stone Tarstone hidden past the frozen valley beyond.
Quick answer: Dodge Droeg’s club swings, then sprint away from his homing flame projectiles in the second phase to bring him down. Afterward, cleanse the Conqueror’s Hoard beacon, pray at the large statue, cross the valley of giant stone hands, and open the stone chest at the end to claim the Frostshard Stone.
Where to find Droeg the Conqueror
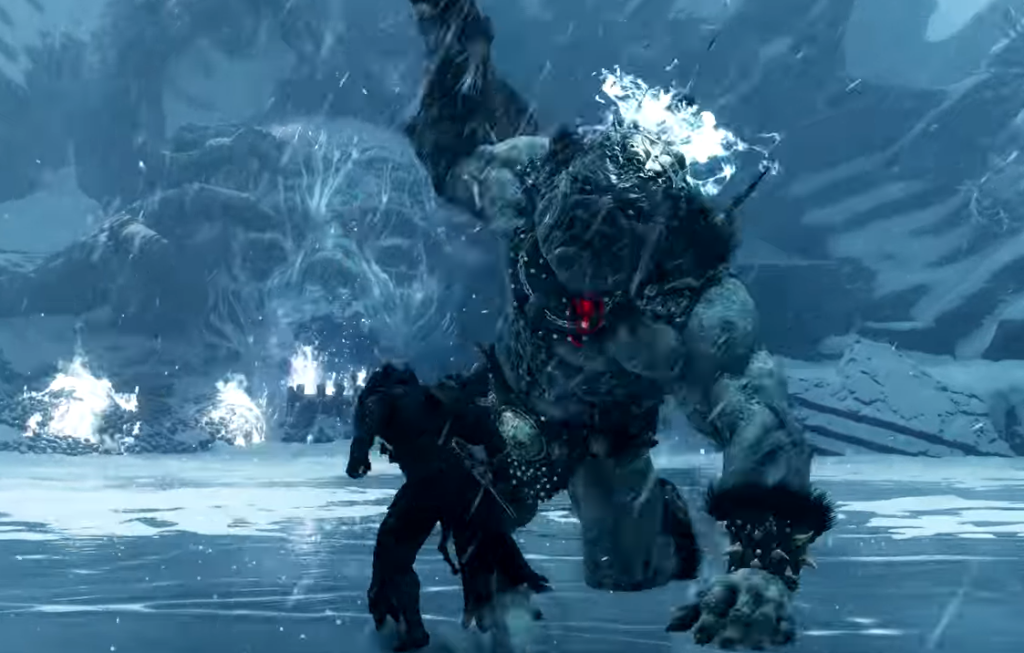
Droeg sits at the end of the Conquered Temple in the Mammon region. To reach him, push through the temple after defeating Urrig, the Executioner. You will arrive at the Ovate Chamber Beacon shortly after, and continuing along the path from there leads straight into a frozen lake arena where the boss waits.
Just before you enter, look for a glowing green summon sign in the snow. Spending 1 Glimpse permanently unlocks the Gragu shell summon, which you can call in during the fight to distract Droeg and buy openings for damage.
How to beat Droeg the Conqueror
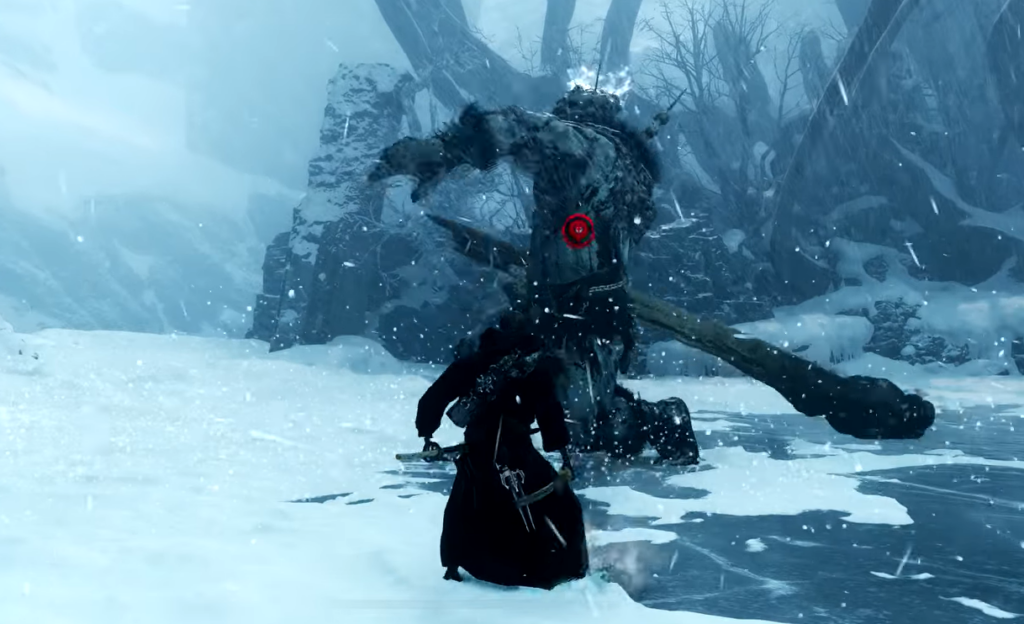
Droeg has a huge swing distance with his club, so the fight is about reading his wind-ups and dodging the correct way. Learn the first-phase patterns before you commit to attacks, and only strike once a full swing sequence finishes.
| Attack | Tell | How to avoid |
|---|---|---|
| Two wide swings | Rests the club on his shoulders with the thick end pointing down | Dodge backward |
| Triple vertical slam | Throws his arms back before striking straight down in front of him three times | Dodge sideways |
| Wide, wide, then downward | Later variation of the wide swing that ends with a single overhead chop | Dodge backward for the first two, then sideways for the last |
| Homing flame projectiles | Kneels and holds his head while a red icon flashes around him | Sprint or run sideways continuously |
Around half health, Droeg drops to his knees and summons flaming rocks above him. This is his most dangerous move, the Blazing Frostfire that erupts from his back. Every projectile homes in on your position and each one deals high damage while building Burn, which continues to hurt you over time. Prioritize surviving the barrage first, then close in to attack only when he gives you a clear opening.
In this second phase he also adds extra spins before swinging. Wait for the pause that signals the real strike rather than dodging on the spin itself. Equipping Burnt Effigy is useful here because its passive helps reduce Burn buildup from the flames.
Fast weapons like the dual-katana Axatana let you land several quick strikes during each opening, and calling in Gragu draws Droeg’s attention so you can chip away safely.
Droeg the Conqueror rewards
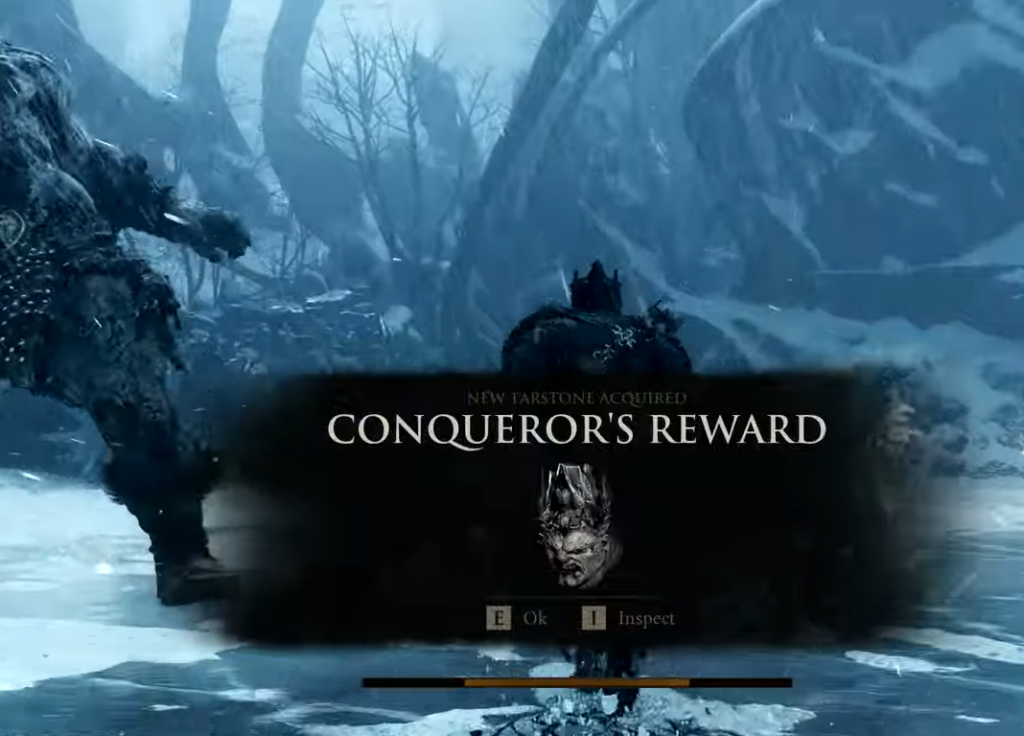
Defeating Droeg drops the Conqueror’s Reward Tarstone and a large Gloom payout, and it unlocks a trophy. The Tarstone only works with the Black Needle weapon.
| Reward | Detail |
|---|---|
| Conqueror’s Reward (Tarstone) | Consumes 100 Resolve to drive the Black Needle forward in a series of swift piercing thrusts; each strike deals 200% damage with 4 additional strikes and increased Resolve gain |
| Gloom | 38,753 |
| Trophy | “It burnssssssssss” for defeating Droeg, the Conqueror |
After the fight, a beacon spawns in the arena. Cleanse the triangular Conqueror’s Hoard beacon and step inside to clear the corruption, then collect the Ova from the pod chamber. Ova are required to keep progressing the campaign, so grab them before moving on.
How to reach the Frostshard Stone
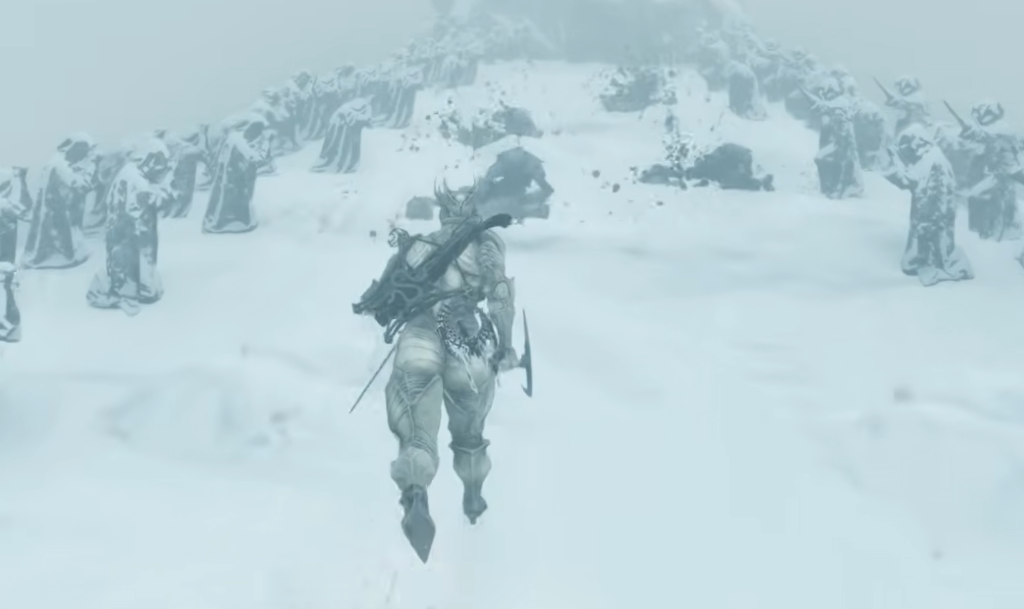
The Frostshard Stone sits at the end of a frozen path beyond the pod chamber. The route runs through an extremely cold zone that deals periodic damage to your character, so keep moving and be ready to heal along the way.
What the Frostshard Stone does
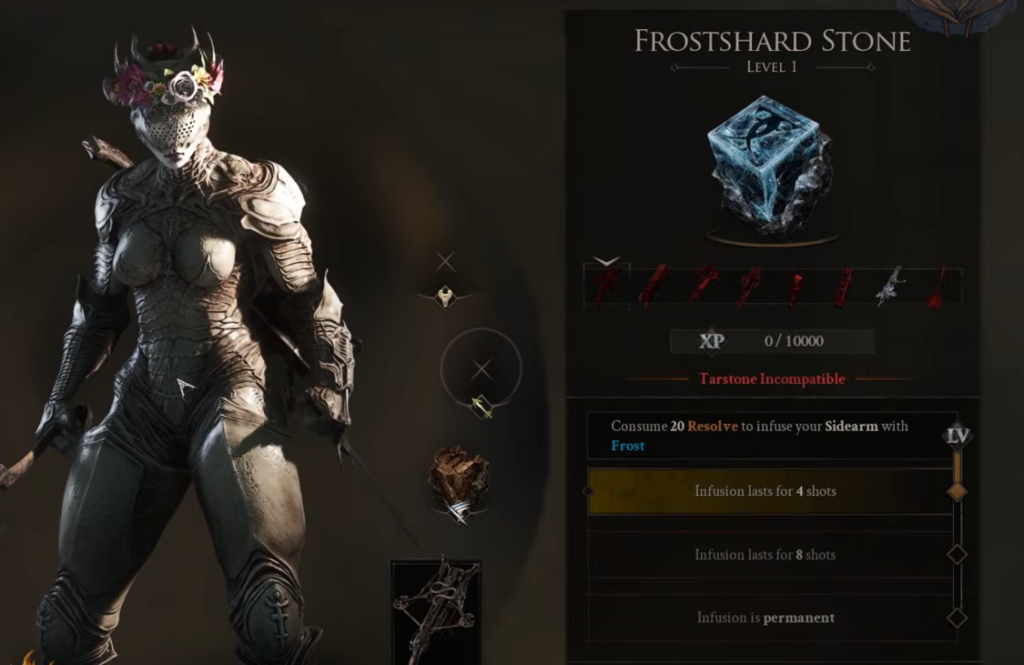
The Frostshard Stone is a Level 1 Common Summon/Infusion Tarstone that coats your Solocru with Frost. The infusion is permanent once applied and adds a small flat damage bonus on top of the Frost effect.
| Property | Value |
|---|---|
| Type | Common Summon/Infusion |
| Cost | 20 Resolve |
| Effect | Infuses your Solocru with Frost |
| Damage increase | 4% |
| Duration | Infusion is permanent |
With Droeg cleared and the Frostshard Stone in hand, you can head back through the temple and continue toward the region’s other bosses, the Conqueror’s Reward and Frost infusion now available to slot into a compatible build.