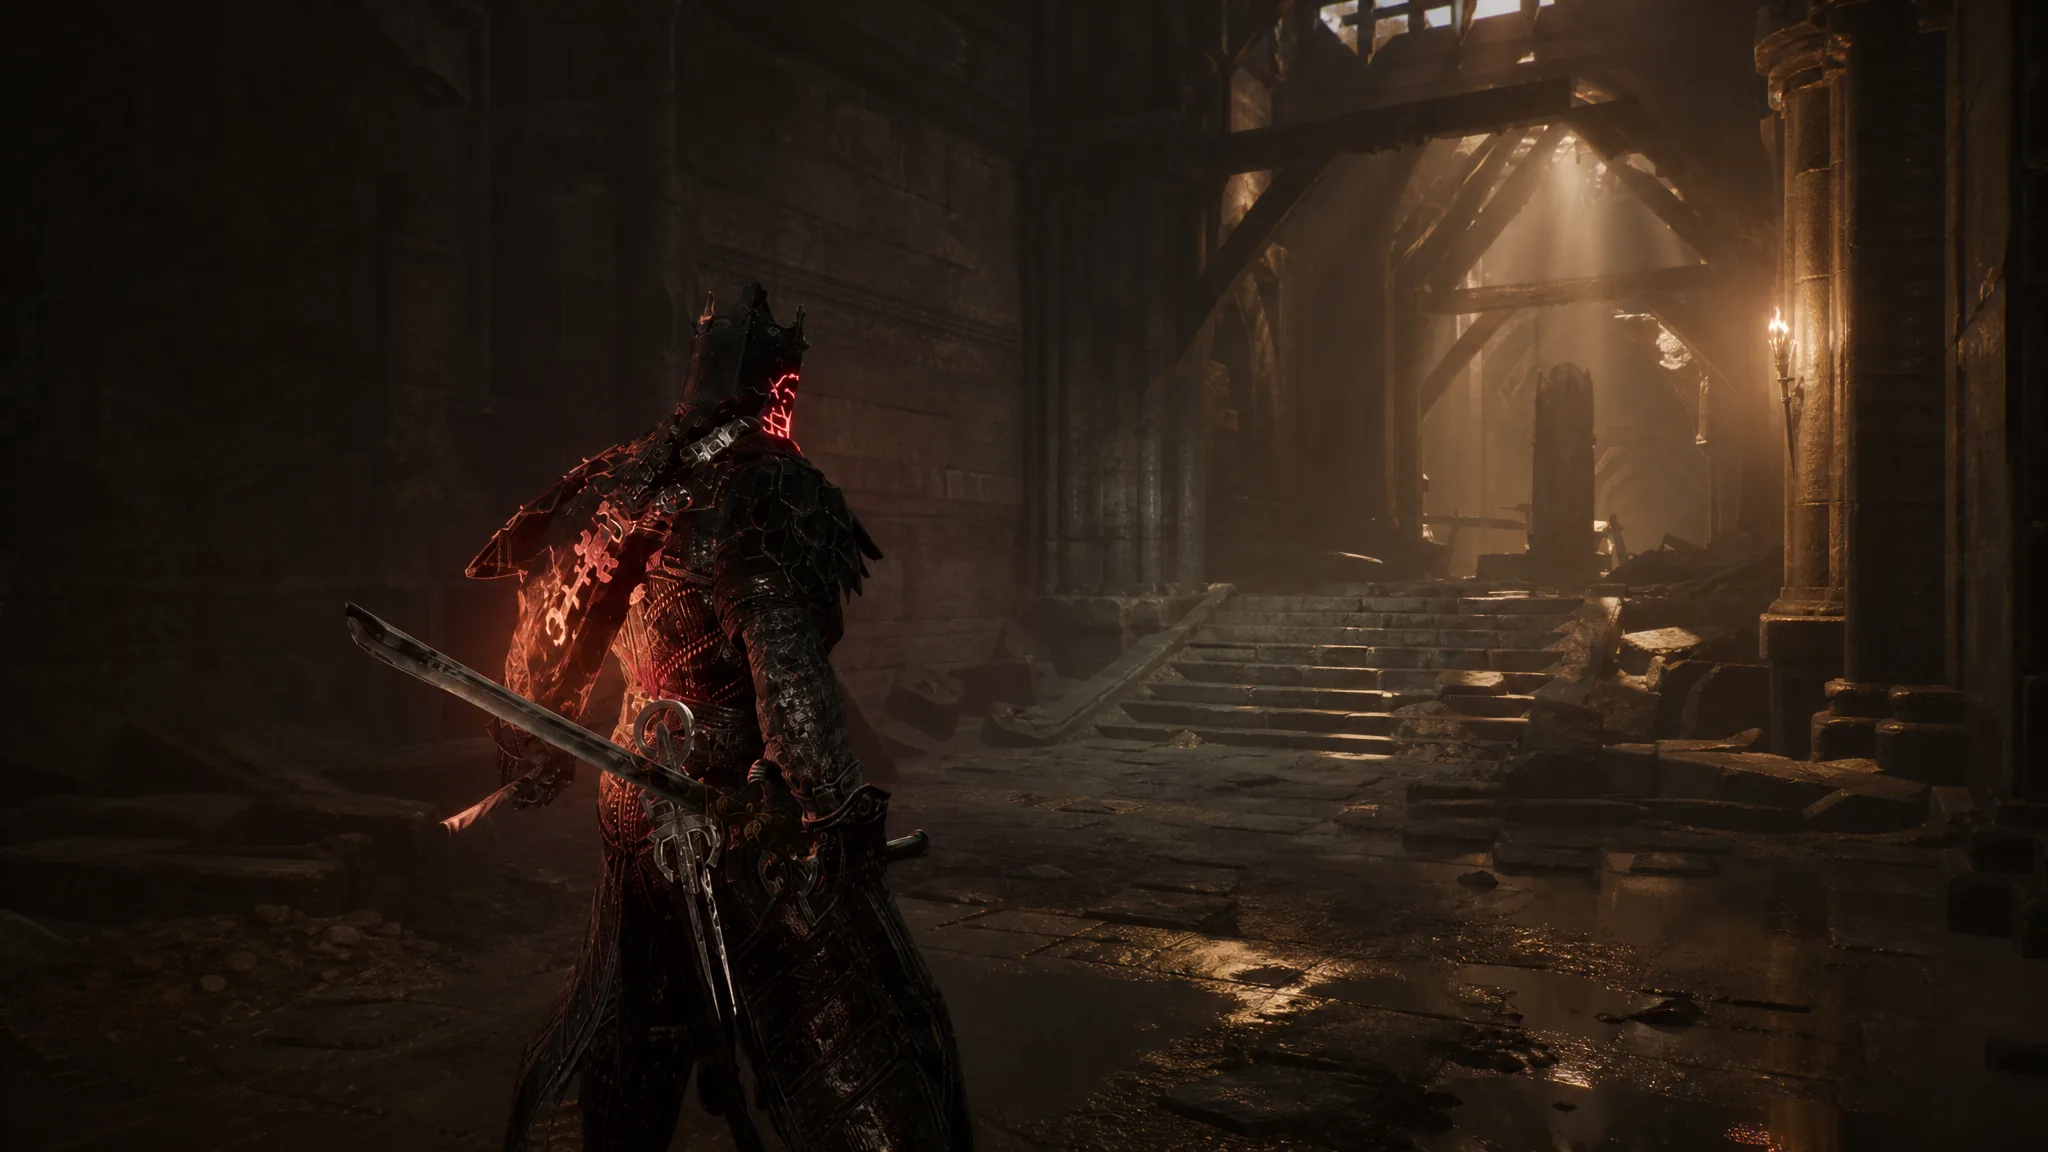
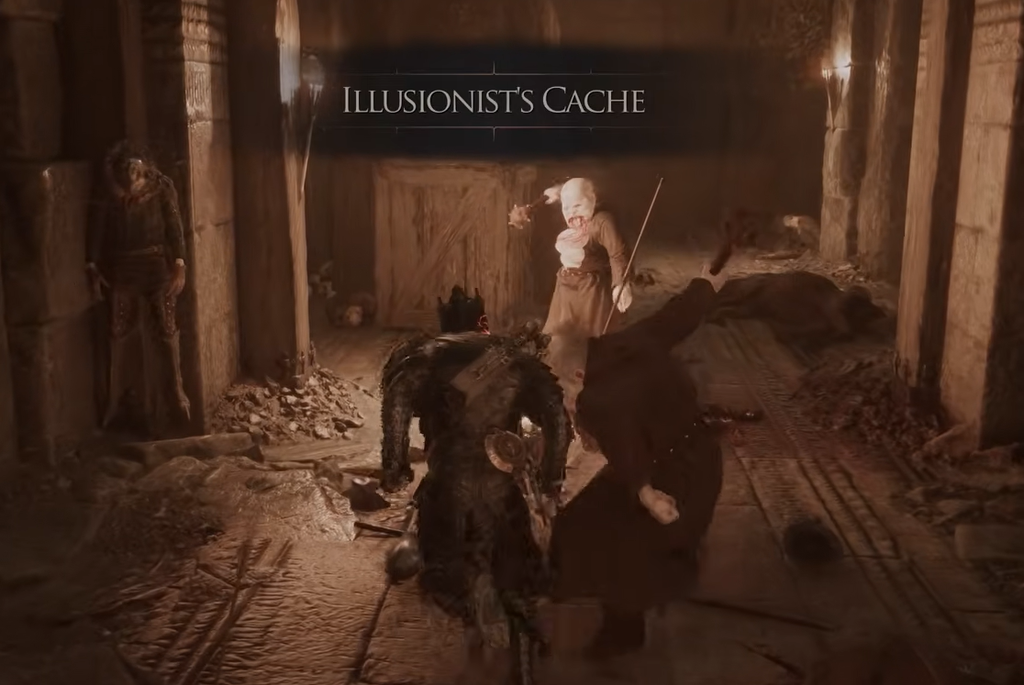
The Illusionist’s Cache is one of Mortal Shell 2’s optional dungeons, tucked into the Desolate Peak directly across from Baghead and his followers. Its core challenge is an illusion puzzle that rewrites the room around you depending on what you look at through a stone archway, and it trips up players who have never seen the trick before.
Quick answer: Look through the first illusion arch to swap the dead end for a new chamber and step through to make it real. Shoot the distant bell with your sidearm to spawn a bridge, cross the second illusion arch to replace the floor hole with solid ground, then push the movable pillar onto the pressure plate. Return through the arch one last time to open the sealed room and take the Shuddering Stone Tarstone.
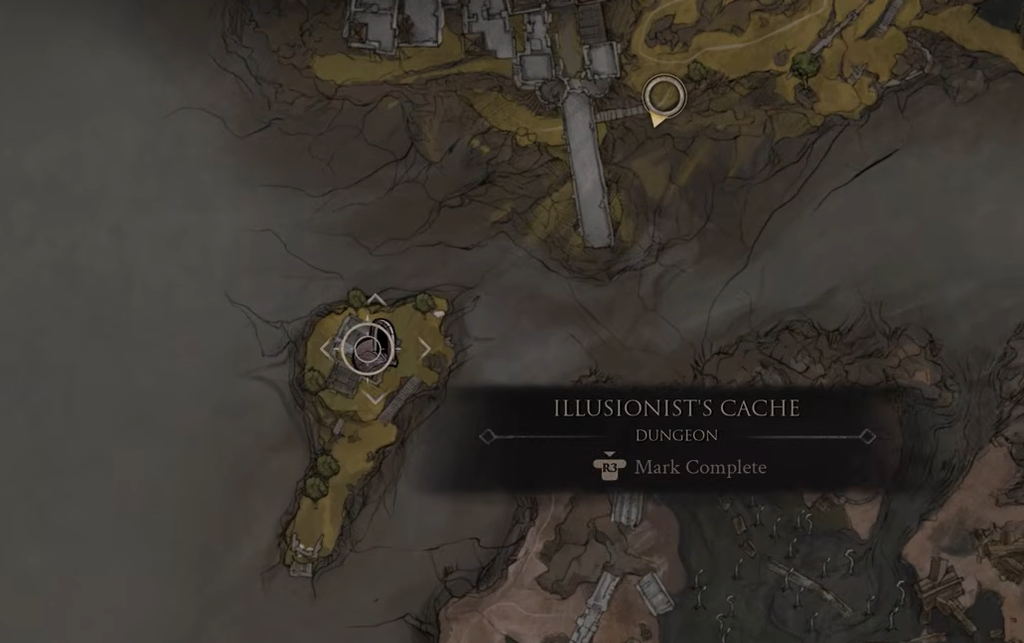
Where to find the Illusionist’s Cache
The dungeon sits on the Desolate Peak, reached from north of the Outskirts of Nochte Beacon by using one of the Bone Gates. The entrance is inside the building, opposite the spot where Baghead rests on his throne. Before you drop in, grab the Crypt Key from the shelf just above the entrance, since it opens a door later on.
Take the elevator down to the lower level. You land in a narrow tunnel that ends in a wall, with two priest enemies waiting. Clear them out before you start on the puzzle.
How the illusion arch works
The whole dungeon runs on a single rule. When you look through an illusion arch, part of the room appears different, and when you physically step through that arch, the layout changes to match what you saw. Walls vanish, floors fill in, and passages open based on the view you passed through. You will use this to remove a bottomless hole and reset the room without losing your progress with the pillar.
Illusionist’s Cache puzzle solution
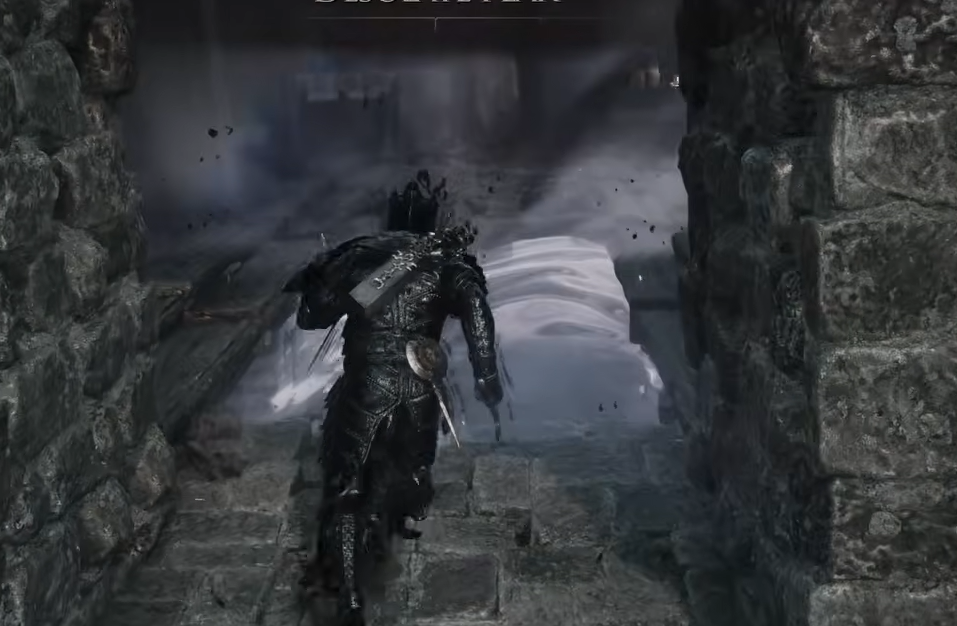
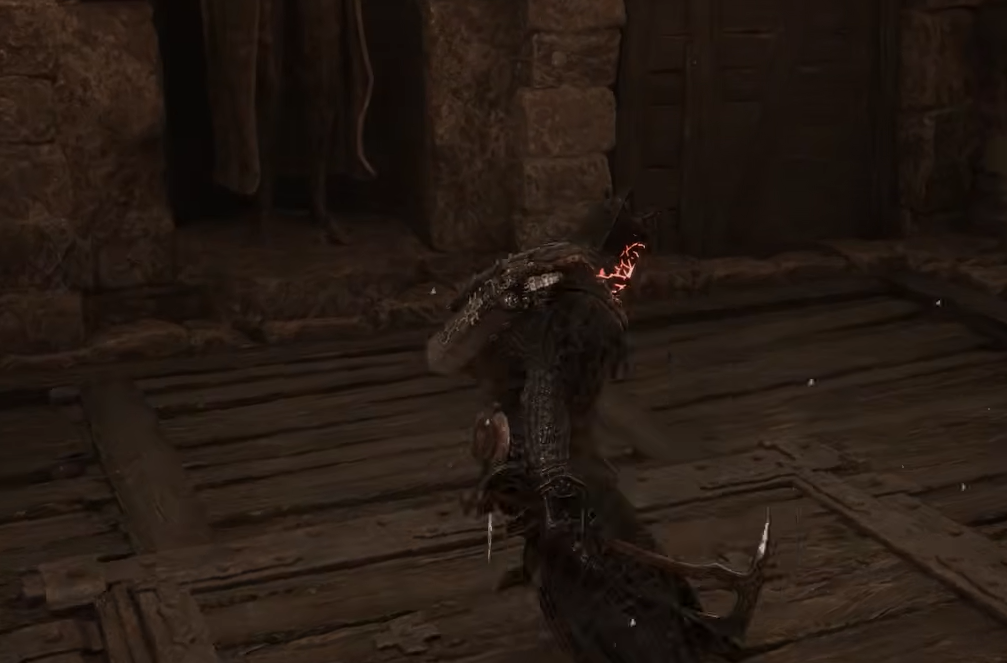
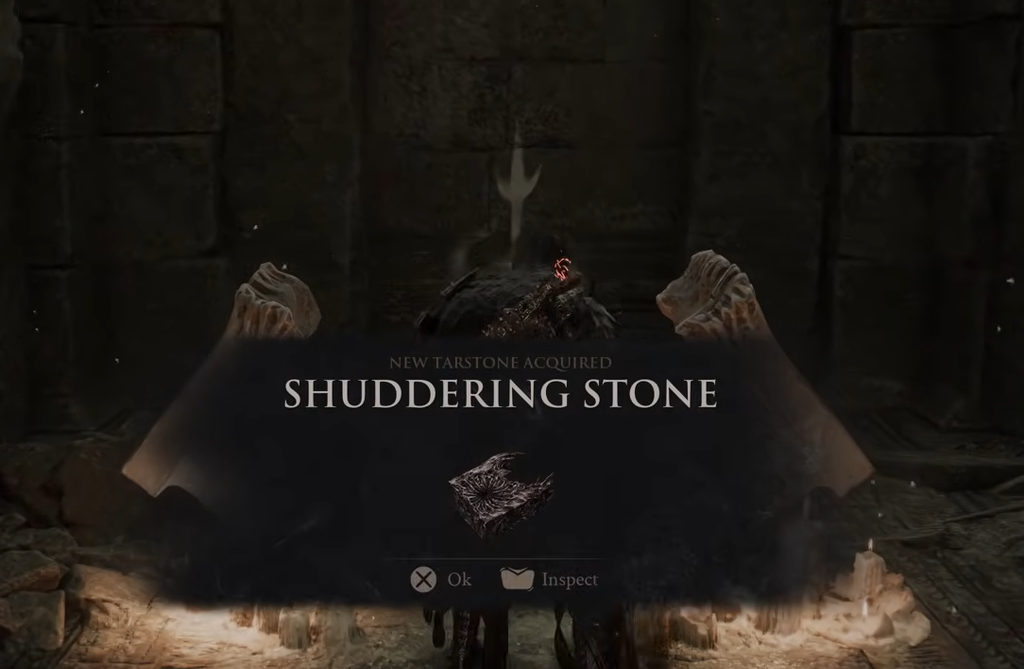
You know it worked when the “New Tarstone Acquired: Shuddering Stone” prompt appears. This Tarstone makes your projectiles generate a Knockback shockwave on impact.
Extra rewards and hidden rooms
Attack the fake wall behind the chest to open a small room, which hides yet another fake wall. Break through it to find a lone priest enemy and some Dorsalite, a weapon upgrade material.
Before you leave, take the elevator next to the stairs down and kill the snake enemy nesting there. You can collect a Ventrium and a Laterite from this area.
| Reward | Where to get it |
|---|---|
| Shuddering Stone Tarstone | Chest in the room unlocked by the pressure plate |
| Dorsalite (upgrade material) | Behind the fake walls past the chest |
| Ventrium and Laterite | Down the elevator by the stairs, past the snake enemy |
| Crypt Key | Shelf above the dungeon entrance |
With the Tarstone and side loot collected, the Illusionist’s Cache is complete, and you are free to head back up the elevator. Keep the Crypt Key on you, as it unlocks a door tied to the Hall of Echoes dungeon later in your run.