

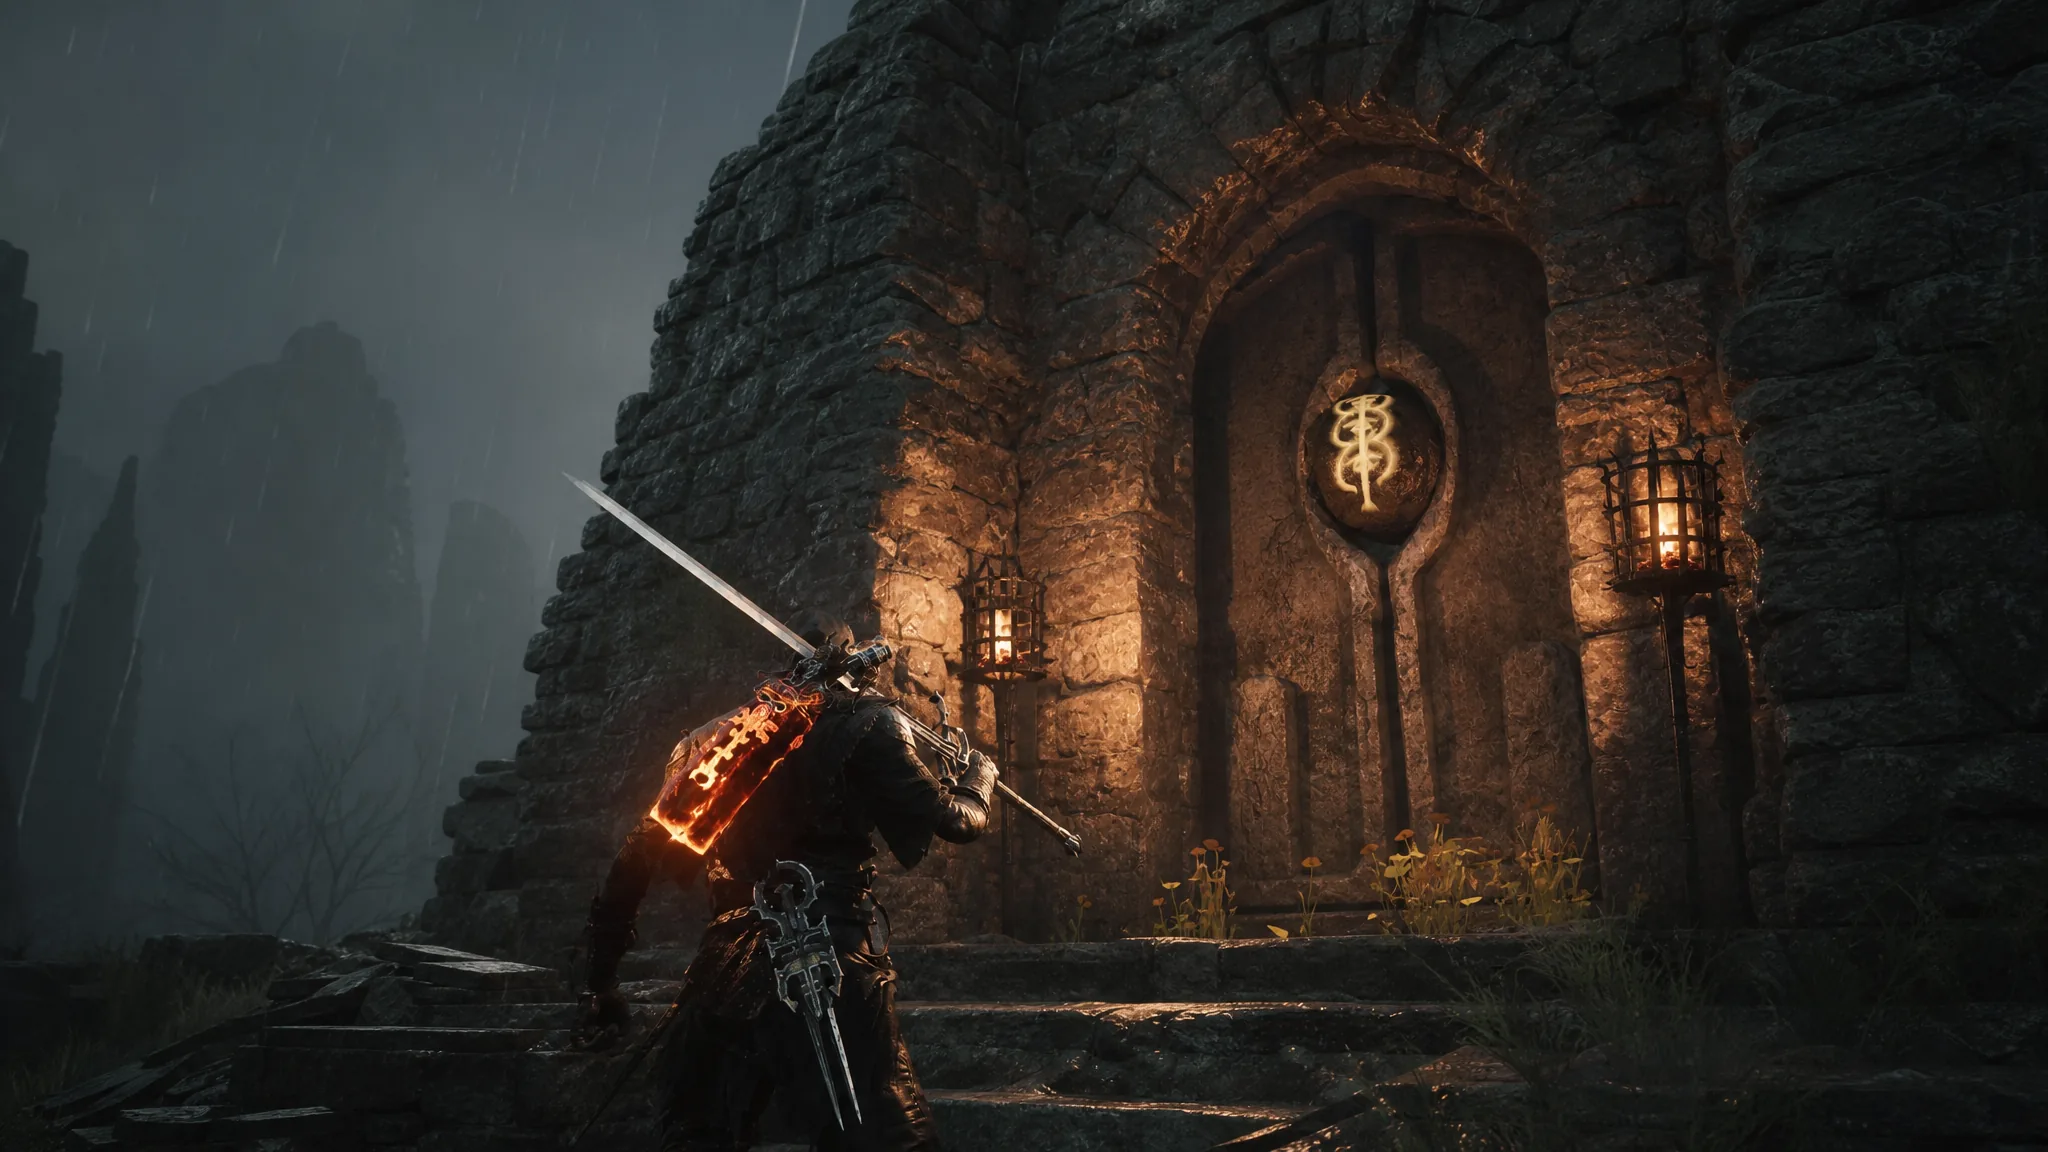
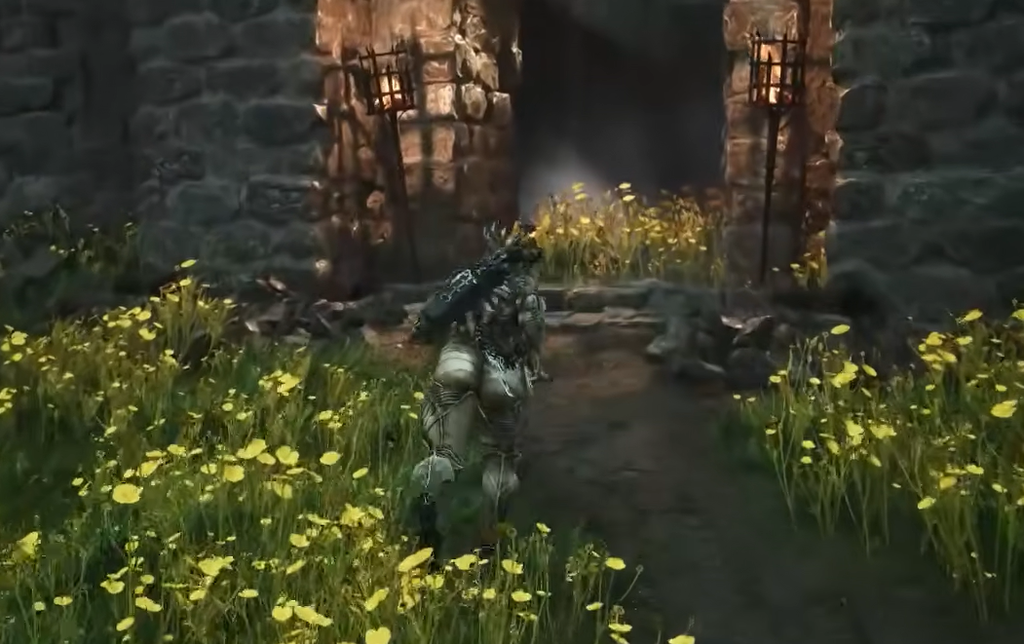
A magically sealed stone door sits inside a graveyard of yellow flowers in the Stones of Remembrance, in northeastern Fainweald, northeast of the Blackridge Pass beacon. Circling the building reveals a hole in one wall that looks like a way in, but stepping through it does nothing. The door itself is the only real entrance, and it stays locked until you deal with the seal keeping it shut.
Quick answer: Find and destroy the three glowing magic seal tombstones hidden around the flower graveyard using your weapon or sidearm. Once all three are broken, the seal drops and the door opens on its own.
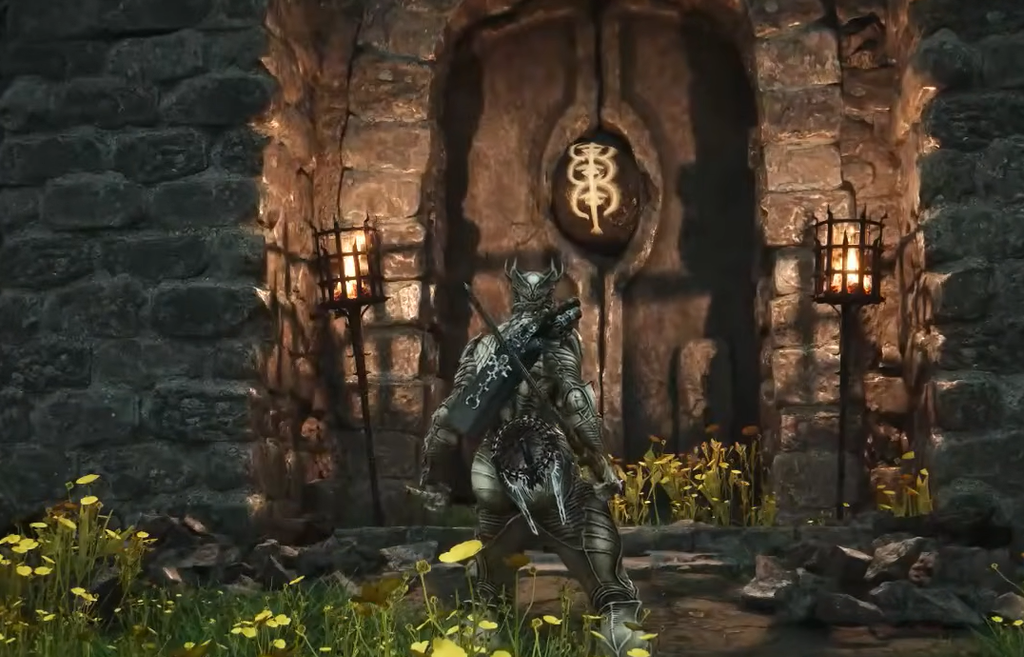
What breaks the seal on the graveyard door
The door will not respond to attacks, and no key opens it. The seal is tied to three tombstones planted in the yellow flowers nearby, each marked with a faint golden glow at its base. Hit each one with a melee weapon or your sidearm until it shatters. You can break them in any order, and the door reacts the moment the last one falls.
Where to find all three magic seal tombstones
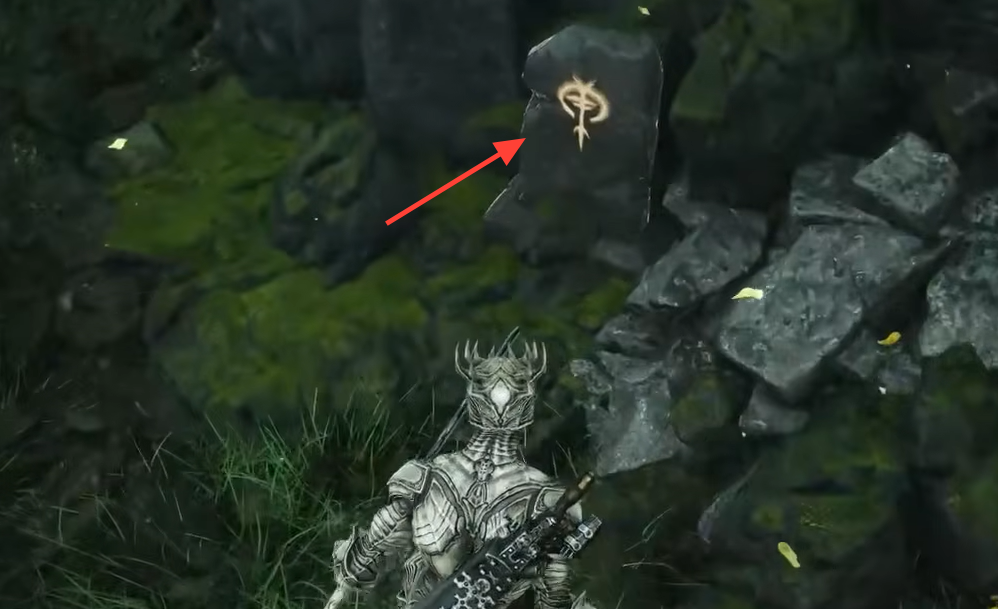
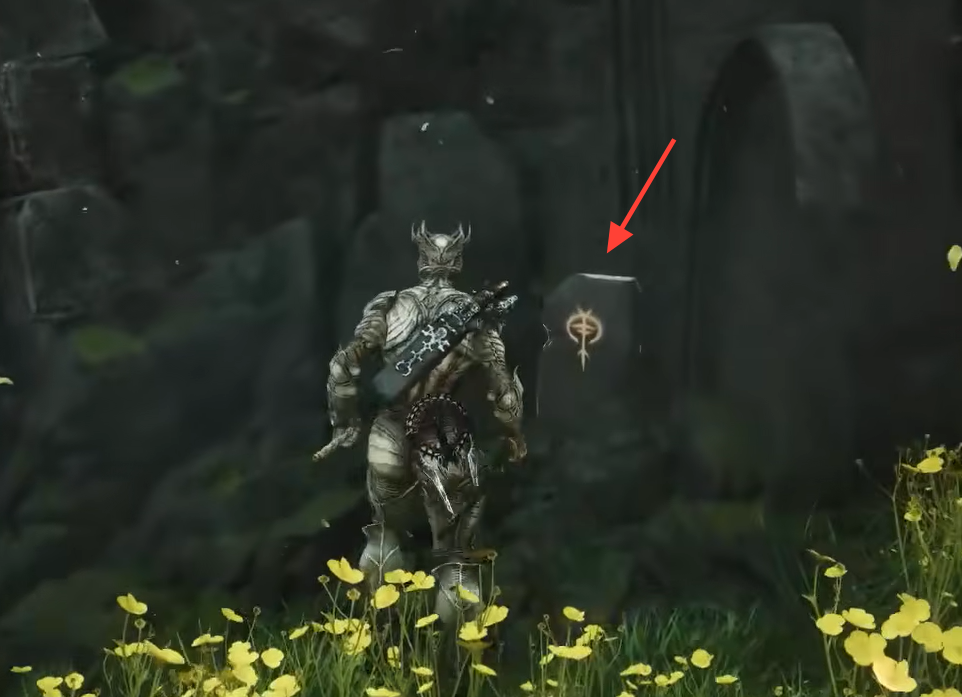
Tombstone locations at a reference glance
| Tombstone | How to reach it |
|---|---|
| First | Face the door, go down the stairs, then look right at the point where the steps end. |
| Second | From the base of the stairs, face the arched chest holding Ossinite, turn around, and check under the second stone arch. |
| Third | Face the Sanguine Caverns exit, turn around, and follow the left wall into a small graveyard corner. |
How to confirm the door opened
Once the third tombstone breaks, the magic seal lifts automatically and the door swings open without any further input. If the door is still sealed, one tombstone is still standing. Retrace the three spots above and make sure each stone is fully destroyed, since a partial hit will not count.
What waits inside the Feeding Grounds
The open door leads down into the Feeding Grounds, a short dungeon that most players can clear quickly. Descend the staircase and deal with the enemies at the entrance. Further in, a gate blocks a chest, and a patch of soft flooring collapses when you step on it, dropping you into a lower cave.
Down there, two Tarred Vestiges attack fast with strong area or grapple moves, so you can either fight them head-on or fall back to a corner of the cave for breathing room. Pull the lever to raise the path back up, then climb toward the original start of the dungeon to reach the chest and claim your reward.
The prize is the Myriad Stone Tarstone. Its sidearm effect fires several projectiles in an arc without spending extra Resolve, scaling from 3 projectiles at 75% damage each up to 7 projectiles at 35% damage each as you level it. It pairs especially well with the Forgotten Crossbow.





