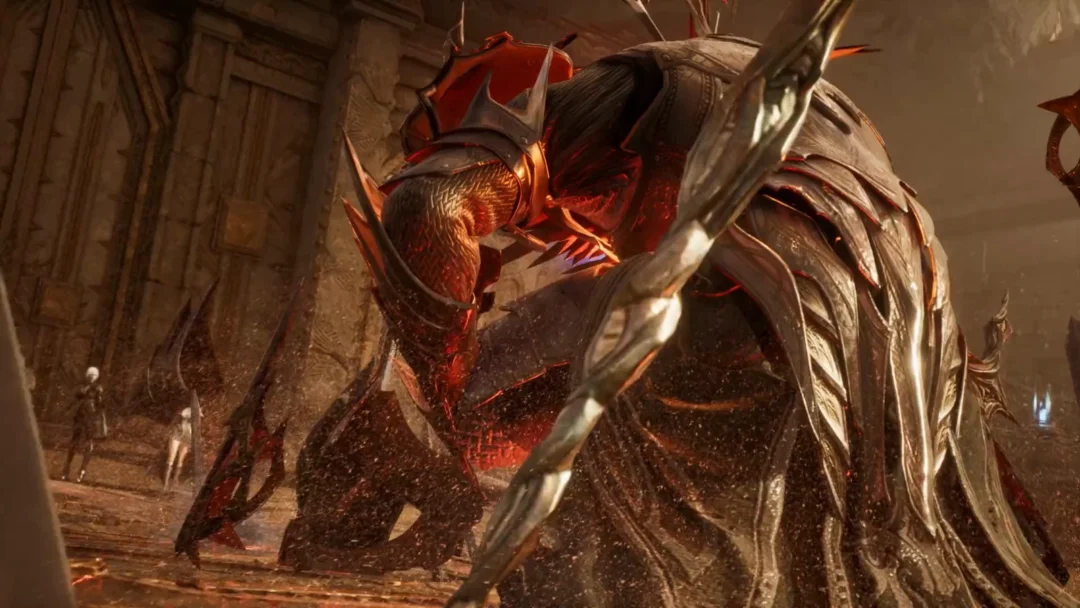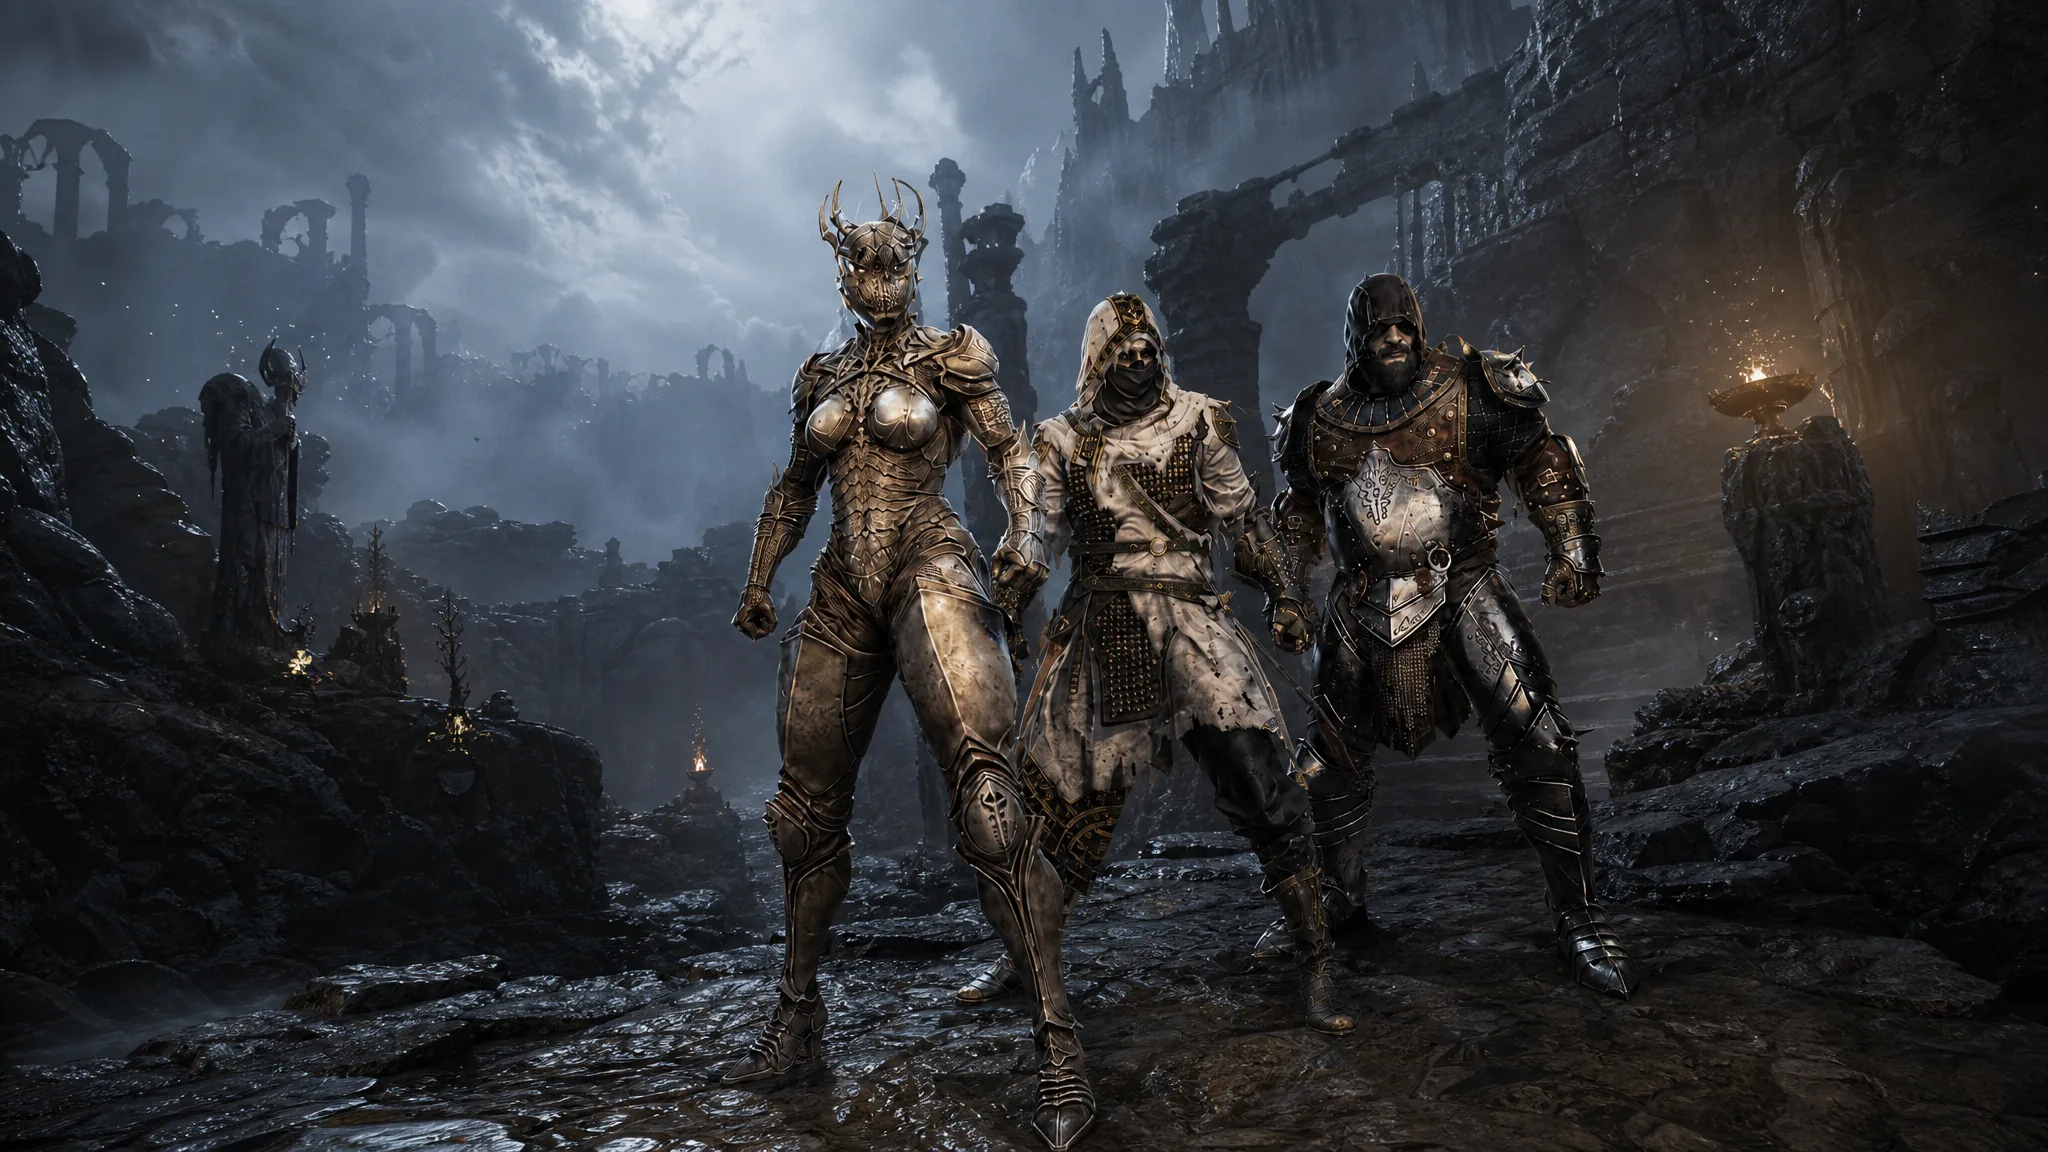
Shades are the alternate color schemes for each of the eight permanent Shells in Mortal Shell 2, and the only way to unlock them through normal play is with a Blackmarrow Key. The game never spells out where these keys go, which leaves the locked chests around the Marrow Keep elevator sitting untouched for a lot of players.
Quick answer: Take a Blackmarrow Key to the elevator room in Marrow Keep, walk up to the Shade chest belonging to a Shell you have already unlocked, and confirm the opening. One key opens one chest, the key is consumed, and the new Shade becomes available under Change Shades at any Beacon.
What a Blackmarrow Key unlocks in Marrow Keep
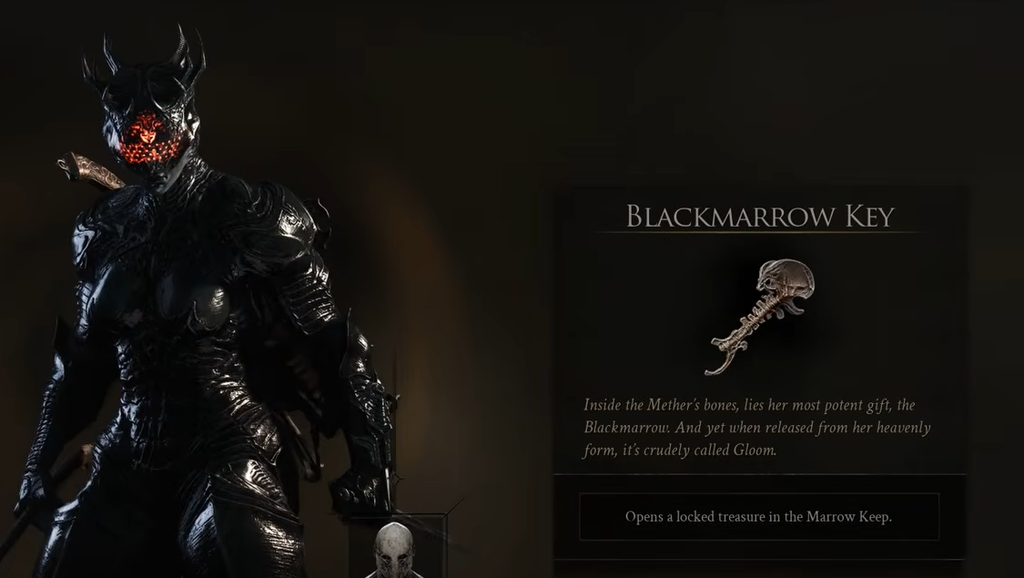
There are eight Shade chests clustered around the elevator (lift) in Marrow Keep, one for each Shell in the game. Every chest holds a single alternate look for its matching Shell. These Shades are purely cosmetic. They do not change health, damage, stamina, defense, Bond level, or Tarstone capacity.
A chest only opens once you have added its Shell to your roster. If you have not unlocked Eredrim yet, his chest stays sealed with a LOCKED CHEST prompt reading “This chest is bound to a Shell yet to be claimed,” even if a key is in your inventory. Come back after claiming that Shell, and the key will work.
These are the eight base-game Shades tied to the chests:
| Shell | Shade |
|---|---|
| Eredrim | King in Yellow |
| Genessa | Porcelain Prime |
| Gragu | Warden |
| Lazlo | Second Son |
| Proxima | Bonegrafted |
| Sariel | Apocryphal |
| Smert | Sanguine Prophet |
| Tiel | Slytherin |
The Obsidian Shell set is separate. Those skins come with the Devout Edition and are not tied to Blackmarrow Keys, so Standard Edition players can still collect every Shade above through exploration.
How to open a Shade chest
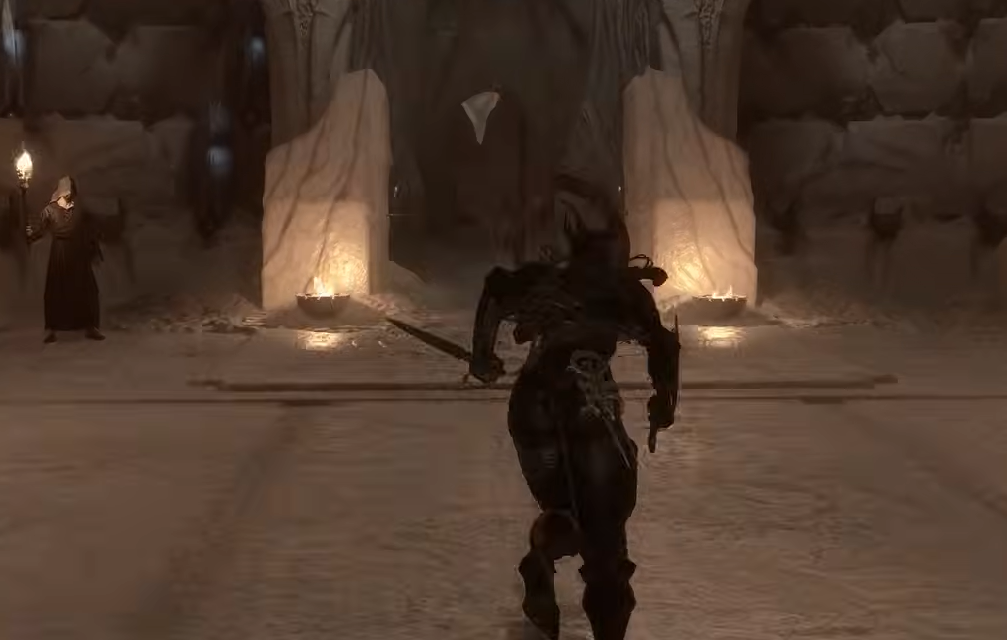
OPEN CHEST? prompt, which names the Shell, for example “Opening this chest will unlock a new Shade for Proxima.”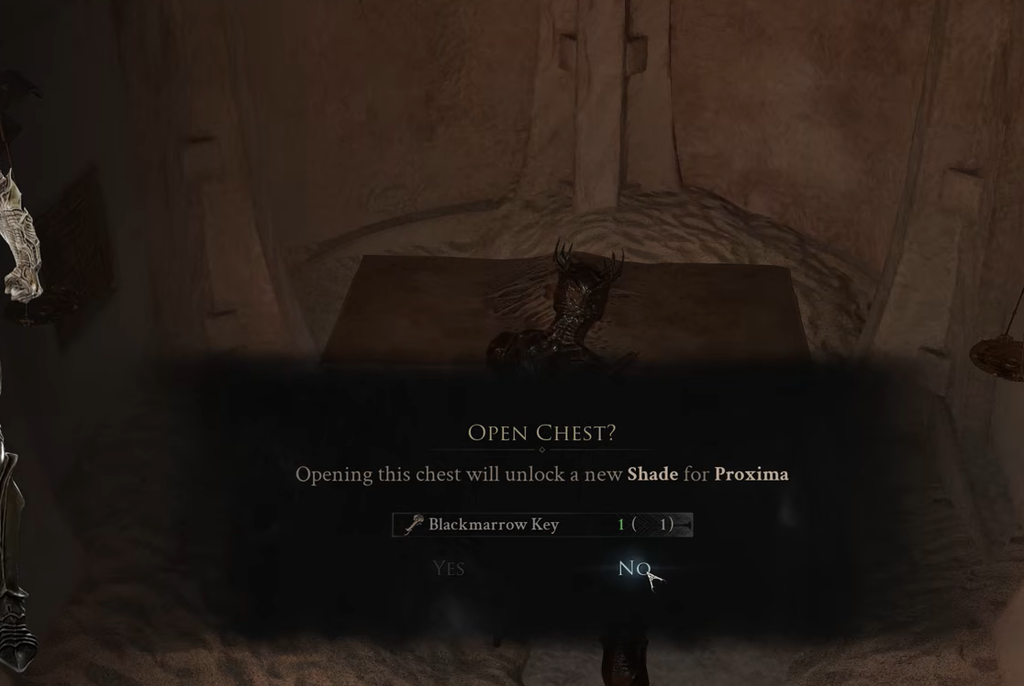
To switch looks later, rest at any Beacon and choose Change Shades. You can swap freely between unlocked Shades without spending another key. You know it worked when the chest stays open, the key is gone from your inventory, and the Shade appears as a selectable option in the Beacon menu.
Turn on Night Mode first
Two of the confirmed key sources only exist at night, so it pays to unlock Night Mode early. You need the Gloombound Flame, found in the arena where you fight the Great Arbiter of Flesh. Look for the dead body with the flame beside it and pick the item up.
With the flame in hand, climb to the roof of Marrow Keep and use it on the extinguished lantern there. That summons Thestus. Speak to him and choose Call Forth the Night to switch the world into Night Mode. You will see the NIGHT SUMMONED confirmation. To return to daylight, talk to Thestus again and pick Seek Daylight.
Night enemies hit harder. Only carry unspent Gold and travel deep into night content when your build can survive the route.
All Blackmarrow Key locations
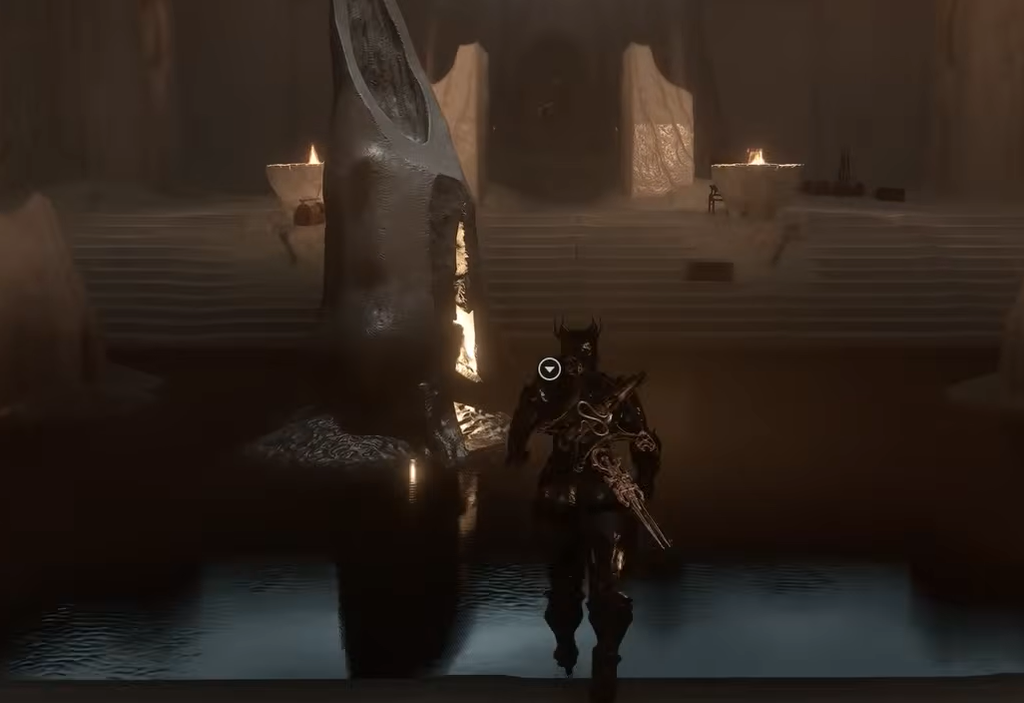
There are eight Blackmarrow Keys in a single playthrough, enough to open every Shade chest. Five are currently confirmed. The remaining three have not been pinned down, so treat them as unknown rather than tied to any specific spot.
| # | Location | Night Mode | Suggested timing |
|---|---|---|---|
| 1 | Abandoned Outpost Night Merchant | Yes | Early–mid game |
| 2 | Shrine of Sorrows dungeon | Yes | Early–mid game |
| 3 | Desolate Keep (secret dungeon) | No | Level 20–25 |
| 4 | Near Abbey Entrance Beacon | No | Mid game |
| 5 | Child’s Feeding Ground Beacon | No | Mid–late game |
| 6–8 | Unconfirmed | — | — |
1. Abandoned Outpost Night Merchant
With Night Mode active, fast travel to the Abandoned Outpost Beacon in Mammon, northeast of the Highlord’s Courtyard Beacon and near where you unlock Lazlo. Head directly south into the small clearing to find the Night Merchant known as The Collector. Choose Buy to purchase a Blackmarrow Key for 1,500 Gold. He also stocks four exclusive Tarstones, a Glimpse, and Thoracium. There is no confirmed evidence that the key restocks, so treat it as a one-time buy.
2. Shrine of Sorrows dungeon
The Shrine of Sorrows is a first-person, night-only dungeon southwest of the Mushroom Village Beacon. Completing it rewards a Blackmarrow Key along with the Tooth of Nochte. The run involves lighting three candle altars, brewing a concoction, and solving a short book puzzle:
- Light the three candle altars inside to open the first chest.
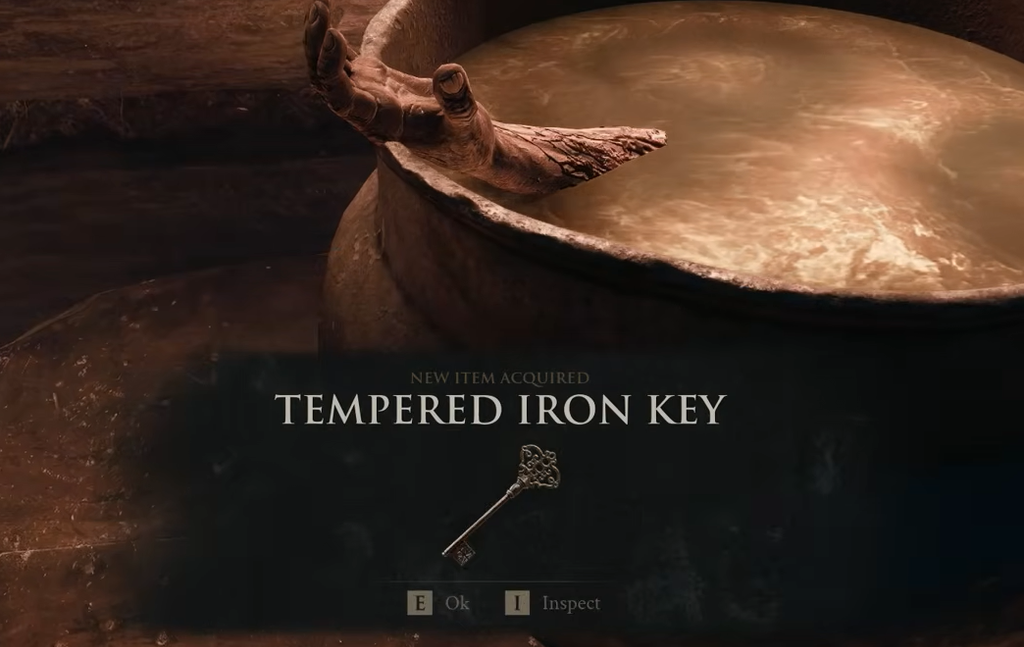
- Grab the Tempered Iron Key from the boiling pot in the cabin.
- Use it to collect the Moonlight Sonata and Sunlight Sonata books from the two side rooms.
- Place both books on the shelf, read the note on the wooden post outside, then spin the camera a full 360 degrees to teleport to a snowy area and pick up the Starlight Sonata. Spin again to return.
- Shelve the third book to receive the Alluring Mushroom, drop it into the pot, drink the brew, and take the Basement Key.
- Open the basement gate, clear the enemies, and loot the Blackmarrow Key from the campfire.
3. Desolate Keep (secret dungeon under Marrow Keep)
First grab the Slayer Seal from the chair in the chamber next to the Marrow Keep Beacon. You do not need it equipped. Go to the training area where Genessa teaches guard and parry, and find the wall marked with an arrow symbol. Attack it to open a hidden room with a chained chalice. Break the chains, then use the Commune with Chaos prompt on the chalice to enter Desolate Keep. Clear the dungeon to reach the key at the end. This is a tough route best attempted around level 20–25.
4. Near the Abbey Entrance Beacon
From the Abbey Entrance Beacon in Mammon, take the southeast stairs into the castle, turn right, and descend into Sester’s Refuge. On the far side, turn right and defeat the three Sester enemies by the bridge, then cross to the tower. Pick up the Map of Mammon 1 from the statue as a landmark, turn left onto the wooden scaffolding along the outer wall, and look over the edge for a spot to drop down. Follow the winding path around the tower to a chest holding the Blackmarrow Key.
5. Child’s Feeding Ground Beacon
Defeat the Lost Child boss in the Sanguine Caverns Corrupted Gate, in the far north of the map, to unlock the Child’s Feeding Ground Beacon in the arena. Enter the Cleanse Beacon dungeon and cleanse the corruption inside for +26 Ova, which sends you back to Marrow Keep. Fast travel to the Child’s Feeding Ground Beacon again, choose Enter Dungeon, and return to where you cleansed the corruption. A new secret room has opened behind the old Ova spot. Open the chest inside for the key.
Rules to avoid wasting a key
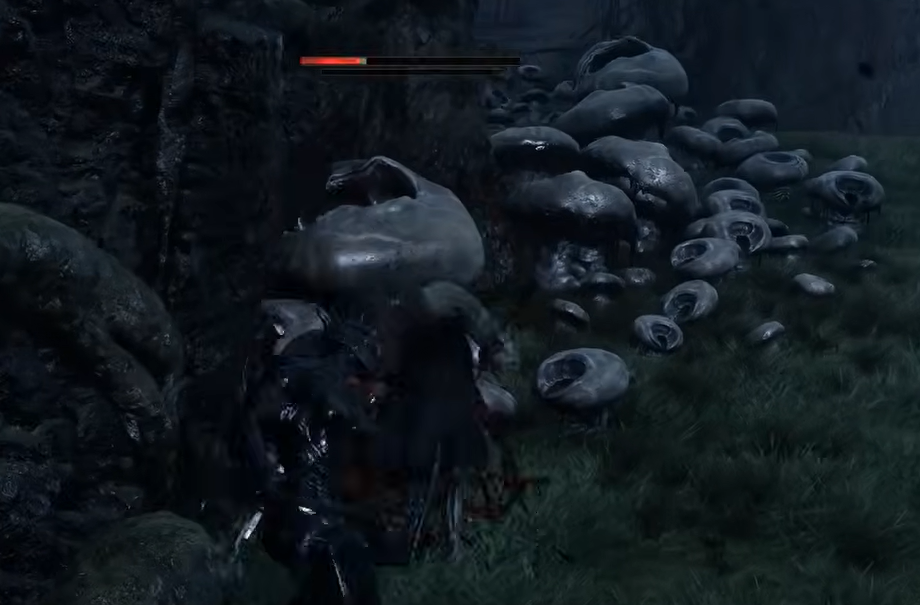
Because keys are finite and consumed on use, a little planning prevents mistakes. Decide which Shell you actually play, unlock it, and check its Shade before opening anything. Palettes vary between Shells, so a white recolor on one body does not mean every chest holds the same look.
- The key is spent permanently the moment a chest opens. It cannot be reused.
- The matching Shell must already be unlocked or the chest stays sealed.
- Do not open a chest for a Shell you never use, since the cosmetic is the only reward.
Do not confuse it with other keys
Mortal Shell 2 hands out several similarly named keys, and only the Blackmarrow Key opens Shade chests. Carrying the wrong one to a door wastes a trip and can waste a key. Match the item name in your inventory to the door prompt before you interact.
| Key | What it opens |
|---|---|
| Blackmarrow Key | Shell Shade chests near the Marrow Keep elevator |
| Crypt Key | Hall of Echoes dungeon in the Fainweald region |
| Chapel Key | Chapel door leading to the Shrine of Trials dungeon |
Once you have unlocked a Shade, it stays on your account for that Shell, and swapping between looks at a Beacon costs nothing. Prioritize keys for the Shells you run most, save the harder dungeon routes for when your level can handle them, and you will fill out the Marrow Keep chests one confirmed key at a time.