Gaming Guide

Mortal Shell 2: All Blackmarrow Key Locations (Shade Chests)

Where to find five Blackmarrow Keys and how to spend them on the eight Shade chests inside Marrow Keep.

Where to find five Blackmarrow Keys and how to spend them on the eight Shade chests inside Marrow Keep.

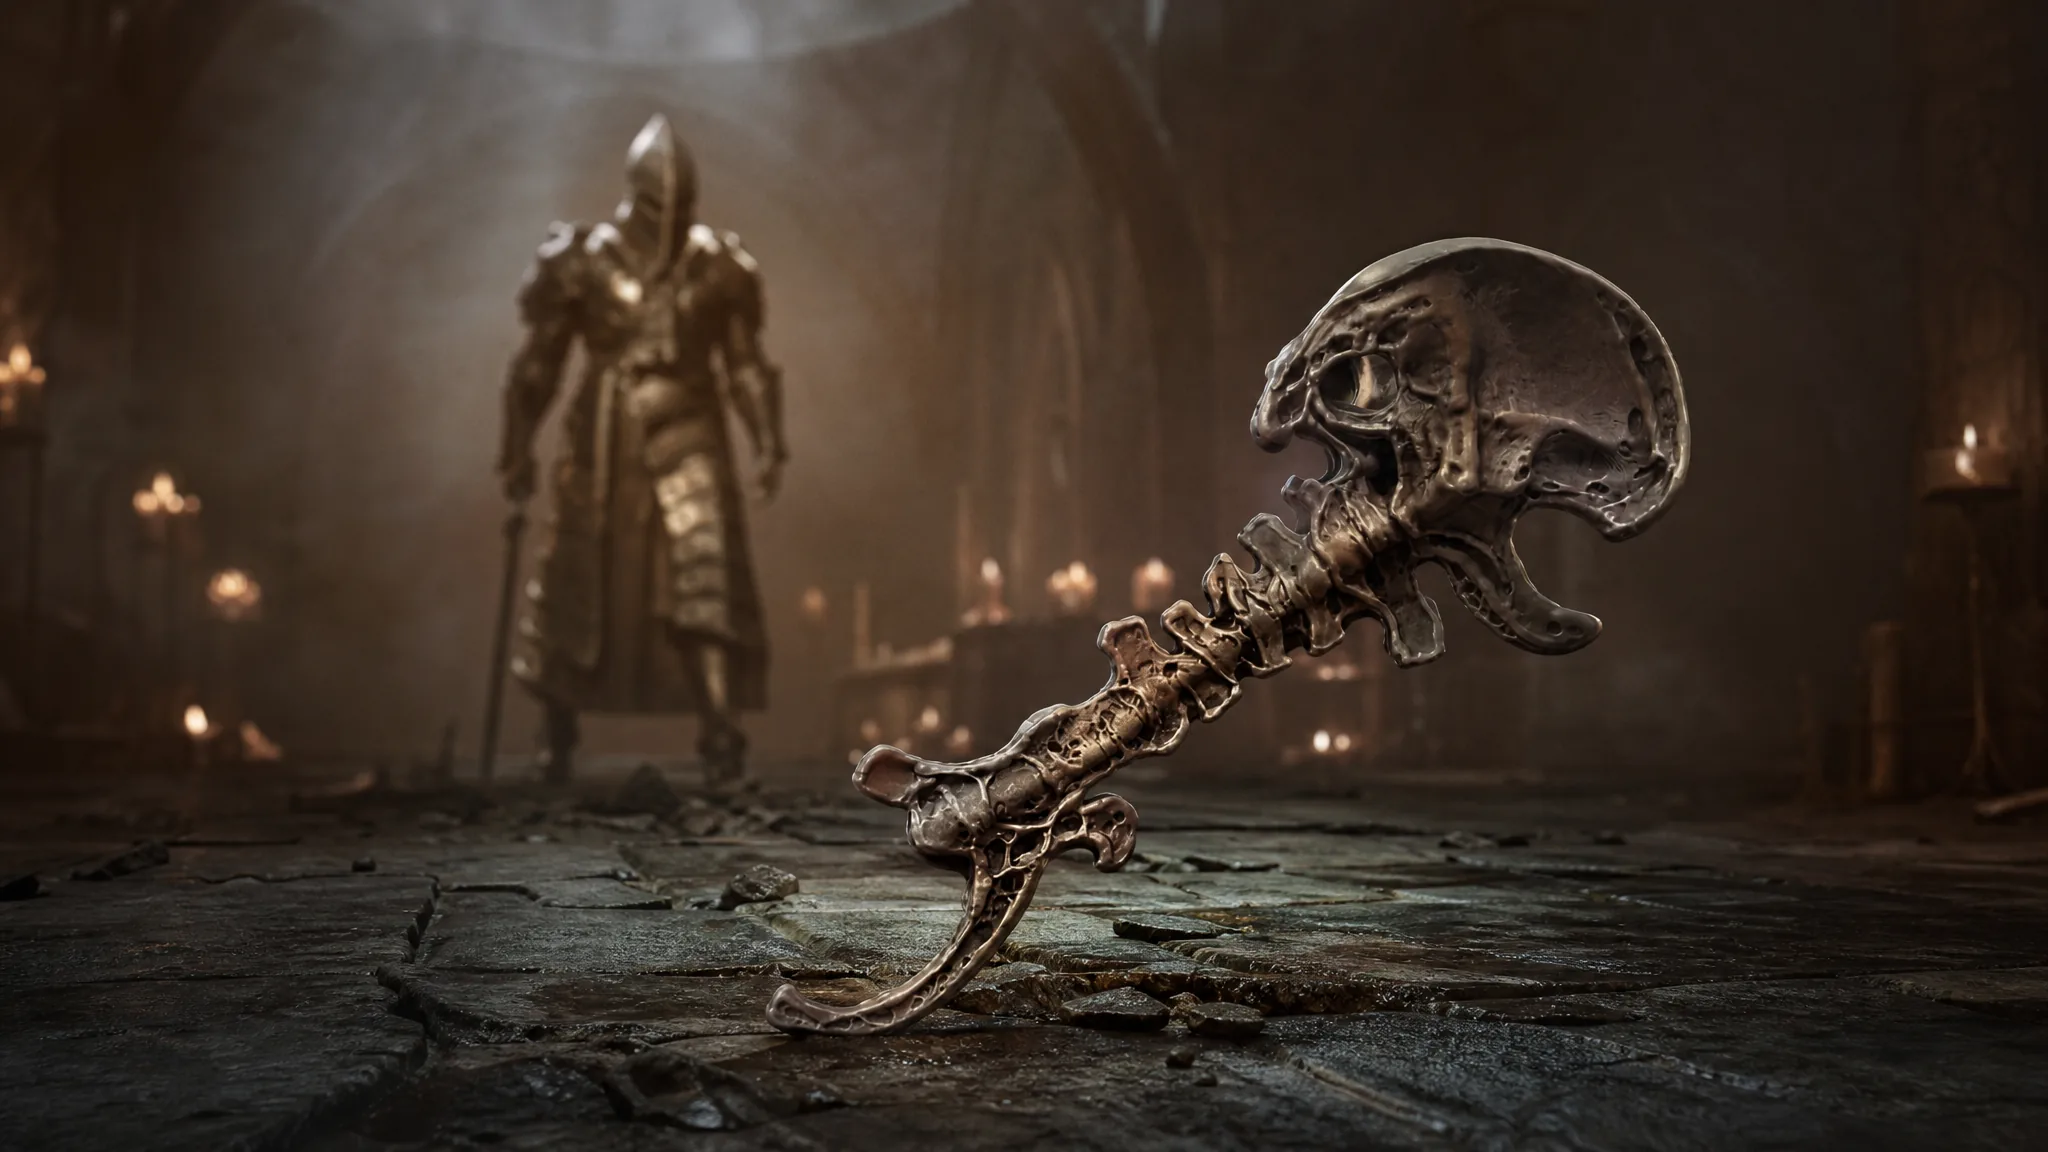
The Blackmarrow Key is a key item in Mortal Shell 2 that exists for one reason: cosmetics. It opens the locked chests in Marrow Keep that hold alternate Shades for your Shells, and the game never spells out where those chests are or how many keys you can collect.

Quick answer: Take a Blackmarrow Key to the elevator room in Marrow Keep and open one of the eight chests there. Each chest belongs to a specific Shell, only opens if you have already unlocked that Shell, and consumes the key permanently.
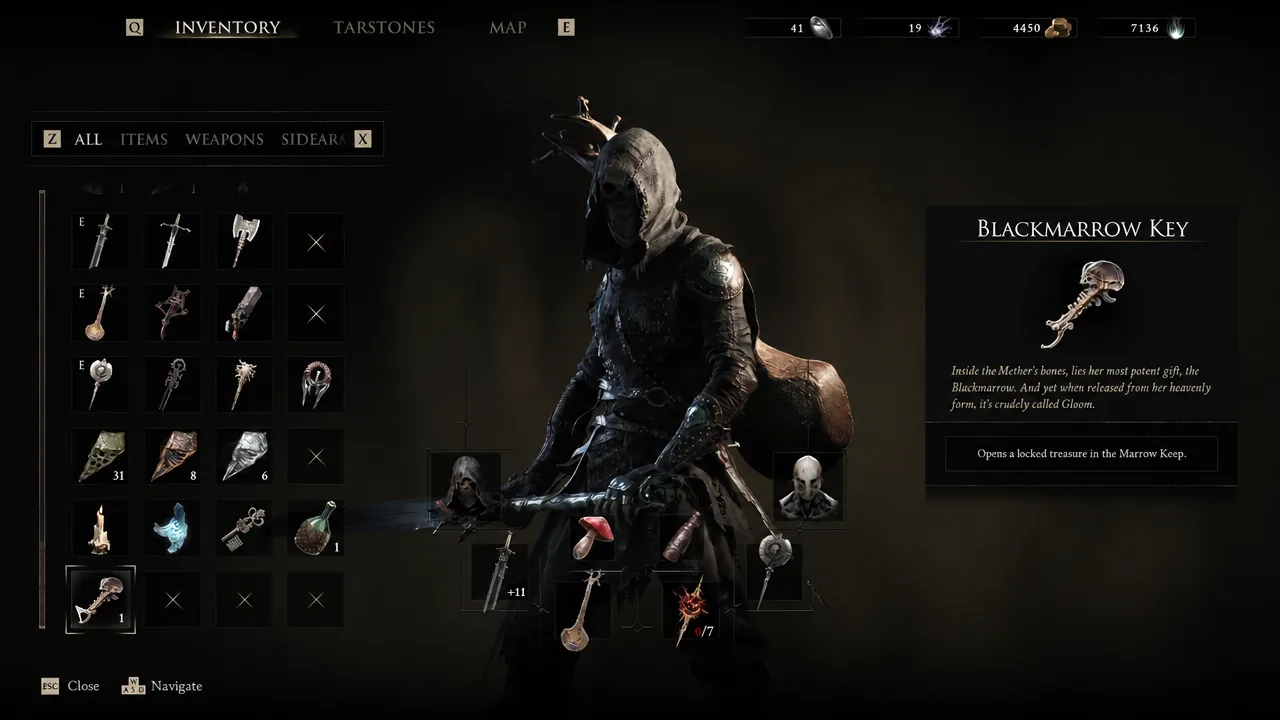
Inventory screen with the Blackmarrow Key highlighted and its item description visible
The Blackmarrow Key sits in your inventory and its description points to a locked treasure in Marrow Keep. Image: Cold Symmetry

What a Blackmarrow Key opens in Marrow Keep

There are eight chests in the elevator room of Marrow Keep, one per Shell in the game. Each contains a unique Shade, which is a color variant for that Shell. Eight Blackmarrow Keys exist in a single playthrough, which is exactly enough to empty the room if you find every one of them.
Unlock the Shell first. A chest stays sealed until its Shell is in your collection, so Eredrim’s Shade is unavailable until Eredrim himself is. Spending a key on a Shell you own is the only way to spend it at all.
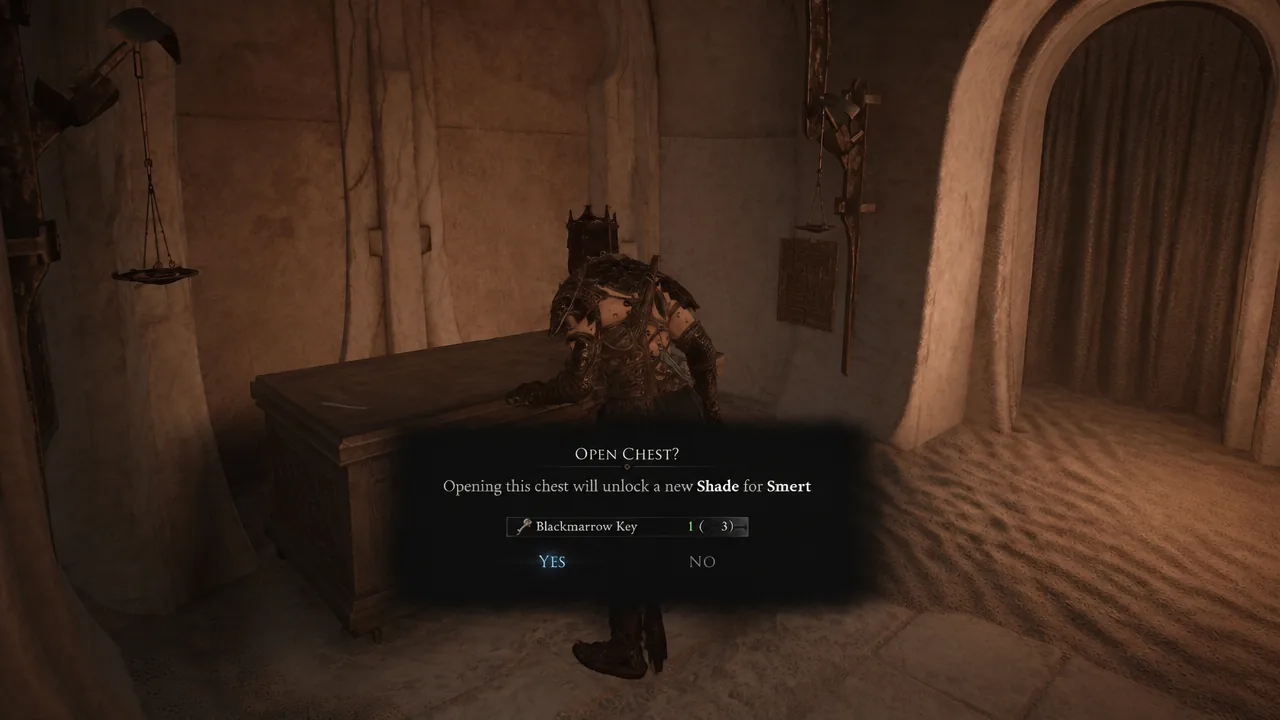
Interact with the chest and confirm the prompt. The key is consumed the moment the chest opens, so a second chest needs a second key.
Open Chest confirmation prompt showing an available Blackmarrow Key with YES selected
The confirmation prompt tells you a Blackmarrow Key is available before it unlocks Smert’s new Shade. Image: Cold Symmetry
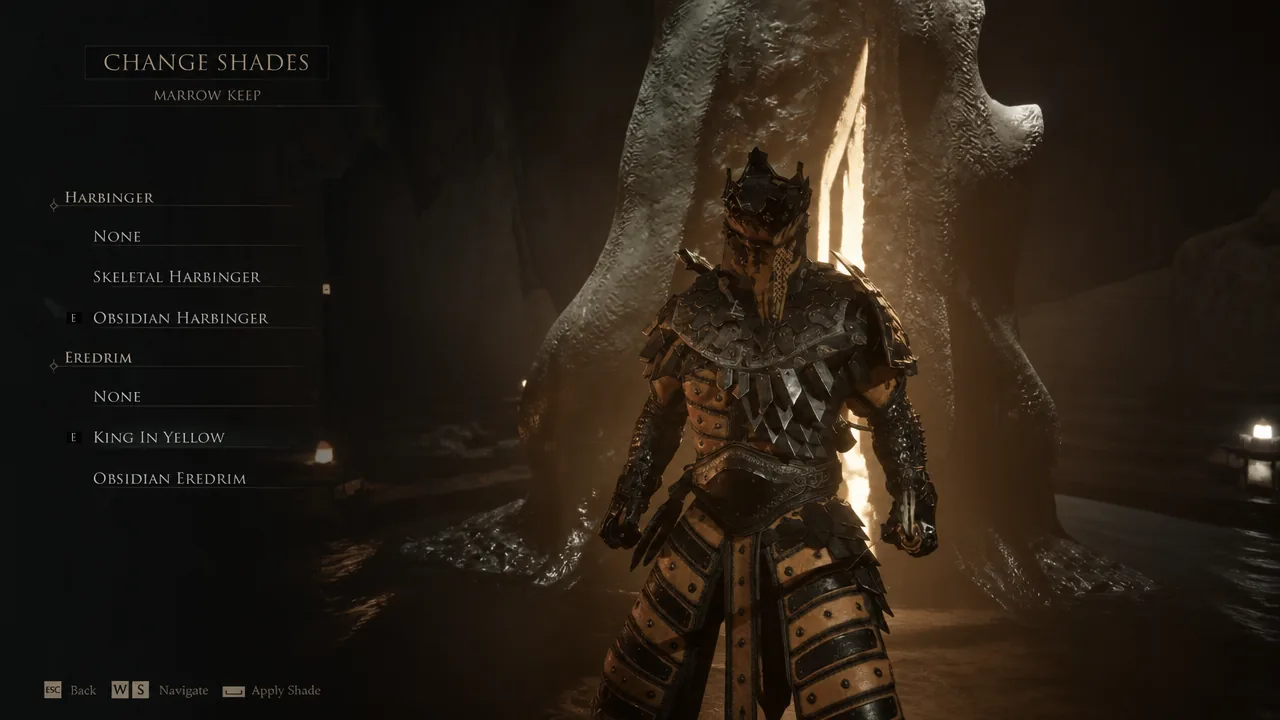
Rest at any Beacon and pick “Change Shade” to actually wear the unlock. The new option appears in the Shade list for that Shell, which is your confirmation that the key was spent correctly.
Change Shades menu open in Marrow Keep with the Obsidian Harbinger option and a character preview
The Change Shades menu lists every unlocked variant, such as the Obsidian Harbinger. Image: Cold Symmetry

Note: keys are not the only route to new Shades. Pre-orders and the Devout Edition upgrade come with their own exclusive Shades that do not touch the chests at all.


Blackmarrow Key locations at a summary

Five reliable pickups are documented below. Two of them are locked behind Night Mode, one sits inside a hidden dungeon under your own hub, and two are ordinary chests hidden off the beaten path in Mammon.

LocationHow you get itRequirement
Abandoned OutpostBought from The Collector for 1,500 GoldNight Mode active
Shrine of SorrowsReward for finishing the dungeonNight Mode active
Desolate KeepFound at the end of the dungeonSlayer Seal in inventory
Abbey Entrance areaChest below the tower scaffoldingAccess to Mammon
Child’s Feeding GroundChest in a secret room inside the Beacon dungeonThe Lost Child defeated

Night Mode keys: The Collector and the Shrine of Sorrows

Both of these are invisible during the day. Night Mode is toggled by carrying the Gloombound Flame to the top of Marrow Keep and speaking with Thestus, and it swaps in tougher enemies alongside the extra content.

The Collector at the Abandoned Outpost
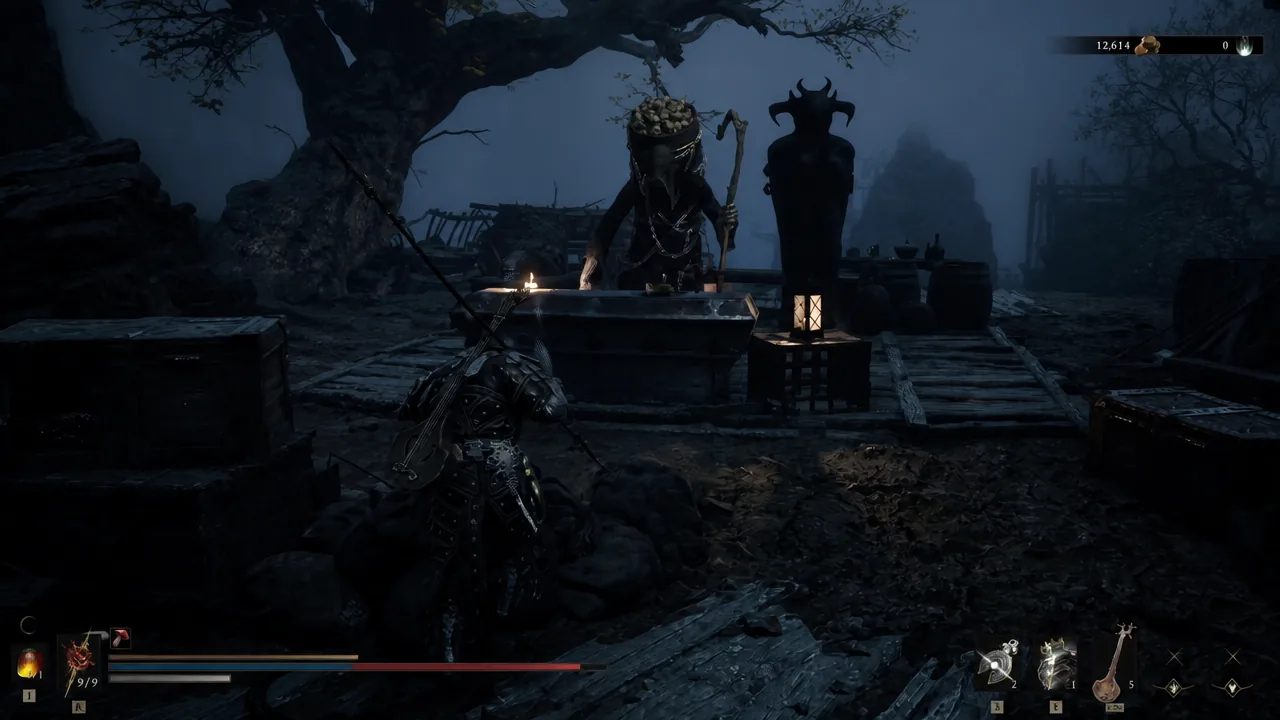
Turn on Night Mode, then fast travel to the Abandoned Outpost Beacon in Mammon. It sits northeast of the Highlord’s Courtyard Beacon, in the same stretch of map where Lazlo is unlocked.
Walk directly south of the Beacon into a small clearing. The Night Merchant known as The Collector is waiting there.
Player approaching a hooded merchant seated behind a counter at night
The Collector only appears once Night Mode is active. Image: Cold Symmetry
Choose “Buy” and purchase the Blackmarrow Key for 1,500 Gold. His stock also includes four exclusive Tarstones, a Glimpse, and Thoracium, so budget accordingly before you commit.

Shrine of Sorrows dungeon

The Shrine of Sorrows is the game’s only first-person dungeon and it appears southwest of the Mushroom Village Beacon while Night Mode is running. Getting inside means accepting an invitation at the cocoon structure past the second wooden bridge, then working through a house full of puzzles.

The run ends after you gather the Moonlight, Sunlight, and Starlight Sonata books, brew the Alluring Mushrooms in the cauldron, and follow the Basement Key down to the witches’ ritual. When the sequence closes out, you receive a Blackmarrow Key along with the Tooth of Nochte.
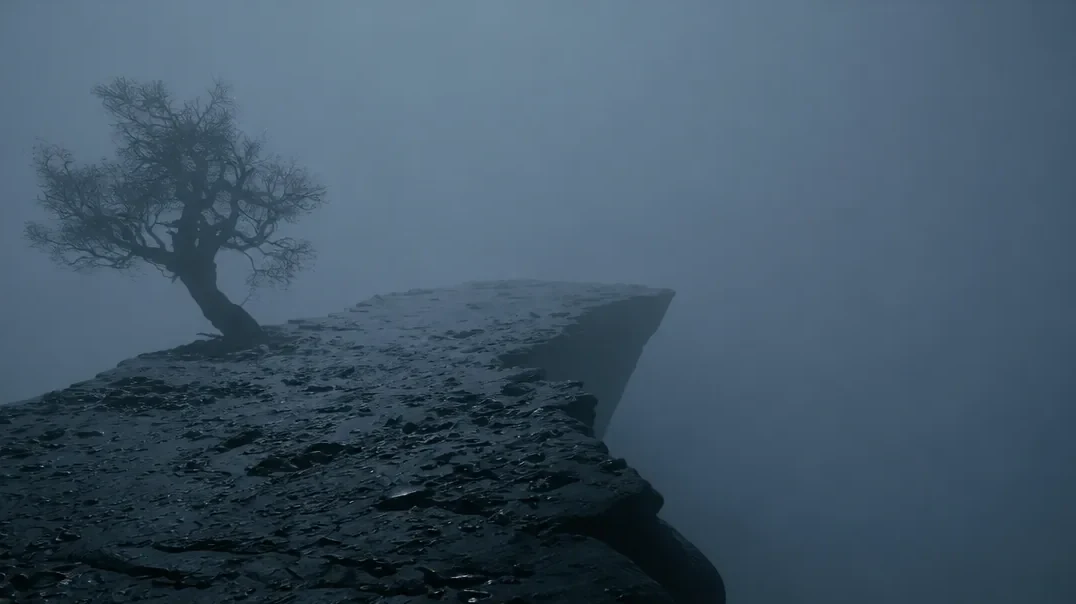
First-person view inside the Shrine of Sorrows dungeon area at night
The Shrine of Sorrows plays out in first person and pays out a key at the end. Image: Cold Symmetry

Desolate Keep: the secret dungeon under Marrow Keep

The closest key to your hub is also one of the hardest to survive. Desolate Keep is balanced for roughly level 20 to 25, and while a lower-level run is technically possible, it will not be quick.

Pick up the Slayer Seal from the chair in the chamber next to the Marrow Keep Beacon. It only needs to be in your inventory, not equipped.
Head to the training area where Genessa runs the guard and parry tutorials, and scan the walls past the sarcophagi for a glyph shaped like an arrow.
Strike the marked wall to reveal a small room holding a chalice wrapped in chains. Break the chains with your weapon.
Use the “Commune with Chaos” prompt on the chalice. You are dropped into the Desolate Keep, and the Blackmarrow Key is waiting at the far end of the dungeon.

Two hidden chests in Mammon

Below the tower near the Abbey Entrance Beacon

From the Abbey Entrance Beacon, take the southeast stairs into the castle, turn right, and descend the stairs in Sester’s Refuge.
Coming out the other side, turn right and clear the three Sester enemies guarding the bridge. Cross to the tower, where a statue holds Map of Mammon 1.
Turn left from the statue and step onto the wooden scaffolding hugging the tower’s outer wall. Walk to the edge and look down to spot a safe landing point, plus an updraft that carries you back up to the bridge.
Drop down and follow the path as it winds around and below the tower. It ends at a chest containing the Blackmarrow Key.

Behind the Ova at Child’s Feeding Ground

Beat The Lost Child in the Sanguine Caverns Corrupted Gate at the northernmost edge of the map. The Child’s Feeding Ground Beacon spawns in the boss arena afterward.
Enter the Cleanse Beacon dungeon and clear the corruption inside for 26 Ova. Doing so warps you back to Marrow Keep automatically.
Fast travel to the Child’s Feeding Ground Beacon again and choose “Enter Dungeon.” Return to the spot you cleansed and a new room is now open behind where the Ova used to sit, with the key in a chest inside.

Why a Shade chest will not open

There are only two real failure points. The first is not having a key on hand, since every unlock burns one and there is no way to refund it. The second is targeting a chest for a Shell you have not recruited yet, which the game simply refuses.

Because keys are finite and Shades are purely visual, it is worth holding a key until you have a Shell you actually plan to play. Spend one on a Shell you never switch to and that Shade stays buried in a menu you will not open again.