Dungeon Quest Reborn brings back the classic OG Dungeon Quest loop on Roblox: clear a dungeon, collect gold and gear, upgrade your character, then step up to a harder challenge. New players usually stall for one of two reasons. They rush into a difficulty they cannot survive, or they equip gear by its item number instead of its actual stats. A focused early routine avoids both.
Quick answer: Claim the daily reward, run an Easy dungeon such as Desert Temple to learn enemy patterns, compare new loot by its Physical, Spell, Stamina, and Health values rather than its level number, sell junk and upgrade only gear you plan to keep, then raise the difficulty only after your current runs feel consistent and comfortable.
Start in the lobby: Daily Reward, Upgrade, and Sell NPCs
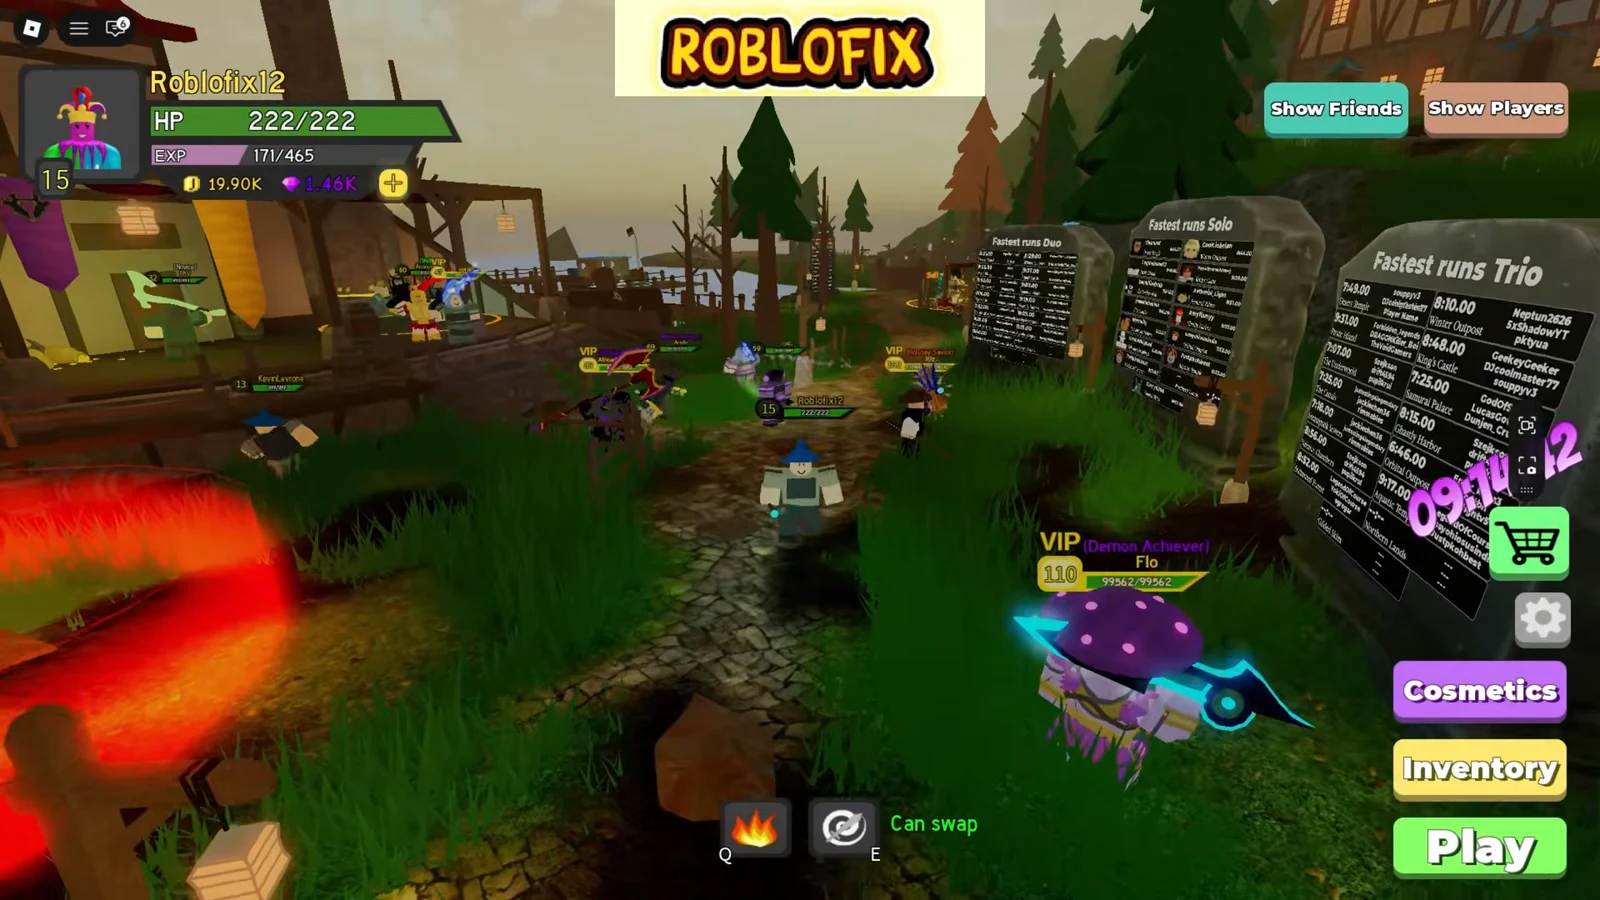
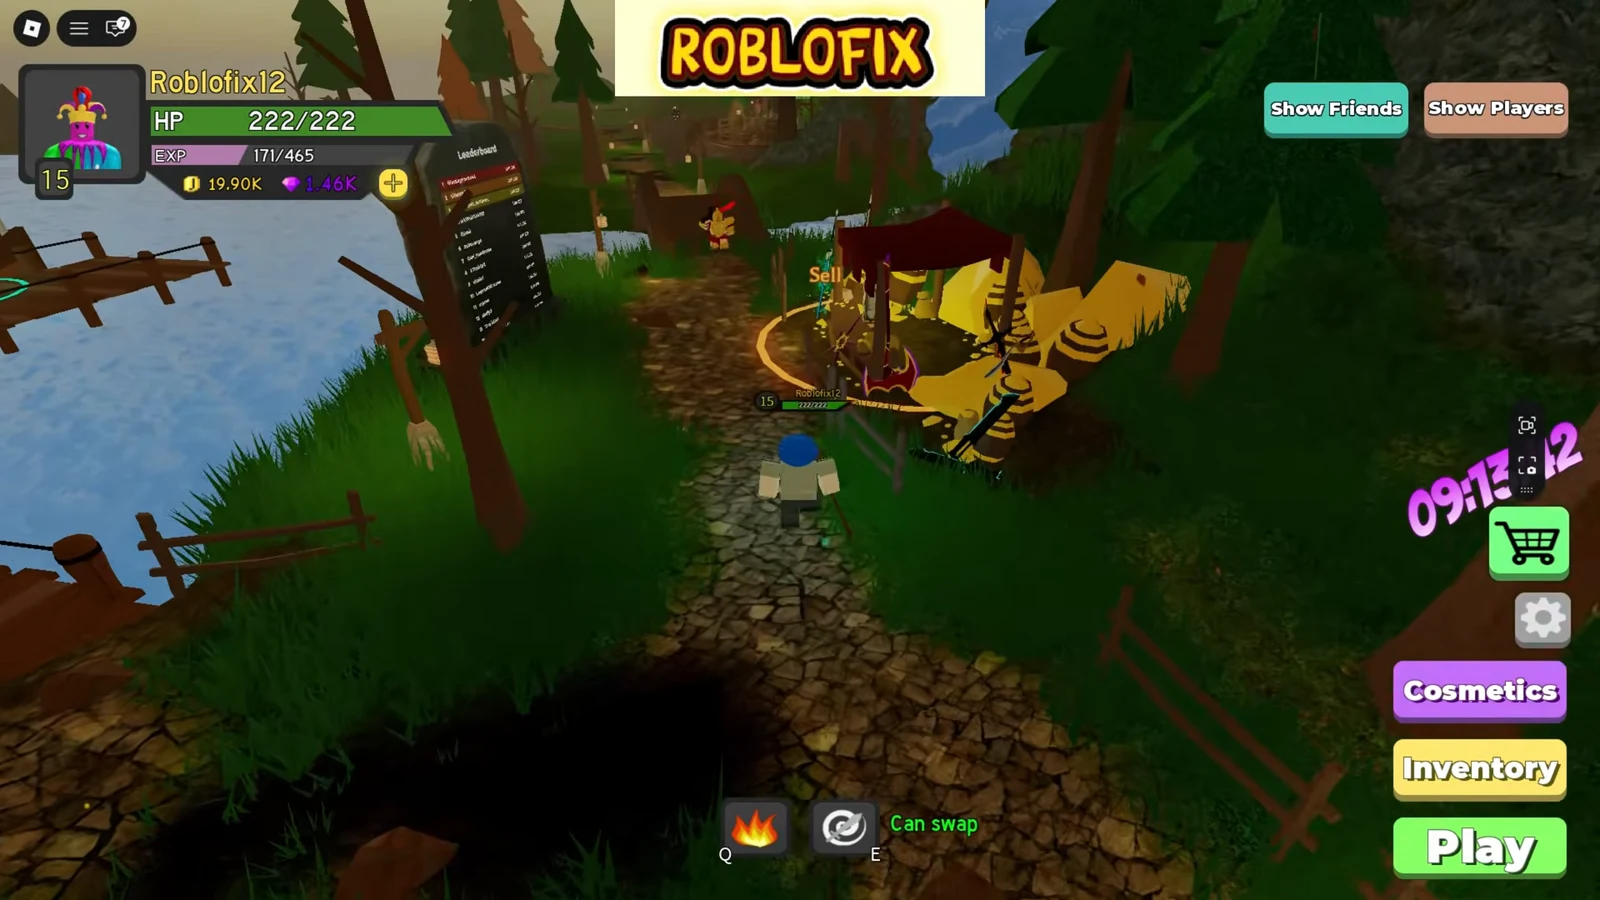
The main lobby holds three NPCs that drive your early economy. Visit all three before your first run so you begin each session with free items and a clean inventory. You can join the game directly from the official Dungeon Quest Reborn experience, which shows Place ID 77649408247578.
| NPC | What it does | How to use it |
|---|---|---|
| Daily Reward | Gives a free reward, usually a useful item, once per day | Claim it every session before you queue |
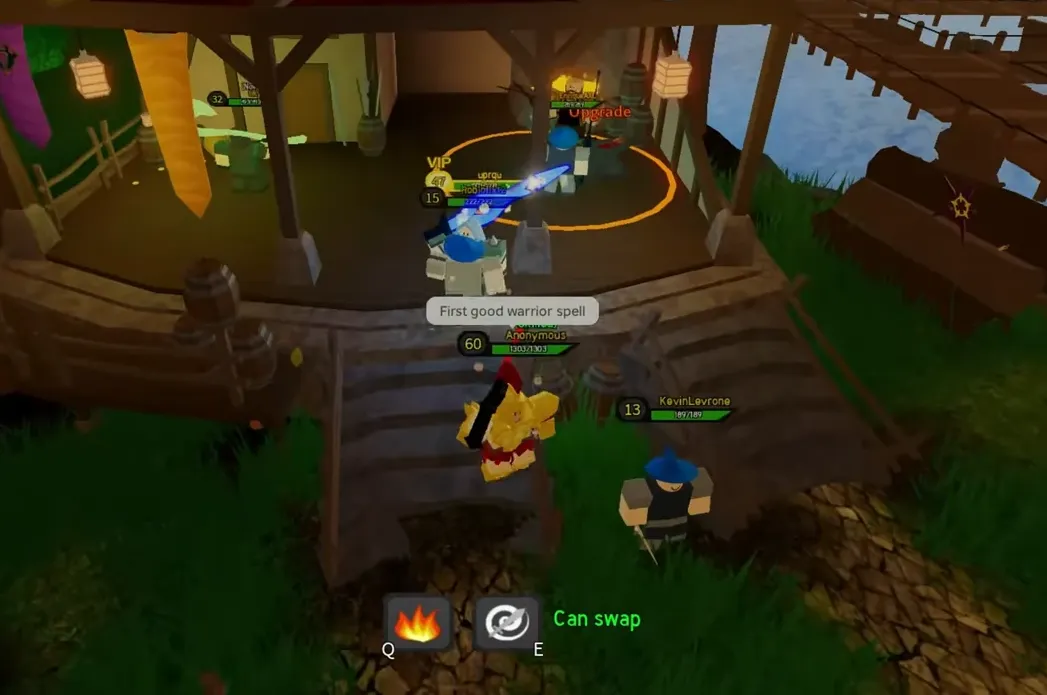
| Upgrade NPC | Upgrades items to raise Health, Spell, and Physical stats | Spend gold only on gear you plan to keep |
| Sell NPC | Sells unwanted items for in-game gold | Clear duplicates and outdated drops for currency |
Run your first dungeon on Easy to learn the patterns
Create or join a dungeon lobby from the dungeon selector, then pick an Easy difficulty such as Desert Temple. The difficulty ladder runs Easy, Medium, Hard, Insane, and Nightmare, with a separate Hardcore Mode. Starting low is not about the loot. It gives you enough time to see enemy attacks, read room layouts, and get a feel for run length before anything can one-shot you.
Inside a room, move in far enough to spot enemy groups before committing to a long ability. Keep short, reliable attacks until you know which openings are safe. At a boss, spend the first safe moments watching one attack. Learn its cue, its danger zone, and its recovery window, then move first and damage second. A short punish that lands every time beats a big cast that fails half the attempts.
Read gear by its stats, not its item number
The single most common beginner mistake is equipping any drop with a bigger number on it. Open the inventory and compare the real stats instead. Every weapon and armor piece lists Physical, Spell, Stamina, and Health values, and those decide whether the item fits your build. Two items with the same name can also roll different values, so inspect each drop rather than trusting the label.
| Check | Question | Decision |
|---|---|---|
| Category | Is it a weapon, armor, or ability? | Compare only against a matching slot |
| Displayed stats | Which useful values actually change? | Favor the stat your build is short on |
| Build fit | Does it match your damage type? | Keep Physical gear for melee, Spell gear for casters |
| Upgrade value | Will you keep it for several runs? | Only then invest gold at the Upgrade NPC |
A weapon that raises theoretical damage but keeps putting you in danger can slow you down. Armor that stabilizes a boss clear is often the better temporary upgrade. Compare every reward against the exact slot it might replace, then sell what loses and keep what wins.
Test builds on the lobby training dummies
Before you commit to a long grind, try new weapons and spell combinations on the training dummies in the lobby. This is the fastest way to check whether an ability feels comfortable and whether its damage output is worth using. Testing here costs nothing, while learning the same lesson mid-dungeon can cost a full run.
Spend skill points on one damage stat
Each level-up grants skill points across Physical Power, Spell Power, and Stamina. Do not spread them evenly. A character with several half-built stats performs worse than one with a single dependable damage source. Pick physical damage for a melee playstyle or spell damage for a ranged caster, then keep pouring offensive points into that stat.
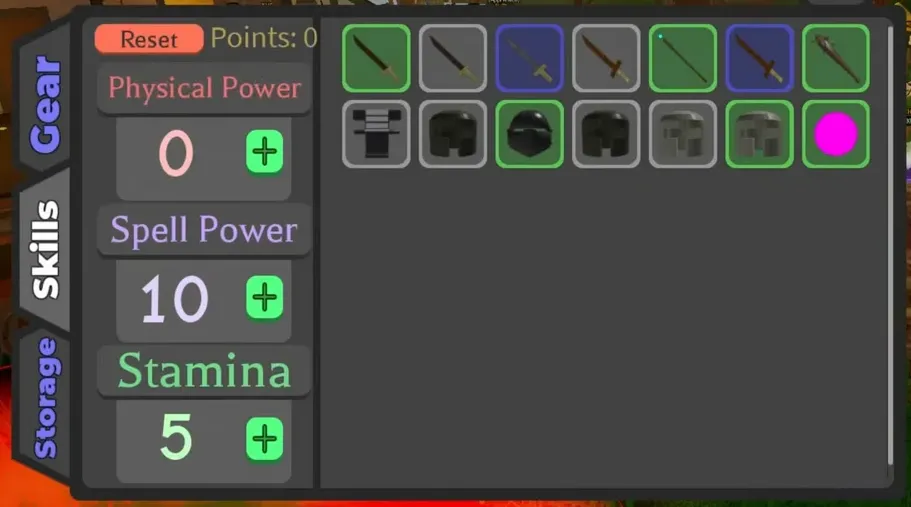
Add survivability only after your damage plan is clear. If deaths are stopping you from finishing runs, put a few points into Stamina so you can absorb mistakes. Keep your weapons, armor, stats, and abilities all pointed at the same role, and your damage scales the way it should.
Solo or party: pick the mode that fits the goal
Both play styles have a clear purpose. Solo runs make your mistakes easy to diagnose and let you learn movement and enemy patterns at your own pace. Party play makes hard content faster and easier to clear, though public groups can be unpredictable. Use solo while you are still learning a dungeon, and bring a coordinated party when you want quicker clears.
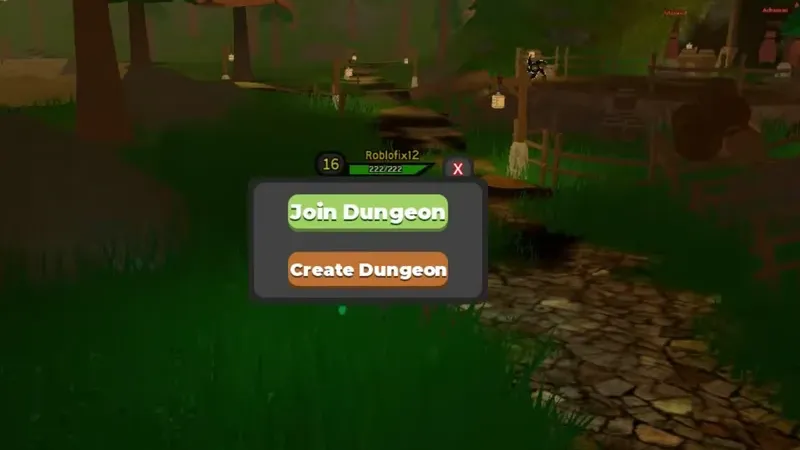
Before starting a party run, confirm everyone is on the same dungeon and difficulty, finish any gear changes in the lobby, and agree on movement. That avoids the most common cause of a wasted group run.
Raise difficulty only when clears are consistent
The right farming target is the highest difficulty you can complete with a comfortable margin, not the highest one you can barely survive. Failed attempts burn time without paying out completion rewards, so a fast, reliable clear on a lower tier often beats a slow, risky clear on a higher one. Move up only when your current runs feel easy and repeatable.
Use a simple read on what is slowing you down before you change anything. If normal rooms eat most of the run, improve your area damage or movement. If only the boss ends runs, keep the route and practice its cues. If a single hit wipes you, cut risk or add survivability before chasing a harder tier.
| Problem in the run | What to change first |
|---|---|
| Dying before the boss | Lower risk, shorten attacks, keep enemies on screen |
| Reaching the boss too slowly | Cut backtracking, group enemies only when safe, test one area-damage option |
| Boss is the only failure | Keep the route and drill its attack cues |
| Progress has stalled | Repeat your most reliable route, compare drops, and move up only after clears stay consistent |
The dungeon progression chain
Each dungeon is an equipment and difficulty checkpoint. After Desert Temple, the path leads through stages such as Egg Island, Winter Outpost, Pirate Island, King’s Castle, The Underworld, and Samurai Palace, with enemy patterns and boss mechanics that matter more as you climb. Farm a stage until its gear gives you enough damage and survivability for the next one, rather than pushing forward under-equipped.
Winter Outpost rewards mobility and dodging telegraphed damage. Pirate Island adds stronger enemy groups, so reposition before long damage sequences and avoid getting surrounded. King’s Castle demands tighter positioning and upgraded gear, since raw damage alone will not carry the boss route.
Boss enemies are worth prioritizing because they generally give more experience than ordinary monsters, and that experience still counts even when a run fails. Keep the loop tight: claim the daily reward, run a difficulty you can clear cleanly, compare and upgrade gear that matches your role, and step up only when the current dungeon stops slowing you down. That steady rhythm moves you toward the next Legendary far faster than gambling on content you cannot yet handle.