Gaming Guide

Mortal Shell 2: Besieged Ruins Dungeon Walkthrough and All Loot

Clear the short cave, beat the ranged enemy and cultists, and grab every sarcophagus reward inside.

Clear the short cave, beat the ranged enemy and cultists, and grab every sarcophagus reward inside.

The Besieged Ruins is one of the shortest dungeons in Mortal Shell 2, built around a single cultist chamber and two loot containers. You can finish it in about a minute once you know where the lever is and which sarcophagi to open.

Quick answer: Enter east of the High Lord’s Courtyard Beacon, pull the wall lever to open the gate, defeat the female ranged enemy and the cultists in the candlelit chamber, then open both sarcophagi for a Winterglass Gem, an Extracted Specimen, and a Doralite before running out the exit tunnel.


Besieged Ruins location

The dungeon sits east of the High Lord’s Courtyard Beacon. From the beacon, drop down to the lowest level where the jump pad is, then walk along the side of the wall until you reach the cave entrance.

Note: the in-game map is disabled inside this dungeon, so you cannot rely on markers once you are past the gate. The layout is linear, which keeps the run simple.


Enemies you will face

Two threats stand between you and the loot. A female ranged attacker guards the passage right after the gate, and a small group of cultists (Fire Undead) waits in the main chamber. There are no bosses here, so standard combat handles the whole run.


Step-by-step walkthrough
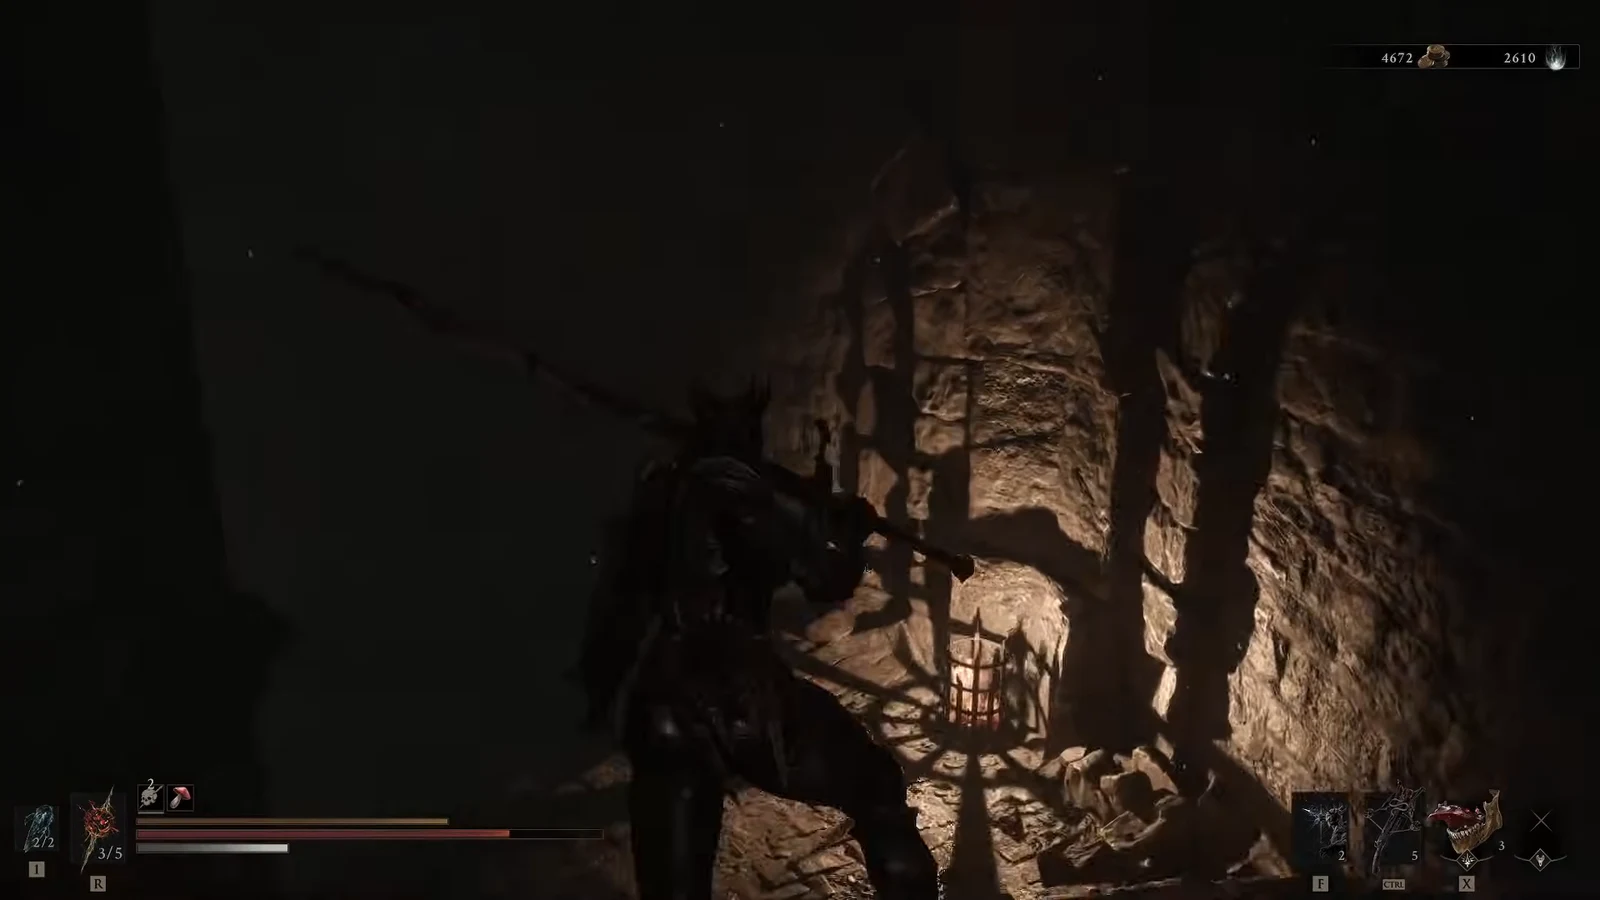
Enter the dark cave and find the lever set into the wall. Pull it to open the gate blocking the path forward.
The entrance passage where you pull the wall lever to open the gate. Image credit: Cold Symmetry00:03
The entrance passage where you pull the wall lever to open the gate. Image credit: Cold Symmetry. Shown at 00:03 in PazarGamingGuides’s video.
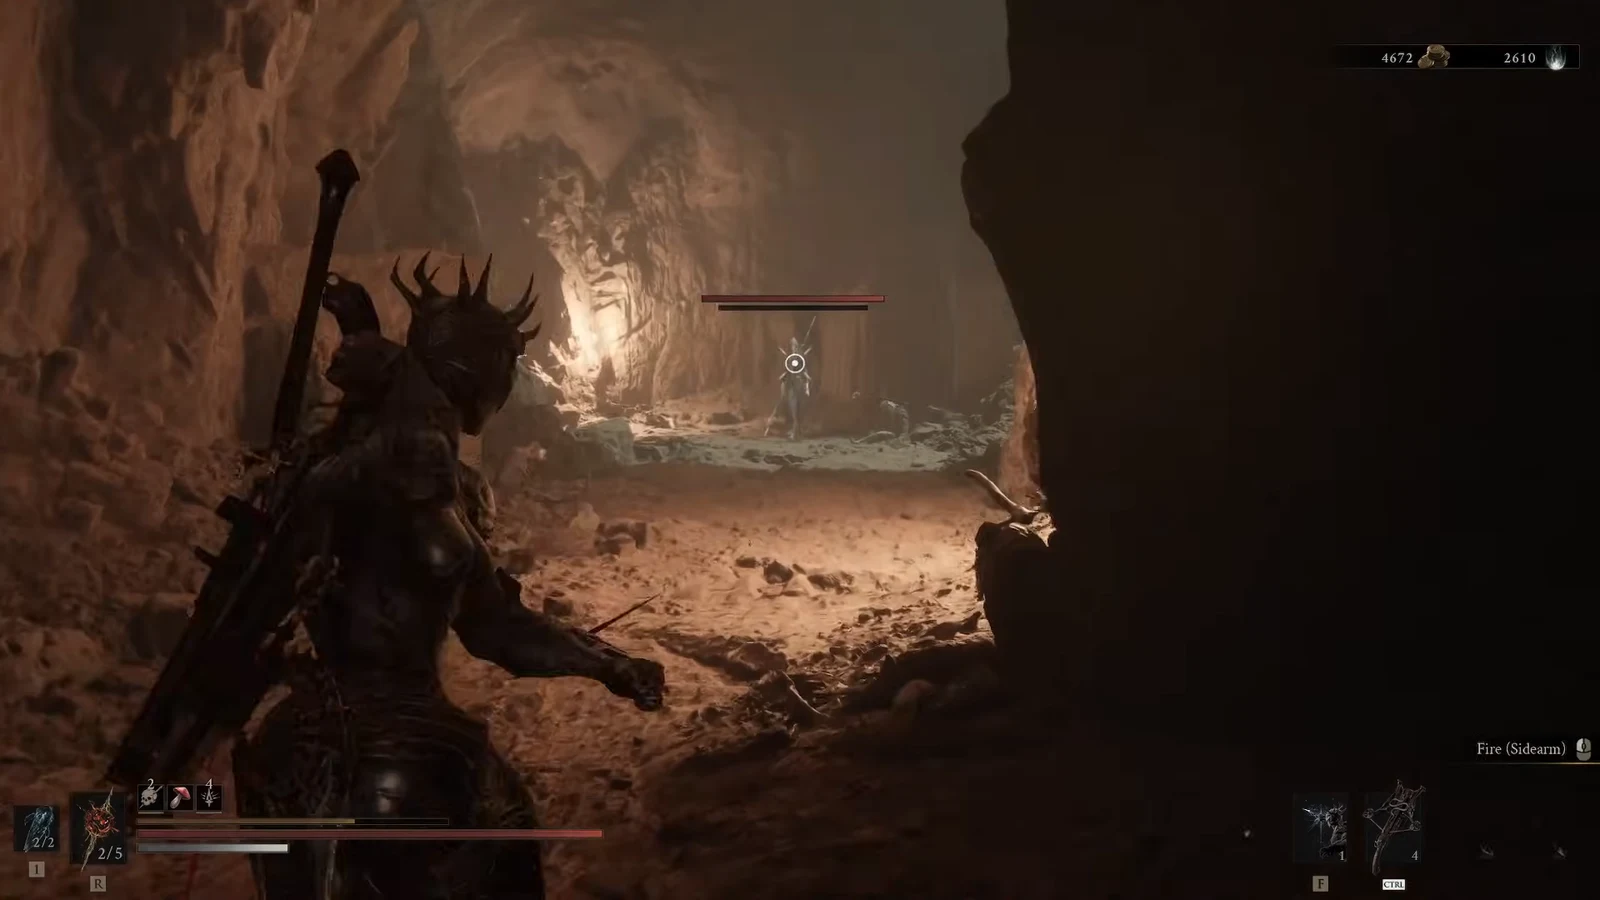
Move down the passage and take out the female ranged enemy waiting there. Close the gap quickly so her ranged attacks do not chip away at you.
Targeting the ranged enemy guarding the path, with the Fire sidearm equipped. Image credit: Cold Symmetry00:18
Targeting the ranged enemy guarding the path, with the Fire sidearm equipped. Image credit: Cold Symmetry. Shown at 00:18 in PazarGamingGuides’s video.
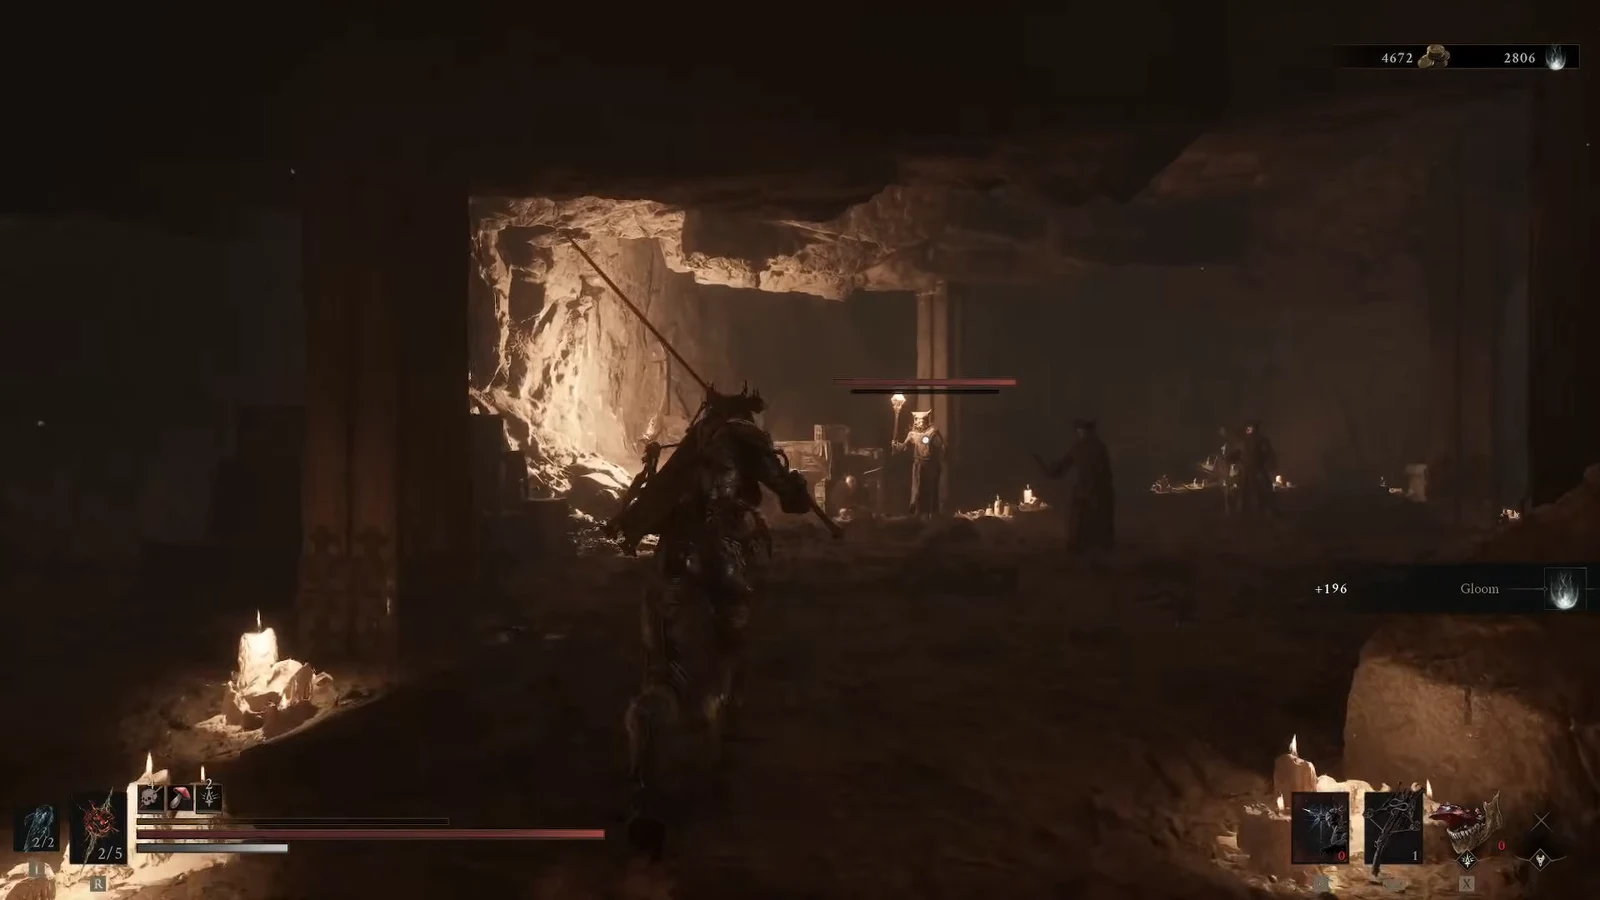
Enter the candlelit chamber and clear out every cultist (Fire Undead). Do not open the containers until the room is empty so you can loot without pressure.
The candlelit chamber where the cultists must be defeated. Image credit: Cold Symmetry00:28
The candlelit chamber where the cultists must be defeated. Image credit: Cold Symmetry. Shown at 00:28 in PazarGamingGuides’s video.
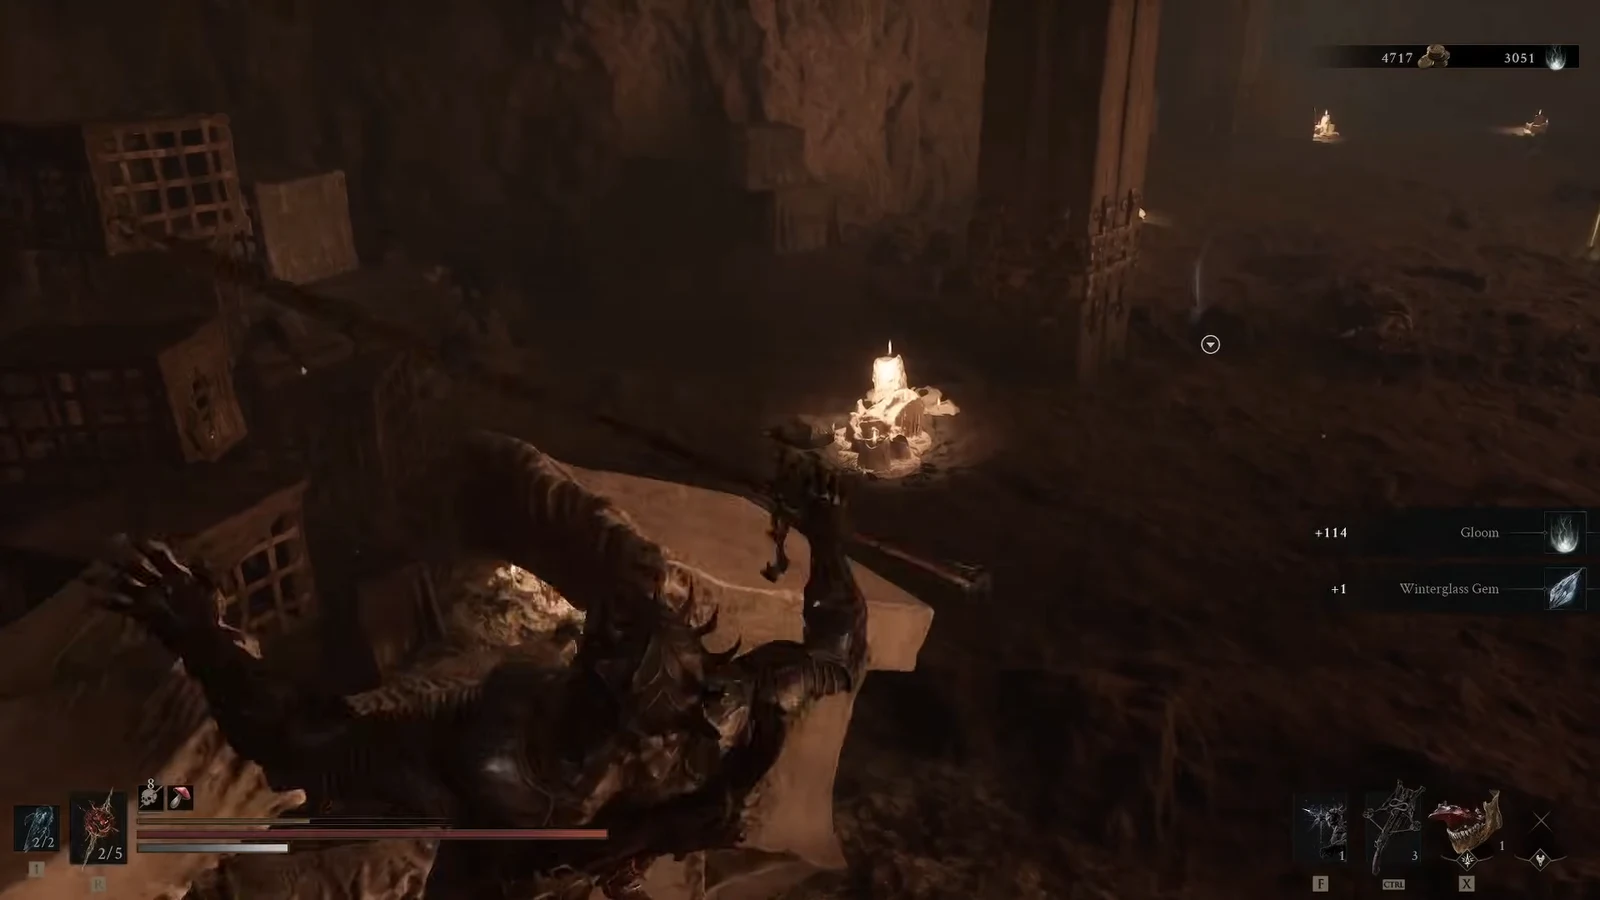
Open the sarcophagus on the left side of the chamber to collect the Winterglass Gem and the Extracted Specimen.

Loot notifications confirm the Winterglass Gem pickup from the first sarcophagus. Image credit: Cold Symmetry00:49
Loot notifications confirm the Winterglass Gem pickup from the first sarcophagus. Image credit: Cold Symmetry. Shown at 00:49 in PazarGamingGuides’s video.
Open the sarcophagus on the right side of the chamber to collect the Doralite. That empties both containers in the room.
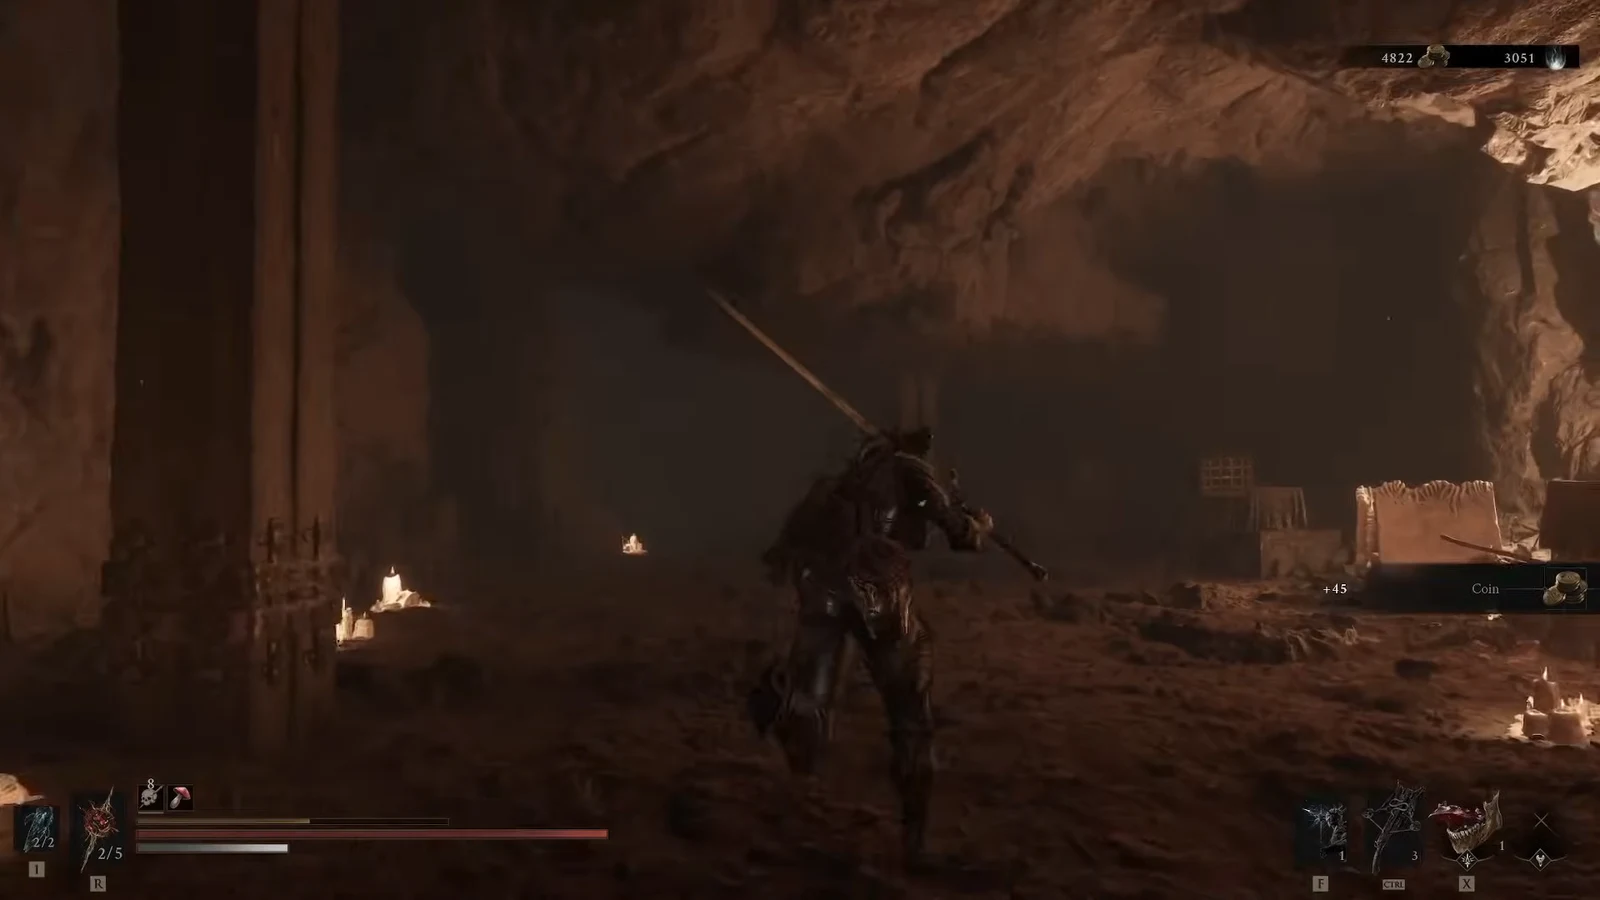
Head through the exit tunnel to finish the run and leave the dungeon.
Coins picked up along the exit tunnel as you complete the run. Image credit: Cold Symmetry01:05
Coins picked up along the exit tunnel as you complete the run. Image credit: Cold Symmetry. Shown at 01:05 in PazarGamingGuides’s video.

All Besieged Ruins loot

Both loot containers sit in the main chamber. The left sarcophagus holds two items, and the right holds one.

ContainerReward
Left sarcophagusWinterglass Gem
Left sarcophagusExtracted Specimen
Right sarcophagusDoralite

Confirming the dungeon is finished

Once both sarcophagi are empty and you have reached the exit tunnel, the run is done. To track it yourself, move the cursor over the Besieged Ruins icon on the world map and use the Mark Complete option, since the game does not flag dungeons as finished automatically.

If you only picked up one item from the left container, return and open the sarcophagus again to grab the second reward, as it holds both the Winterglass Gem and the Extracted Specimen.