All 9 Sunken Shard Locations in +1 Speed Monkey Escape
Find every Sunken Shard from the lobby to Stage 9 and claim the free x2 Speed Treadmill.
Find every Sunken Shard from the lobby to Stage 9 and claim the free x2 Speed Treadmill.
by Sehaj Padda
Collecting all nine Sunken Shards in +1 Speed Monkey Escape unlocks a free x2 Speed Treadmill you can use for training. The shards are spread from the main lobby through Stage 9, and a few of them are hidden off the main path where you have to make a risky jump into a hazard or the void to grab them.
Quick answer: There are nine shards total. Two sit in the main lobby, and the rest are on Stage 2, Stage 3, Stage 4, Stage 6, Stage 7 (two shards), and Stage 9. Stage 5 and Stage 8 have no shards.
Sunken Shard reward and where they are
Grabbing every Sunken Shard rewards a permanent x2 Speed Treadmill, which speeds up how fast you build up movement speed while training. The early shards are simple pickups, but several later ones require extra speed to reach ledges or a deliberate drop into a gap. Some shards register the moment you touch them even if the fall kills your character afterward.
Shard
Location
1
Main lobby — behind the Top Robux leaderboard
2
Main lobby — ledge above the vertical jump booster
3
Stage 2 — below the small pillar in the center
4
Stage 3 — behind the wooden block at the end
5
Stage 4 — left ledge near the Stage 5 entrance
6
Stage 6 — edge of the second center platform
7
Stage 7 — center of the three green platforms
8
Stage 7 — ledge beside the last green platform
9
Stage 9 — right corner of the third center platform
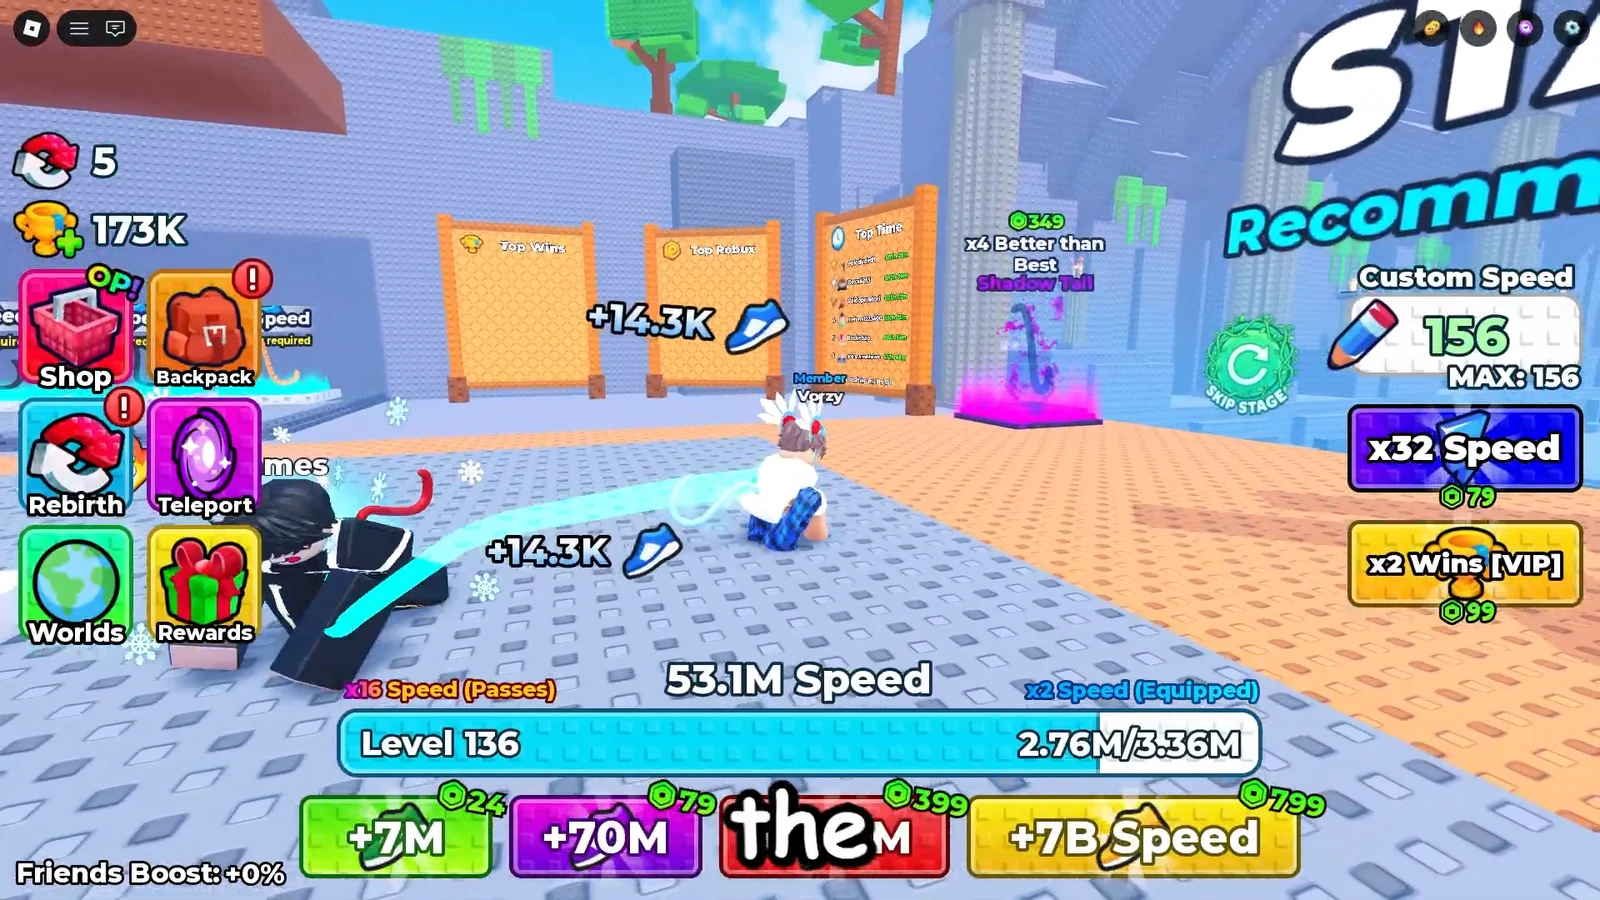
After spawning, turn to your left and head toward the Top Robux leaderboard. There are three boards in this area, so make sure you go behind the Robux one. The first shard is tucked directly behind it.
The spawn lobby, where the first shard hides behind the Top Robux leaderboard. Image credit: 100% ALGO SHOT / via @Vorzy-Blox
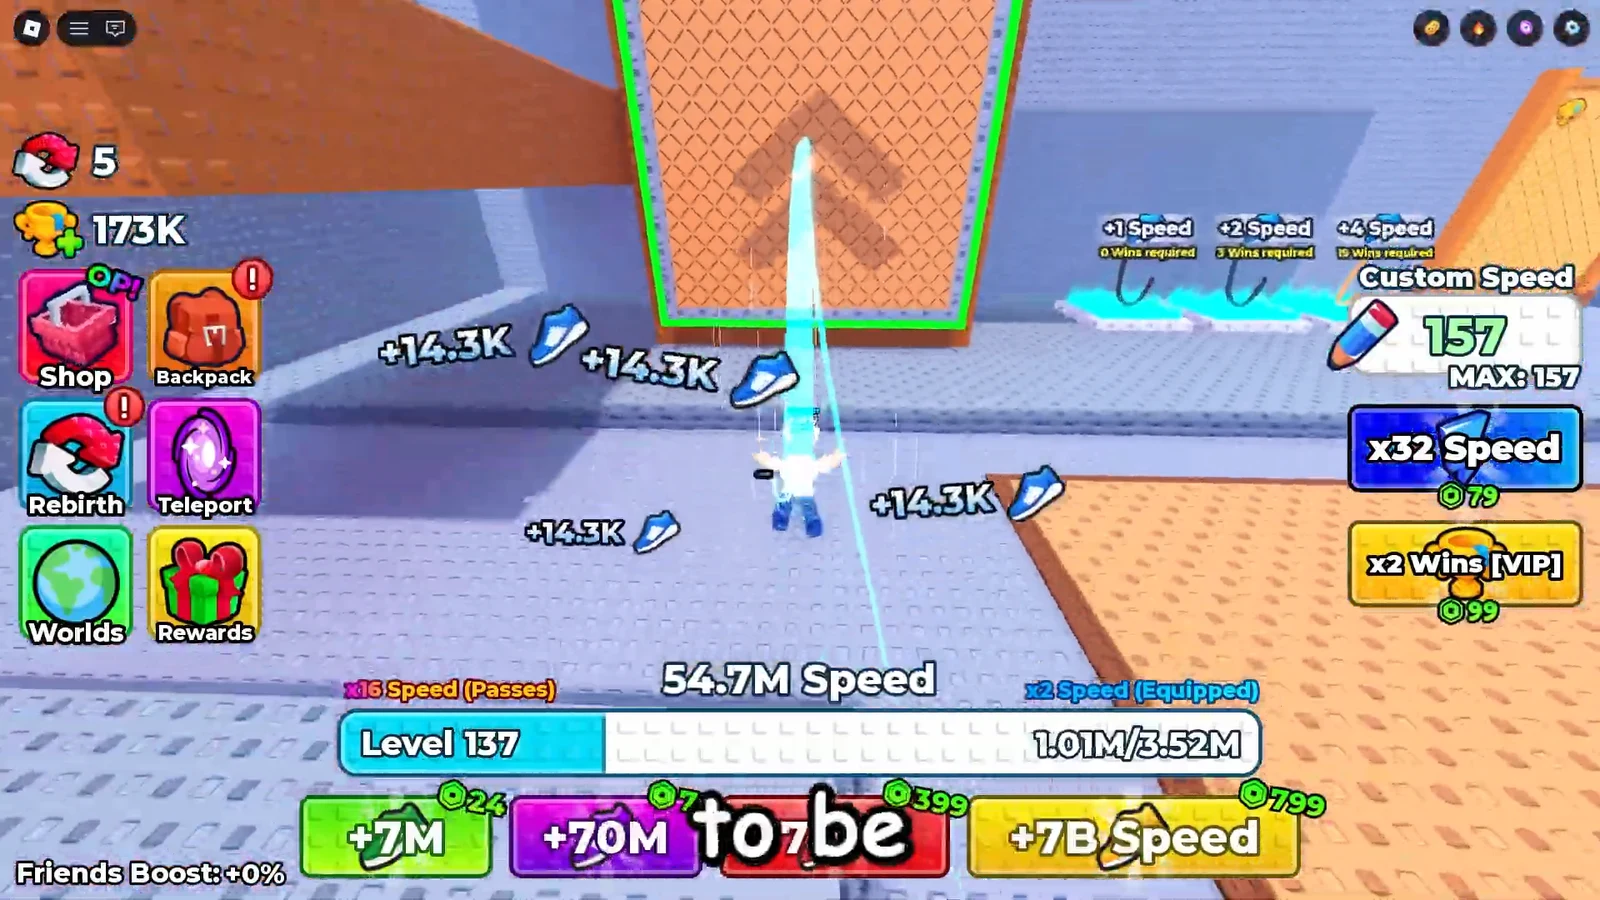
Still in the lobby, look left again for the large vertical jump booster. Build up enough speed and use it to launch onto the ledge on the left. The second shard sits in the corner up there.
Stacking speed before hitting the vertical booster that reaches the second shard’s ledge. Image credit: 100% ALGO SHOT / via @Vorzy-Blox
On Stage 2, move to the center and look for the small pillar or cube on the left side. The third shard hangs below the platform, so drop down and collect it as you fall. The fall will kill your character, but the shard still counts.
At the end of Stage 3, head to the right side and climb over the right-hand booster with plenty of speed. Drop behind the large wooden block on the far side to grab the fourth shard.
The end of Stage 3, where the fourth shard sits behind the wooden block past the right booster. Image credit: 100% ALGO SHOT / via @Vorzy-Blox
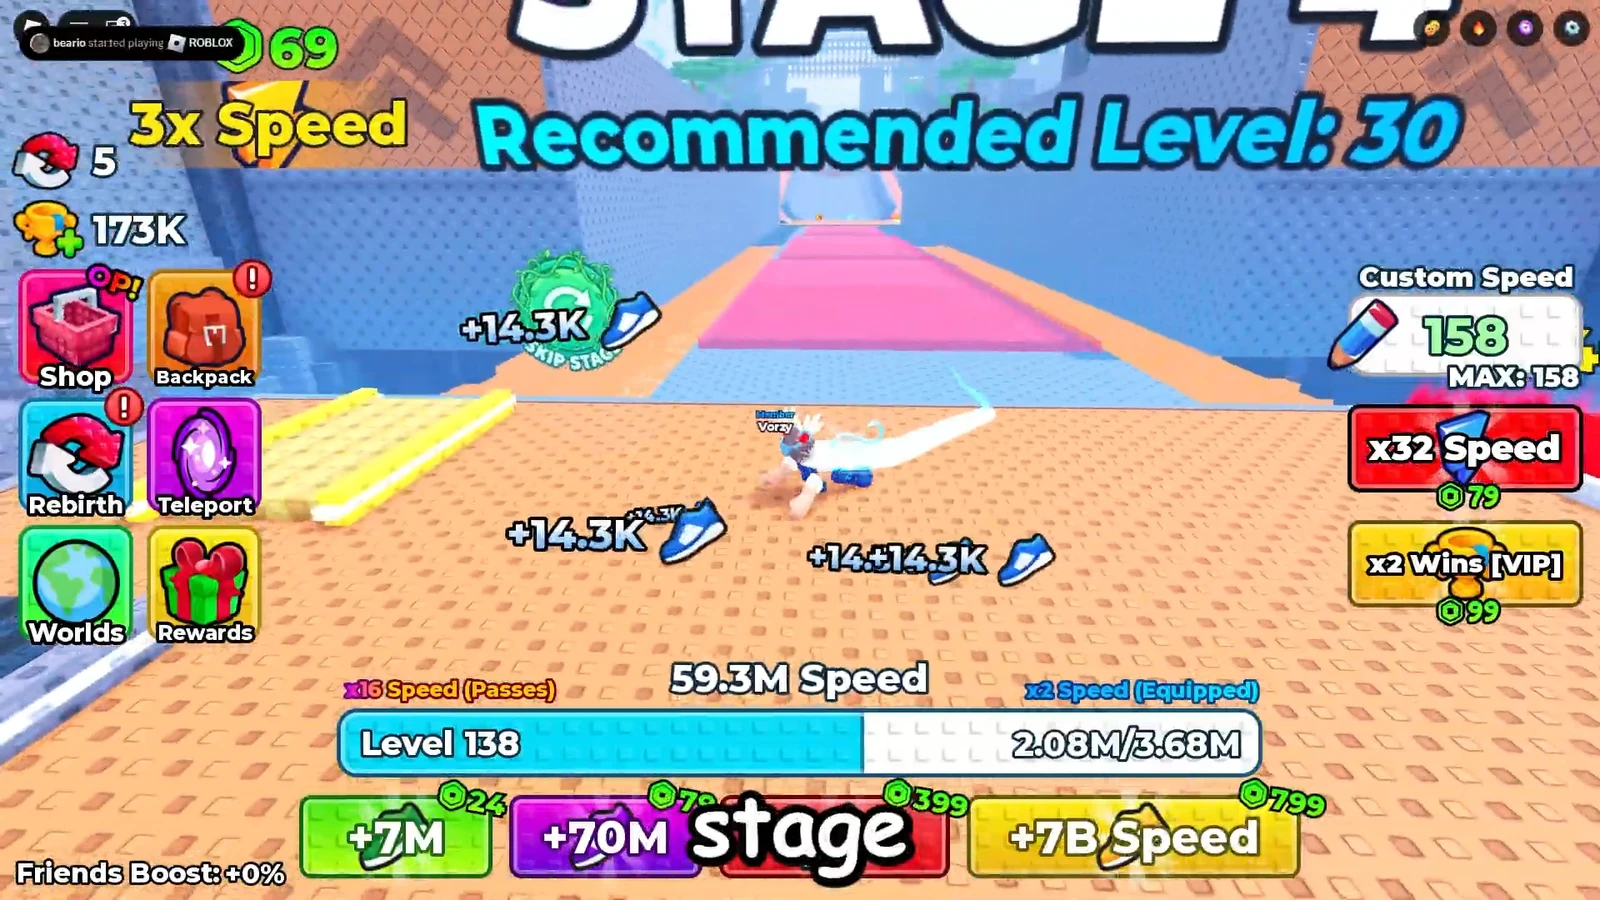
On Stage 4, use the vertical boosters at the start to reach the top level. Run left until you hit the end of the platform, just before the Stage 5 entrance. The fifth shard waits on that ledge.
Reaching the top of Stage 4 to walk the left ledge toward the fifth shard. Image credit: 100% ALGO SHOT / via @Vorzy-Blox
Note: Stage 5 has no shards, so continue straight through to Stage 6.
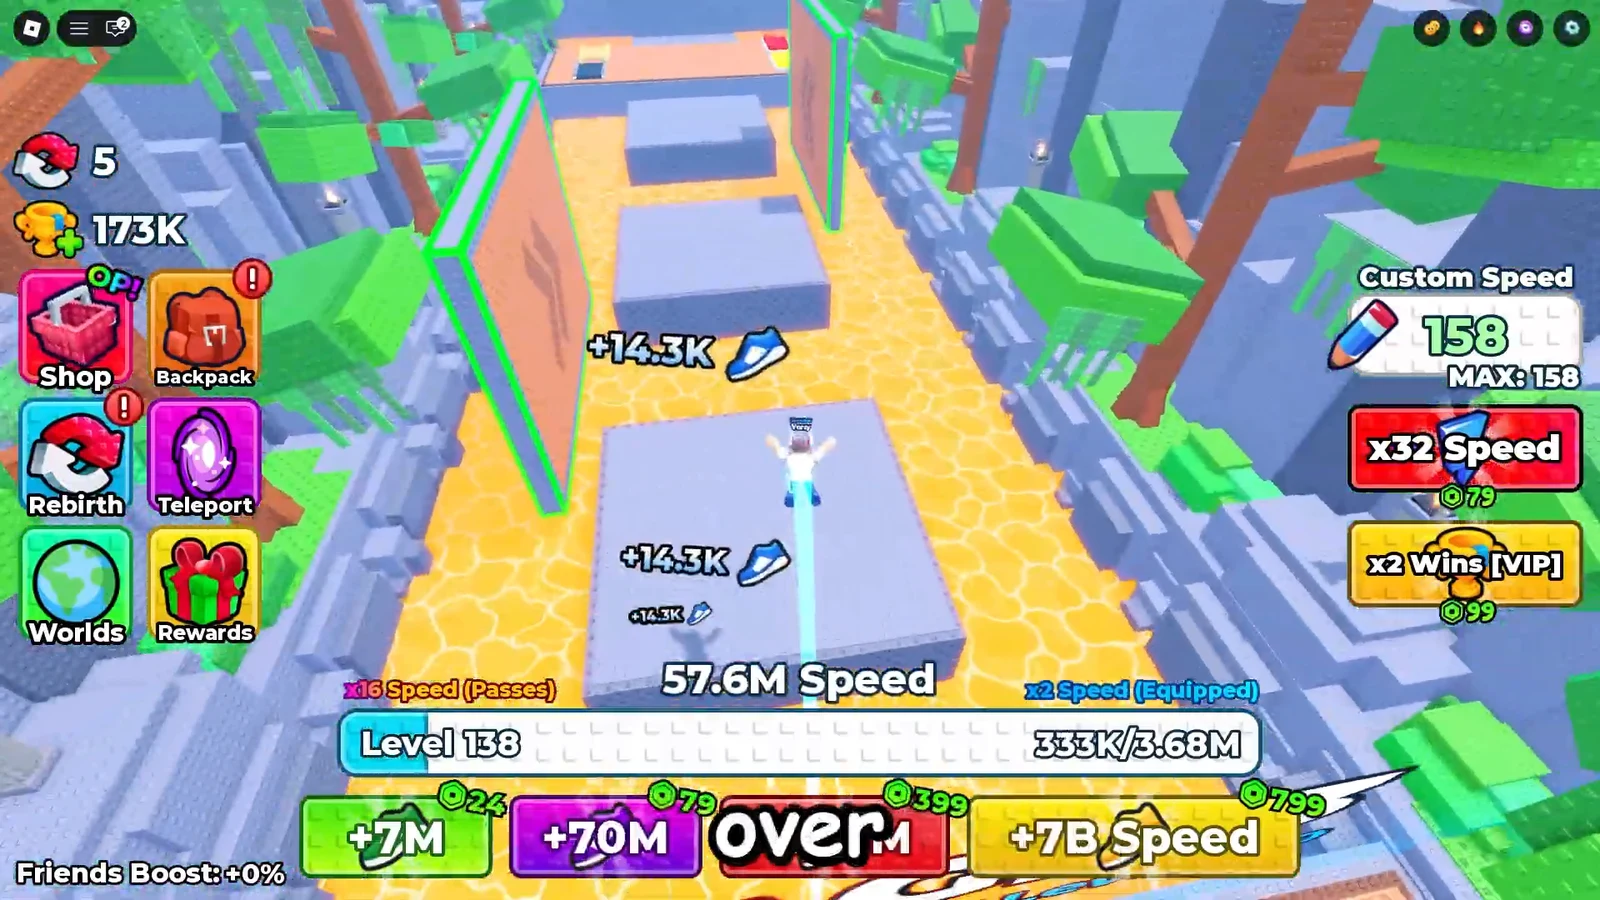
On Stage 6, jump forward onto the first center platform, then immediately jump again to reach the second center platform. Move to the edge and look below the side of the middle cube to find the sixth shard. It sits in the water gap near the swimming shark, so you may need to drop down to grab it.
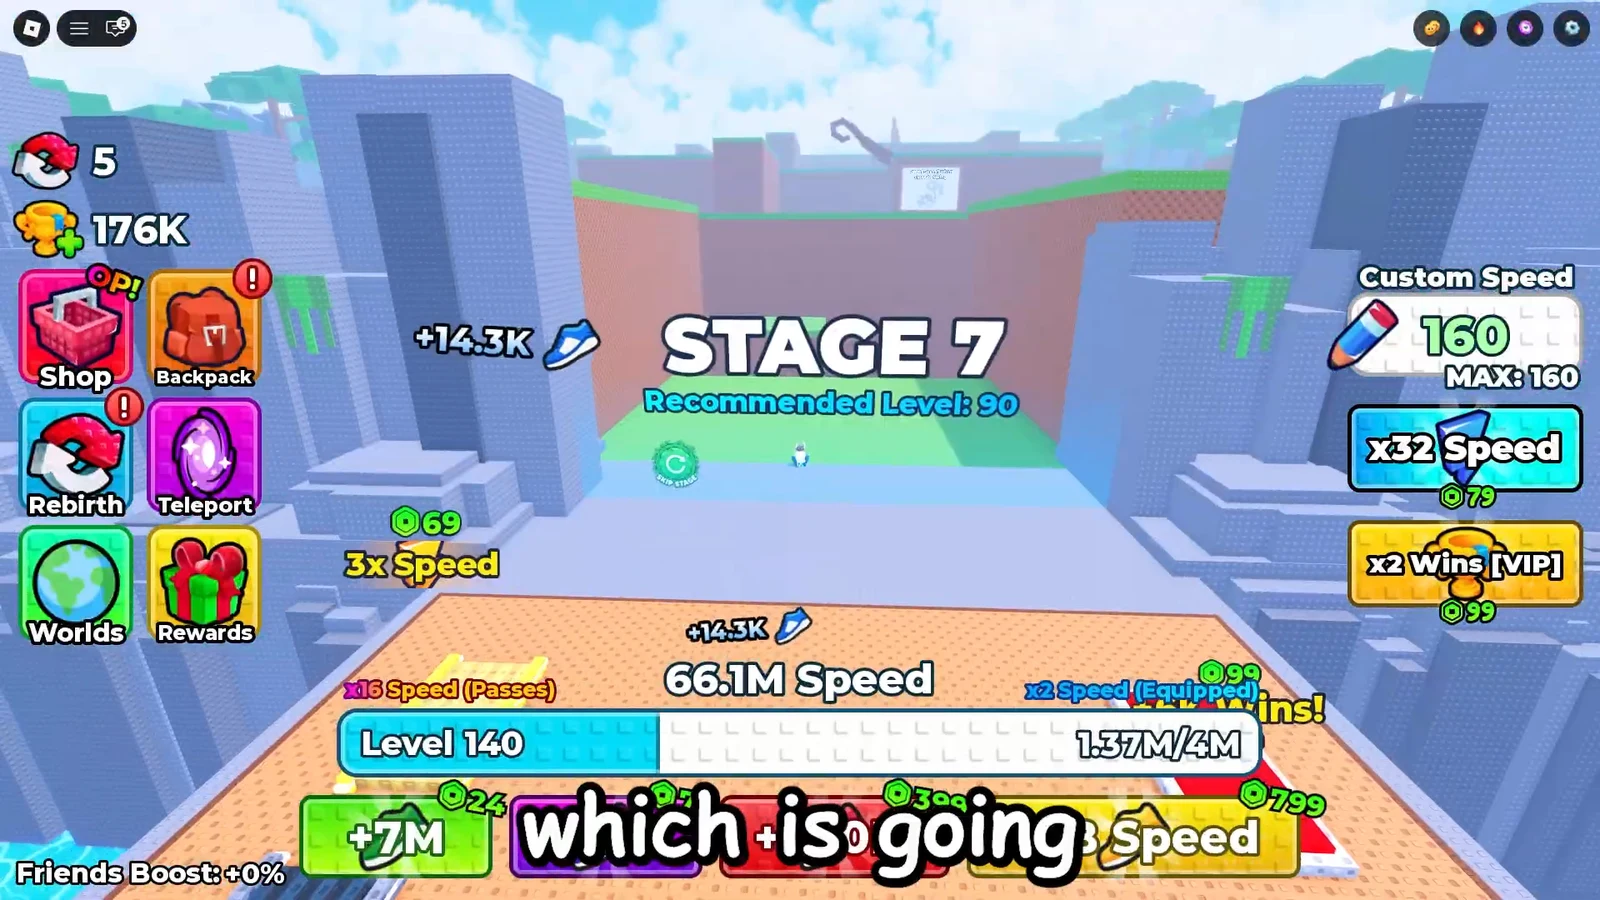
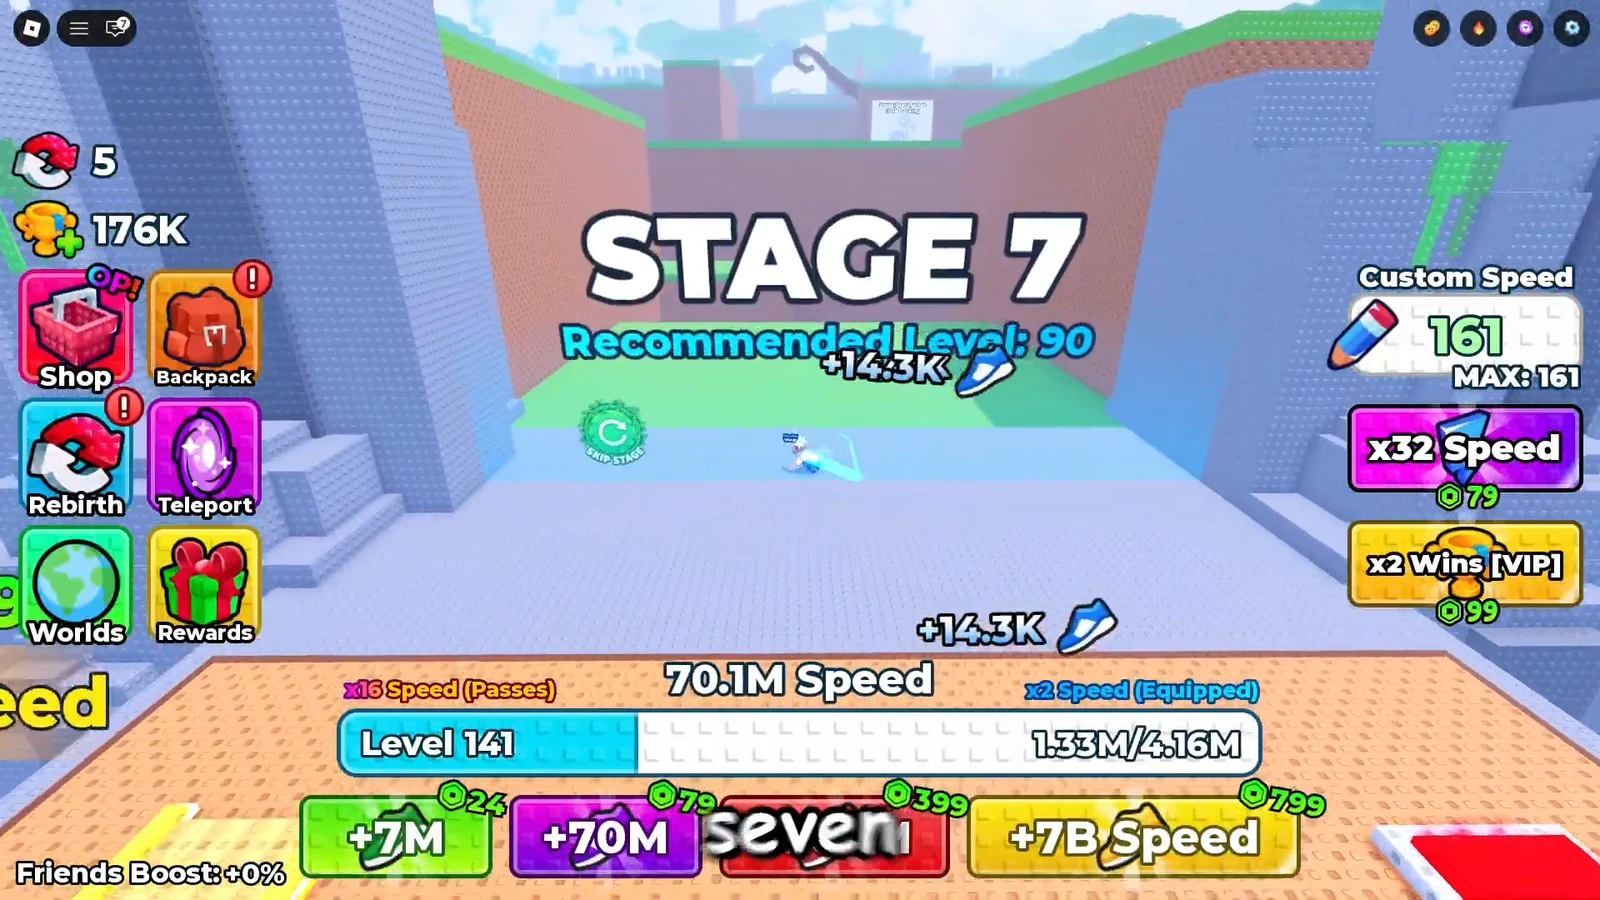
Stage 7 holds two shards in the green maze area. Head to the three green platforms near the end of the stage. The seventh shard is on the middle platform, hidden along the lower level behind a wall section.
Stage 7’s green platforms, where the seventh shard sits on the central platform. Image credit: 100% ALGO SHOT / via @Vorzy-Blox
Right next to the central platform is the last green platform. Look for the small ledge on its side, reached with a jump pad or by swinging across. The eighth shard sits in that upper corner.
The final green platform on Stage 7, holding the eighth shard on its side ledge. Image credit: 100% ALGO SHOT / via @Vorzy-Blox
Note: Stage 8 has no shards. Push through it to reach the last one on Stage 9.
On Stage 9, jump across the center platforms while dodging the tsunami waves rushing toward you. Reach the third center platform and check its right-side corner. The ninth and final Sunken Shard is behind the main path there.
Confirming the reward
Once you have touched all nine shards, the x2 Speed Treadmill becomes available to use for training. If your count seems off, the most common reasons are skipping the lobby pair before heading into the stages, or missing one of the two shards on Stage 7 since they sit close together. Remember that a fatal drop still registers the pickup for shards 3 and 6, so a death on those does not undo your progress.