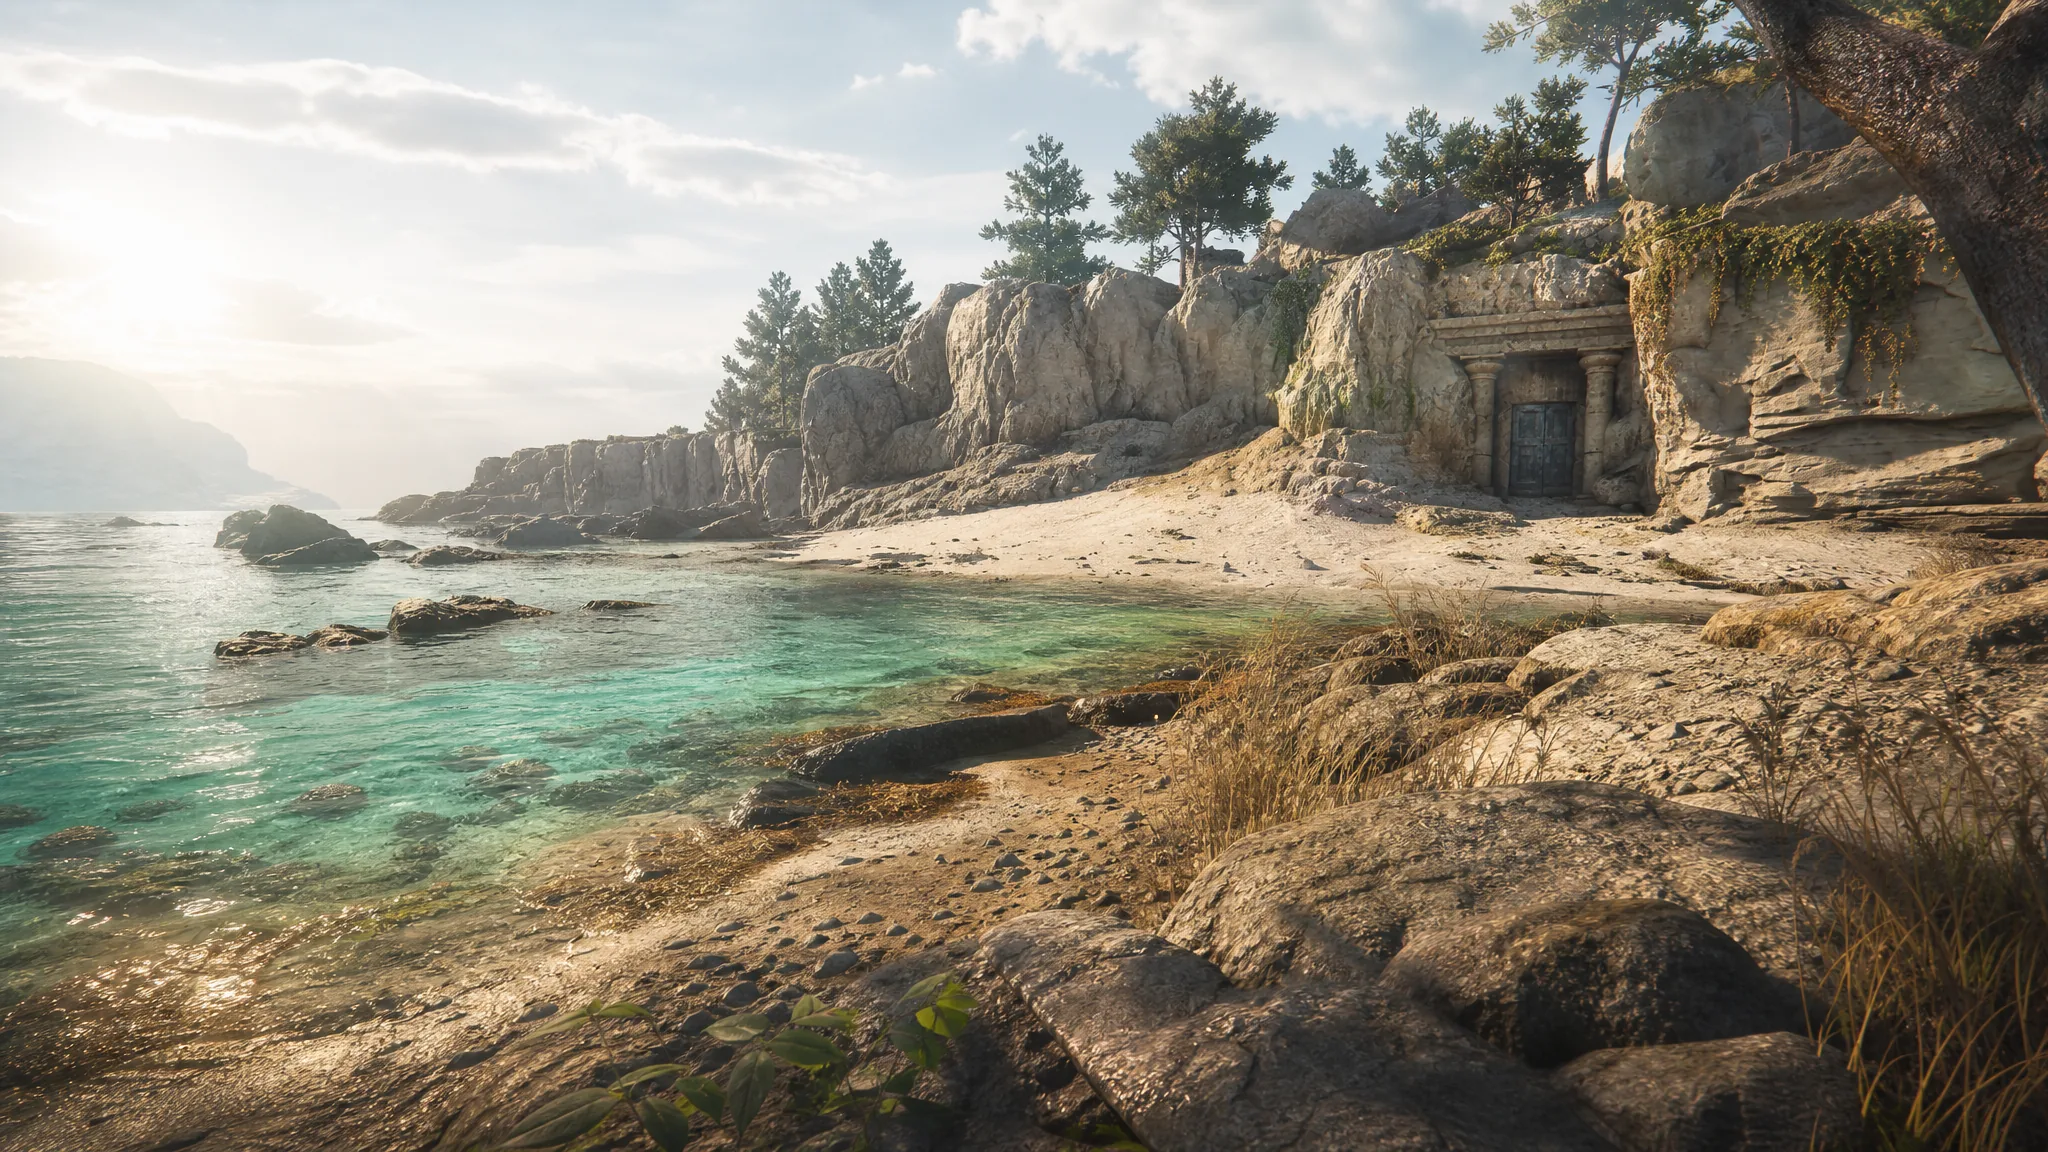
Chapter 3 of Resonance: A Plague Tale Legacy, titled “Those Before Us,” moves Sophia from the beach through a stretch of coastal caves and Minoan ruins toward the high temple. Along the way you can pick up six Artefacts, four Charms, several Resonance Points, and a quick beach trophy. Everything is found by following the linear path and taking short detours when prompted to climb, push a slab, or drop through an opening.
Quick answer: Chapter 3 contains 6 Artefacts (Conch Shell, Play Onyx, Golden Cup, Heroic Plaque, Strategy Game, Minoan King), 4 Charms (Bead #2, Arm Band #1, Bracelet #2, Seal #1), four Resonance Points, and the “Sea you later!” trophy. There are no Blades to collect in this chapter.
Chapter 3 collectible checklist
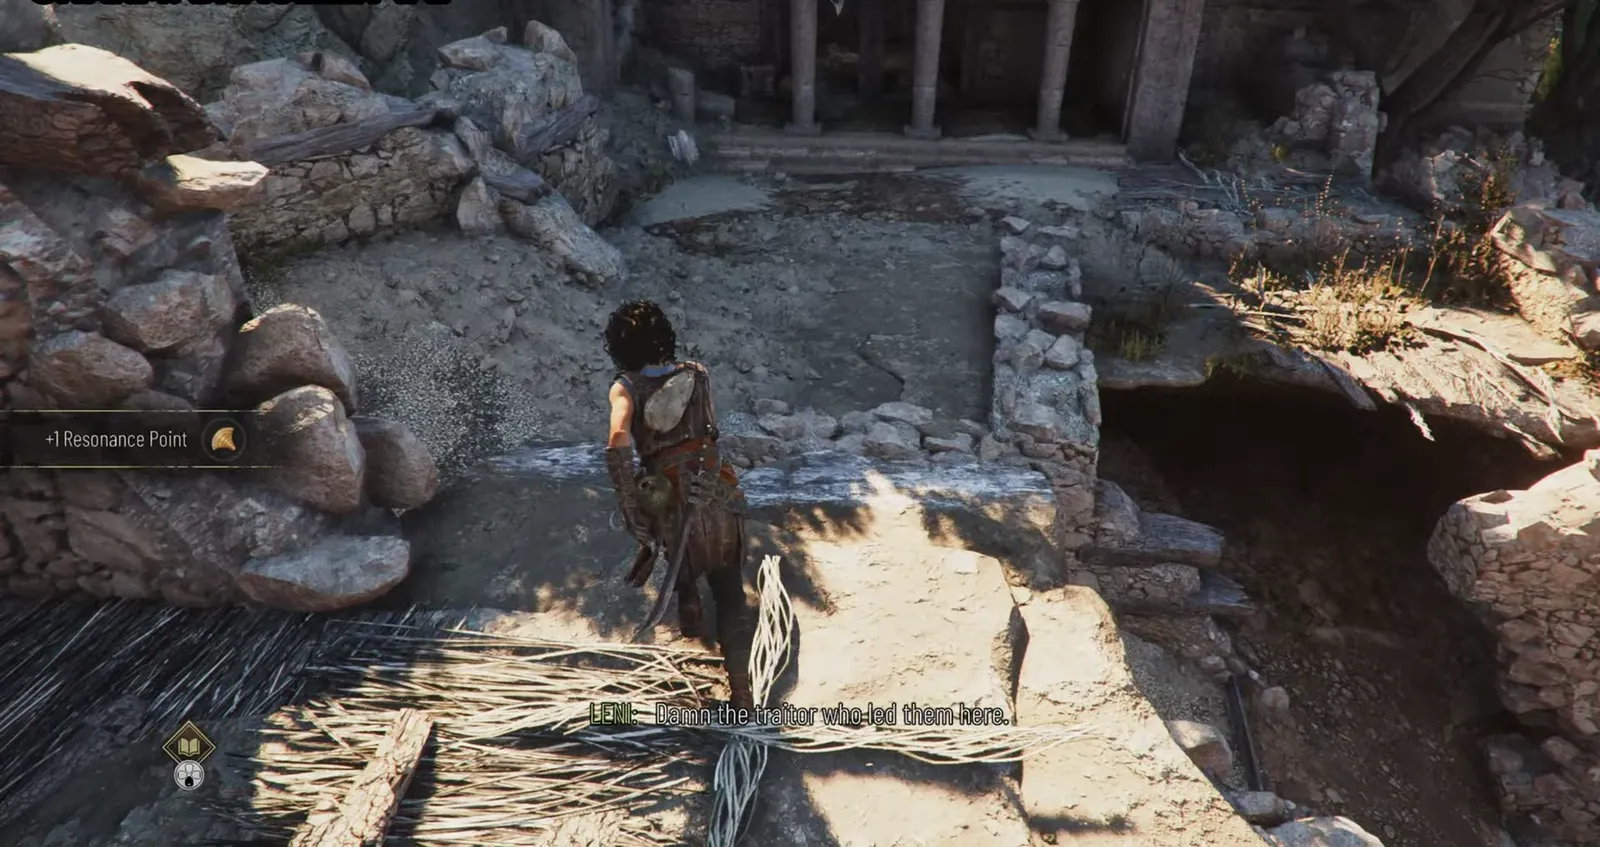
Collectibles appear in the order below as you progress. Charms sit inside small chests, Artefacts lie on the ground or wedged into ruins, and Resonance Points glimmer as white light you interact with to gain a skill point.
| Order | Type | Name | Area |
|---|---|---|---|
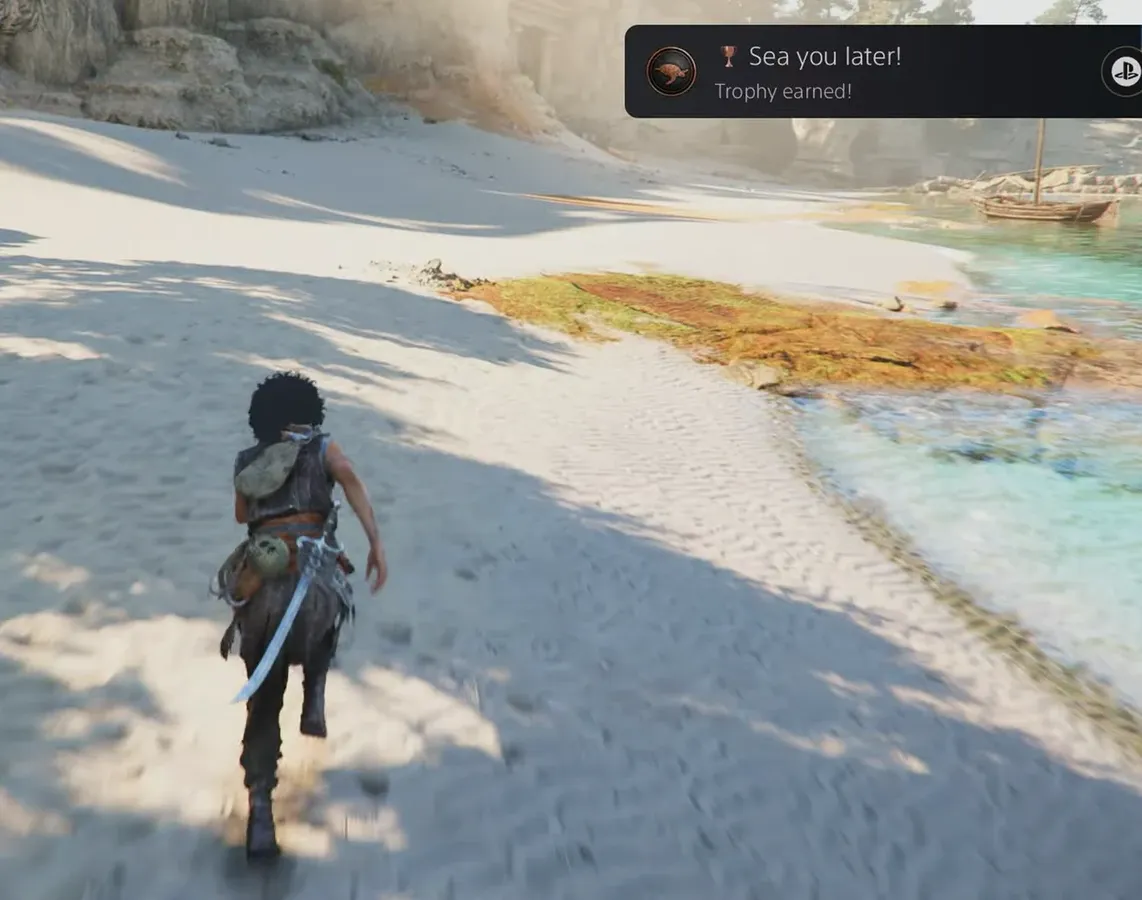
| 1 | Trophy | Sea you later! | Beach |
| 2 | Resonance Point | — | Beach (shipwreck) |
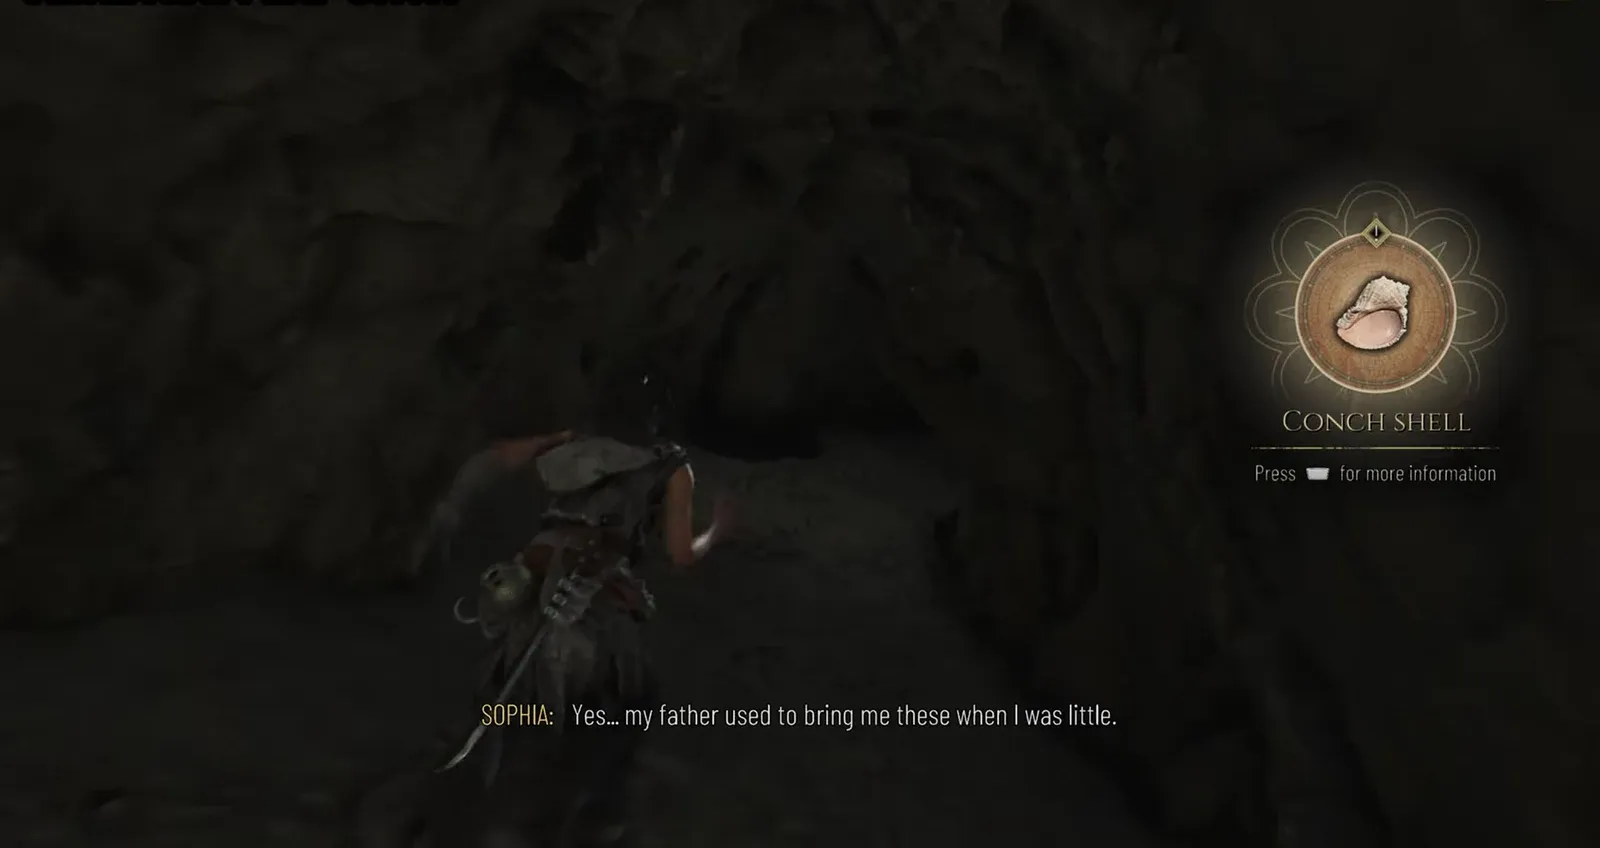
| 3 | Artefact | Conch Shell | Seaside cave |
| 4 | Artefact | Play Onyx | Cliffside cave |
| 5 | Resonance Point | — | Cliff cave |
| 6 | Artefact | Golden Cup | Ledge above ruins |
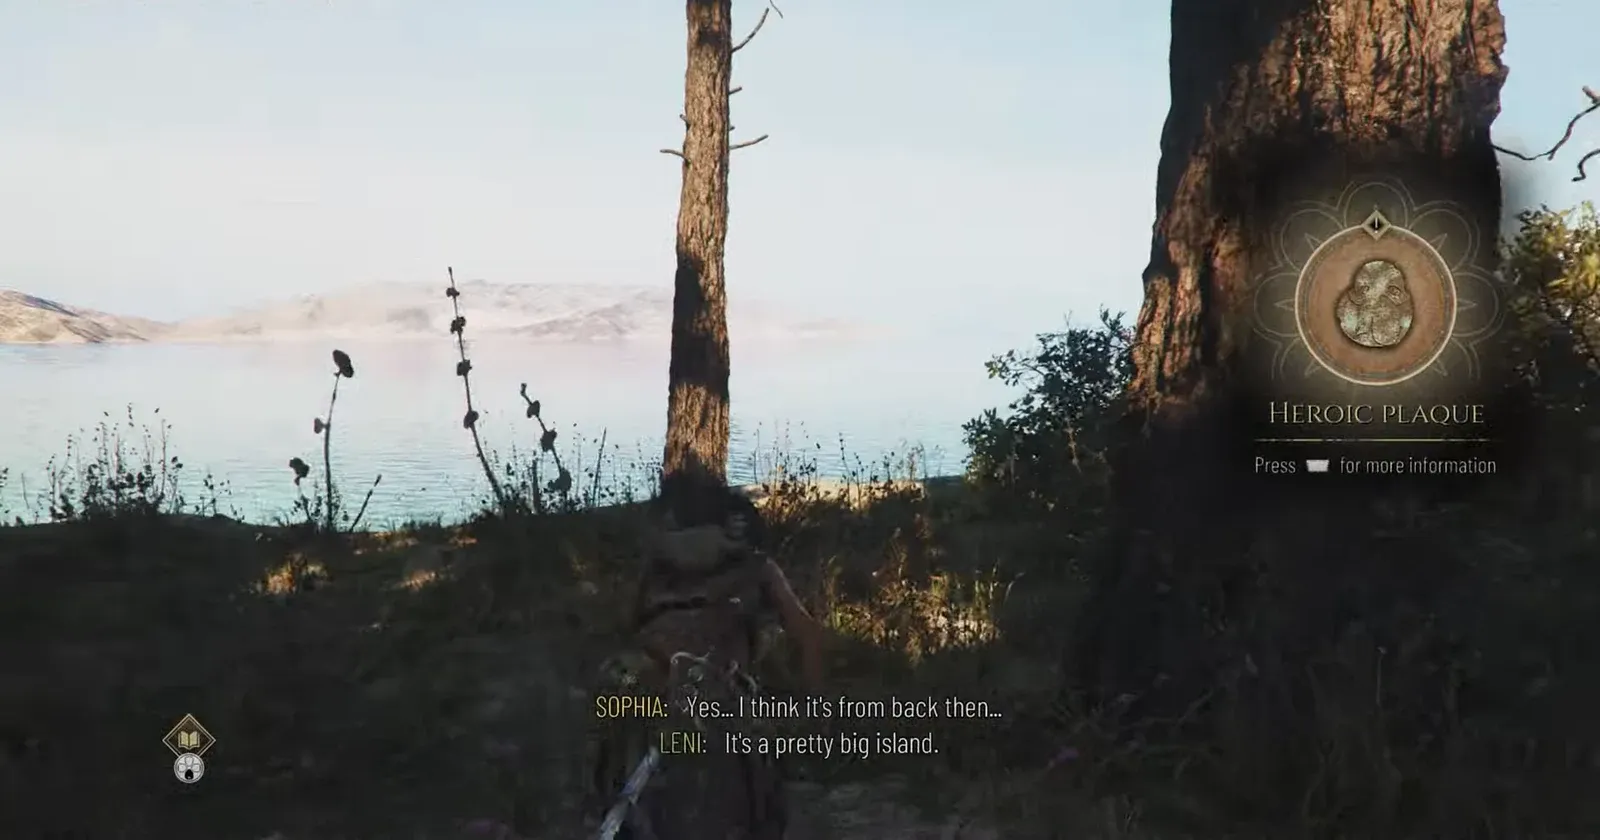
| 7 | Artefact | Heroic Plaque | Ruins |
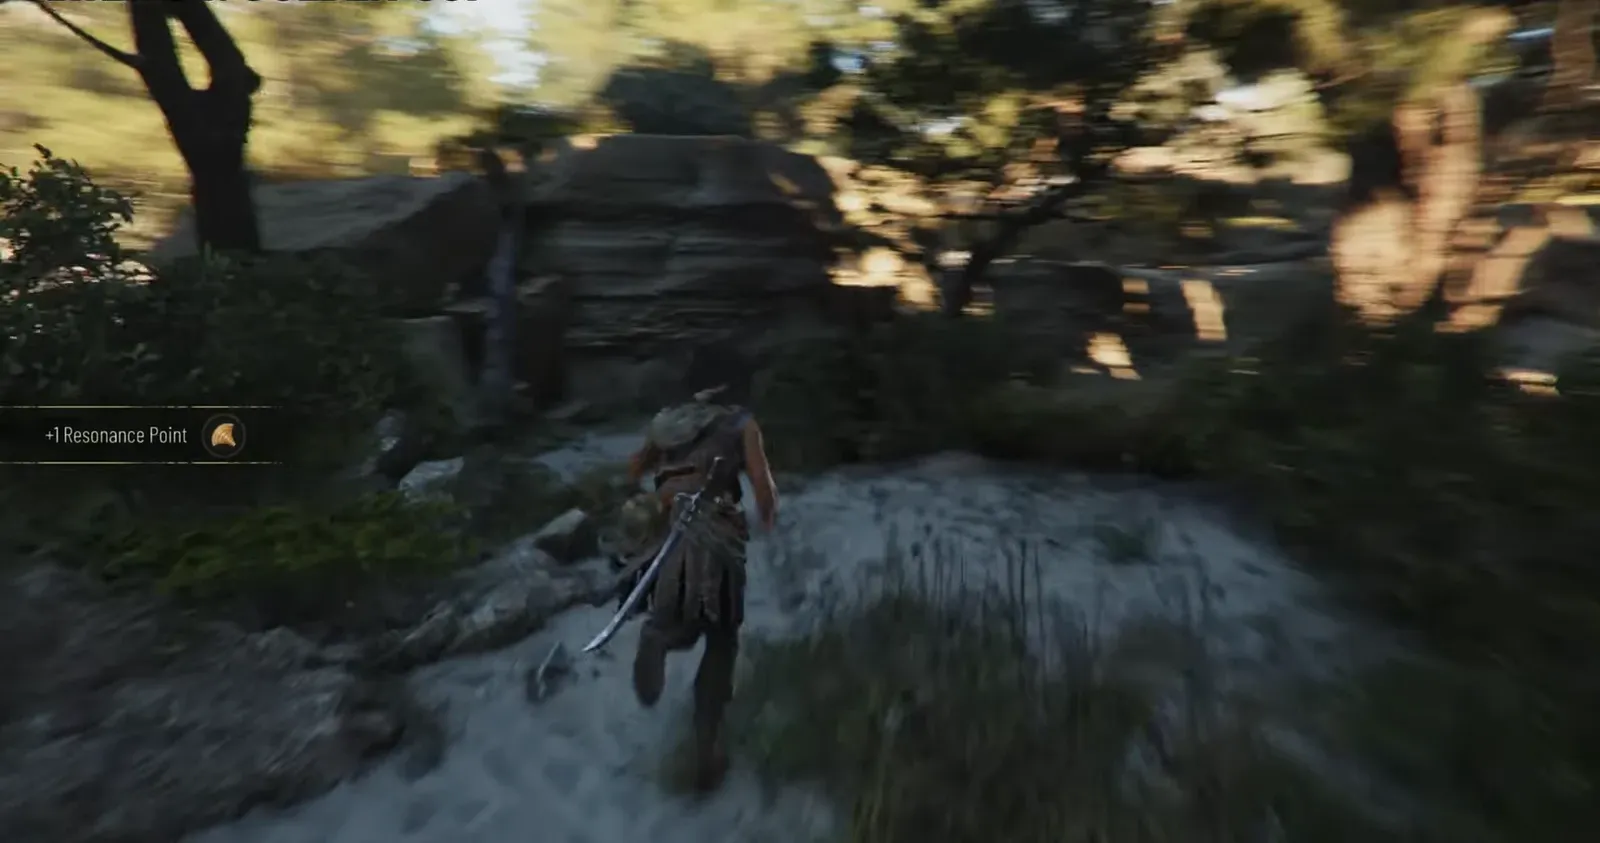
| 8 | Resonance Point | — | Watchtower trapdoor |
| 9 | Resonance Point | — | Hideout cave (statue overlook) |
| 10 | Charm | Bead #2 | Ruined building |
| 11 | Artefact | Strategy Game | Ruins |
| 12 | Charm | Arm Band #1 | Chest below ruins |
| 13 | Charm | Bracelet #2 | Chest in upper room |
| 14 | Artefact | Minoan King | Upstairs behind door |
| 15 | Charm | Seal #1 | High temple chest |
Beach: “Sea you later!” trophy and the first Resonance Point
The chapter opens with the objective to follow the plunderers’ tracks along the shore. Two things are waiting here before you head inland.
Conch Shell in the seaside cave
Just past the beach, enter the seaside cave and grab the Conch Shell from the ground. It registers as your first Artefact of the chapter, and you can press the info button to inspect it.
Cliffside caves: Play Onyx, Golden Cup, and Heroic Plaque
The route now climbs the cliffs. This stretch holds three Artefacts and a Resonance Point, each tied to a short climb or a slab you push aside.
Watchtower and hideout: two more Resonance Points
Both of the remaining Resonance Points sit around the watchtower and the hideout cave, and each takes a small detour off the main path.
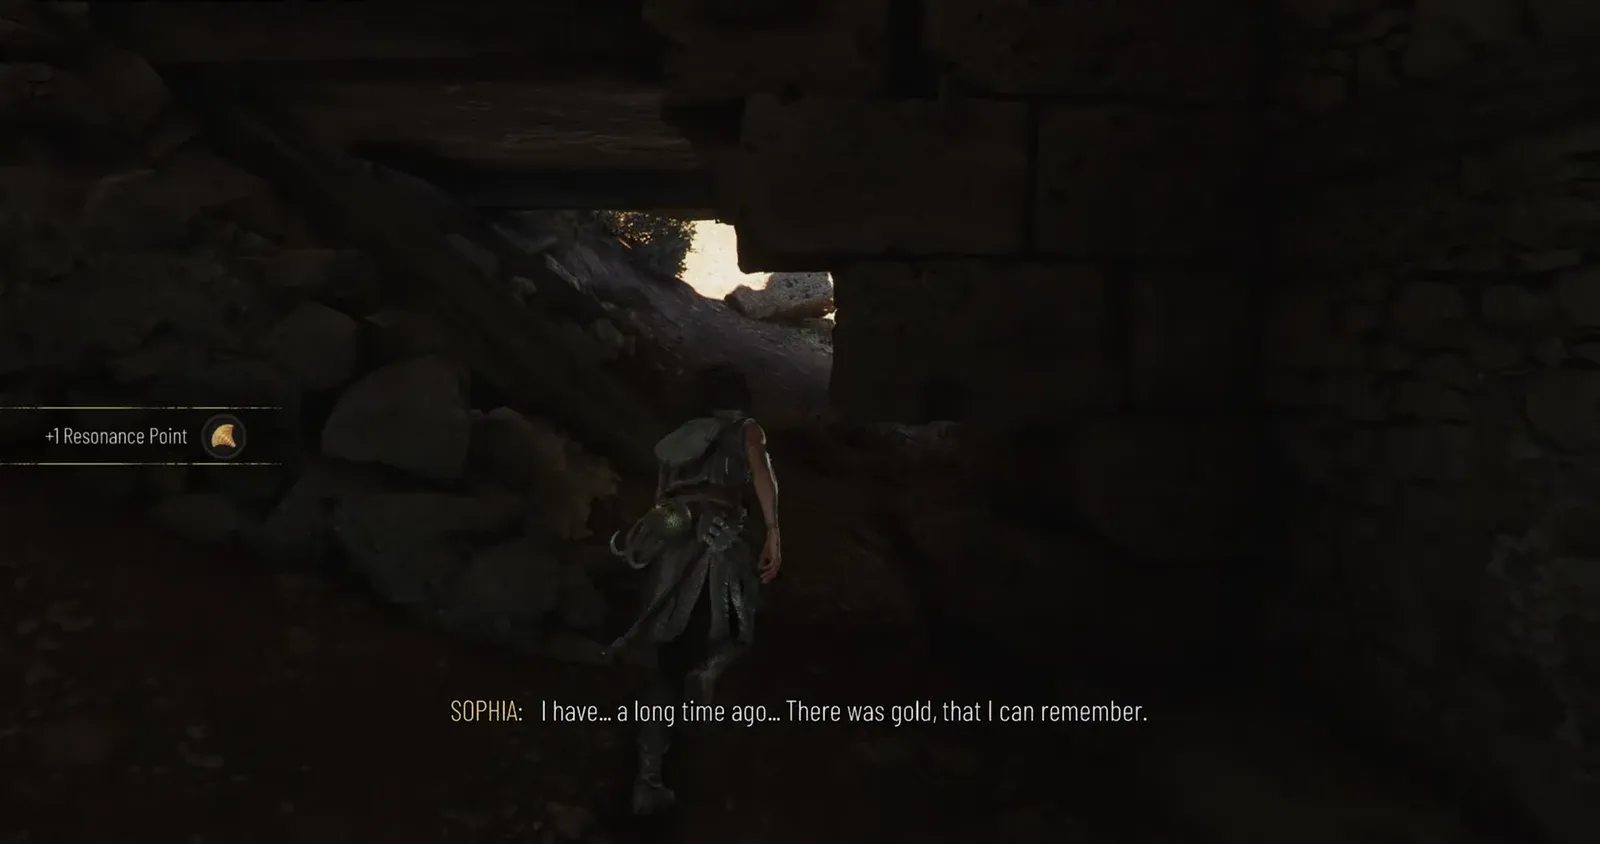
Ruined buildings: Bead #2, Strategy Game, Arm Band #1, Bracelet #2, and Minoan King
This cluster of ruins is where most of the Charms are, along with two Artefacts. Sweep each room before moving on, since the chests and pickups are spread across different levels.
High temple: Seal #1
The final Charm comes as you explore the high temple and head for the entrance to the mountain.
Confirming everything is collected
You can verify your progress from the Artefacts screen, which shows a running total for the chapter. Charms and Artefacts stay counted through Chapter Select, so if you miss one you can replay the chapter later to pick it up.
Note: Resonance Points are the exception. They do not carry over in Chapter Select and only save once you reach the next checkpoint. If you die before a checkpoint, you will need to gather them again, so grab each glimmer as you pass it.