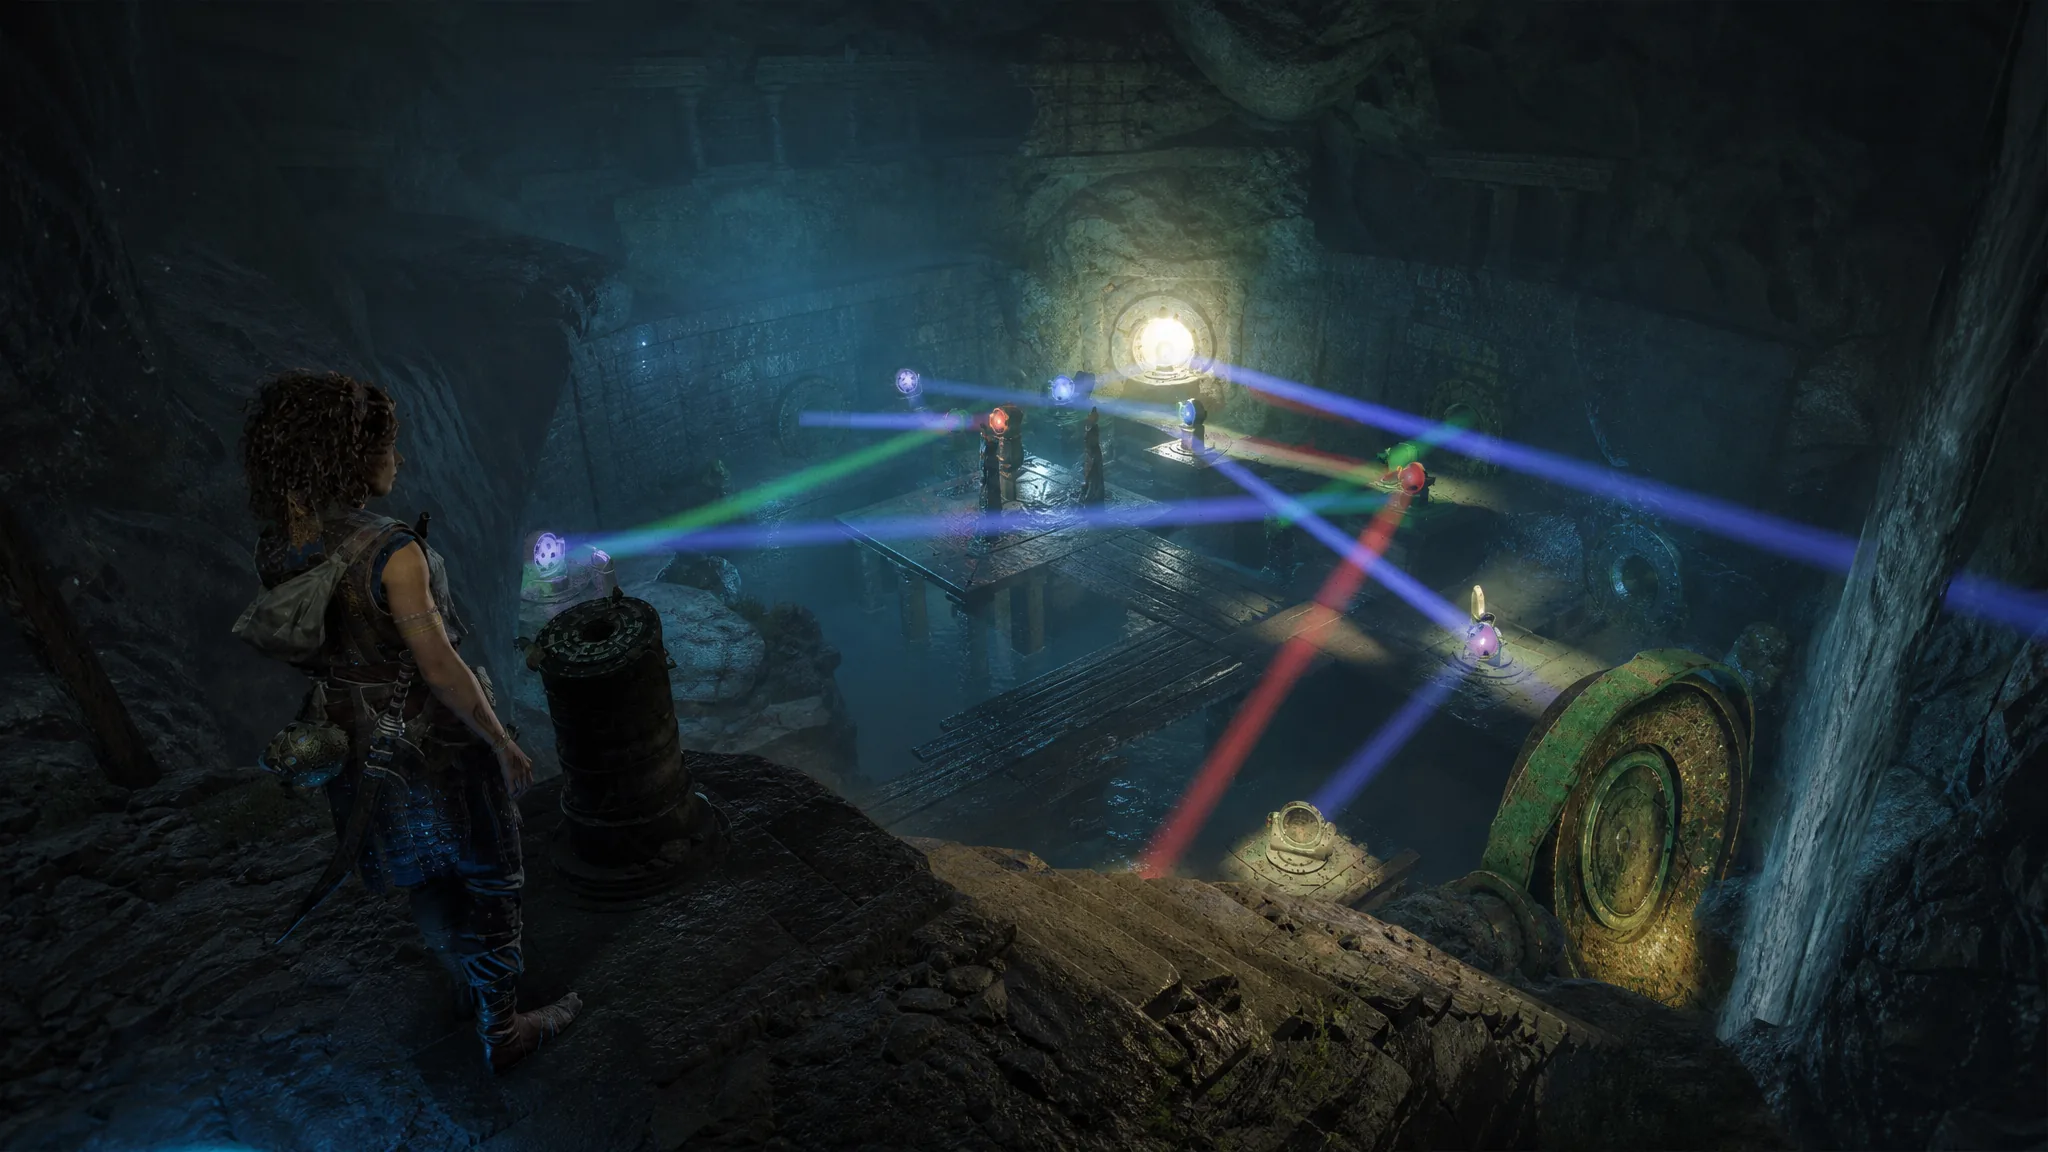
The first symbol in Chapter 5 of Resonance: A Plague Tale Legacy is hidden behind the reflector trial, one of the challenges Sophia and Leni must clear to open the locked gate in the central temple. You do not need to tackle the trials in a fixed order, but the drawing in Sophia’s book sets the sequence the symbols are meant to follow.
Quick answer: Enter the trial through the door marked with a circle, insert the sphere to fire three colored beams, then steer the red, green, and blue reflectors so each light lands on its matching dial around the central pillar. Place the sphere back into the pillar socket to reveal the symbol.
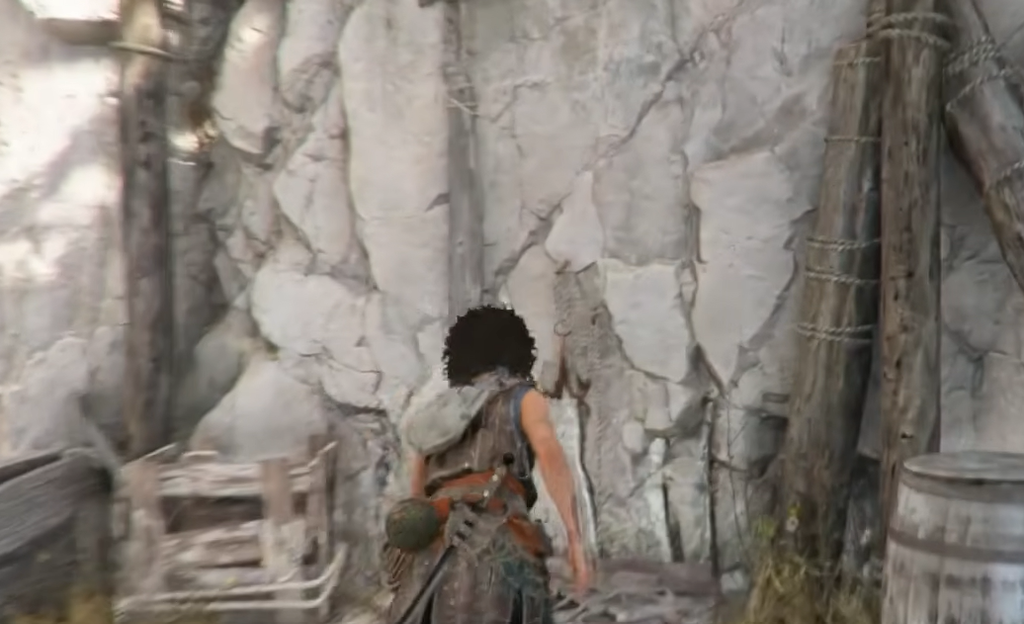
Reach the reflector trial in Chapter 5
From the room with the four open doorways, take the door with a circle on top of it. The entrance is blocked, so you cannot walk straight in.
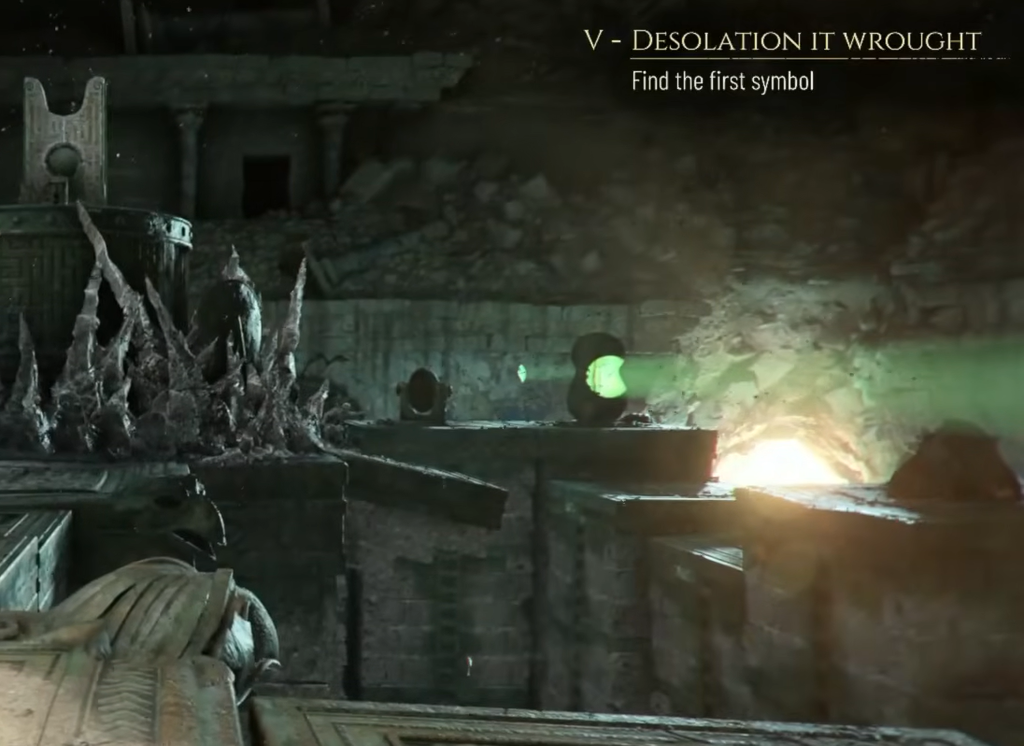
The light exposes the colors of the reflectors, which read red, blue, and green from left to right. Use any beam to clear the petrified dust around the central platform, uncovering three colored spots you need to hit.
Note: You can swap the beam colors in the settings, but the default set is red, green, and blue. If a different color scheme leaves you confused, switch back to the originals to follow along.
Align the green reflector
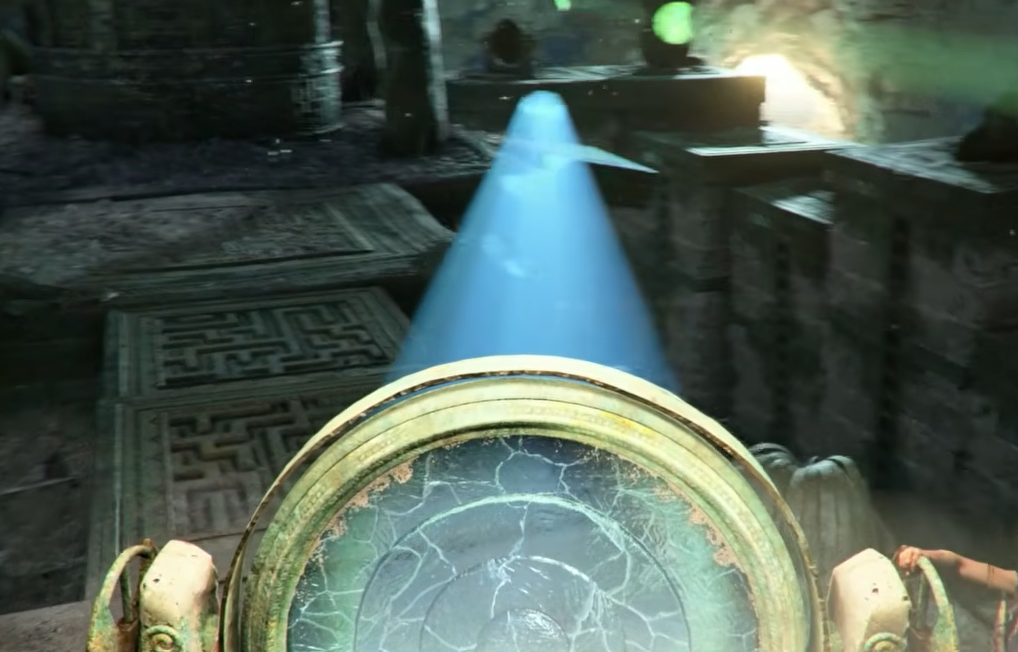
Align the blue reflector
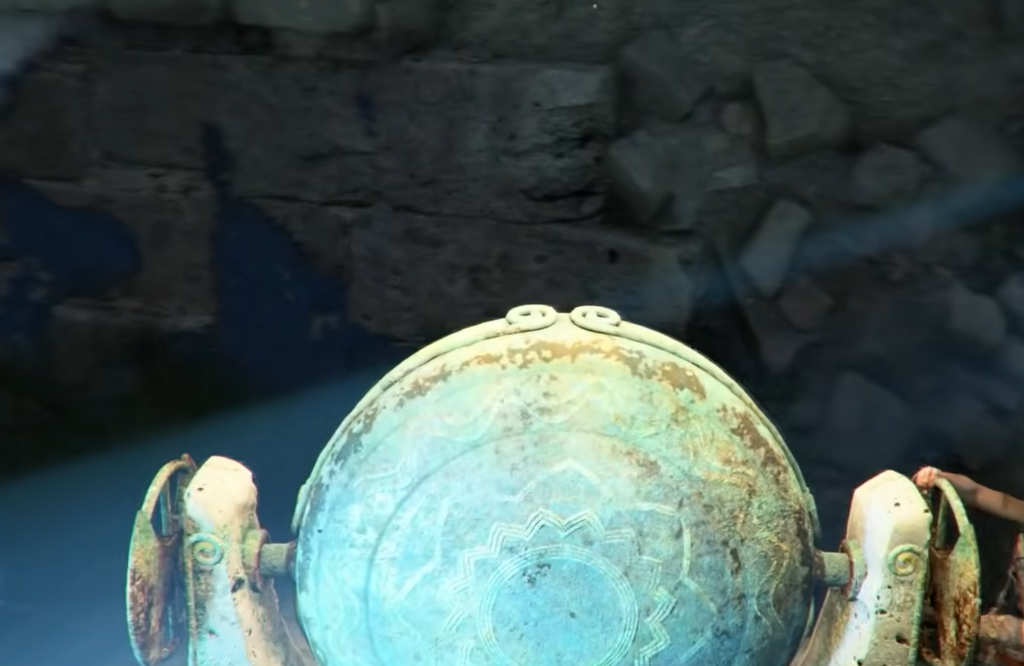
Align the red reflector
If you are running a different color scheme, use the final overhead view of every beam meeting its spot in the center as a reference for where each light should land.
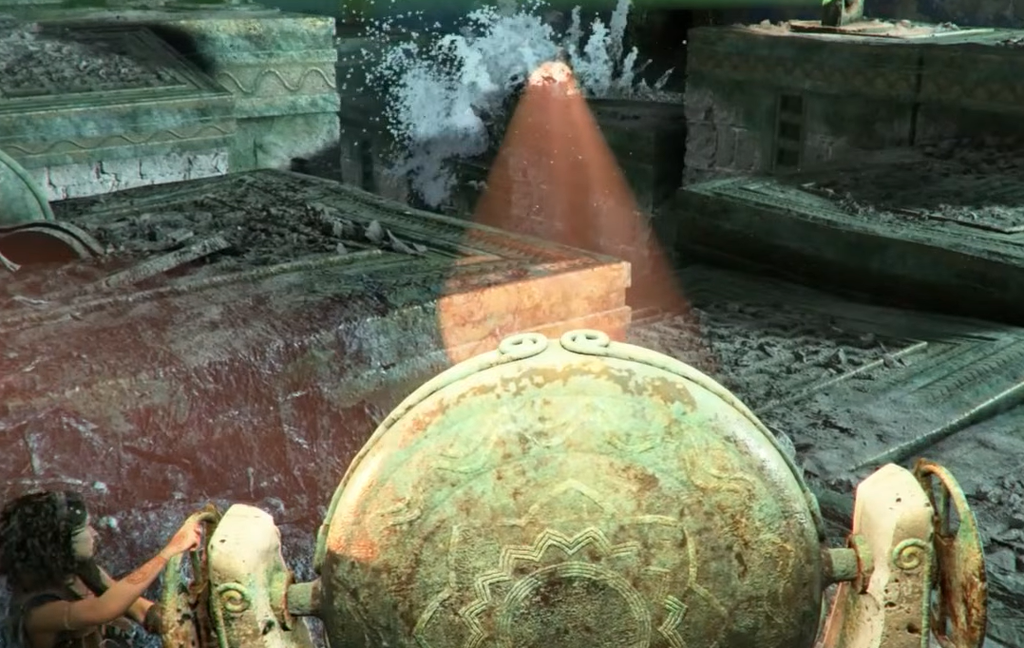
Reveal the first symbol
With all three lights sitting on their matching dials, the puzzle is solved. Head to the central pillar and place the sphere into the socket that appears. The first symbol, which looks a little like an insect, is revealed and recorded in Sophia’s book.
Once the symbol is logged, return to the entrance hall and input it into the correct pedestal in front of the doorway you came from. From there you can move on to tracking down the second symbol and continue clearing the trial.