Resonance: A Plague Tale Legacy fills its Minoan trials with light-based puzzles that hinge on one tool: the sphere. You shine it to reveal hidden lines, symbols, and safe paths, then rotate colored lights or mirrors to match gems and markings in the environment. Below are the exact solutions for every major puzzle, laid out in the order you meet them so you can solve each one and keep moving.
Quick answer: For symbol puzzles, shine the sphere (R1/RB) to follow the blue floor lines from each pedestal to its wall symbol, then rotate the pedestal to match. For light puzzles, hold the sphere and cycle the three colored beams (D-pad left/right) to align each color with its matching gem.
How the sphere works
Nearly every puzzle uses the same core mechanic. Hold R1 or RB to shine the light sphere. When you aim it at pedestals, blue lines appear on the floor and lead to matching symbols on the walls. Later, the sphere gains a mode that projects three colored lights (red, green, blue) that you switch between with the D-pad and rotate with Square/Circle (or X/B) to line them up with colored gems.
If you get lost between two spike traps or across a wide room, stand in a beam of light and use the sphere to reveal the safe path, then memorize it before you step off.
Chapter 4: From Hell It Rose
3 pedestal symbols
Shine the sphere at the three pedestals to reveal blue floor lines, then follow each line to its symbol on the wall. Rotate all three pedestals so each shows its matching symbol. From left to right, the solution is Y – C – ↑. The door opens once all three align.
Light reflector puzzle
This room has mirrors and a locked door with light shining down its right side. Above the entrance is a floor plate. Go upstairs, stand on it to create a light, then route the beam through the reflectors in this order: left reflector, right reflector, front-left reflector, front-right reflector, then the door symbol.
Maze puzzle
Shine the light at the floor and trace the blue lines from the pedestals to their symbols. Stand on the metal panel in the center of the room to see the paths clearly as they wind through the labyrinth. The answer is Left = “O” and Right = “I”.
Spike-trap corridor
Shine the sphere in the corridor to reveal the wall symbols that mark safe tiles. Cross the two spike floors and one set of spiked walls as follows.
| Section | Path |
|---|---|
| Platform 1 | Left, Left, Left |
| Platform 2 | Right, Middle (jump to it), Middle |
| Spike wall | Interact with the front-left wall slot (furthest button on the left) |
Large spike-trap room
Boost Leni up the left side so she reaches the focal lens and shines the reflector at you. Then hold R1/RB to see a blue line on the ground marking the safe route. Walls block the light in places, but you can read the path from a distance and commit it to memory. Step only on the tiles the line passes through.
Bull mirror puzzle
Look at the ground between the mirrors for white symbols on a red background. Some have a blue outline linking them together. Each wall holds a copy of these ground symbols. You must shine mirrors at both blue-linked icons on the walls at the same time. There are two pairs, done separately.
Pair 1 (Bell and T): Shine the right mirror at the front-left wall (1st icon from the left) and the left mirror at the back-right wall (3rd icon from the left).
Pair 2 (Inverse S and Triangle): Shine the left mirror at the front-right wall (3rd icon from the left) and the right mirror at the front-left wall (4th icon from the left).
The bull lowers its hands. Use the sphere on the rings on its hand to reveal two new symbols, “h” and “w”. Shine the left mirror at the front-right wall (4th icon from the left) and the middle mirror at the front-right wall (1st icon from the left). Then use the pedestal that appears.
Chapter 5: Desolation It Wrought
Door puzzle
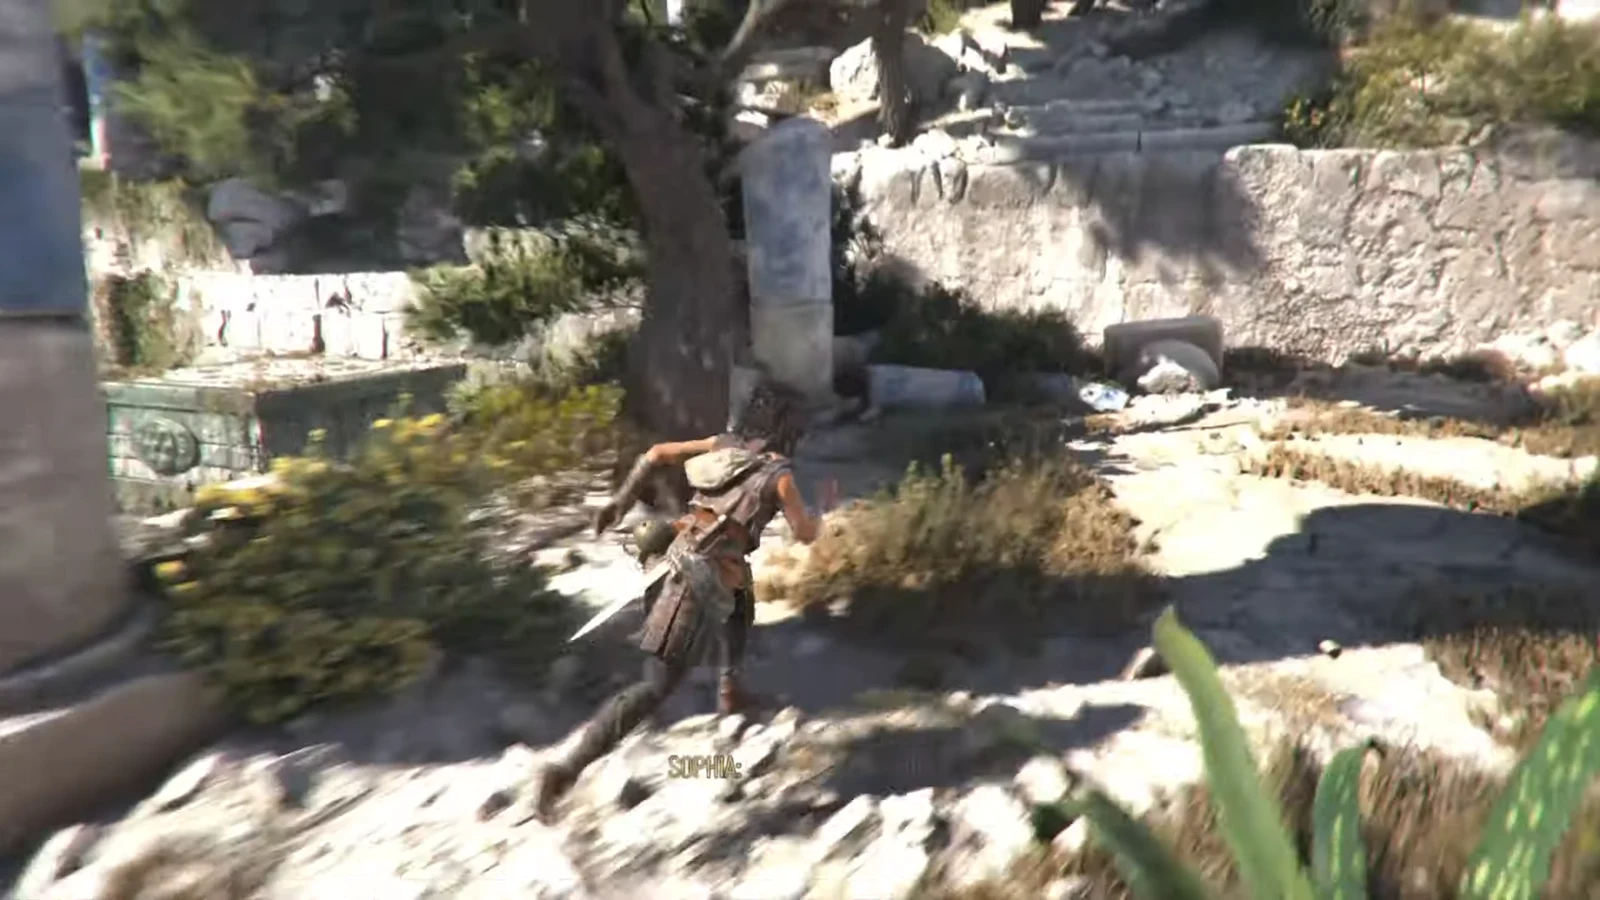
Interact with the pedestal in the middle of the room, then stand on the right floor pad. Press R1/RB to shine the sphere and use Square/Circle (or X/B) to rotate the colored lights until they align with the gems on the door.
Floor symbols platform puzzle
Five symbols on the floor in front of the middle platform show the safe jump order: Dots, Kraken, Dots, Flower, Kraken. Four columns of platforms sit ahead, numbered 1 (leftmost), 2 (left), 3 (right), and 4 (rightmost). Land on a wrong tile and you die. There is a longer route that grabs the hidden collectibles and a shorter one that skips them.
Recommended path (with collectibles): Dots (2), Kraken (3), Dots (3), Flower (2), Kraken (2), Dots (2), Kraken (1, jump left). Then climb the rocks on the left and shimmy across the gap to reach a hidden relic.
From the relic: Dots (1), Flower (2), Kraken (3), Dots (3), Kraken (3, jump backwards to the previous symbol), Dots (3, jump forward again to the last platform), Flower (3, jump right).
Short path (skips collectibles): Dots (2), Kraken (3), Dots (3), Flower (2), Kraken (2), Dots (2), Kraken (3, jump right), Dots (2, jump back), Flower (2, jump forward), Kraken (3, run-jump diagonally), Dots (3, jump forward).
Pillar puzzle (optional, for the secret blade)
From the room with the four sockets, face the big green bull door and take the front-right path, the one marked with an “O” with three lines between the statues. Cross the bridge, go left, and drop down to the next enemies. After the fight, do not head upstairs to the bull door. Instead go the opposite way to find an abandoned camp and a large bull pillar. Climb the rocks on the left to reach the top of the ruins.
Four greenish floor plates sit on the pillars. Stand on the one at the end of the left pillar. Hold R1/RB, switch between the three lights with D-pad left/right, and rotate with Circle/B until each color aligns with the matching gem on the bull pillar. The axe symbol on the floor then opens to reveal a staircase into a crypt with a large chest.
Statue door puzzles (three trials)
Each of these has you stand on the lit floor plate and align the three sphere lights with the gems around a door. Hold R1/RB, switch lights with D-pad left/right, and rotate with Circle/B.
| Trial | Light alignment |
|---|---|
| 1st statue door | Red = left statue helmet, Green = middle, Blue = right statue hand |
| 2nd statue door | Green = top, Blue = bottom, Red = right statue eye |
3rd statue door: Shine the mirror at the front-right dust to reveal a cogwheel. Use the cog, let go, and Leni holds it for you. Jump over the raised platform, then align the sphere lights with the right wall. Run-jump over the spikes, stand in the light, and align the sphere lights with the opposite wall. Jump over the next platforms so Leni can shine the mirror at you, then switch to the other sphere mode with D-pad right to reveal the safe blue line through the spikes. Finish by shining all three lights at the door (green, red, and blue all to the rightmost point below the door).
Mirror room puzzle
Align the three colored mirrors so each light hits its colored dot on the central pillar.
| Color | Mirror routing |
|---|---|
| Red | Shine at the rightmost mirror, then at the right side of the pillar |
| Blue | Shine at the left mirror, then the back mirror on the lower level, then the mirror between the last two, then the left side of the pillar |
| Green | Shine at the back-right mirror, then the back of the pillar |
After the pillar lowers, interact with the pedestal that appears, then leave through the big bull gate you entered from.
Pedestal room: 3 socket symbols
| Symbol | Path icon it goes in front of |
|---|---|
| Inverted P | Dice icon path |
| h | “O with 3 lines” icon path |
| O | “O over a line” icon path |
Chapter 6: What Lies Beneath
Bull pillar puzzle (optional)
After the subchapter begins, use Daedalus’s key to pass through a gate. In the next corridor, take the left tunnel to reach this puzzle. Jump onto the first lit platform on the left and use the sphere to align the lights: Green below the bull pillar, Blue below the pillar you stand on, and Red at the pillar in the back right (the light reflects back to a mirror). This opens the tomb, where you can enter and open the chest.
Chapter 7: Death It Sowed
Lever puzzle
Use the two levers in the room to make the light shine in a straight line. The second mirror reflects it downward onto a green floor plate. Stand on the plate and use the sphere with R1/RB to align the three lights.
How to know a puzzle is solved
Symbol and light puzzles resolve the moment every element matches. A door slides open once all pedestals or gems align, a pillar lowers to expose a pedestal, or a floor mechanism (like the axe symbol) opens to reveal a hidden staircase. If nothing happens, one colored light is still on the wrong gem or a pedestal is a rotation short. Re-check the blue floor lines and the gem colors, since a single mismatch keeps the whole puzzle locked.
If you get stuck on any puzzle, you can turn on hints in the General Settings menu. This makes Sophia and her companions offer guidance during challenges, and you can set how often they speak up or switch it off entirely if you would rather work things out yourself.