Grow A Colony puts you in control of an insect queen who has to dig a home, hatch her first ants, and keep them fed before predators arrive. The early game runs on a simple loop. You dig, you lay eggs, your workers gather food, and that food pays for stronger ants. Getting the opening right means your colony survives long enough to earn points and unlock better species.
Quick answer: Start with the free Black Ant, walk to the green DIG HERE marker, press E repeatedly to dig a deep underground chamber, then lay Worker Eggs for 5 Food each with the R key. Workers forage on their own, and more food lets you hatch more ants.
Choose your starting colony
The selection menu opens with several colony types, but only the Black Ant is free. It is described as the classic starter colony, and it gives you everything you need to learn the core mechanics. The other species are locked behind points you earn by playing, and one requires Robux.
| Colony | Cost to unlock |
|---|---|
| Black Ant | Free starter |
| Leafcutter Ant | Join Group |
| Army Ant | 20 PTS |
| Fire Ant | 35 PTS |
| Bullet Ant | 85 PTS |
| Termite | 175 PTS |
| Bee | 400 PTS |
| Hornet | 299 R$ |
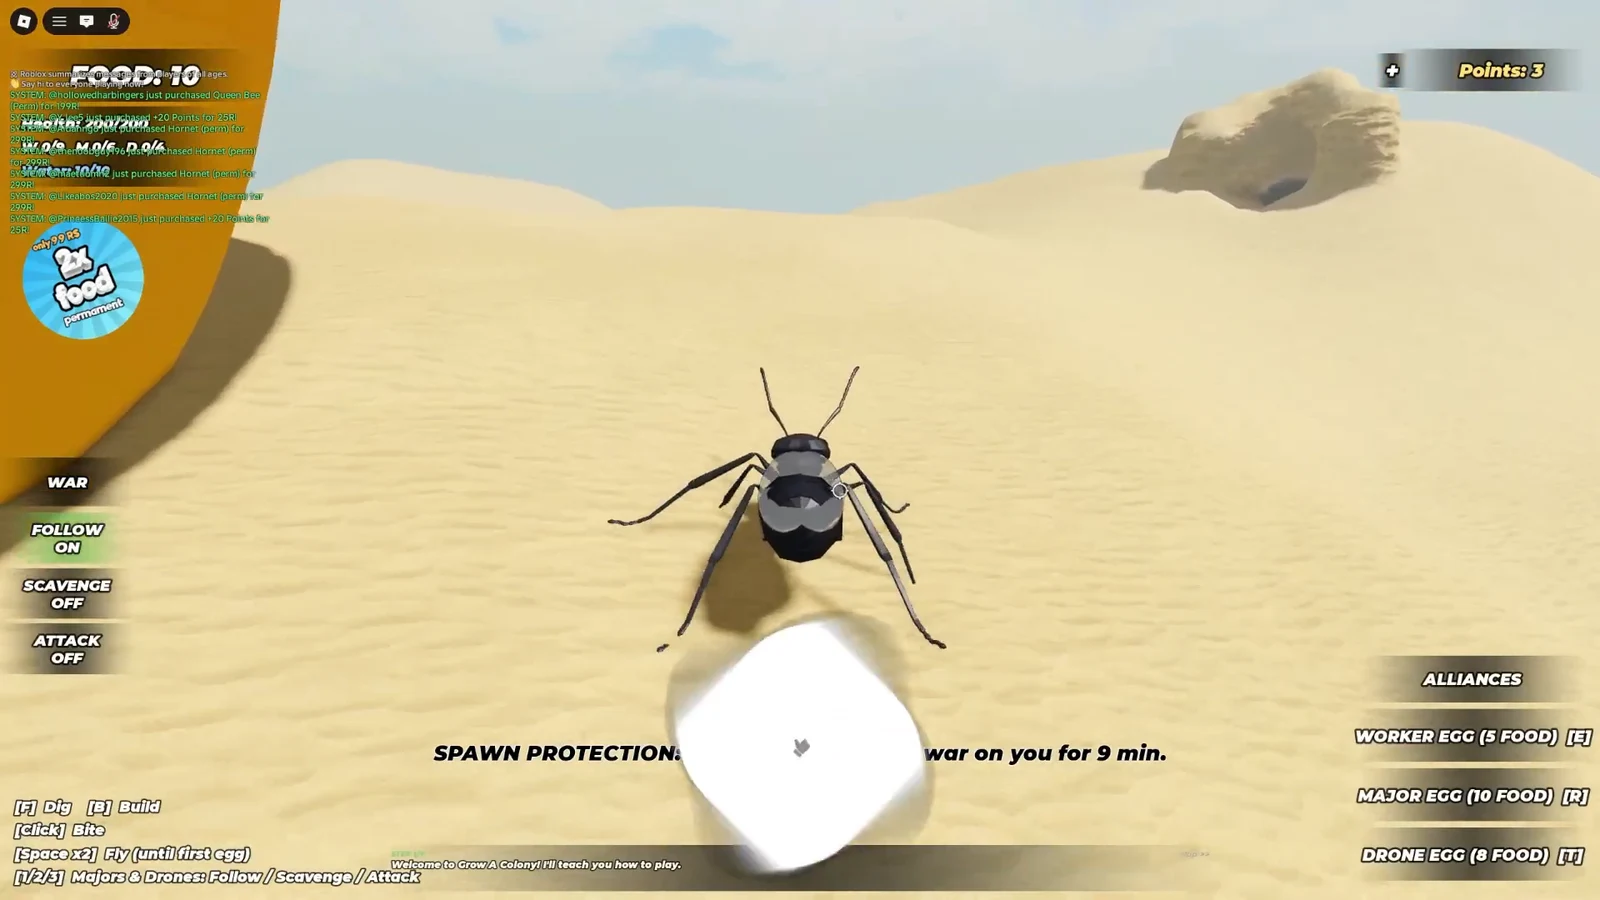
Pick the Black Ant and you spawn on the Desert map as the queen. A green marker labeled DIG HERE appears on the sand hill. Head straight for it before doing anything else, since your nest has to exist before you can lay a single egg.
Dig a nest deep enough to lay eggs
Digging is the gate to everything else. If your chamber is too shallow, the game blocks egg-laying with the message You're not deep enough! Dig a nest underground to lay your eggs. The fix is simply to keep digging until the warning stops appearing.
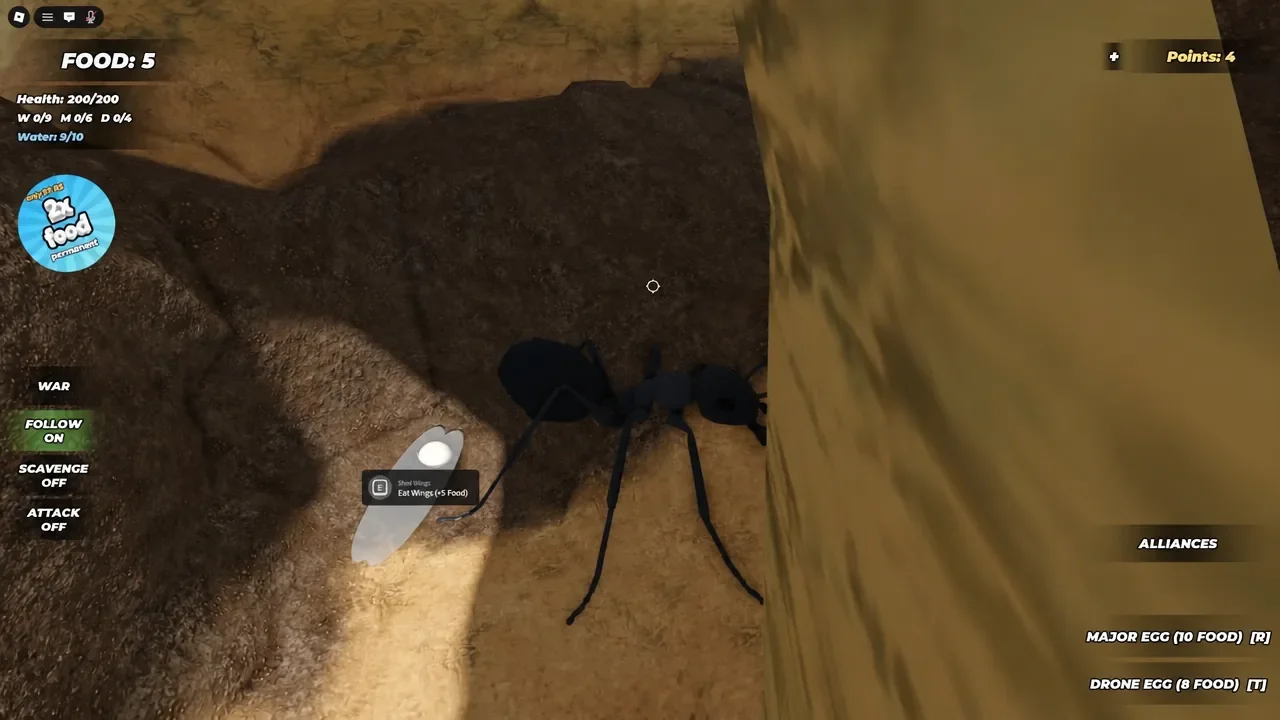
DIG HERE marker and press E repeatedly. Each press carves out more of the hill and starts forming a hollow underground chamber.E to push the chamber deeper. You know it is working when the “not deep enough” prompt no longer blocks you from laying eggs.Note: Your queen can also gain a quick food boost early. The Shed Wings prompt lets you press E to eat your wings for +5 Food, a handy way to afford that very first batch of eggs.
Lay eggs and understand each caste
Once your nest is deep enough, the egg menu becomes usable. Each egg type costs Food and fills a different role, and each has its own hotkey. Workers keep your economy running, while Majors and Drones handle combat.
| Egg | Cost | Key | Health | Role |
|---|---|---|---|---|
| Worker Egg | 5 Food | R | 40 HP | Forages for food automatically |
| Drone Egg | 8 Food | T | 60 HP | Adds population and fighting strength |
| Major Egg | 10 Food | F | 150 HP | Strong defense and heavy labor |
Start with Worker Eggs. They are the cheapest and they collect food on their own, so the first worker you hatch begins paying for the next egg almost immediately. Watch for the green food numbers coming into the nest, since more food directly means more eggs.
Only lay a Major (10 Food) or a Drone (8 Food) once your food count is stable. The stats panel at the top left tracks your caps in the form W: 0/3 M: 0/0 D: 0/4, so you can see how many of each ant your current nest supports.
Keep food and water flowing
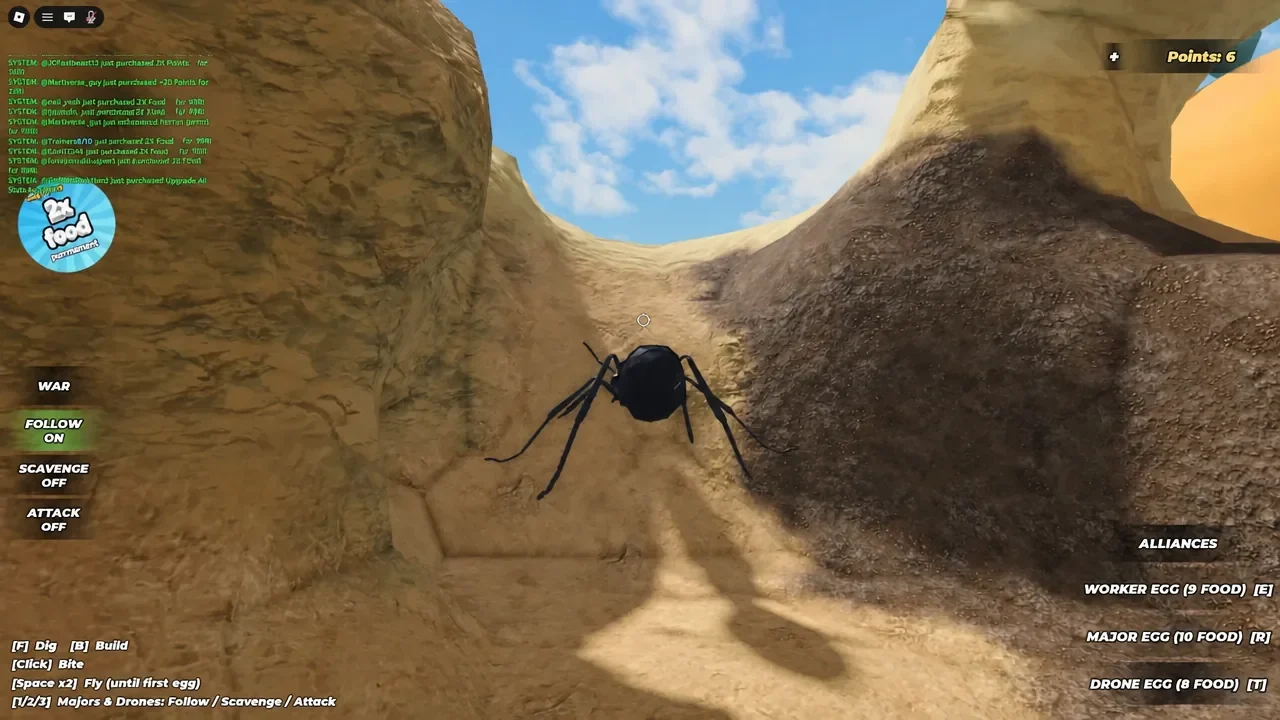
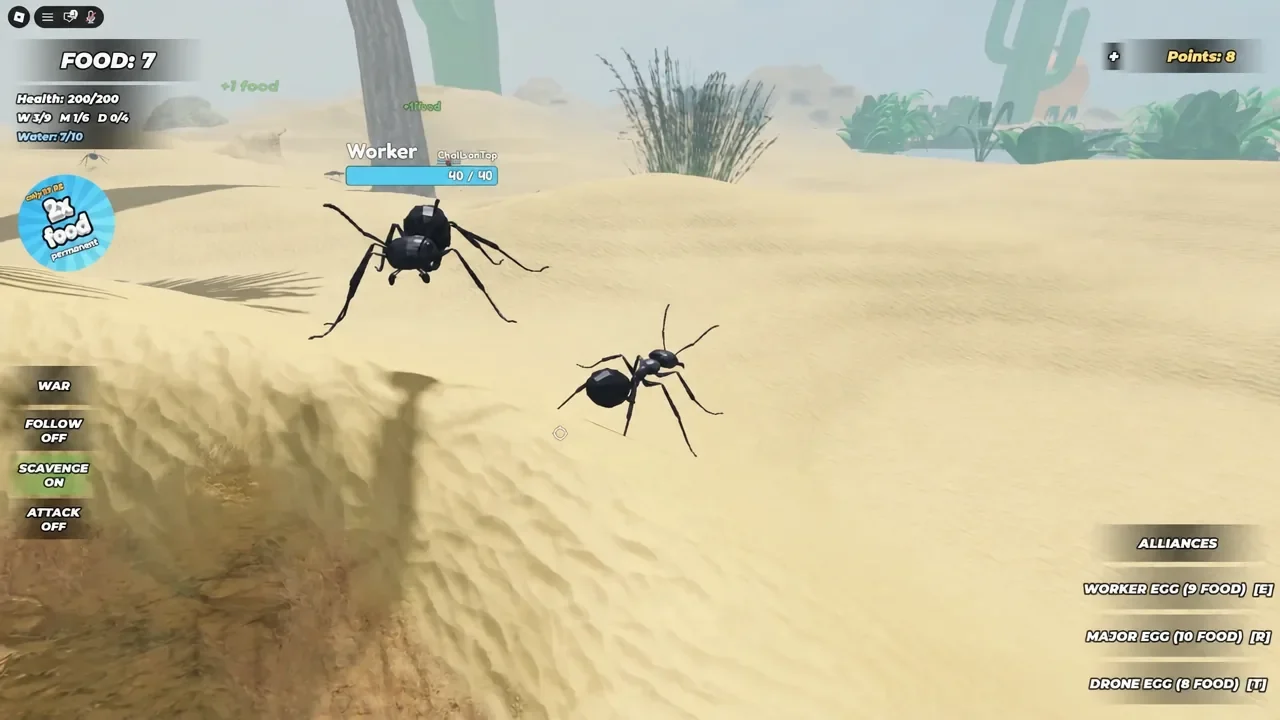
Two meters keep your colony alive. Food buys eggs, and the queen’s water level sits in the top-left corner beside her health. Workers handle food collection outside on their own, bringing back items like apples and cherries to raise the count.
Water is on you. When the meter drops, travel to a water source such as the oasis, then hold E to drink. The prompt Refreshing! Water restored. confirms the meter has refilled back toward its 10/10 cap.
You can steer your ants with the left-side command toggles. FOLLOW, SCAVENGE, and ATTACK each switch between OFF and ON, letting you decide whether ants trail you, gather resources, or engage threats.
Defend against predators and raid for more
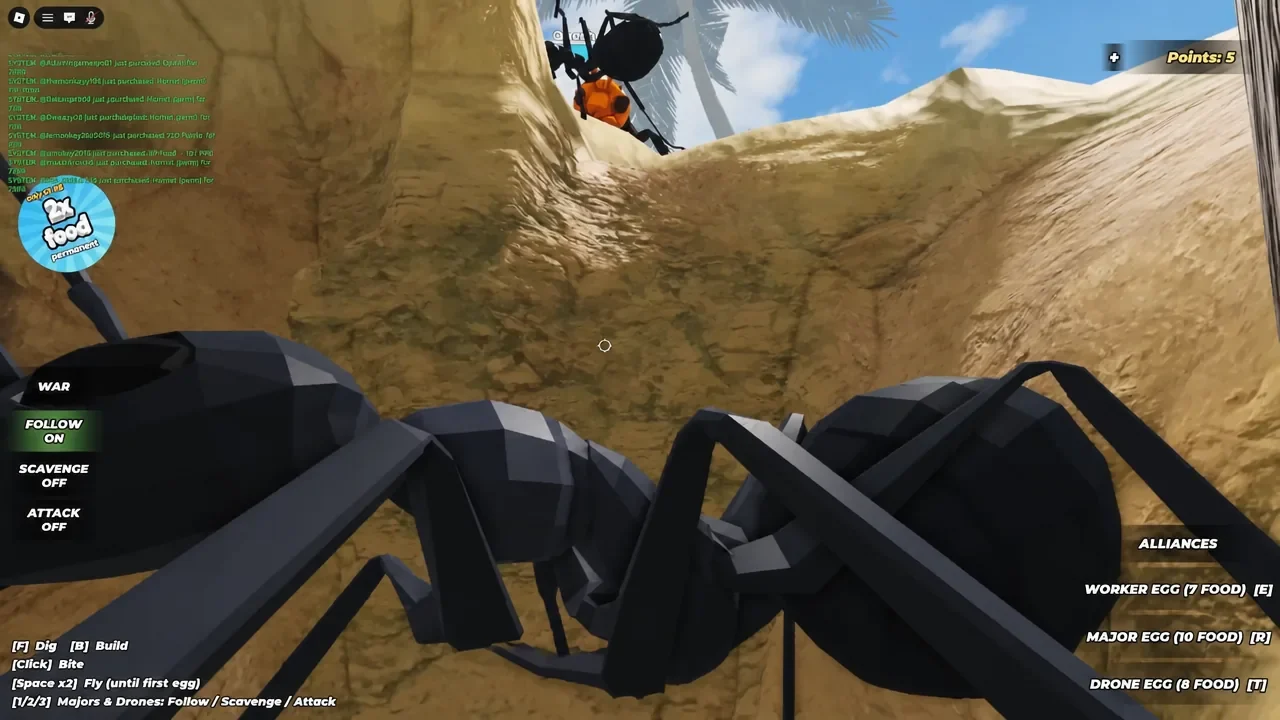
The desert is not empty. A hostile wasp or hornet queen can appear near your nest entrance early on, which is why building up Majors and Drones matters before you wander far. Keep your fighters close while your worker count is still small.
Some creatures are simply out of reach at the start. A large spider on the map will wipe a weak colony, so leave it alone until your fighter count and health totals can handle it. When you are ready to take the fight to other colonies, you can trigger a Queen Bee raid by visiting a beehive and pressing E.
Earn points and unlock stronger colonies
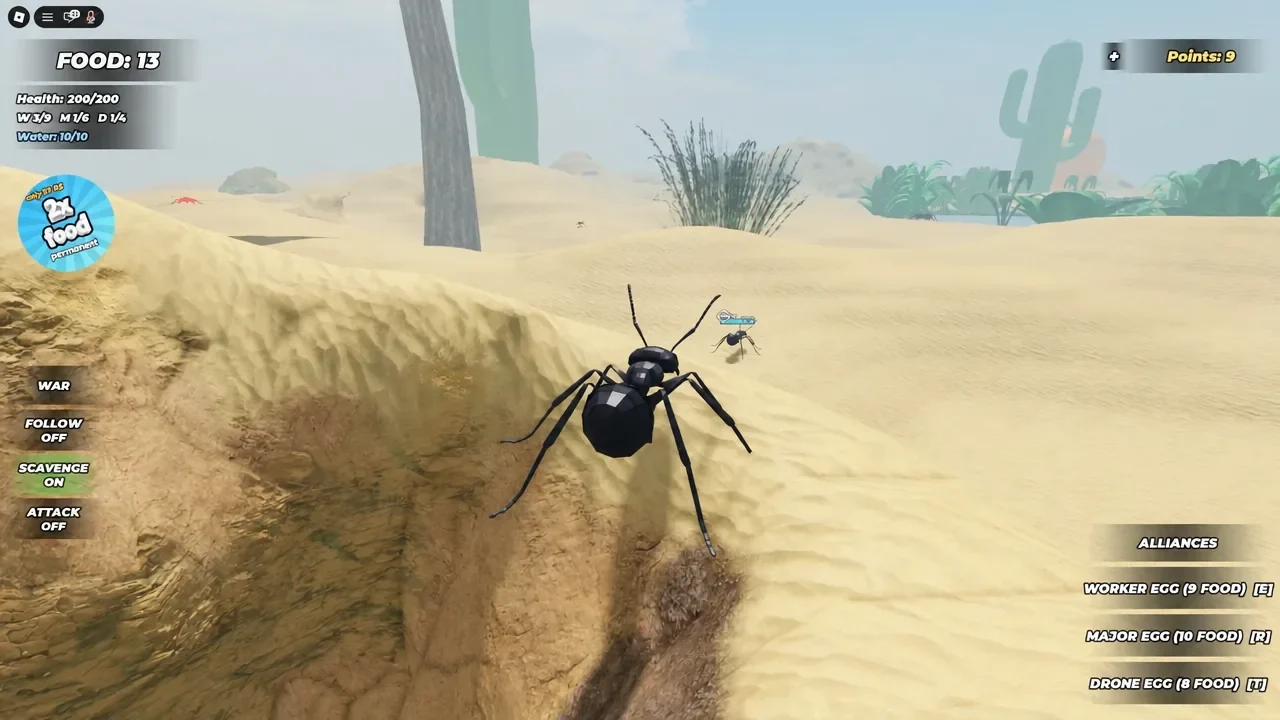
Points build up over time as you play, and they are the currency for every locked species. Spend them to move from the Black Ant into Army Ants at 20 points or Fire Ants at 35, then work toward the more expensive Bullet Ant, Termite, and Bee colonies.
Unlocking a species also awards a badge, so hitting the Fire Ant, Army Ant, or Bullet Ant thresholds gives you a permanent marker of progress. You can start the full loop yourself on the official Grow A Colony experience page.
Master this first colony and the rest of the game opens up. A deep nest, a steady stream of workers, a full water meter, and a couple of Majors on guard are all it takes to survive the desert and start banking the points that unlock everything else.