

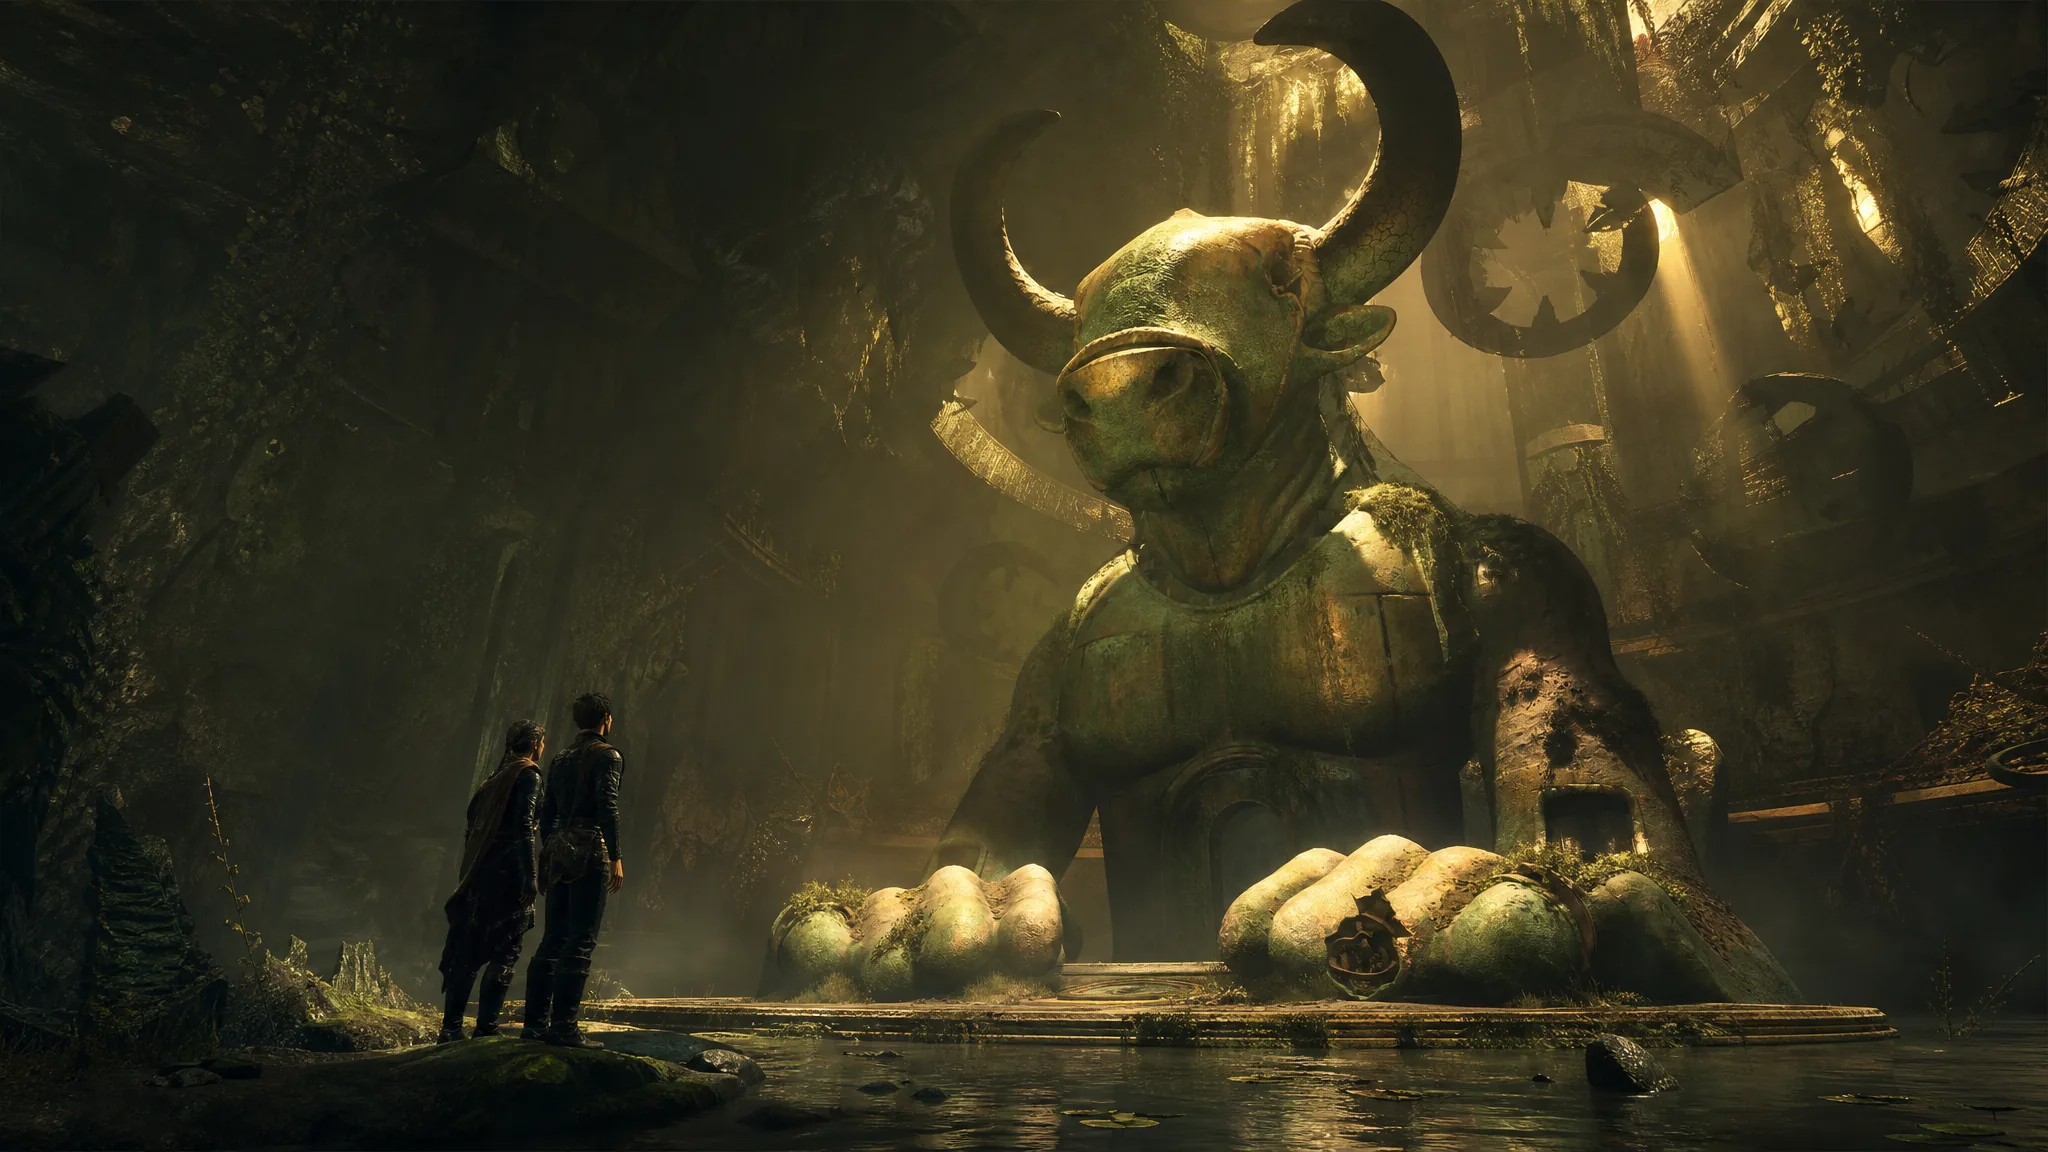
The Minotaur arena is the last puzzle in Chapter 4 of Resonance: A Plague Tale Legacy, and it ties together the light-beam and symbol mechanics the trial has been teaching you. Your goal is to raise the giant Minotaur statue by aiming reflected light onto three pairs of symbols carved around the arena wall. Two pairs are recorded in Sophia’s journal, but the final pair is hidden and only appears when you use the sphere’s Light Reveal function on the statue’s hands.
Quick answer: Aim the reflectors at the T symbol (1) and semicircle symbol (5) to raise the first hand, then the triangle symbol (3) and harp symbol (6) to raise the second hand. Reveal the hidden pair on each hand ring with the sphere, then light the upside-down Y symbol (2) with the left reflector and the W symbol (4) using the center reflector to raise the head.
How the Minotaur arena puzzle works
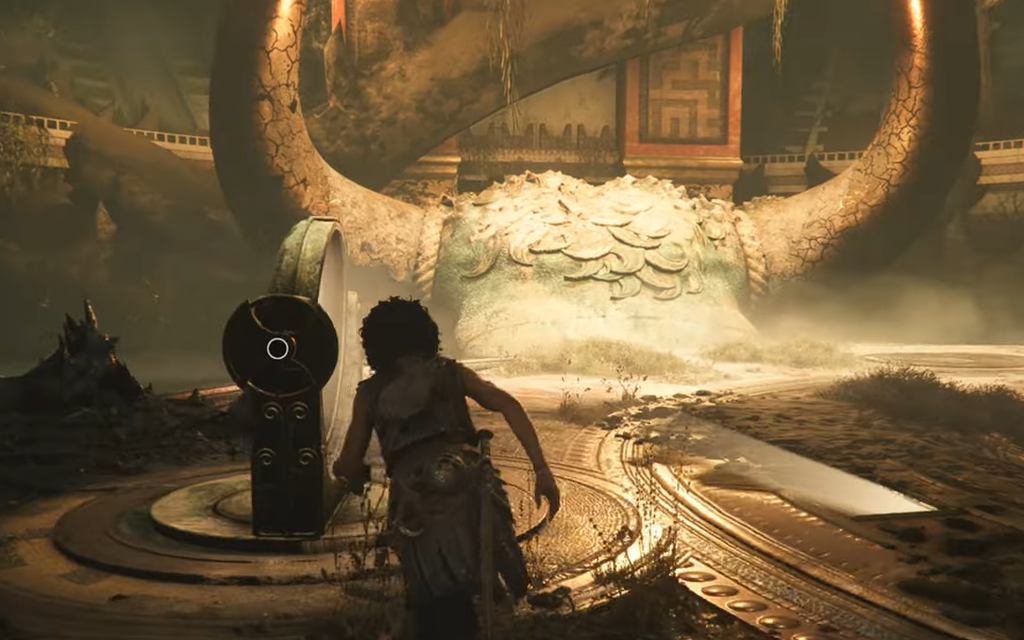
Before touching anything, walk around the arena so Sophia sketches the first two symbol pairs into her journal. The wall around the arena carries several symbol slots, and some of them have worn away. The journal keeps the full set in the same order they appear on the wall, so an empty slot can still be identified by its position.
There are three reflectors in the room. The left and right ones each carry their own light source, while the center one only bounces light it receives. Each symbol pair you correctly light causes part of the statue to move. The two hands rise first, and the head rises last once all three pairs are matched.
| Pair | Symbols | Reflectors used | Result |
|---|---|---|---|
| First | T (1) and semicircle (5) | Left and right | First hand rises |
| Second | Triangle (3) and harp (6) | Left and right | Second hand rises |
| Third (hidden) | Upside-down Y (2) and W (4) | Left and center | Head rises fully |
Match the first two symbol pairs
If a wall slot looks blank, check the order in Sophia’s journal. The symbols are listed in the same sequence as the wall, so even a worn slot can be located by counting positions from the corner.
Reveal and match the hidden third pair
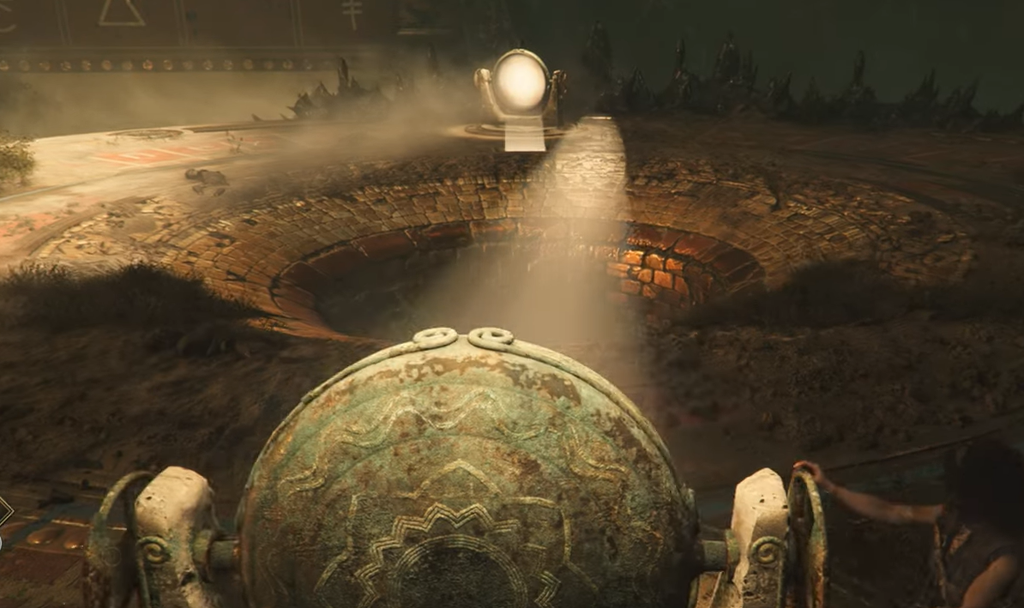
The third pair is not written in the journal and is not painted on the wall. Instead, the two symbols you need are hidden on the rings of the raised hands and must be exposed with the sphere.
How to confirm the puzzle is solved
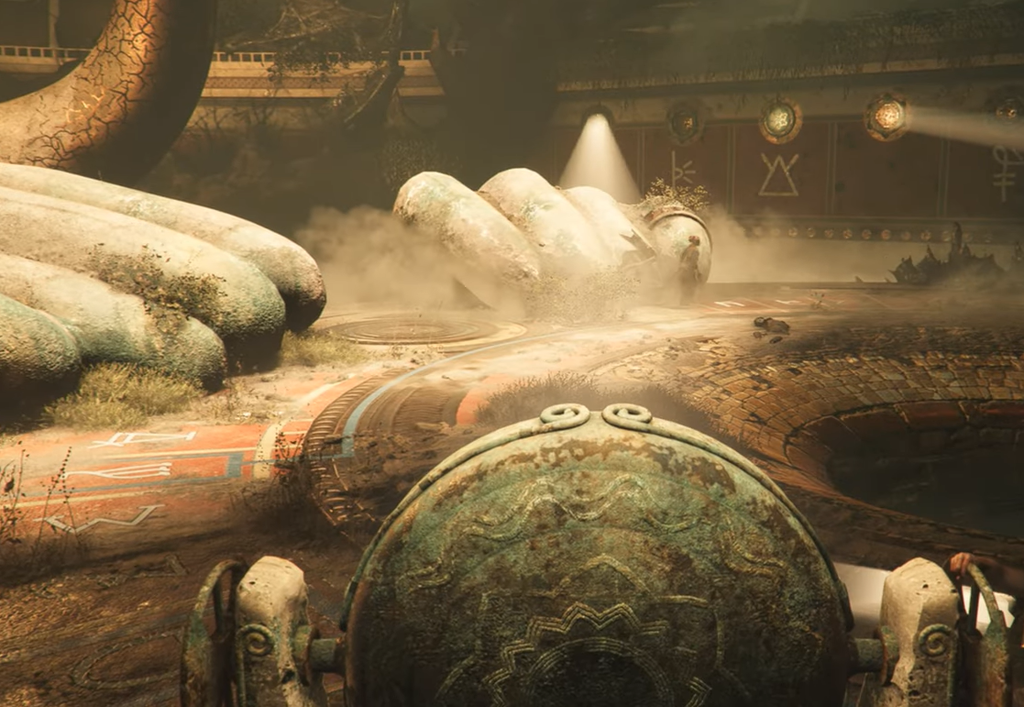
Once all three pairs are lit, the Minotaur rises fully and a new path emerges from below the statue. A socket for the sphere also appears so you can bridge the gap ahead. The moment you attempt to insert the sphere, a group of soldiers ambushes you, led by an armored brute, and this fight introduces a new combat ability you can use.
If a section of the statue refuses to move, one of the symbols in that pair is either wrong or only partially lit. Re-check the journal order for worn slots, confirm the harp and hidden ring symbols are matched by floor position, and make sure the center reflector is actually receiving the right beam before you fire it at the W symbol.
After clearing the soldiers, interact with the pedestal again and follow the revealed path into the Minotaur’s head to open the door at the end, which carries you toward the close of Chapter 4’s First Trial.





