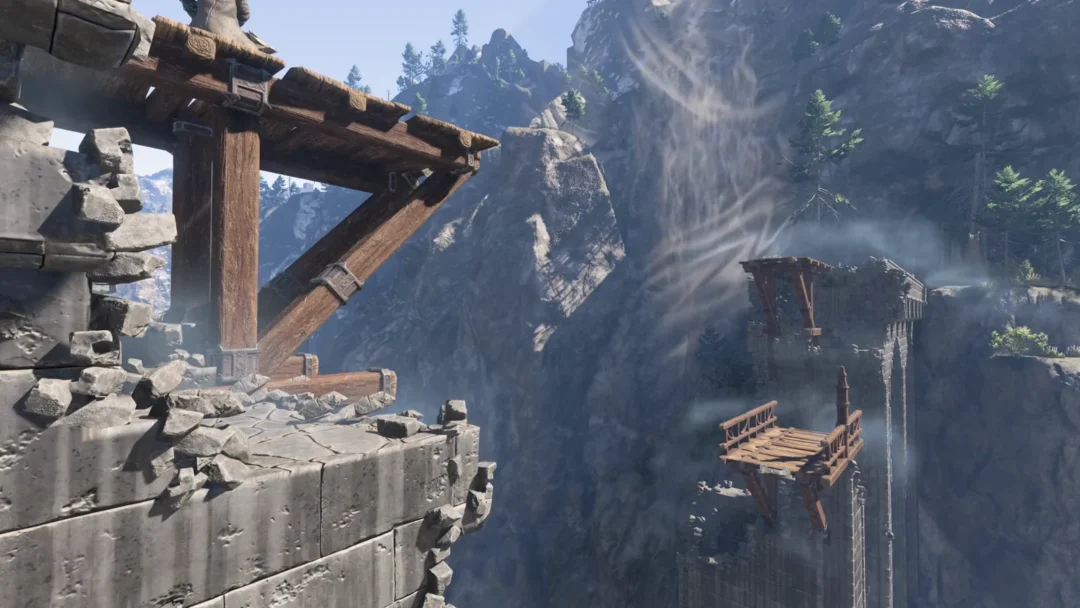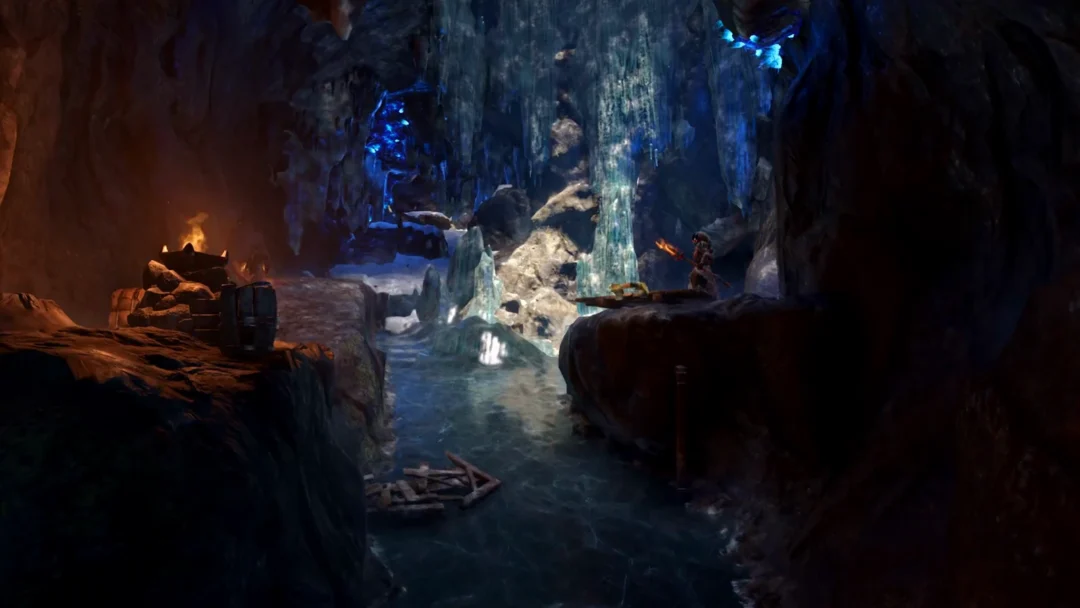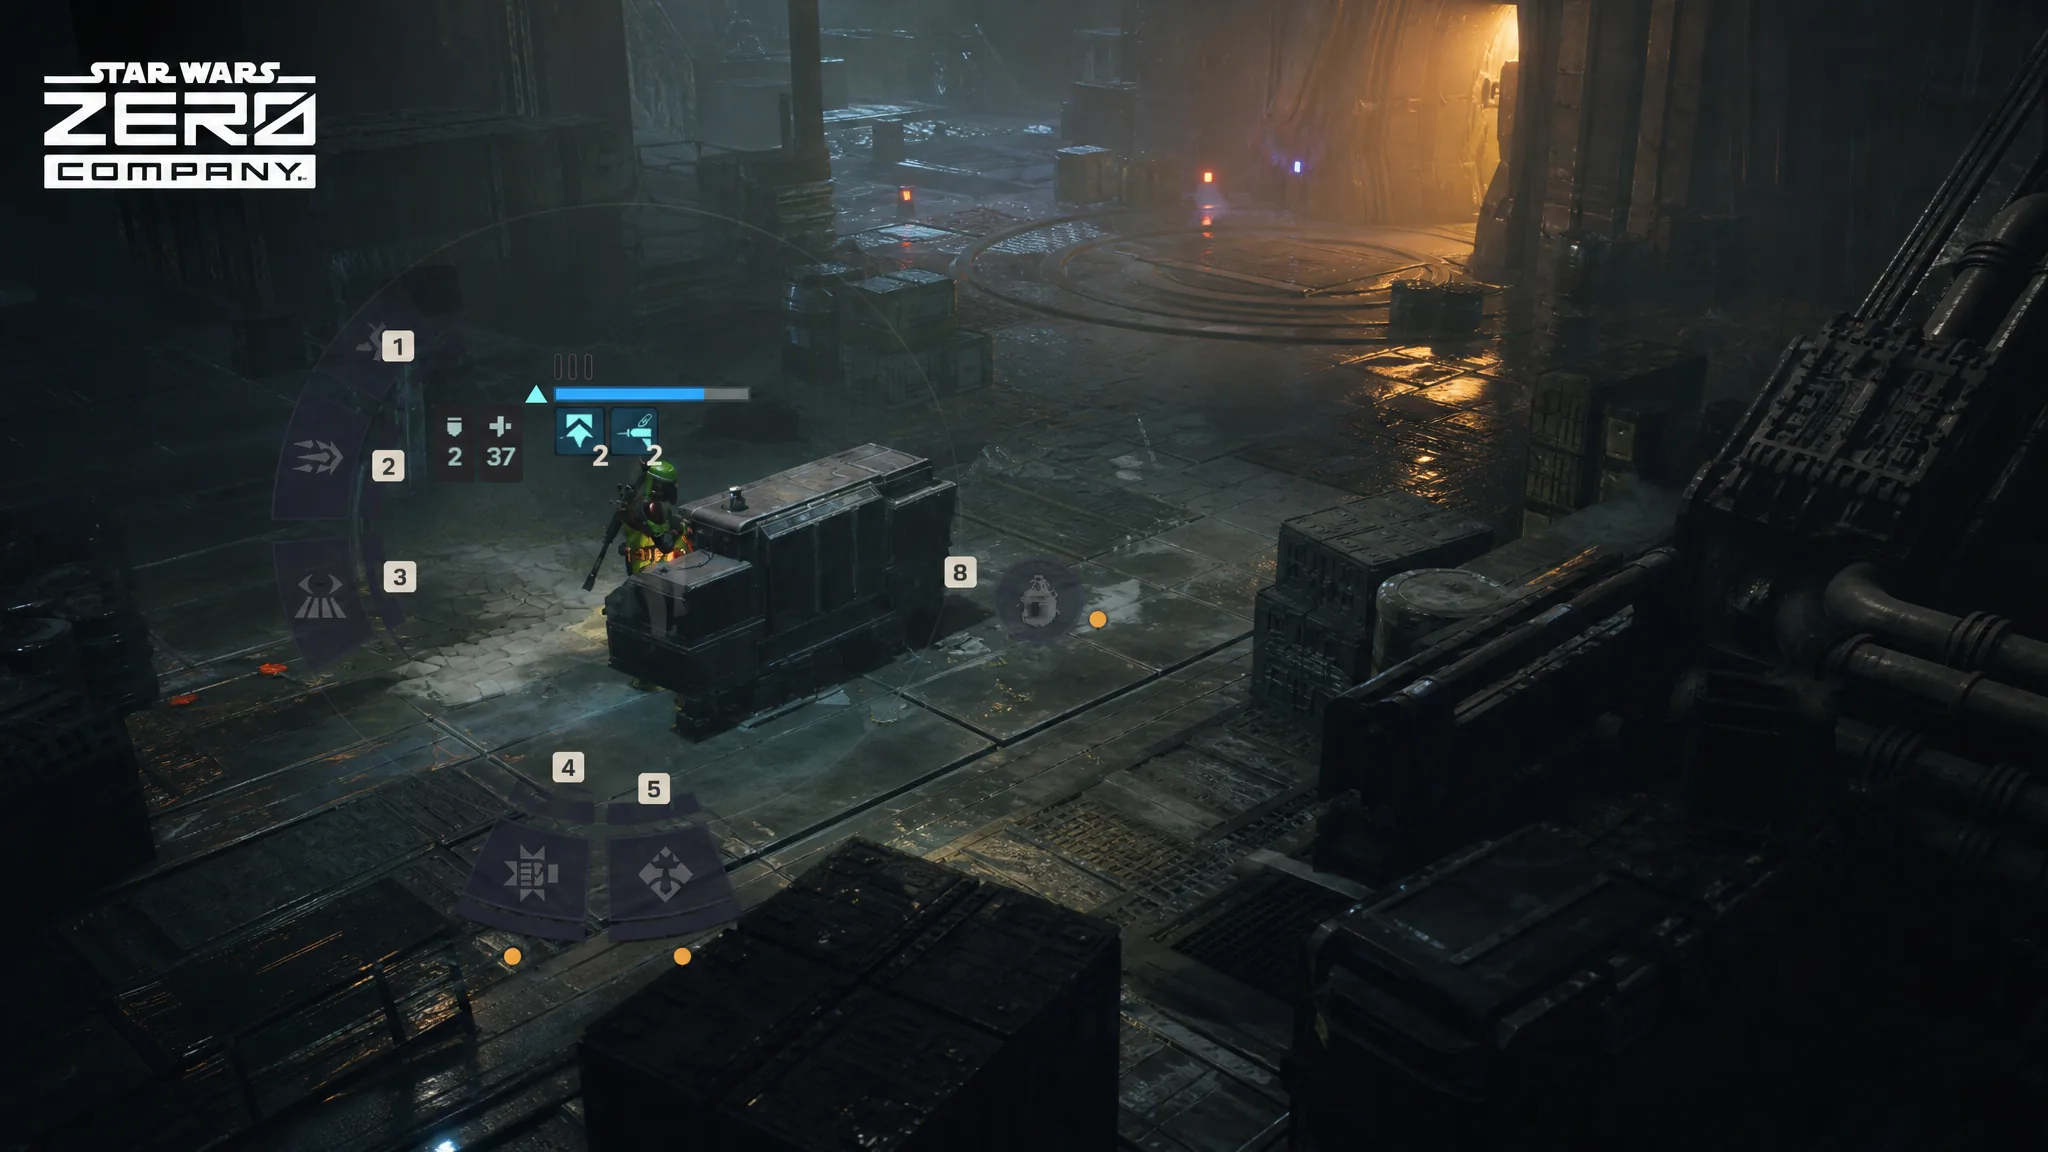
The Slugrat fight at Takali Canal is the first mission in Star Wars Zero Company that punishes you for playing it like a shooting gallery. It is the opening encounter of Dark Waters, the story mission that sends Zero Company after the Coil’s leader, and it throws waves of melee-heavy enemies at you from two directions while a control console sits in the middle daring you to press it. Rush that console, and you double the enemy count.
Quick answer: Take the high ground on the right side on turn one, hold both staircases with Overwatch, and leave the drain console alone until every reinforcement from the north is dead.
Squad and loadout for the Takali Canal fight
There are no droids in this fight, so the Astromech has nothing special to offer. What you want instead is range, a body to absorb hits, and sustain, because this mission runs longer than the story levels before it.
| Slot | Job in this fight |
|---|---|
| Hawks (long-range rifle) | Picks off enemies at the back of the arena and holds Overwatch from elevation. |
| Trick | Grenades and Rocket Strike for clustered targets and for breaking enemy Overwatch. |
| Heavy | Taunts, soaks damage, and strips the cover enemies want to advance through. |
| Medic (long-range rifle) | Healing, Morale Boost Adv, and Combat Stim from the back line, plus ranged damage. |
Load up on Impact or Firebomb grenades before you deploy. Both are useful for shutting down an enemy Overwatch and for finishing tankier Slugrats that refuse to drop to rifle fire. Give the Medic a long-range rifle too, since they will spend nearly the entire encounter behind everyone else.
Turn one: Seize the high ground on the right
Combat starts once you follow the waypoint through the alleyway onto the dock. The drain console is on the left side, ringed by Slugrats. Ignore it for now and fight for position instead.
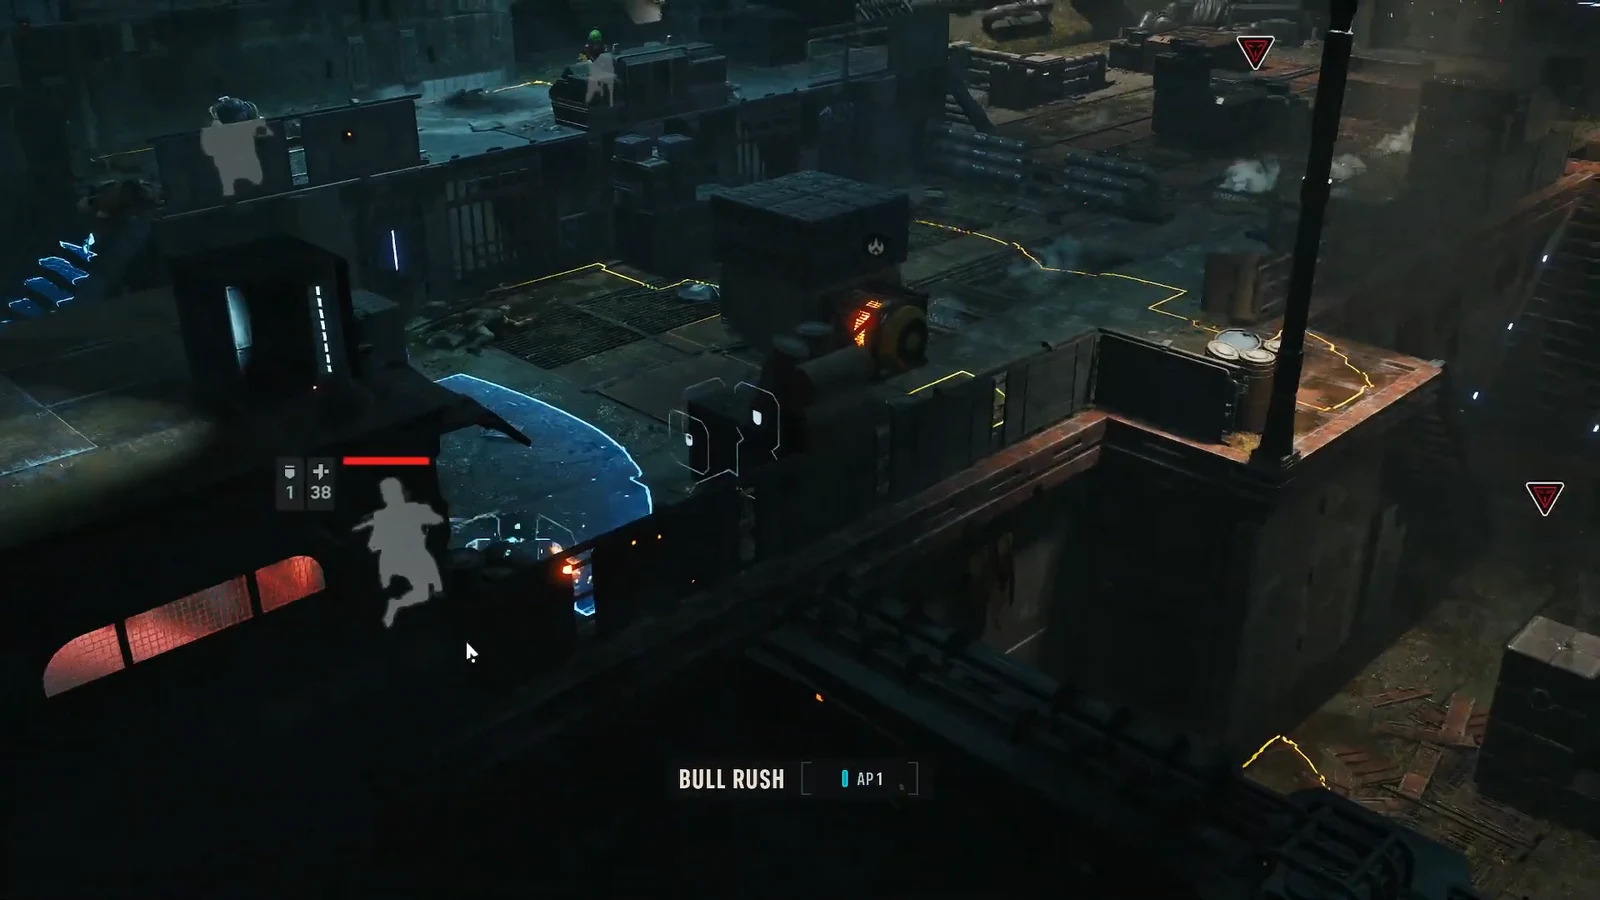
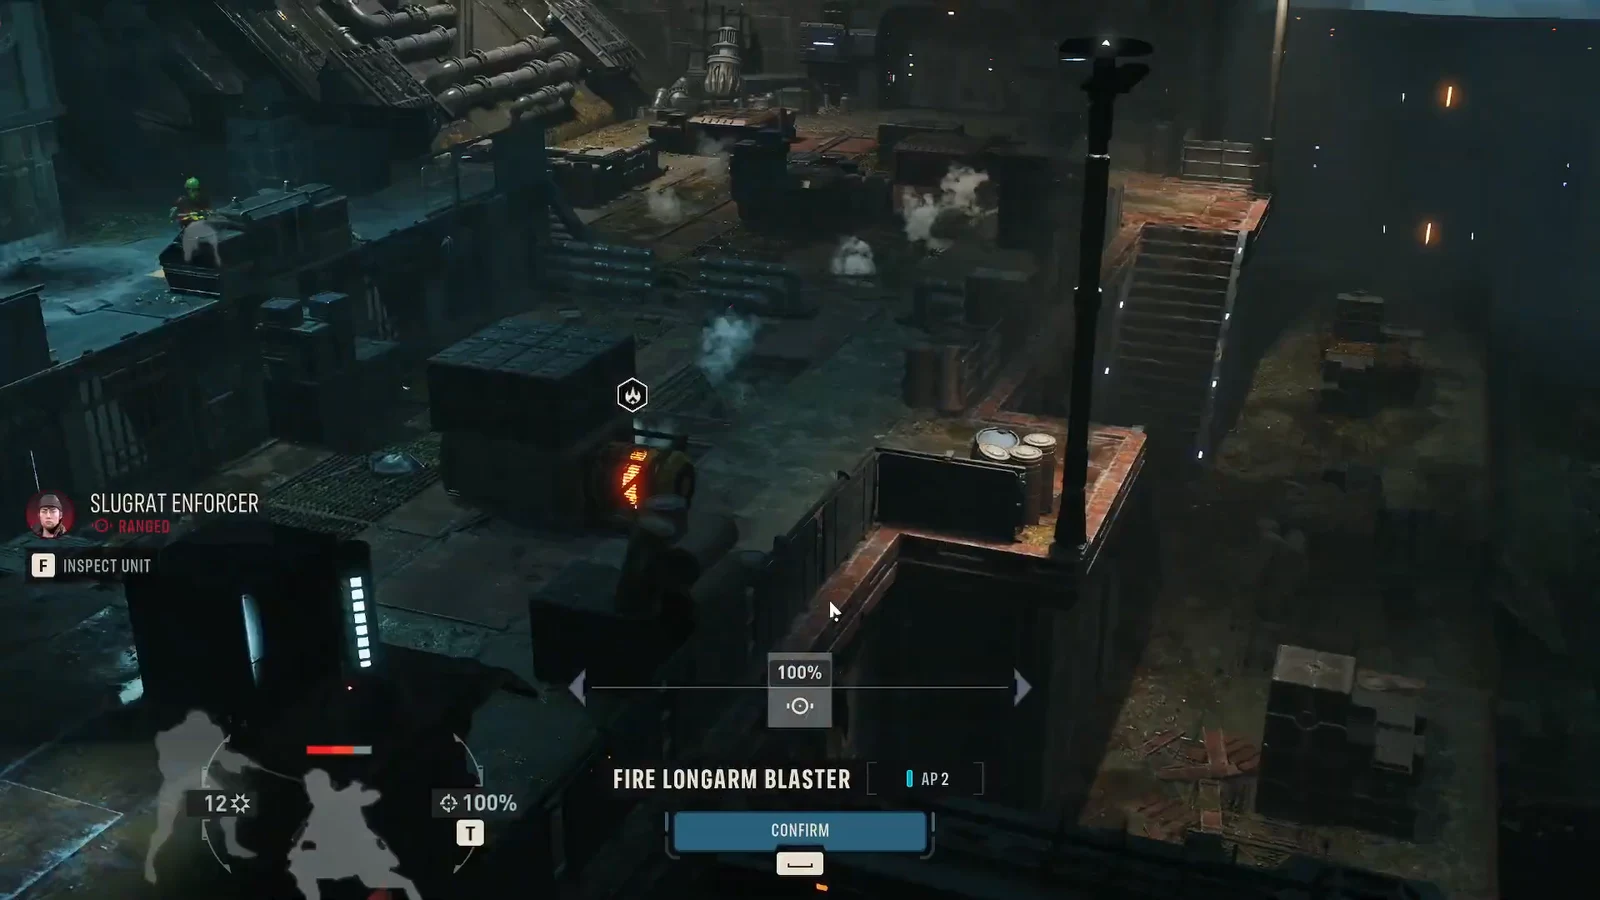
Note: the cover on that right-side platform is destructible, so it will not protect a ranged operator forever. There is an explosive barrel up there, though, and detonating it when enemies bunch up beneath you both damages and ignites several of them at once.
Turn the stairs into a kill box with Overwatch
Most Slugrats want to reach you in melee. That makes them predictable, and predictable enemies die to Overwatch. Keep two operators watching the two staircases at all times while the other two shoot.
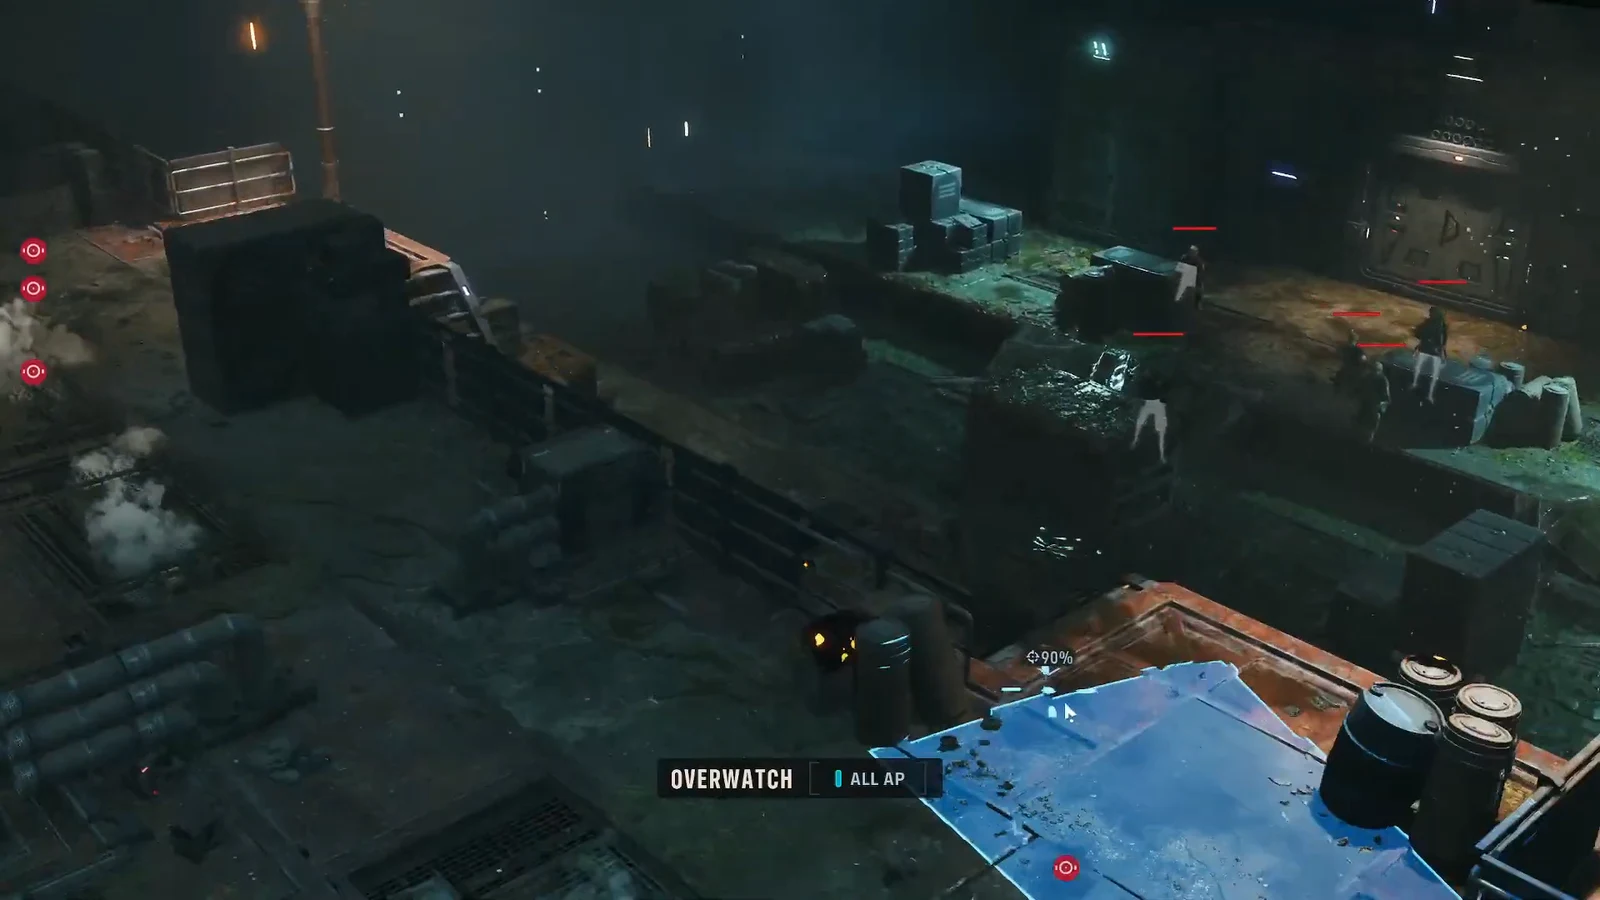
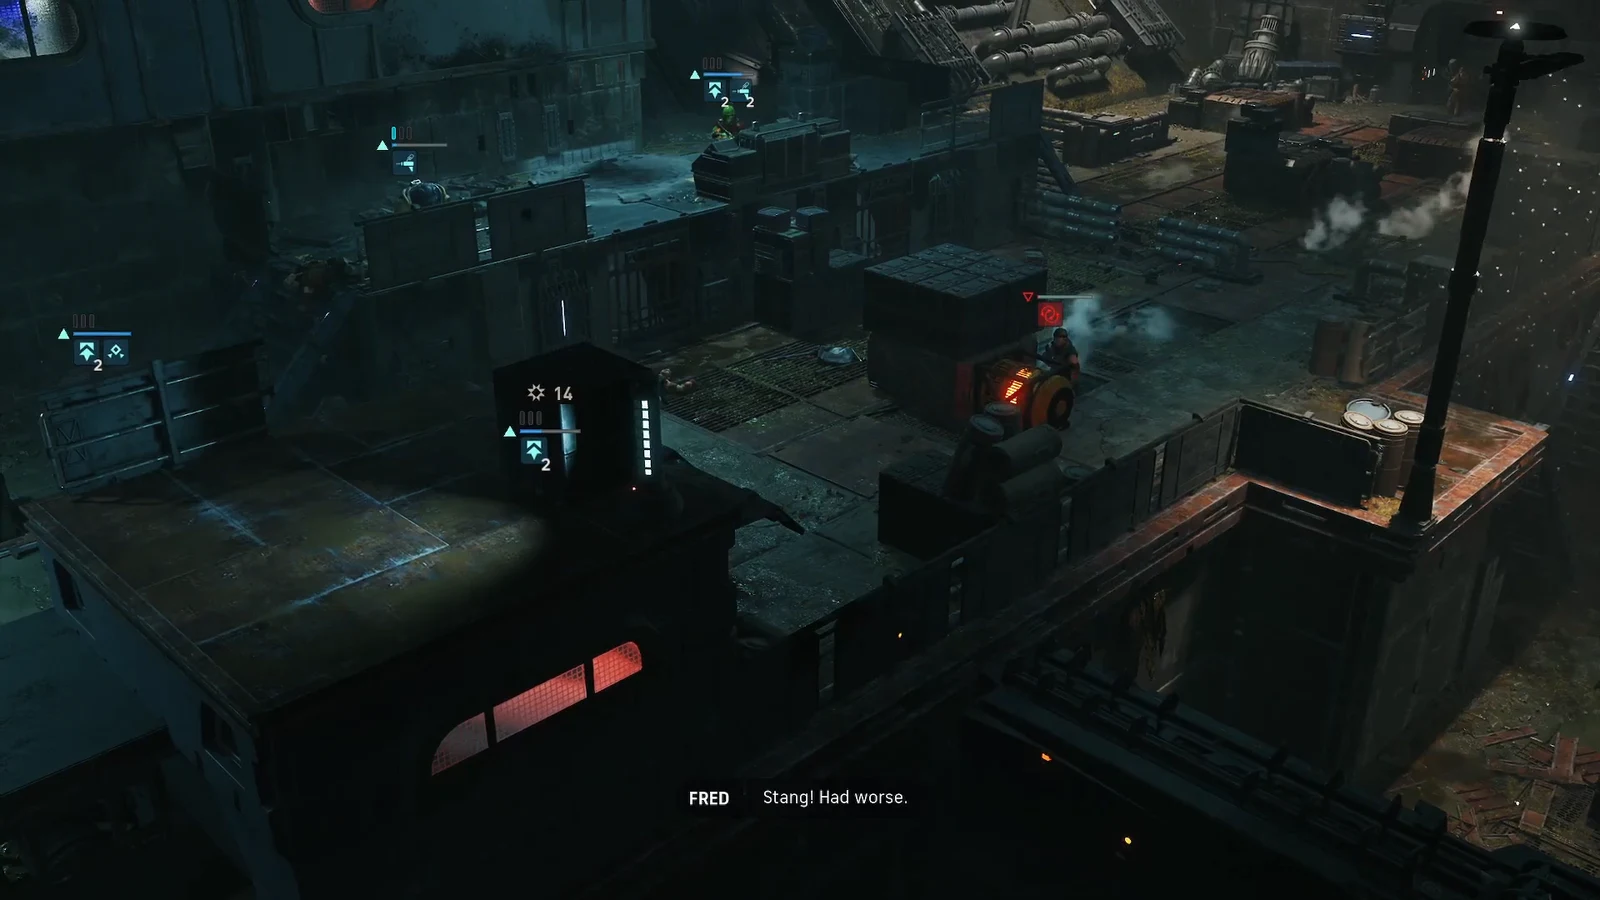
Your Medic is doing more than patching wounds here. Rotating heals with Morale Boost Adv and Combat Stim keeps the other three operators acting every turn, while the Heavy taunts to pull fire away from the ranged trio. Enemies that survive the walk arrive at your position with no cover left and half their health gone.
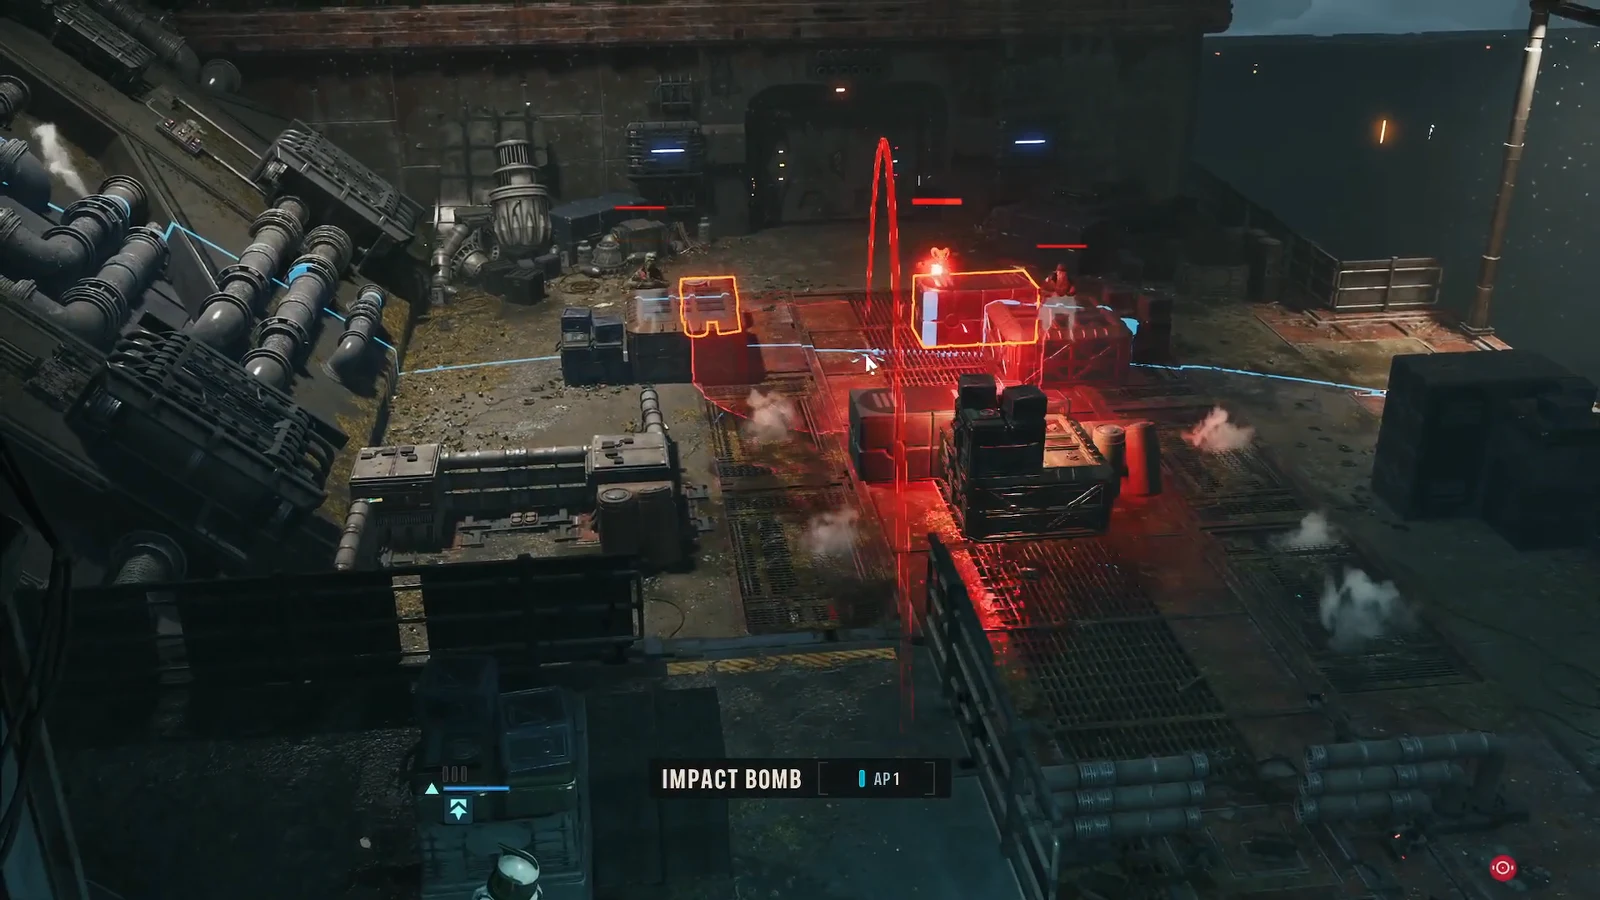
When several Slugrats stack up behind the same crate or advance in a group, drop an Impact Bomb on them. It is also the cleanest way to break an enemy Overwatch that has your approach lane covered.
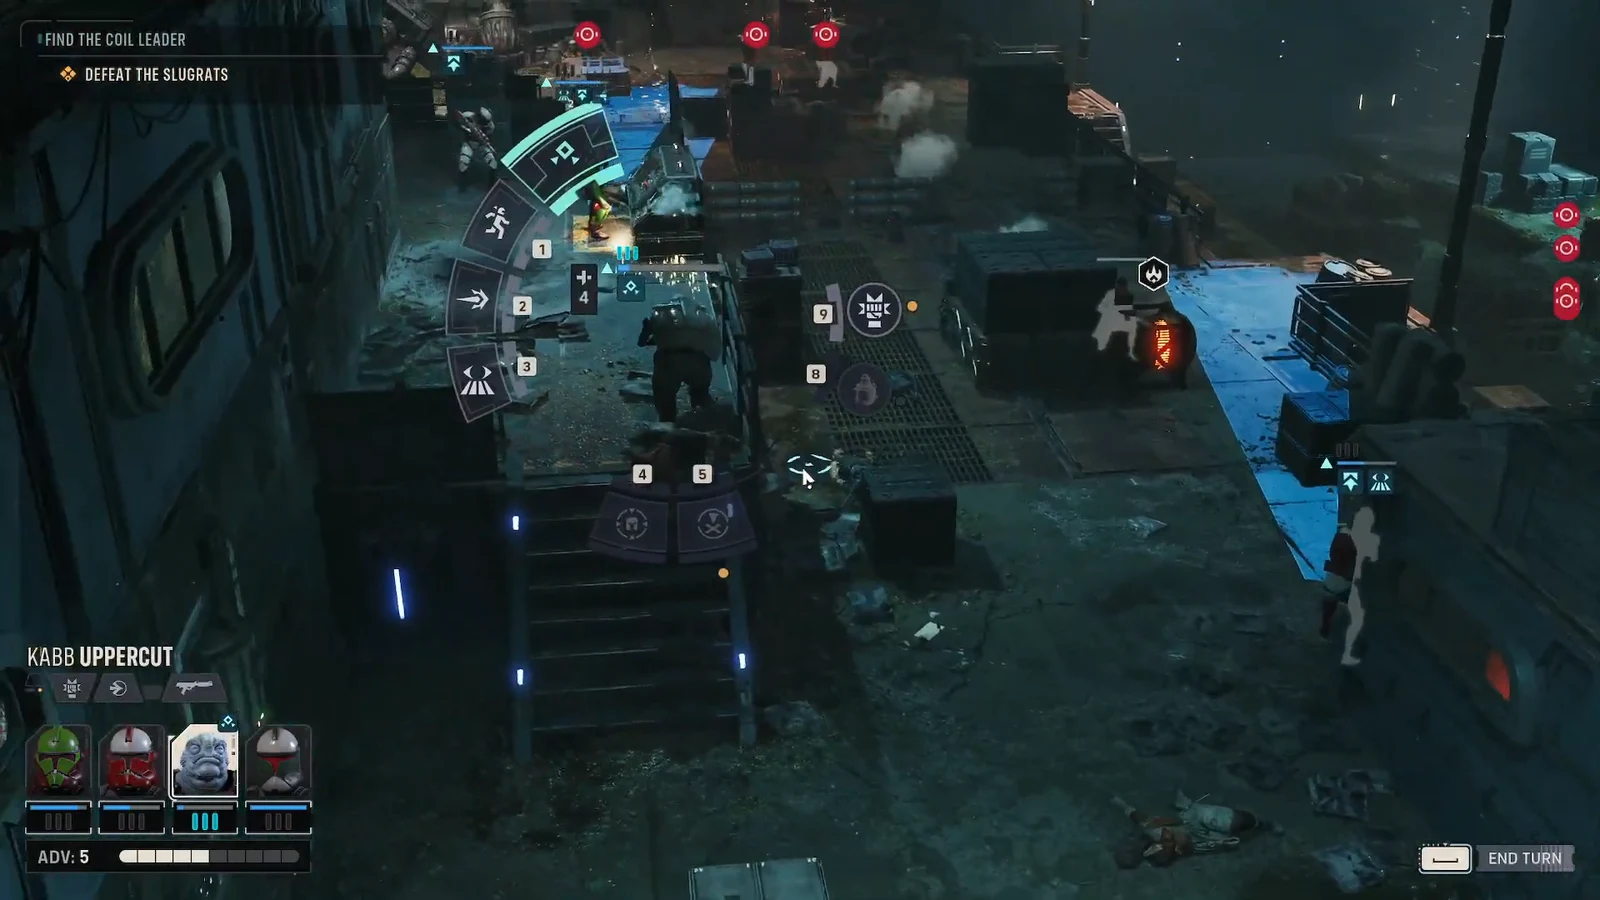
Anything that does slip through the Overwatch net gets handled up close. Kabb’s Uppercut is a reliable answer for a single melee Slugrat that reaches your line, and it keeps your ranged operators from wasting a turn stepping away.
Reinforcements and when to use the drain console
Reinforcements arrive at the back of the arena on the enemy’s third turn. They spawn far away, so they are not an immediate threat — clearing the first wave before they close is what buys you the room to handle them.
The trap in this encounter is the console itself. Draining the canal reveals a lower floor and pulls in more enemies, so hitting it while reinforcements are already inbound leaves you fighting two fronts at once. Use the turn immediately before the reinforcements enter to advance toward the console and set a defensive perimeter around it instead. From there you can damage or outright kill all three arrivals from the north without anything in the canal reaching you.
A second group follows from the north. Grenades and Trick’s Rocket Strike clear it quickly, since these enemies tend to arrive clustered. Always deal with the northern spawns first — the Slugrats in the canal take several turns to cross the gap, and some of them will not commit to the stairs right away.
Clearing the five Slugrats below in the canal
Once the upper level is clear, five enemies remain in the drained canal. Do not go down after them. Stay on the high ground, keep two operators on Overwatch covering both staircases, and shoot down at whatever is exposed.
Any Slugrat that climbs the stairs eats Overwatch fire before it can reach cover, and the rest get picked apart by your long-range operators while they scramble for a safe angle. It is slower than pushing, but it costs you nothing, and losing an operator here is permanent.
Mistakes that cost operators in this encounter
- Draining the canal on the same turn reinforcements arrive, which stacks the new lower-floor spawns on top of the northern group.
- Parking a ranged operator on the right-side platform indefinitely — that cover breaks, and once it is gone the position is exposed.
- Leaving enemy cover intact, which lets melee Slugrats advance safely and dodge your Overwatch lanes.
- Descending into the canal to chase the last five enemies instead of holding both staircases.
- Spending every grenade early, leaving nothing for the clustered second wave from the north.
You will know the encounter is over when the last Slugrat drops and the path forward opens into the underground section. Follow it to trigger a cutscene where you meet a new ally and learn more about the Coil. Your consumables and grenades refresh before the next fight, so anything you were saving is no longer worth hoarding.