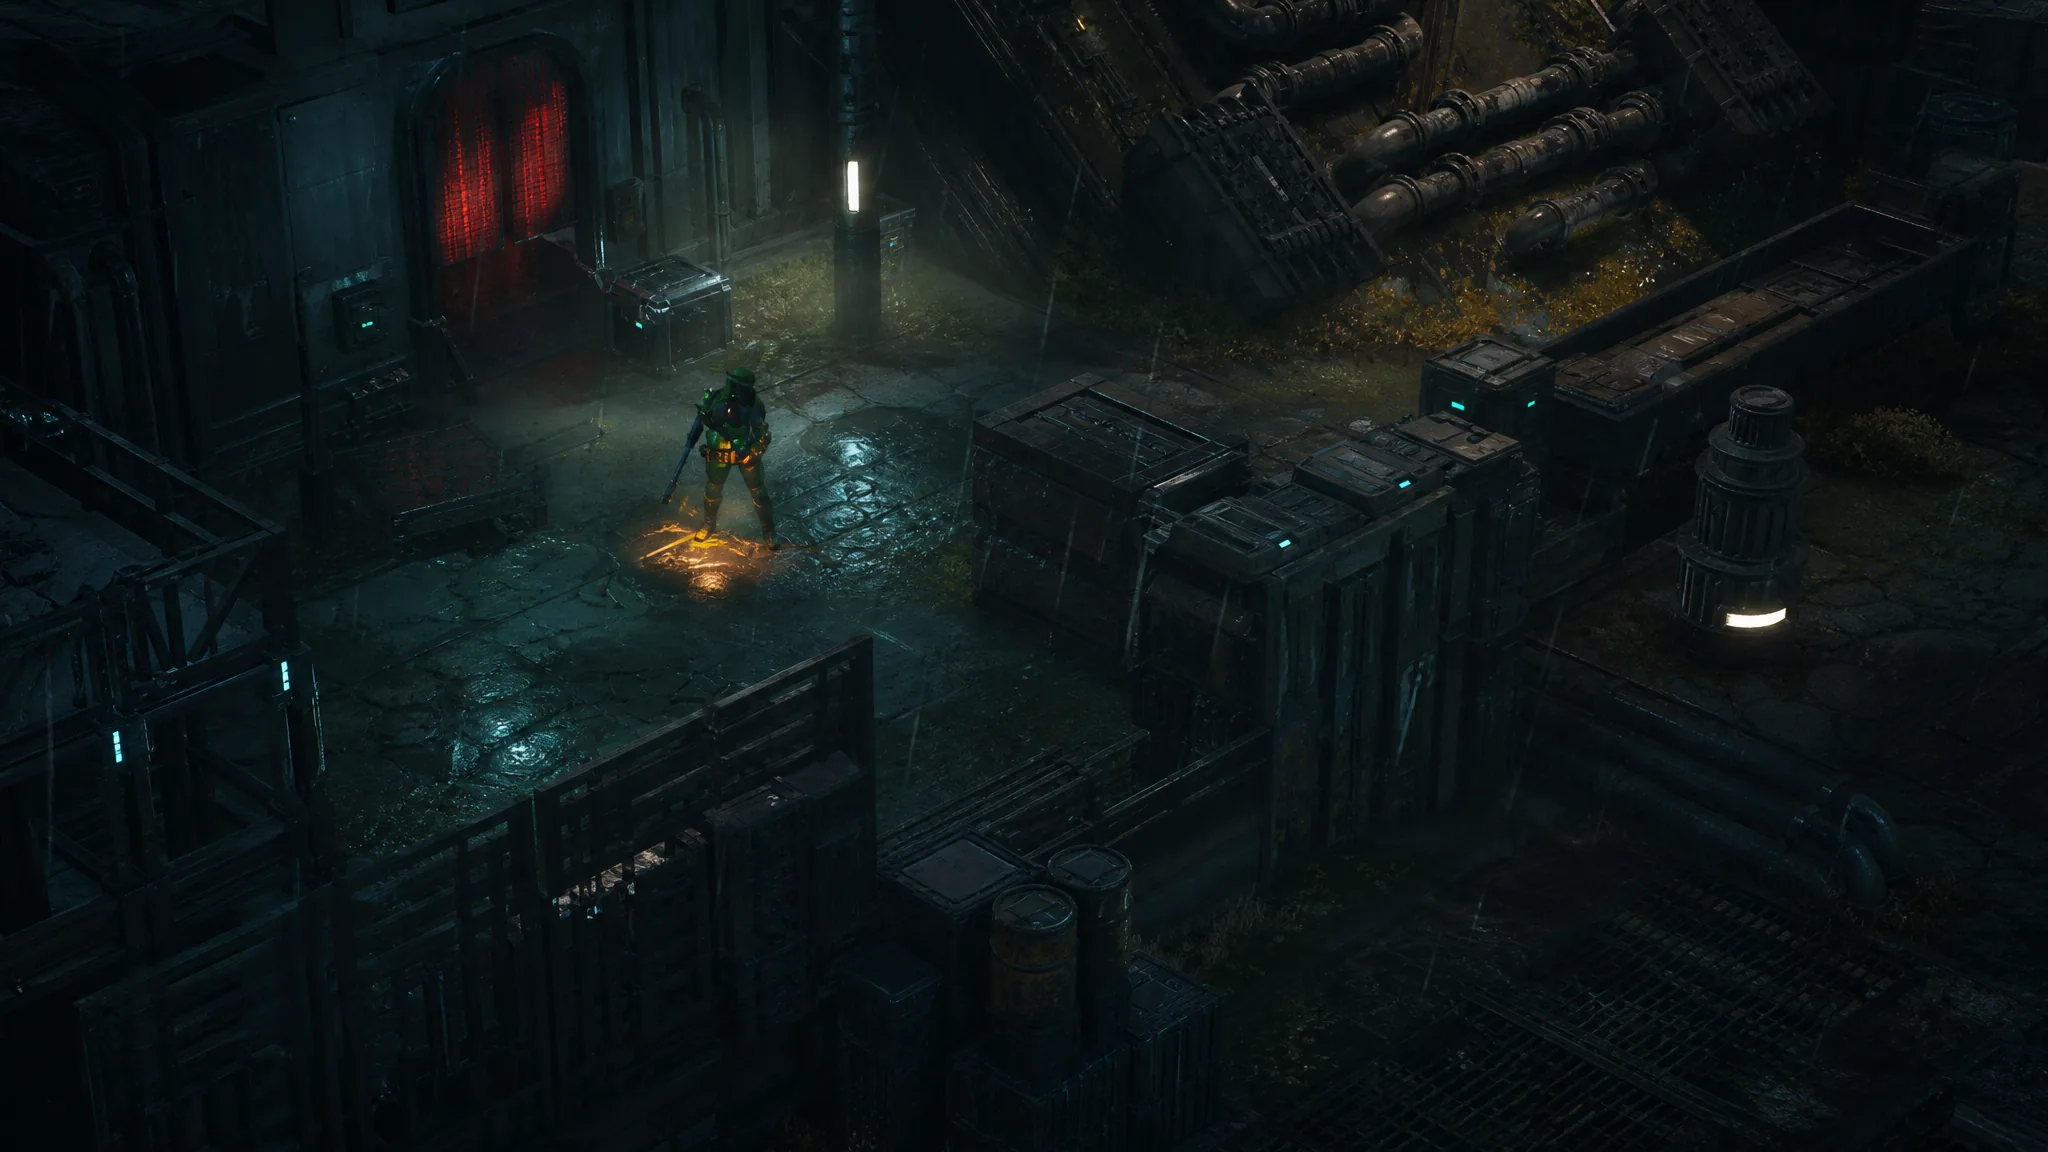
The “Find the Coil Leader” objective in Star Wars Zero Company ends in a straight elimination fight. Every Coil unit on the map has to die, there is no console to hack or terminal to hold, and the enemy gets stronger every time you kill something. That last part is what catches people out.
Quick answer: Hold elevated cover, cover both approach lanes with Overwatch, and kill Coil Strikers before they reach melee range. Never leave an enemy sitting on three Resonance stacks. When the Coil Brute arrives with reinforcements, hit it with Easy Mark II and chain guaranteed critical hits from your long-range and melee operators.
Squad and loadout requirements for the Coil Forces fight
You are fighting organic Coil troops here, not droids, so an astromech contributes very little. What the encounter demands is sustain and range. It runs long, it comes in waves, and downed operators pick up injuries that stack toward permanent death.
| Slot | What it does in this fight |
|---|---|
| Hawks (long-range rifle) | Picks off Strikers before they close and lands the chained critical hits on the Brute. |
| Medic | Combat Stim II and Surgeon’s Tools keep the front line standing through multiple waves. Give them a long-range rifle too, since they sit in the back. |
| Heavy | Taunts and absorbs the melee pressure so nobody squishier gets swarmed. |
| Trick or a melee operator | Rocket Strike III clears clustered enemies. Kabb’s Uppercut II knocks targets out of cover for follow-up damage. |
Bring Impact Bombs or another grenade type. Grouped Coil units are the single best use of explosives in the encounter, and they also break enemy Overwatch when you need to move.
Resonance: the mechanic that decides the fight
Every Coil enemy carries Resonance. When one of them dies, a surviving Coil unit picks up a stack. Stacks cap at three, and hitting three triggers a surge that heals the unit, raises its combat stats, and switches on abilities it did not have before.
| Stacks | Effect |
|---|---|
| 1–2 | Incremental buff. Still a normal target. |
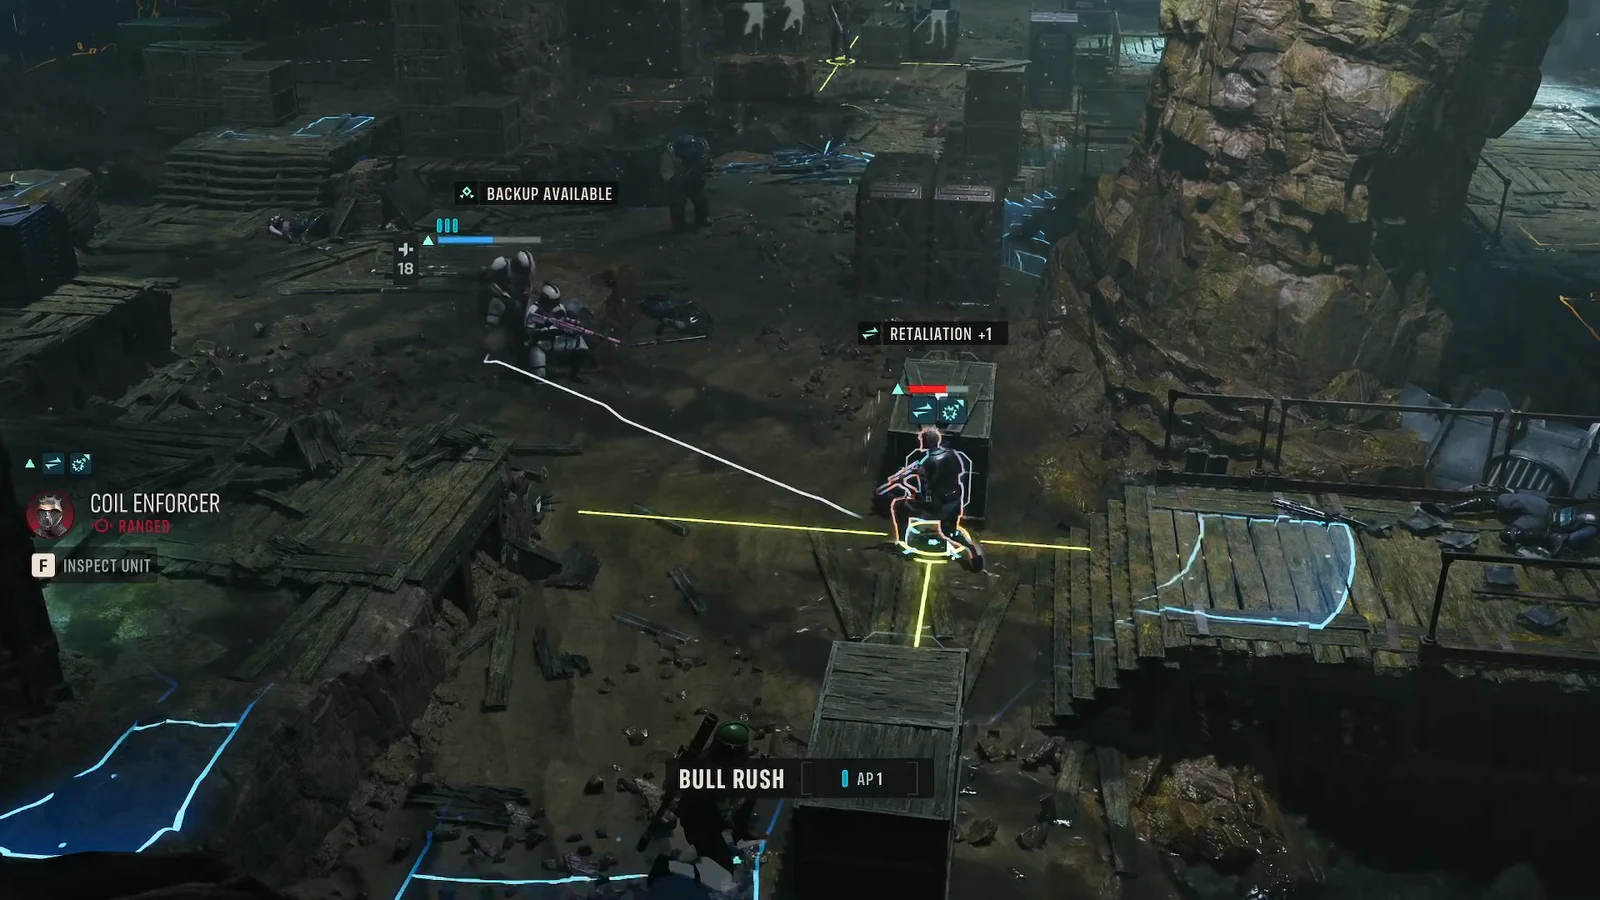
| 3 (surge) | Unit heals, gets stronger, and unlocks abilities such as Retaliation, invisibility, and melee attacks that reach through cover at range. |
The practical rule is simple. A surged enemy jumps to the top of your target list the moment you see the stacks fill, because a surged Striker can cross the gap and hit you through the cover you were relying on. When two enemies are equally exposed, kill the one that is already stacked rather than the one that is nearly dead.
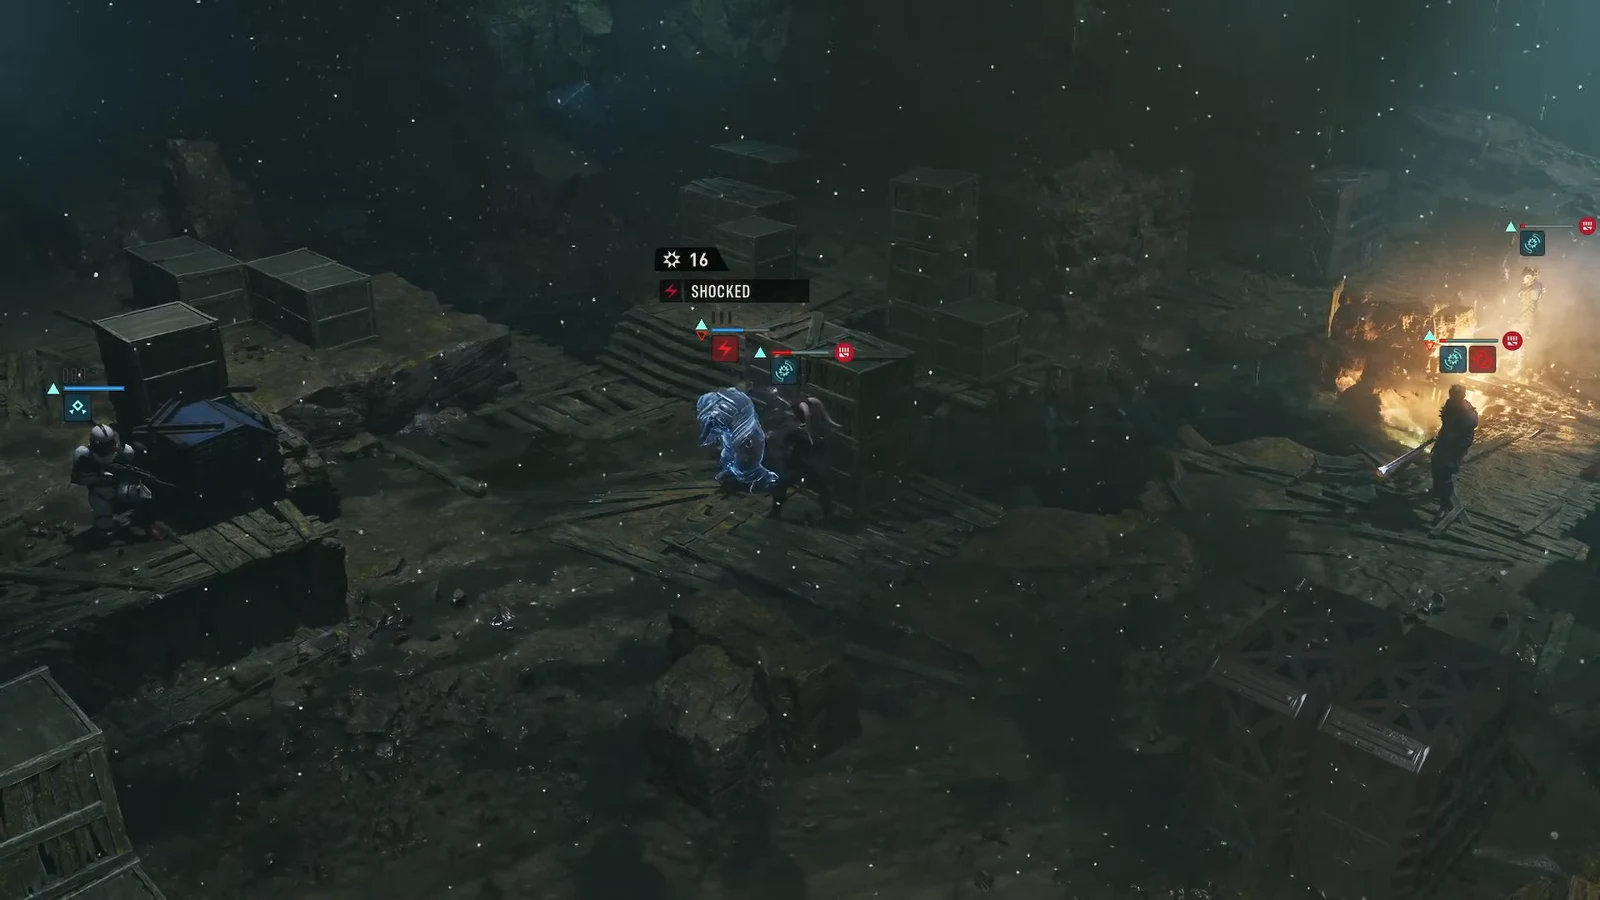
Opening turns: build a kill box before you attack
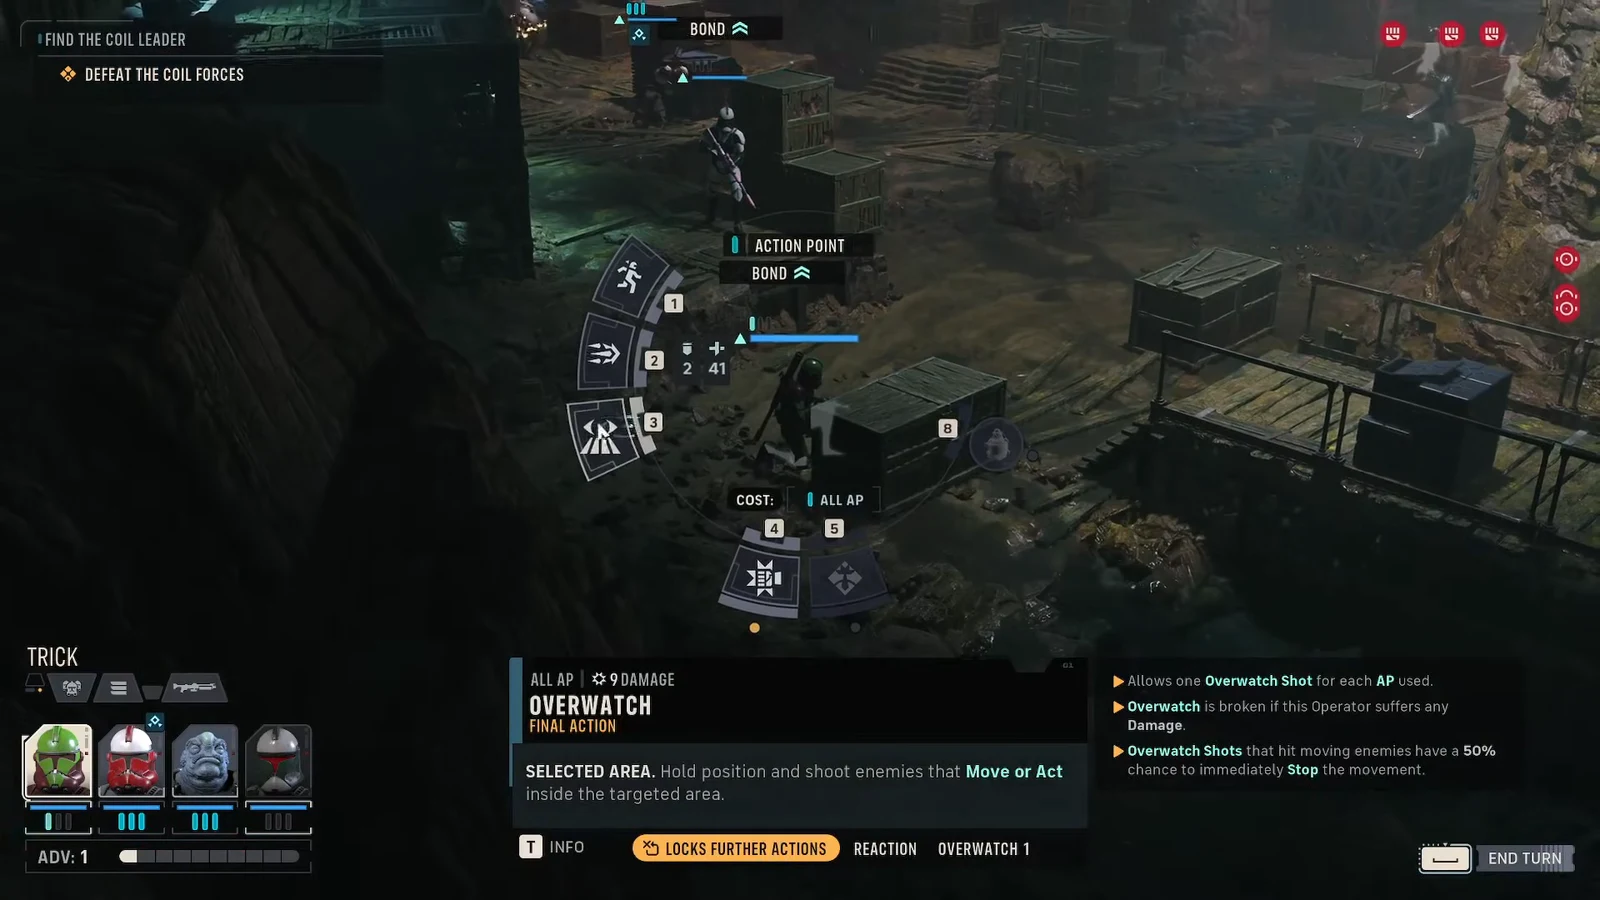
Melee Coil Strikers are the fastest threat on the board and the reason most runs go wrong. The opening is about denying them a clean charge.
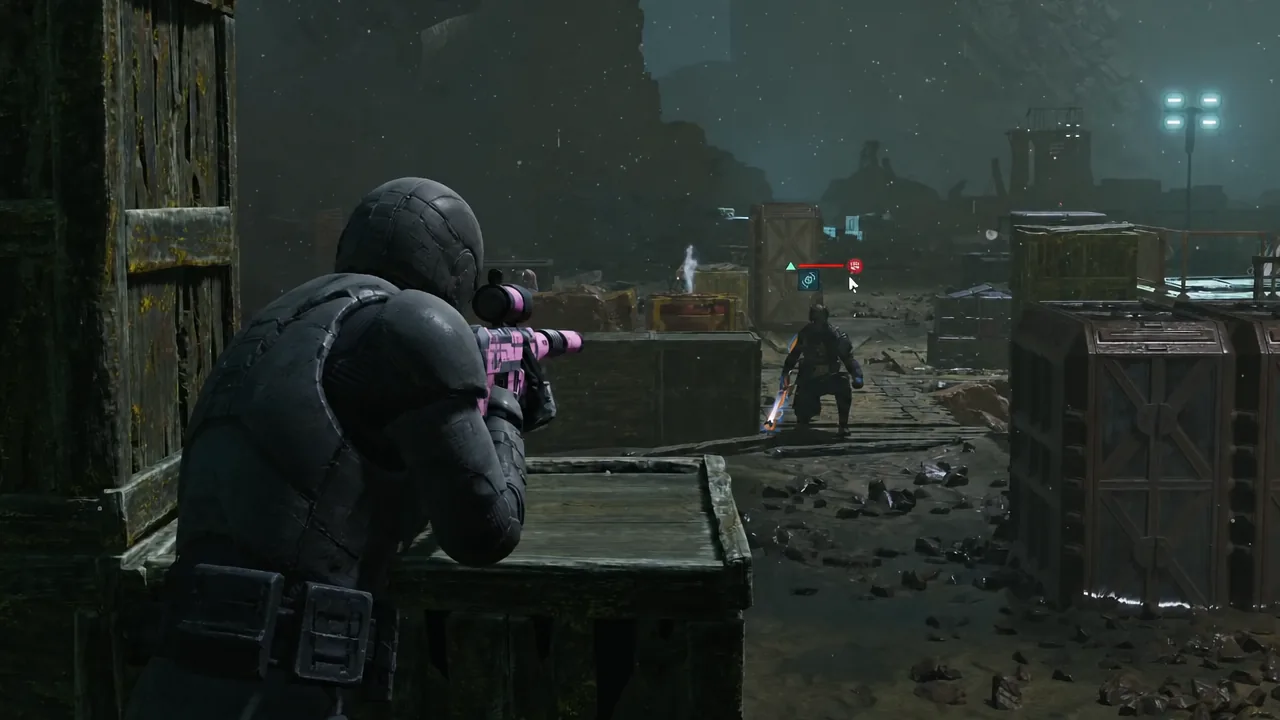
Target priority for Coil Strikers, Enforcers, and the Brute
| Enemy | Priority and how to handle it |
|---|---|
| Coil Striker | Highest early priority. Melee focused and fast. Kill it in Overwatch or shoot it before it can close the distance. |
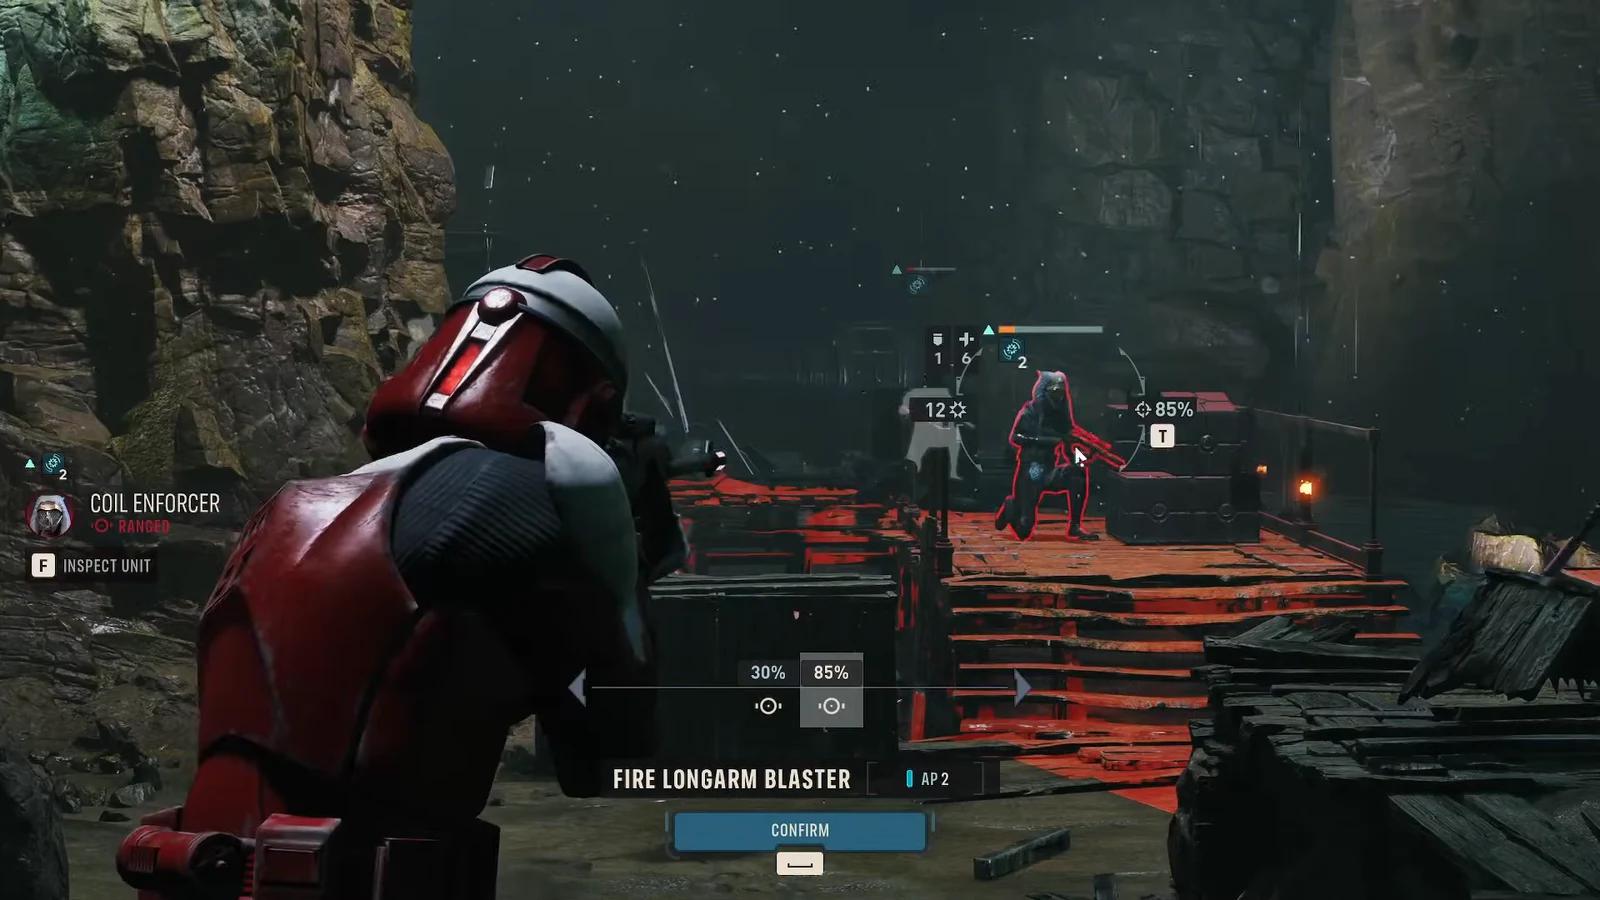
| Coil Enforcer | Ranged pressure. Strip its cover, then finish it with concentrated blaster fire. Watch its Resonance stacks as the wave thins out. |
| Any surged unit | Drop everything and kill it. The heal and ability unlock make it more dangerous than a full-health unsurged enemy. |
| Coil Brute | Arrives with reinforcements and has a large health pool. Needs a vulnerability debuff plus stacked damage, not chip shots. |
Reinforcements and the Coil Brute
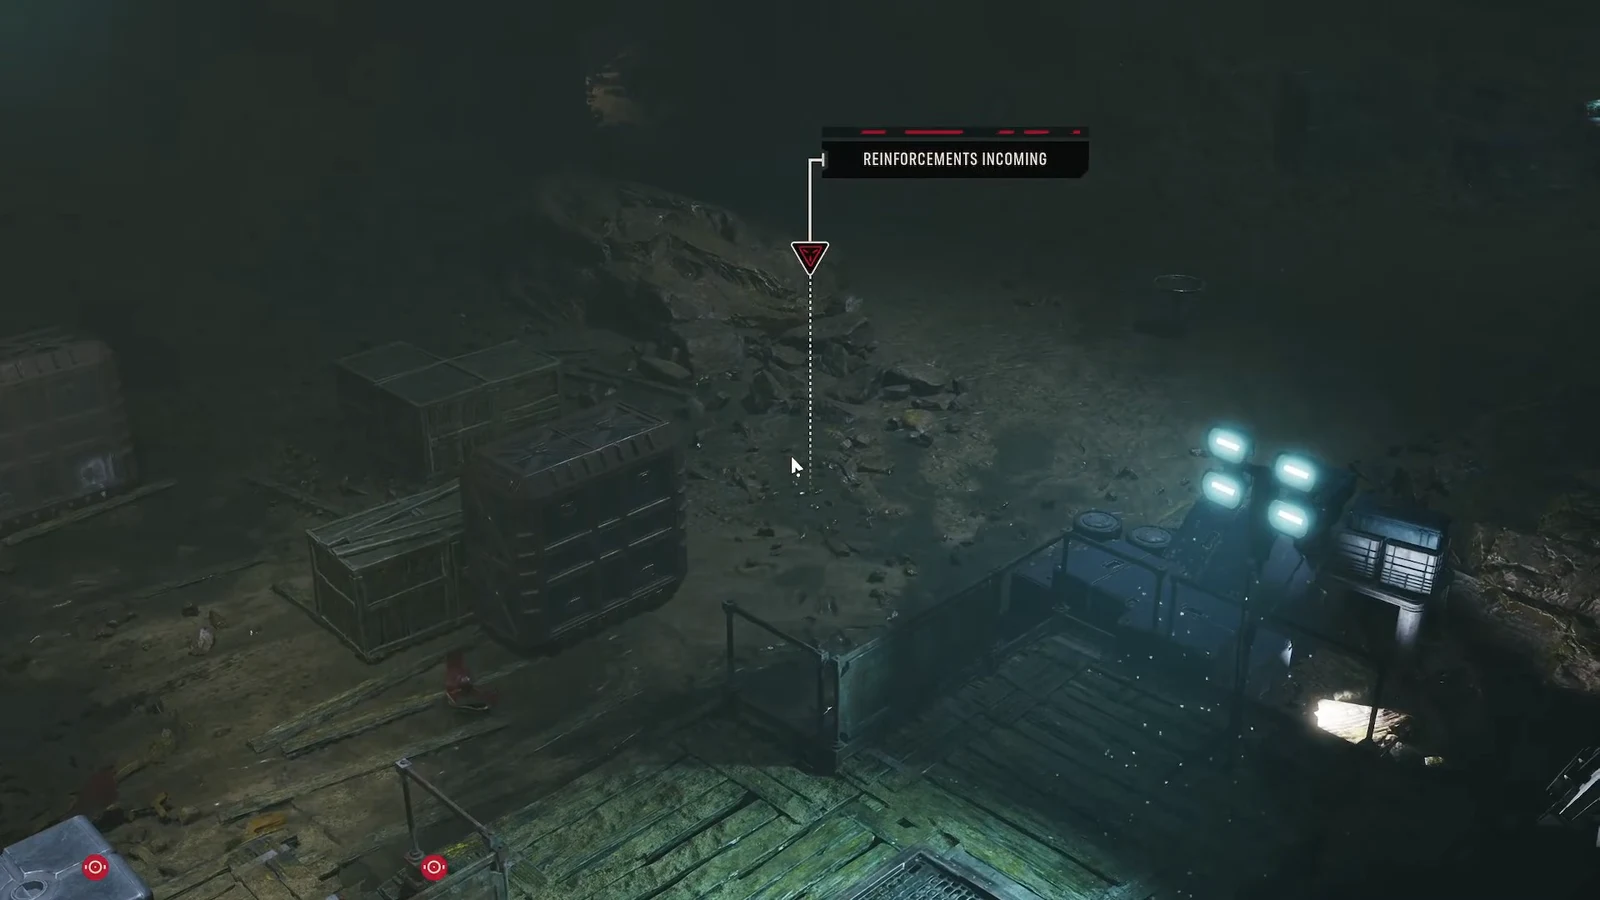
Once the first wave is down, a reinforcement warning appears with a marker showing where the new group will land. A Coil Brute comes in with them, and the objective updates to “Defeat the Coil Brute.” This is why you save at least one explosive.
Keeping operators alive with the medic
Heal on schedule, not in emergencies. Every time an operator goes down they take an injury, and three injuries kills them outright with permadeath enabled. Combat Stim II and Surgeon’s Tools exist to keep your front line above that threshold, so use them the turn before someone gets into trouble rather than the turn after.
Note: your medic should be sitting on the elevated position with a long-range rifle. That way they contribute damage on turns when nobody needs treatment, instead of standing idle in the back.
How to confirm the encounter is complete
The “Defeat the Coil Brute” objective clears the moment the Brute drops. The main “Defeat the Coil Forces” objective only resolves once every remaining Coil unit is dead, at which point combat ends and the scene plays out. There is no partial credit and no extraction shortcut here.
If the fight is going badly, it is almost always one of these:
- Operators standing too close together, so one area attack damages several at once.
- A Coil unit left alive at three Resonance stacks, healing itself and reaching you through cover.
- Pushing off the high ground into melee range instead of letting the Strikers come to your Overwatch.
- Spending every grenade on the first wave, leaving nothing for the clustered reinforcements.
- Attacking the Coil Brute without applying Easy Mark II first, so the damage never stacks fast enough.
If a run does go wrong, you can restart the mission from the game menu with the same operators and try a different opening. That is usually a better outcome than pushing through and losing a squad member you cannot replace.