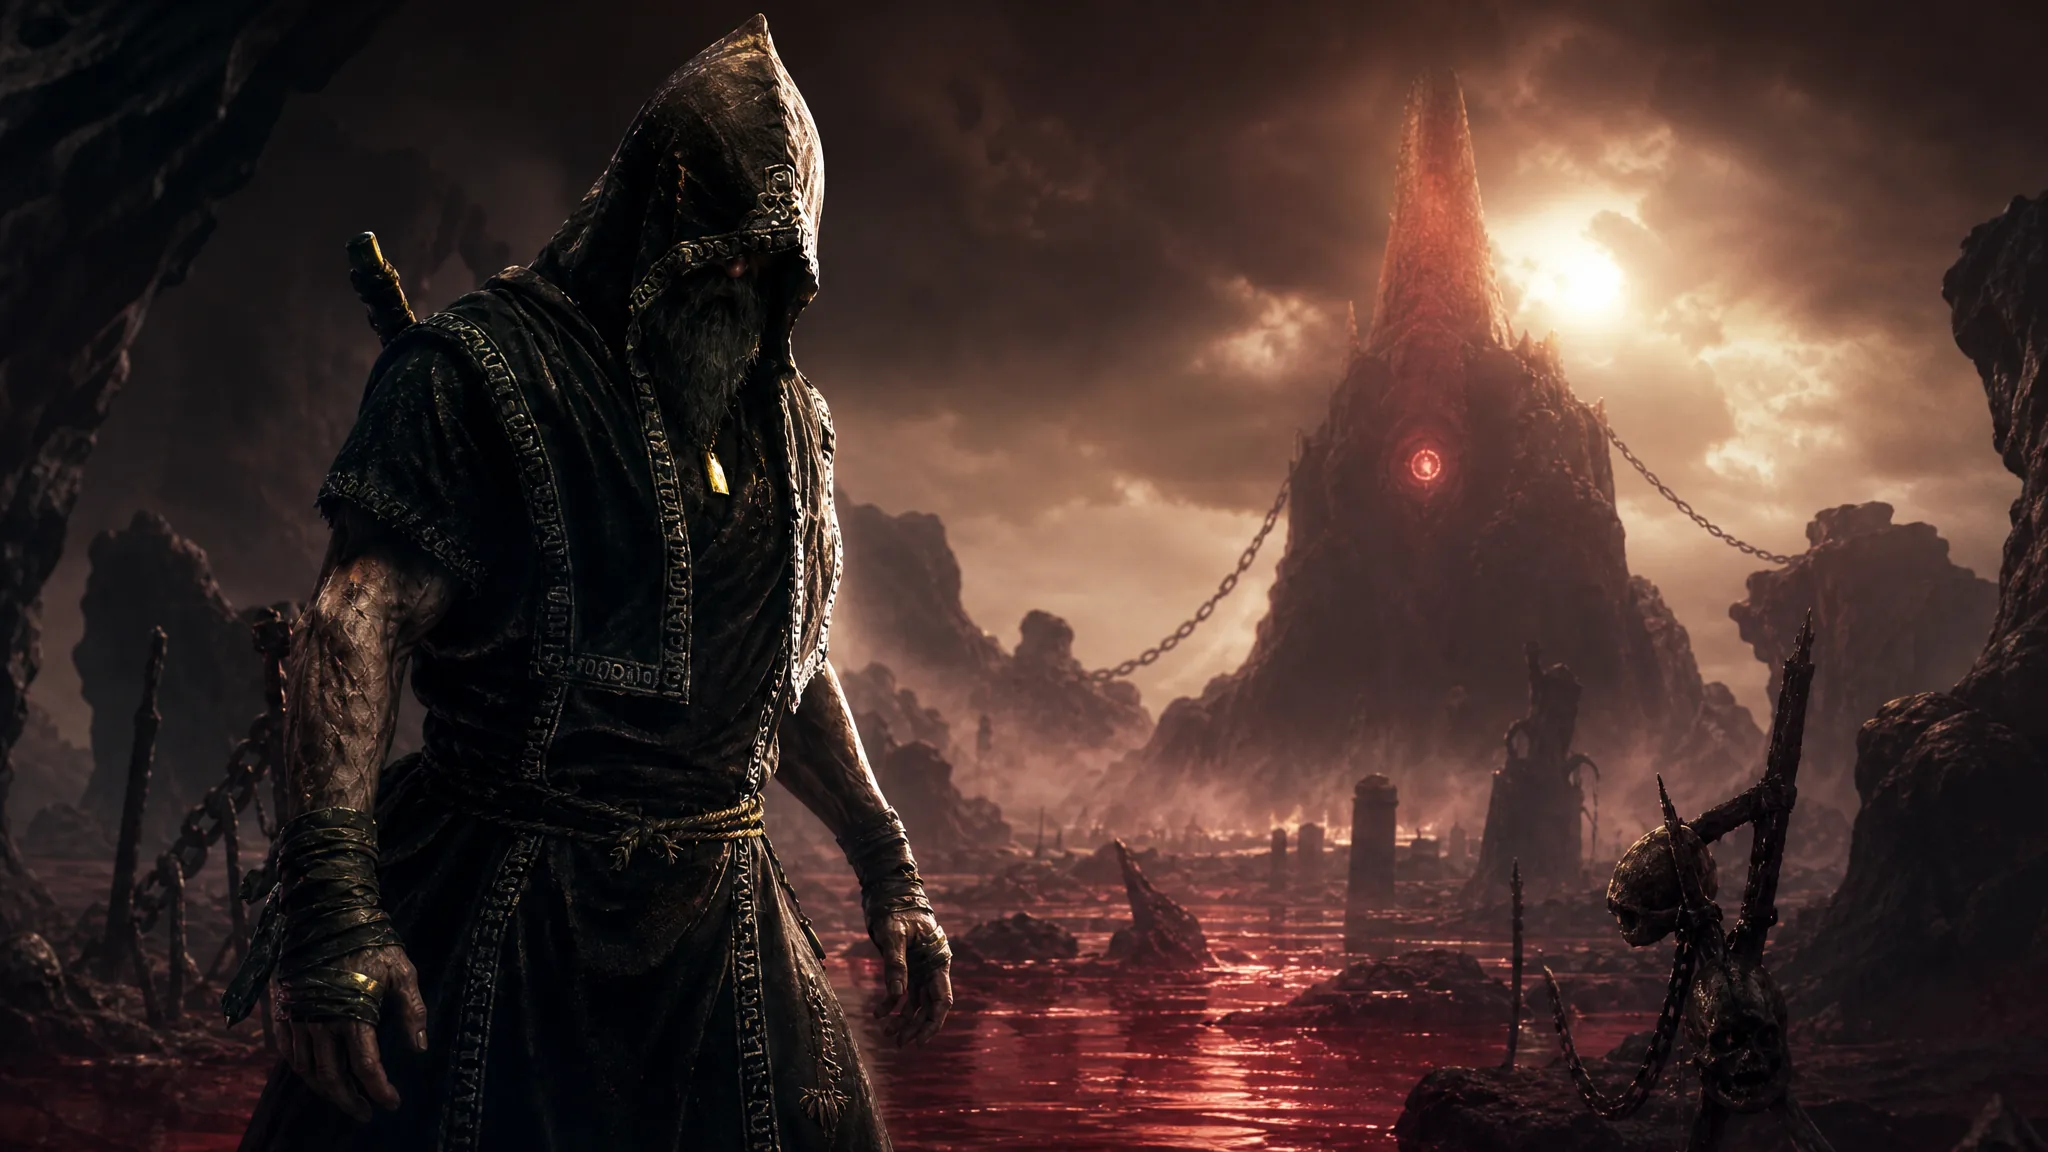
Smert, the Apostate is built around one idea. Freeze time with Miracle, punch enemies to stack Chaos, then let those stacks explode when time resumes. His health pool is the lowest of any shell in Mortal Shell 2, but his burst damage against bosses is among the highest in the game if you set up the skill tree and Tarstones correctly.
Quick answer: Max Novertime and Striker, add Devotion and Fervor for low-HP Resolve, then equip Auspicious Stone, Headsman’s Stone, Berserker’s Stone, and Duality Stone. Activate Miracle, spam light-attack fist combos to 100 Chaos stacks, and let Miracle end to detonate for heavy burst.
How the Smert Chaos loop works
Miracle sacrifices half of Smert’s current health to halt time and put him into a Fight Stance. While time is stopped, every unarmed hit applies Chaos stacks that sit on the target. The moment time resumes, all those stacks detonate at once for damage plus random status effects.
You can push past Miracle’s base duration using Overtime, which costs more health but buys you extra seconds to keep stacking. The payoff for reaching around 100 Chaos stacks is roughly 300 damage in a single burst, which is enough to stagger or delete most enemies.
The safety net is Deadly Revelation. When Smert’s health drops to a low threshold he gains Faith, and while Faithful his melee hits generate far more Resolve. That lets him recharge Miracle quickly even after paying its steep health costs, so aggression at low HP is the intended playstyle rather than a mistake.
Shell point allocation
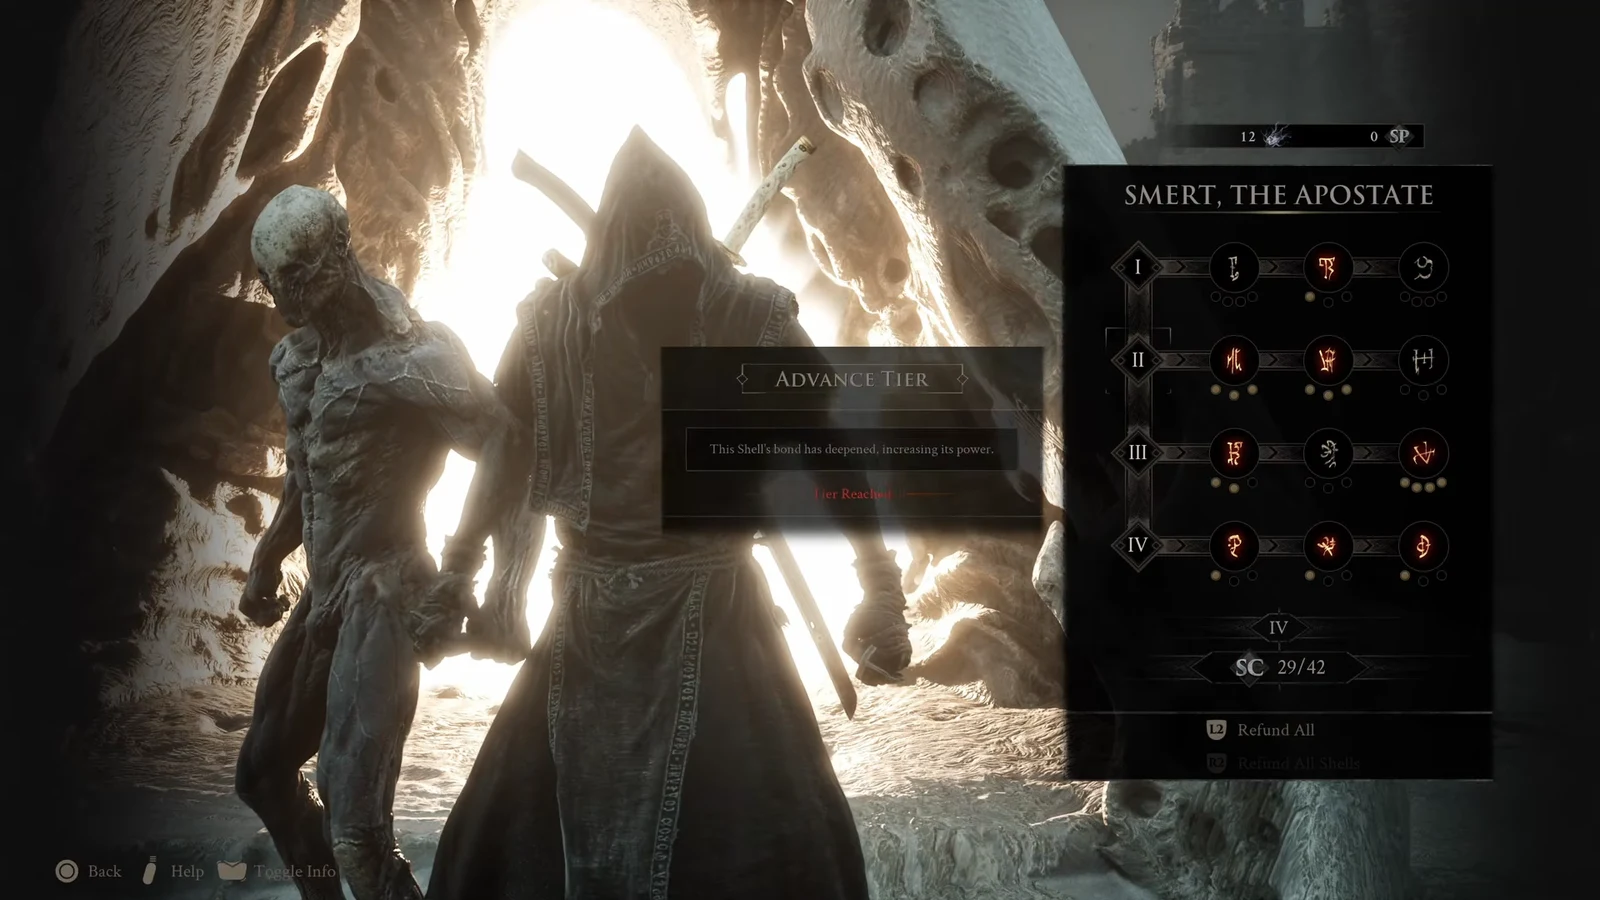
Two abilities carry the entire build. Novertime extends how long Miracle runs before Overtime kicks in, giving you more time to stack Chaos. Striker makes your fists apply more stacks per hit and adds damage to every detonated stack. Everything else supports Resolve recovery and survival at low HP.
| Ability | Level | Points | Why it matters |
|---|---|---|---|
| Novertime | 4 | 10 | Extends Miracle and cuts Overtime damage taken |
| Devotion | 3 | 6 | Boosts Resolve regen while Faithful, with a chance to fully refill |
| Striker | 3 | 6 | More Chaos stacks per hit and higher detonation damage |
| Fervor | 2 | 3 | Raises the health threshold for gaining Faith |
| Tenacity | 2 | 3 | Reduces Miracle’s Resolve cost |
| Absolution | 1 | 1 | Mitigates Poison, Burn, Lightning, and Frost |
That core spread costs 29 shell points. Fervor at higher ranks pushes the Faith threshold up to 35% health, which makes it much easier to stay in the Resolve-generating window instead of dropping to near-death first.
Optional: Last Vow for permanent Fight Stance
If you have spare points, sink four levels into Last Vow. It permanently locks Smert into his unarmed stance and disables melee weapons, but the trade grants +20 damage, +15 Stagger Damage, a 12% critical hit chance, and a 15% chance to restore 5 health per hit. The extra stagger is strong enough that some players walk through content locking bosses in place, especially when paired with a summon that knocks them down.
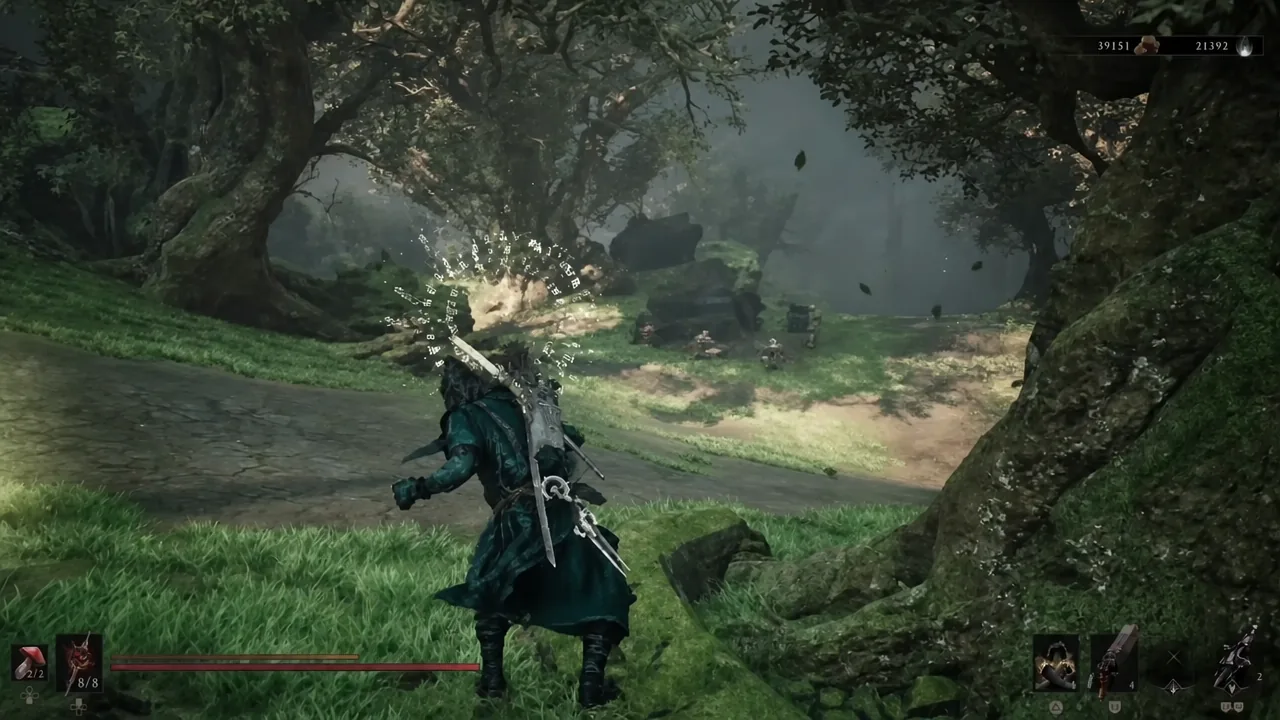
Best weapon and sidearm
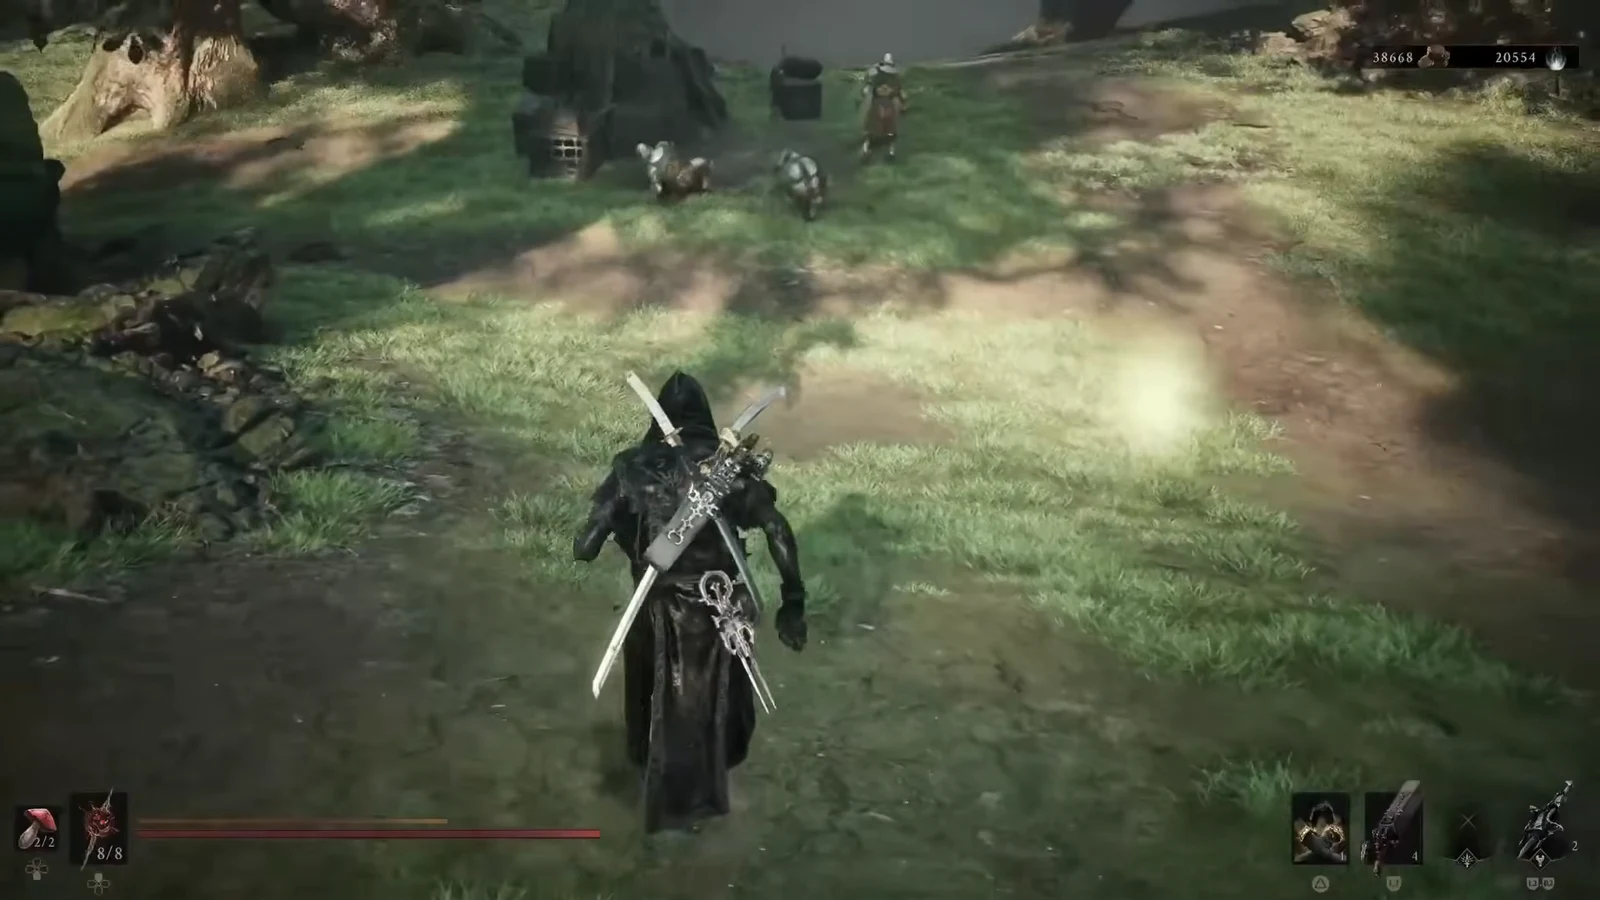
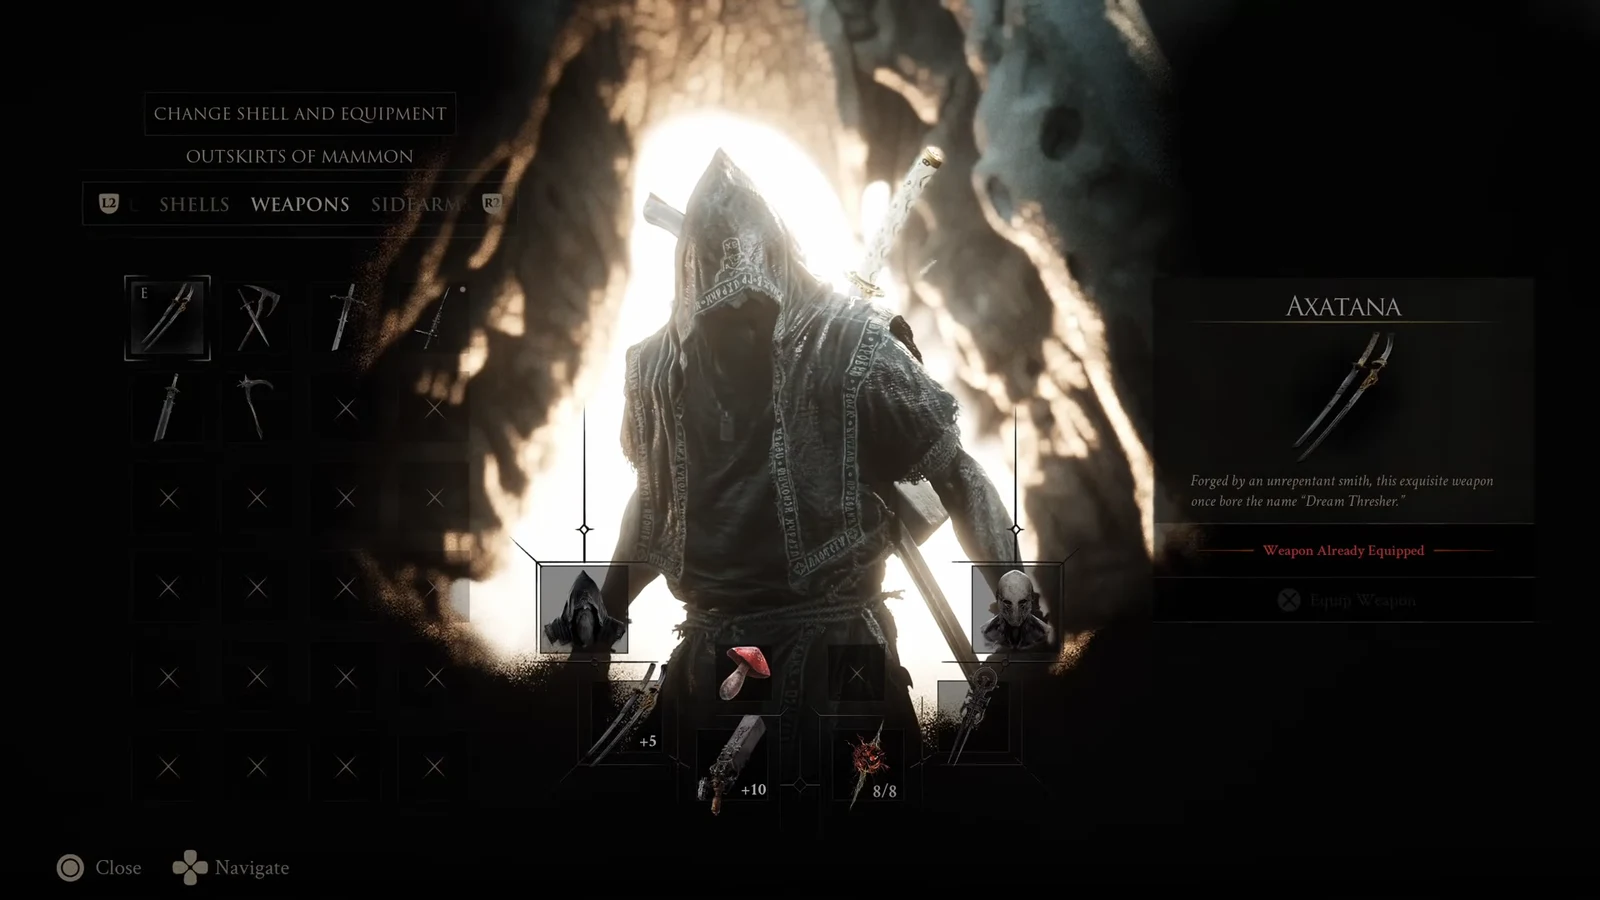
Smert deals his real damage with his fists during Miracle, so the weapon slot exists only for clearing mobs and rebuilding Resolve between time-stops. A fast weapon is the priority.
The Axe and Dagger (Axatana) is the pick for most runs. Its quick light attacks regain Resolve fast and pair with the Duality Stone for extra hits. The Caged Hystrix is the best sidearm, mostly for exploration and hitting interactables like the blue immortal flame without spending Resolve you need for Miracle.
Best Tarstones for Smert
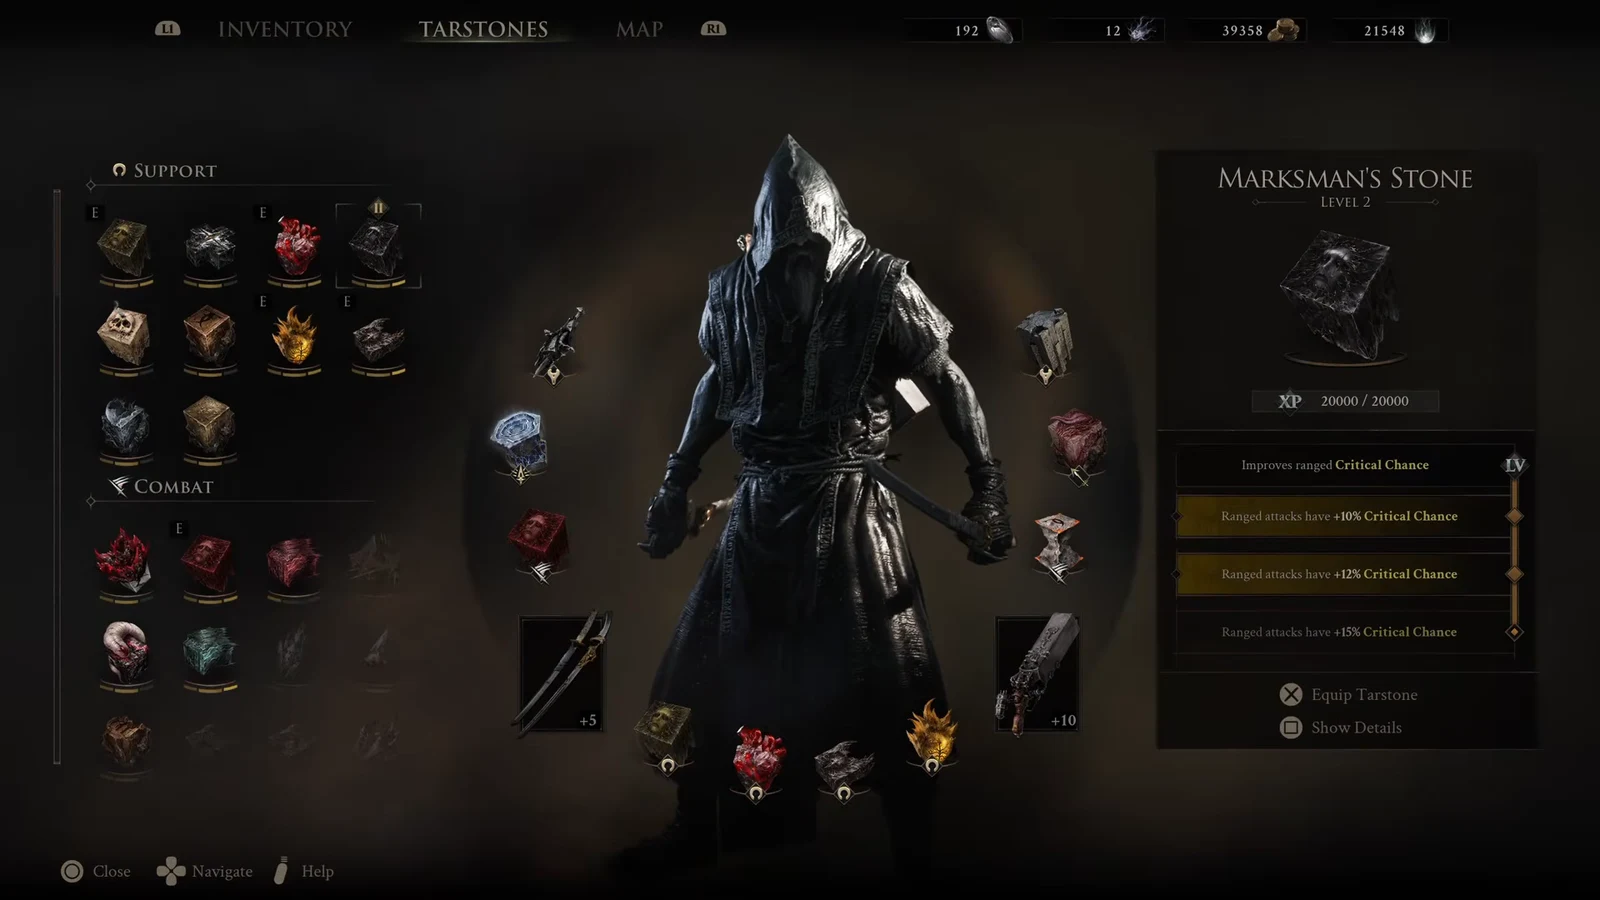
Support Tarstones affect both weapon and unarmed hits, so they are where you invest for the Chaos build. Weapon and sidearm Tarstones only buff your equipped gear, not your fists, so they are pure mob-clearing utility.
| Tarstone | Slot | Effect |
|---|---|---|
| Auspicious Stone | Support | Increases melee critical chance by 18% |
| Headsman’s Stone | Support | Boosts critical damage, hitting Chaos detonations harder |
| Berserker’s Stone | Support | Increases damage by 165% at or below 50% health |
| Marksman’s Stone | Support | Flexible slot for ranged crit chance |
| Duality Stone | Weapon (Combat) | Light attacks strike twice for faster Resolve |
| Arbiter’s Prize | Weapon (Infusion) | Inflicts Bloodcurse for AoE damage-over-time |
| Splitting Stone | Sidearm (Combat) | Improves sidearm AoE for clearing groups |
The Auspicious Stone sits in a chest at Mushroom Village. Berserker’s Stone is found near the Gragu shell location, and its low-HP damage bonus lines up perfectly with Smert’s playstyle. The Duality Stone is located in the Ravaged Tomb dungeon.
Seal and items
The Untarnished Seal is the safest choice. Its Perfect Guard builds Break quickly and opens Ripostes, giving you protected windows to recover after a Miracle ends. Vatra’s Seal is a viable alternative if you prefer hardening between fist combos to soak a hit.
For items, Common Moonshine as your active tool generates Resolve in tight spots. The Grisha Remnant is the standout passive because the Grisha summon keeps moving and attacking during Miracle while everything else is frozen, adding free damage to the time-stop window.
Combat loop
You will know the loop is working when a full stack detonation lands as a large explosion, often with a lightning effect, and the enemy drops into a long stagger. Against bosses, that stagger window is your cue to reset Resolve and start the next Miracle.
Strengths and risks to manage
Smert’s ceiling is enormous burst damage and near-total control of tough fights, since enemies cannot hit you while time is stopped. The cost is fragility. Miracle and Overtime both eat your health, so a mistimed activation or a stray hit at low HP can end a run fast.
Play him aggressively but with intent. Track your health before every Miracle, lean on Faith’s Resolve recovery instead of fearing low HP, and keep the Untarnished Seal ready for the moments when a boss’s attack lands right as time resumes. Managed carefully, few shells match his damage output against a single hard target.