Pope’s Research sends Dylan into the Unknown to set up Emily Pope’s probe relays, giving her a way to examine the Patterning spreading through the zone. It begins alongside the Sever the Hedron Links main story, and completion is necessary to continue progressing. The process is easy once you get the hang of it, but the Unknown’s broken terrain and shifting gravity can make its balloons and red placement circles difficult to find.
Quick answer: Slam all seven research balloons scattered across the Unknown’s islands, drop each probe relay into its red circle, then set up a final balloon in the center and fly into Point 0 to finish.
How to start Pope’s Research
Pope asks Dylan to enter the Unknown and sever the remaining Hedron Links after he completes The Hedron Link main quest and speaks with her. This starts both Sever the Hedron Links and Pope’s Research. In the Oldest House, ride the elevator and choose the roof floor to arrive in the Unknown.
Step out of the elevator and the objective reads Set Up Probe Relays in the Unknown. Use Gravity Shift off the edge, then look left to spot the first balloon.
How each probe relay works
Every balloon follows the same pattern, so once you clear the first one the rest are muscle memory. Keep these rules in mind before you start planting relays.
- Land on the platform or crate hanging beneath the balloon and ground-slam it (or press L1) to release the probe relays.
- Each device breaks into separate pieces, which you must carry individually to nearby red circles on the ground.
- The minimap displays a signal symbol for each circle; use those markers to find your way if you get turned around.
- Placing the last relay for a balloon spawns a Gravity Well that launches you toward the next island.
- Shift, Elevate and Air Dash are needed constantly to align Dylan to new surfaces and cross gaps.
Clear any enemies around a balloon before you start carrying relays, since you cannot place a device safely while under fire.
All research balloon locations
Balloon 1 — Oldest House Rooftop
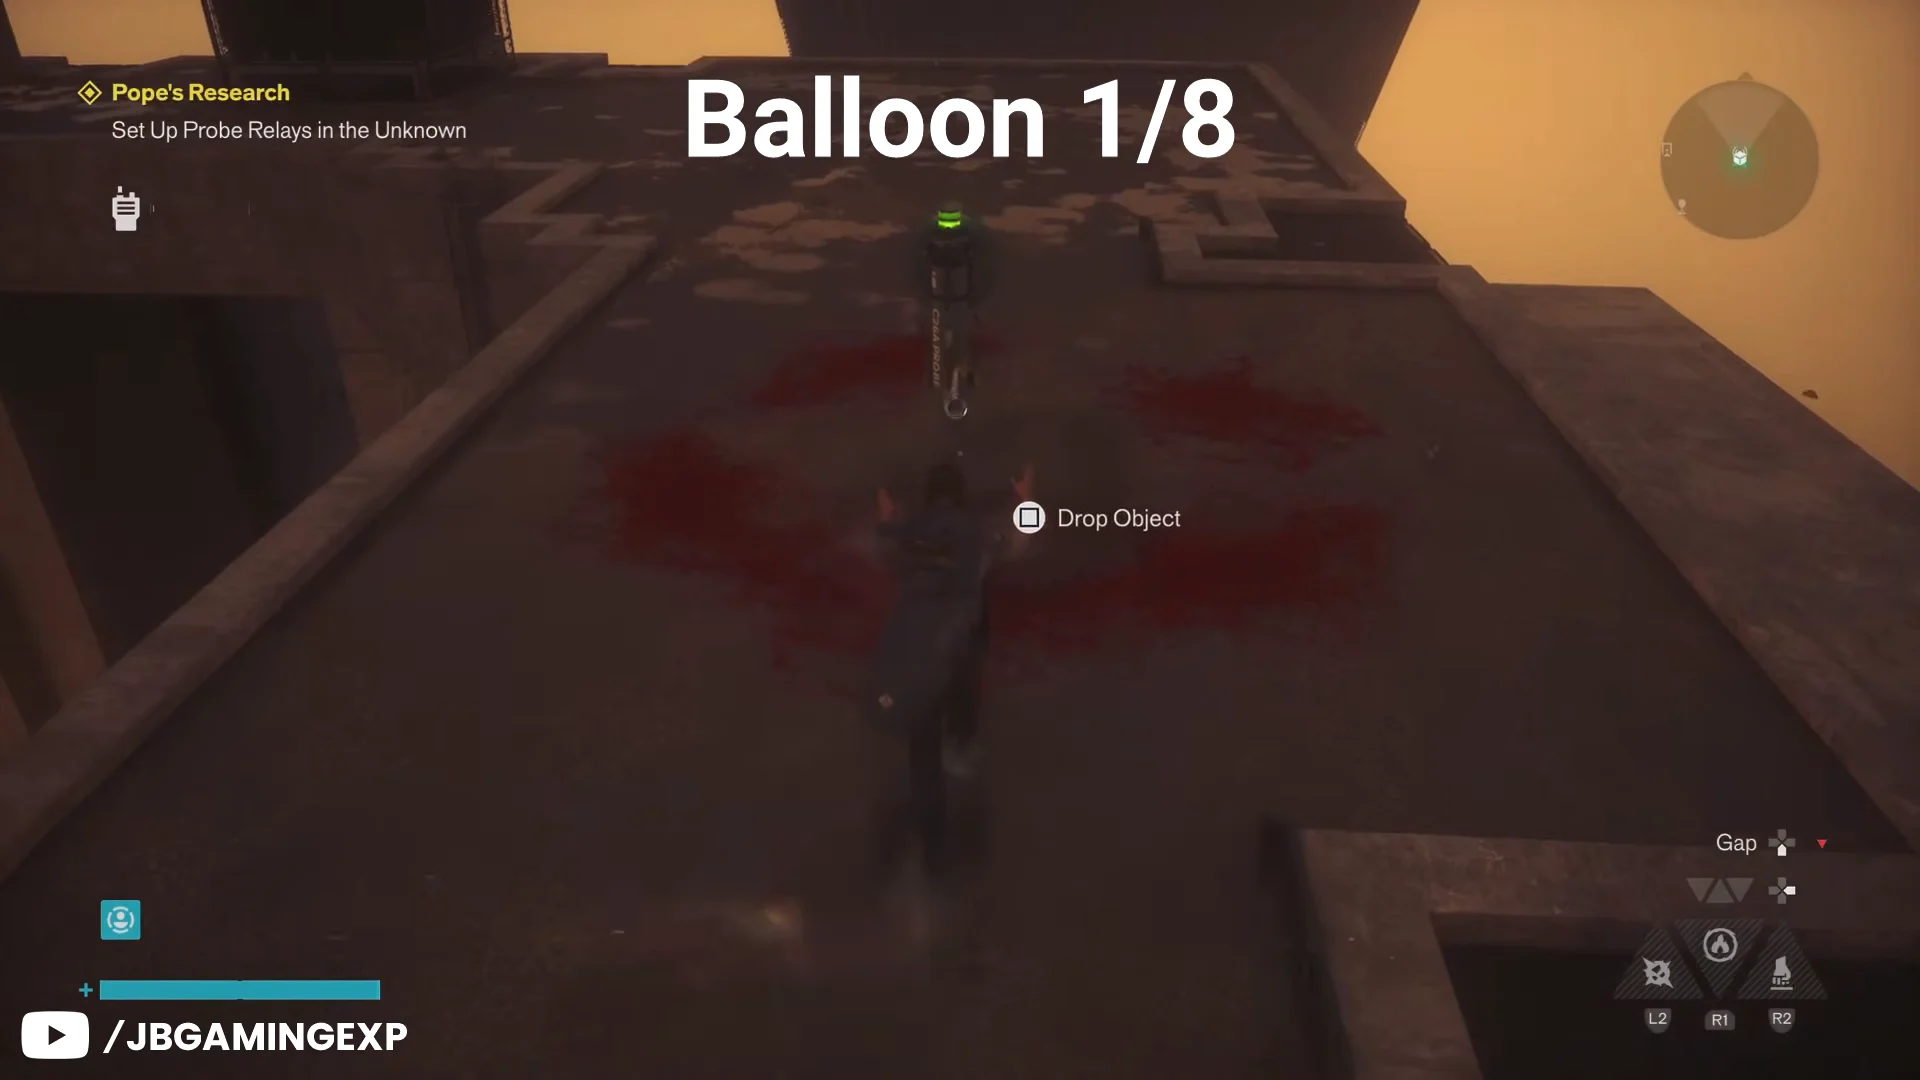
Right after you Gravity Shift from the elevator ledge, turn left to see the first balloon carrying a payload. Climb the cargo platform under it, release it, and smash the box to free two relays. Drop the first into the red circle beside the platform, then take the staircase next to it up to the upper terrace for the second. Placing it spawns a Gravity Well that carries you into the Unknown proper.
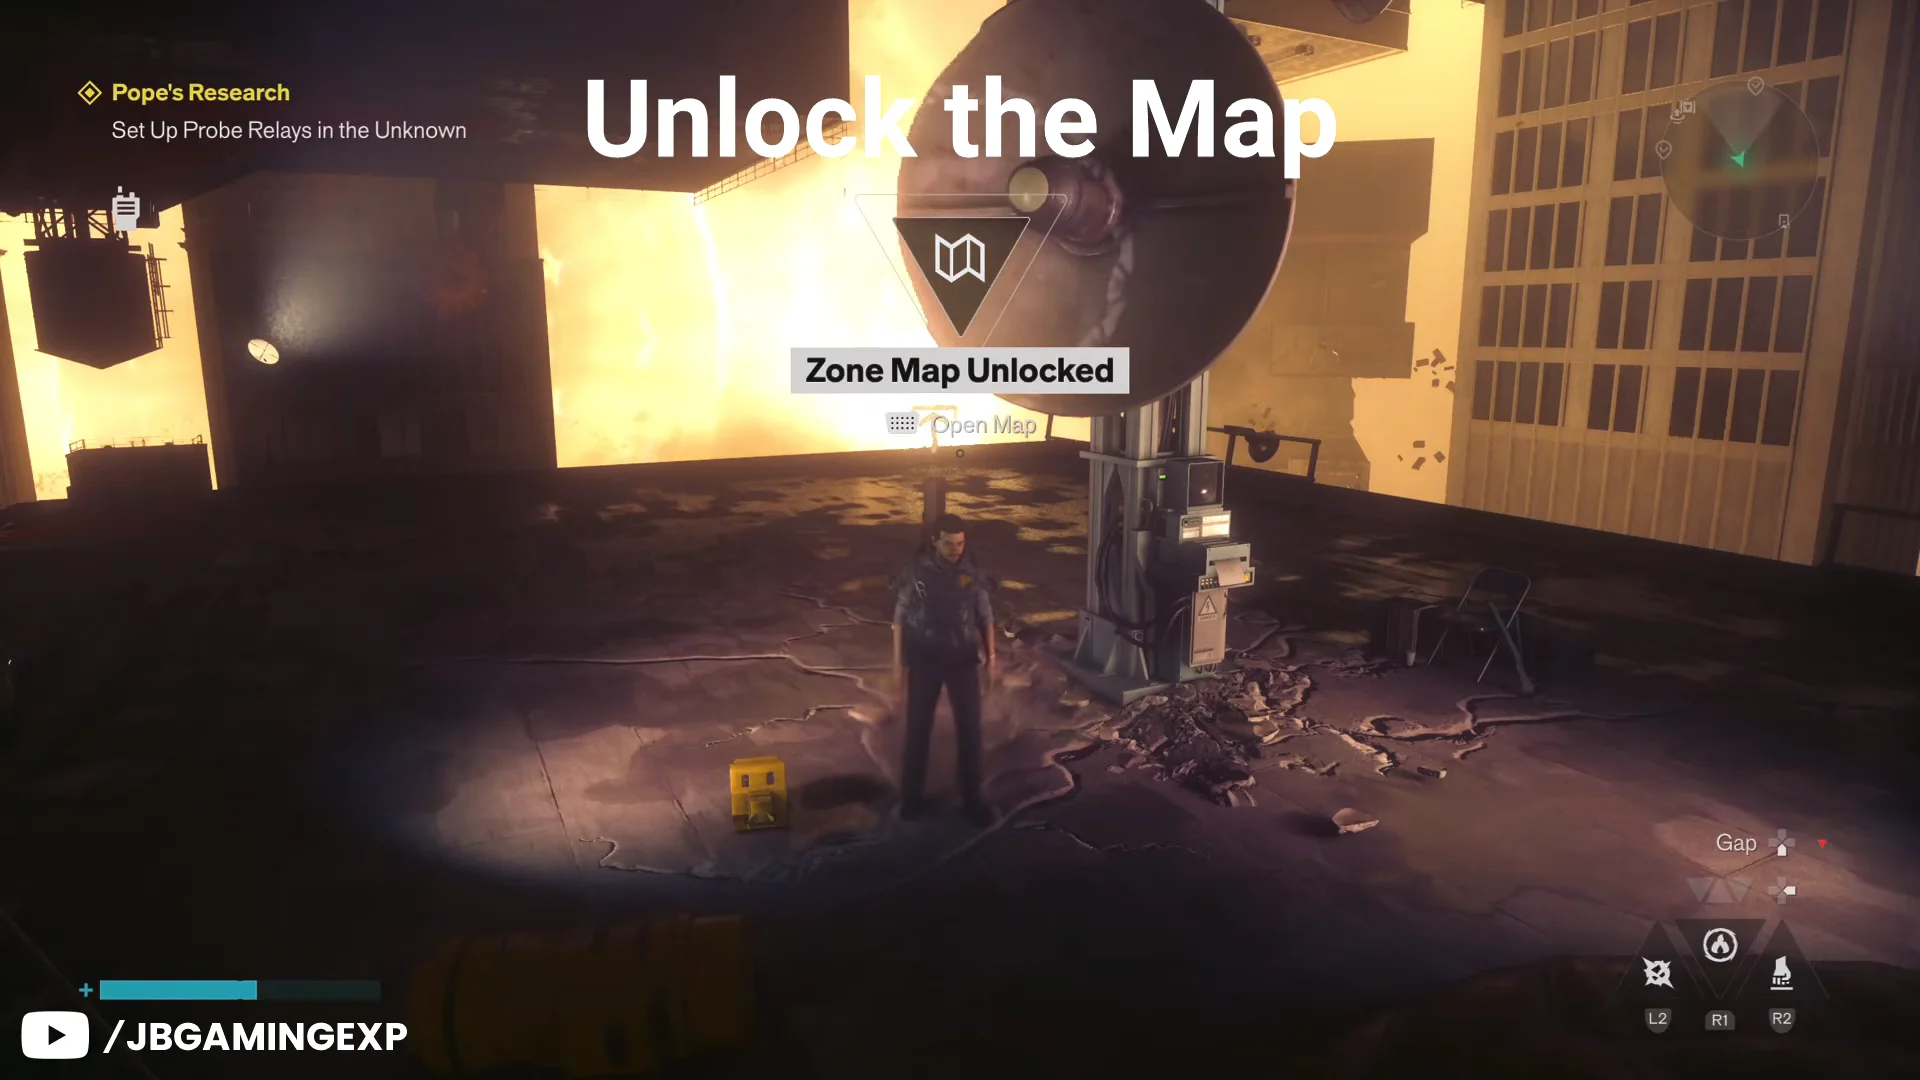
Before heading on, unlock the zone map. Interact with the communications dish on the nearby rooftop to run the Map Kit activity, which synchronizes the Unknown map and makes every other balloon far easier to find.
Balloon 2 — Unknown mainland
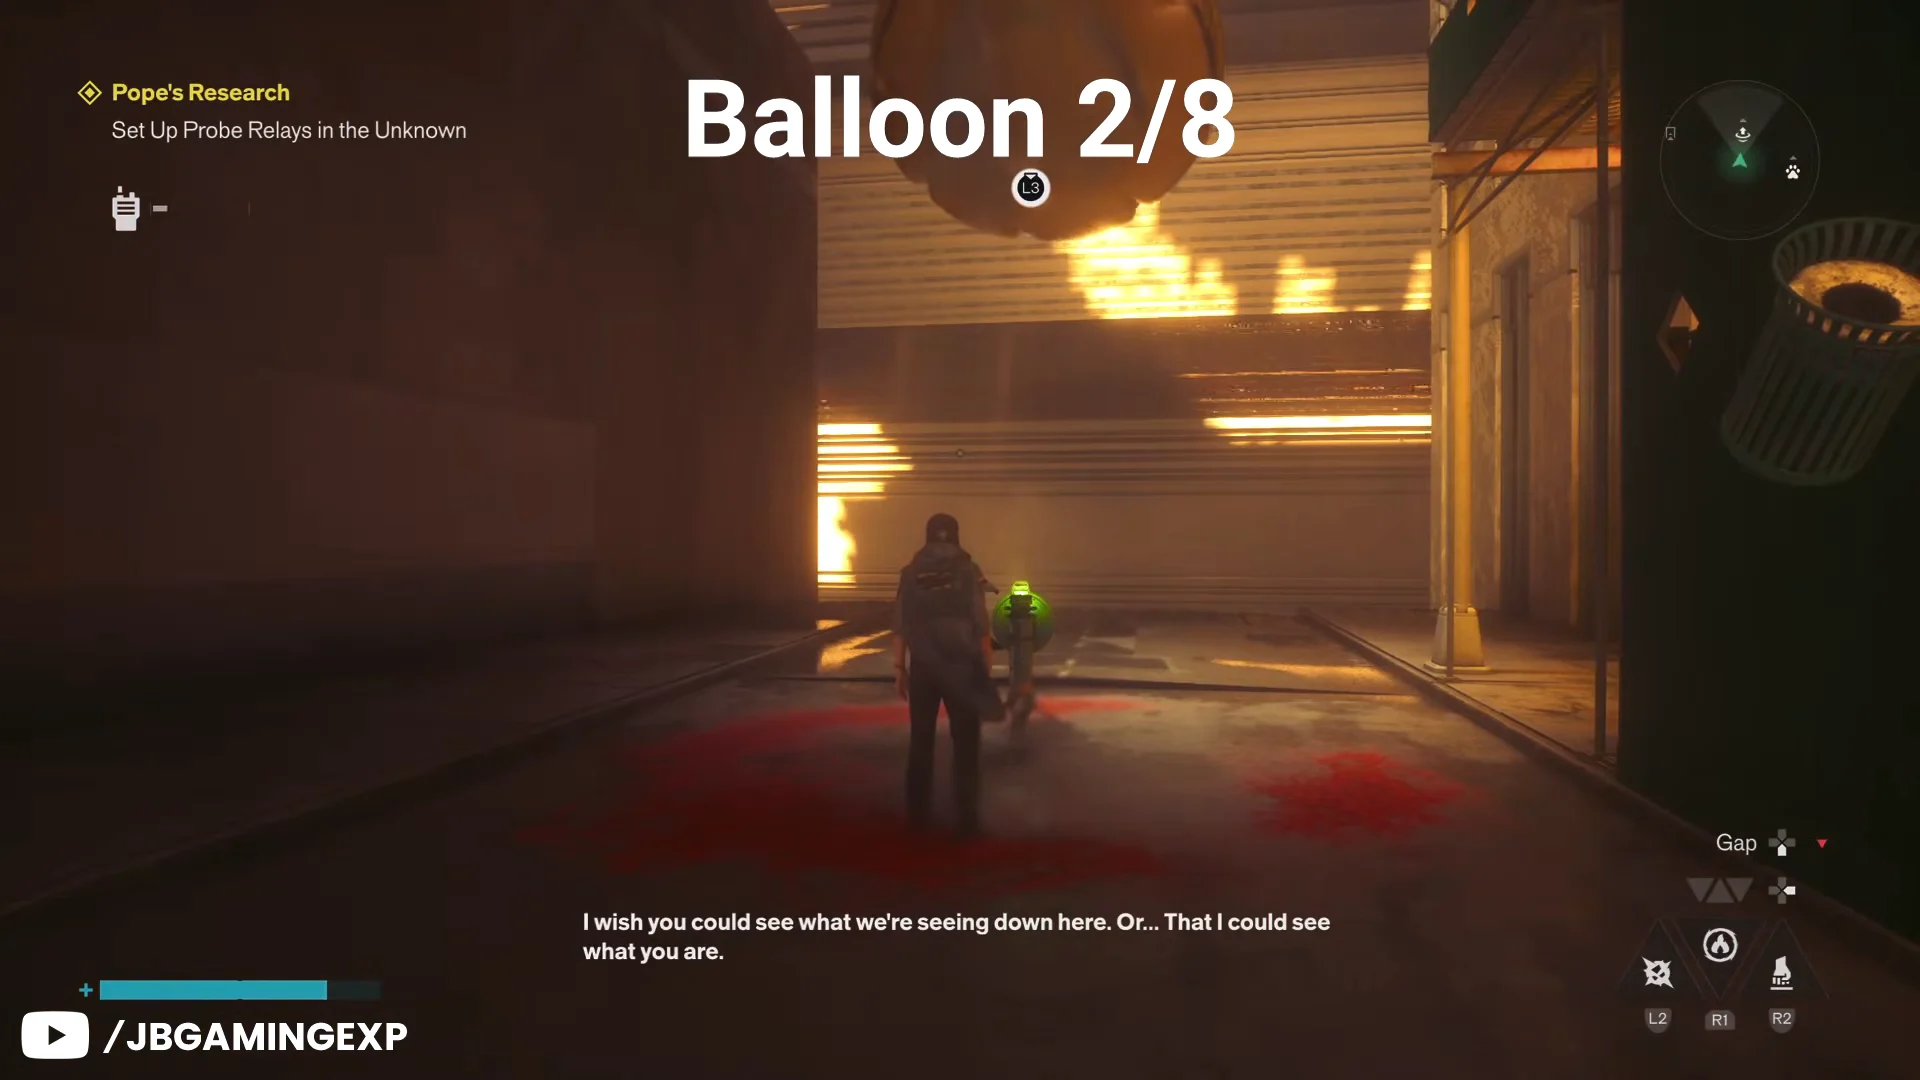
Head to the northern end of the main Unknown zone, where blue balloons carrying cargo stand out against the skyline. Deal with any enemies, then take the two relays from the platform. Place the first on the nearby building using Elevate to cross safely, and set the second in the red circle you can spot while walking toward Hedron’s eye in the sky. Both share your plane, so Shift is not required here. A fresh Gravity Well then carries you to one of the smaller islands.
Balloon 3 — Factory Island
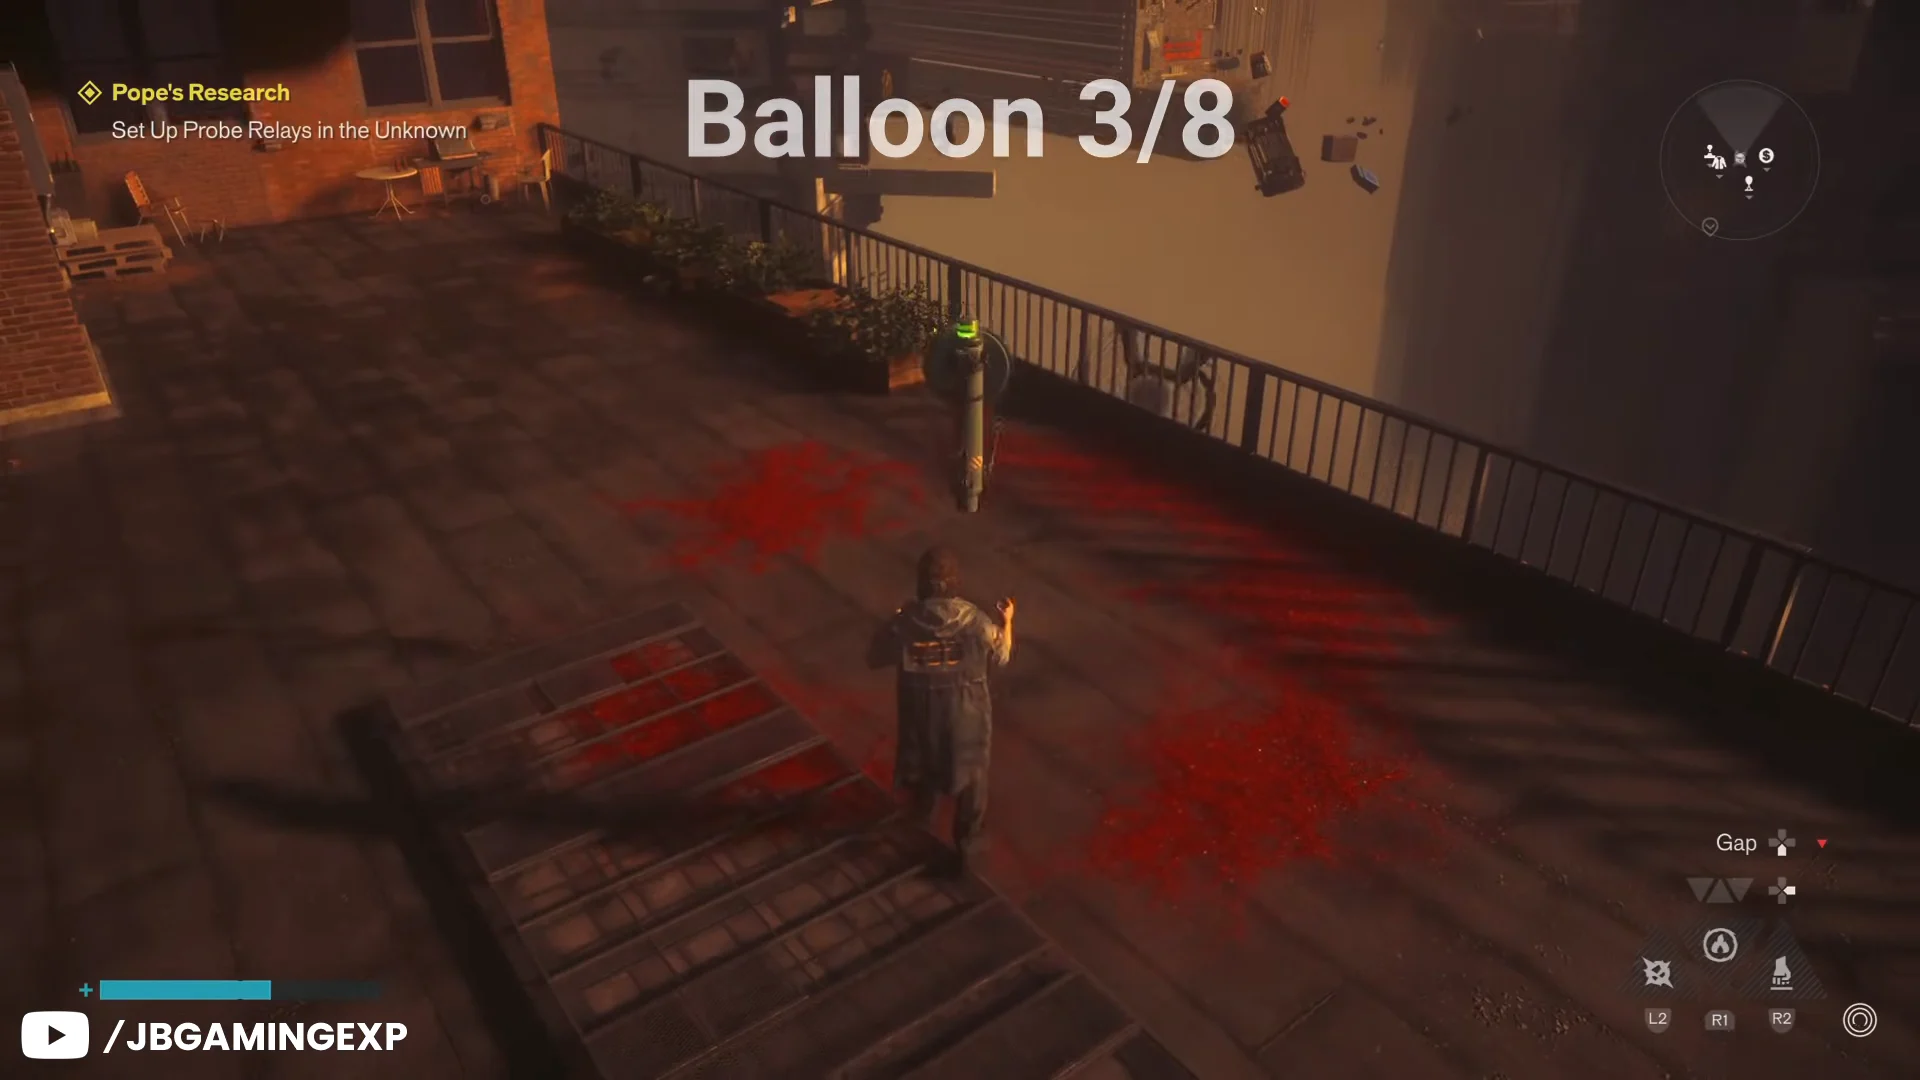
As you descend toward the southwestern island, the balloon is directly below Dylan. Defeat the enemies, take the first relay, and enter the alley across the street. At the other end, find a red circle on the patterned road. While carrying the relay, use Shift to line yourself up with the road, then place it in the circle. The second circle is at the road’s end, just beyond the courtyard where the balloon sat. Setting the relay there opens the next Gravity Well.
Balloon 4 — Island east of the Evac Building
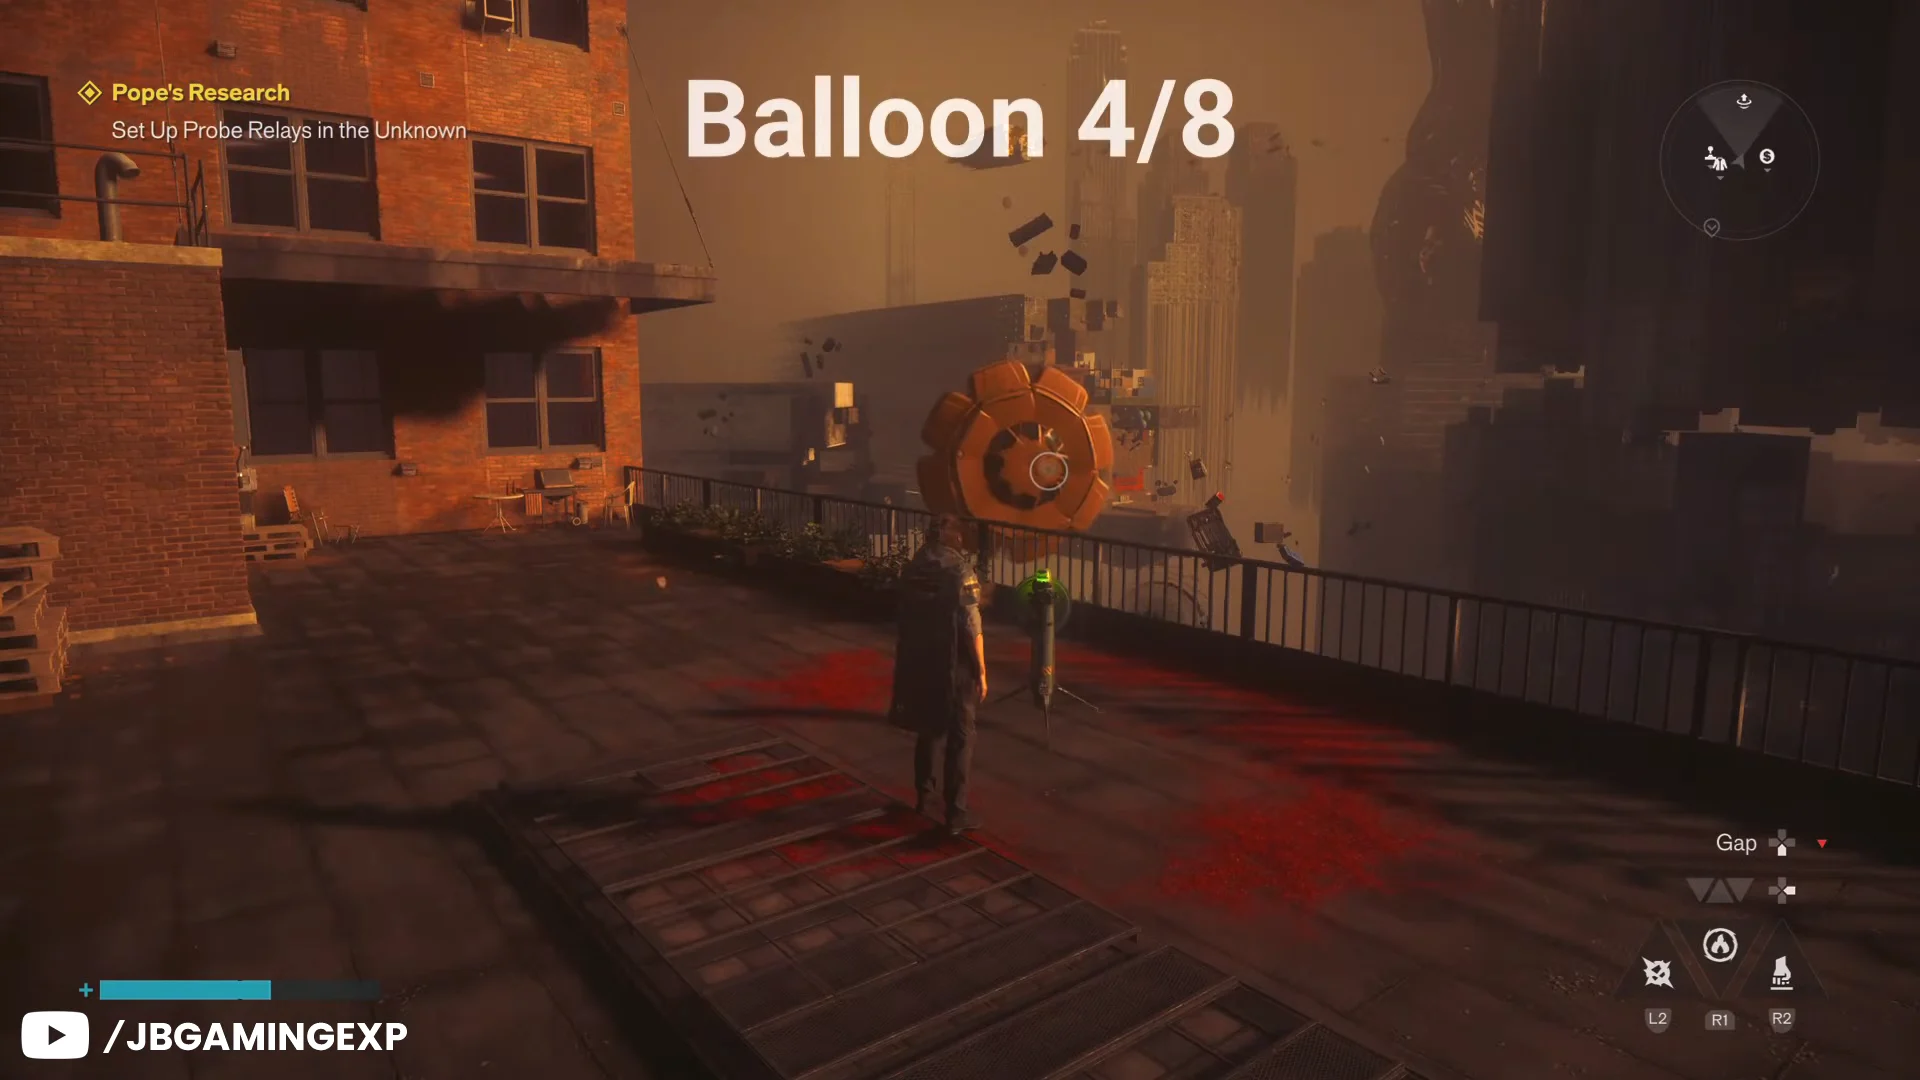
Find the fourth balloon on the southeastern island near the building under construction. Defeat the enemies guarding the payload, pick up the first relay, and use Shift to move down the sloped road beside it. Across the market street, the first red circle is on the patterned road. Put the second relay in the circle by the checkpoint beacon. This opens a Gravity Well leading toward the Patterned Evac Building.
Balloon 5 — Patterned Evac Building Island
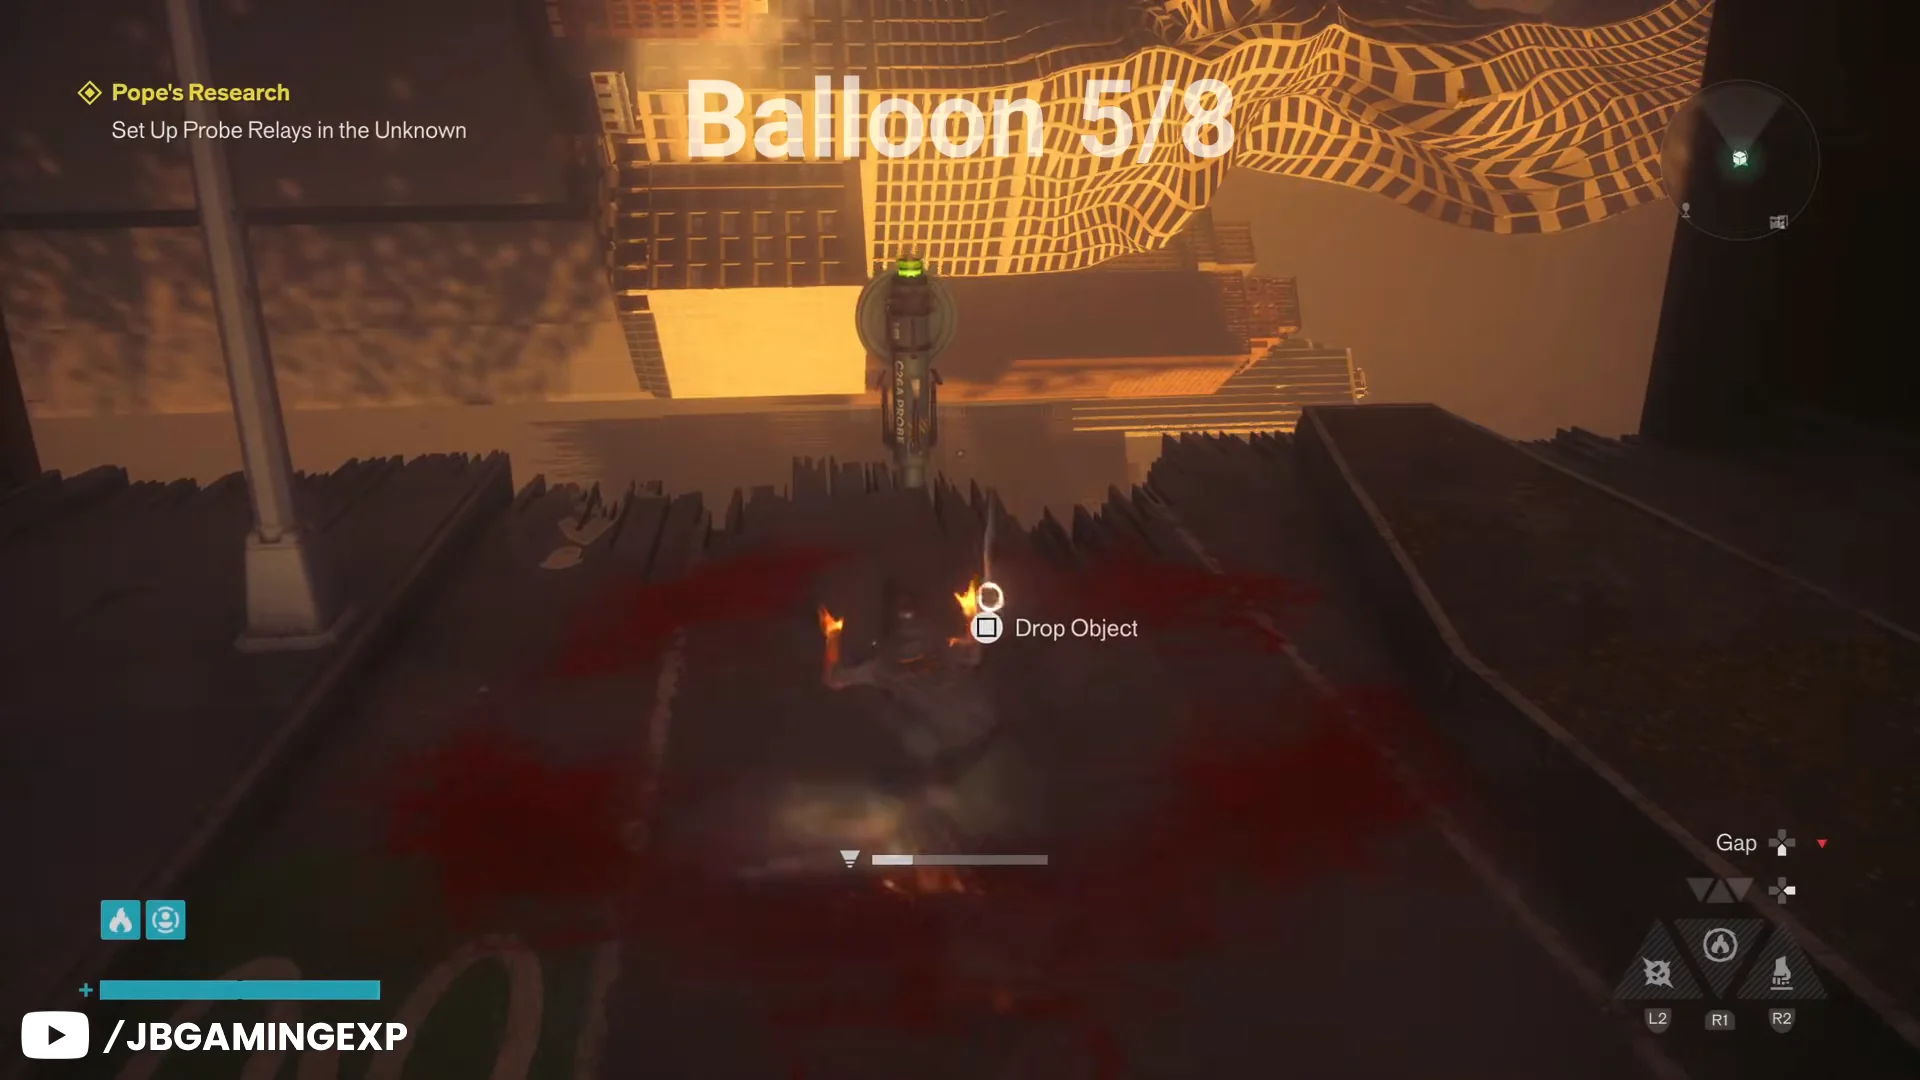
As you descend toward the southernmost island, you’ll find this balloon carrying three relays. Enemies are numerous here. Take the first relay onto the orange-container platform facing the Evac Building entrance, then use Elevate and Air Dash to cross the gap and place it in the roof’s red circle. For the second relay, climb the black-container platform next to the balloon’s cargo and set it on the building opposite. Leave the third beside the checkpoint beacon along the center-north edge. The Gravity Well takes you to the Patterned Field Office.
Balloon 6 — Tower Island
Go to the northwest part of the Unknown mainland and leap across the Patterned platforms to the distant island. As soon as you land on the building rooftop, use Shift to orient Dylan, then drop toward the balloon below. Carry a relay across the street, passing the Hiss-spiked ground patches. Use Shift to traverse the vertical surface into the alley, then turn left at its end to reach the first circle. To find the second, continue down the road and turn left; its circle is at street level. The Gravity Well carries you to the next island.
Balloon 7 — Island east of the Field Office
On your descent toward the northeastern island, look for the seventh balloon above a street-side newsstand. Defeat the enemies and unload the cargo. Use Shift to move the first relay to the top of the vertical road facing Dylan. Pick up the second relay, climb the accessible building on the left, then cross to the building on the right with Air Dash and Elevate. Place it beside the checkpoint beacon. Take the Gravity Well back to the Oldest House rooftop.
Set up the final balloon in central Unknown
After you finish all seven balloons, Pope sends another one to the Unknown’s center. Go there and collect its four relays. Place them at ground level in a cross formation. Their circles are close together around the balloon’s landing spot, making them quick to reach, but enemies will attack as you work.
Defeat the enemies before placing any antennas; incoming fire prevents you from setting down relays safely.
Investigate Point 0 to finish the quest
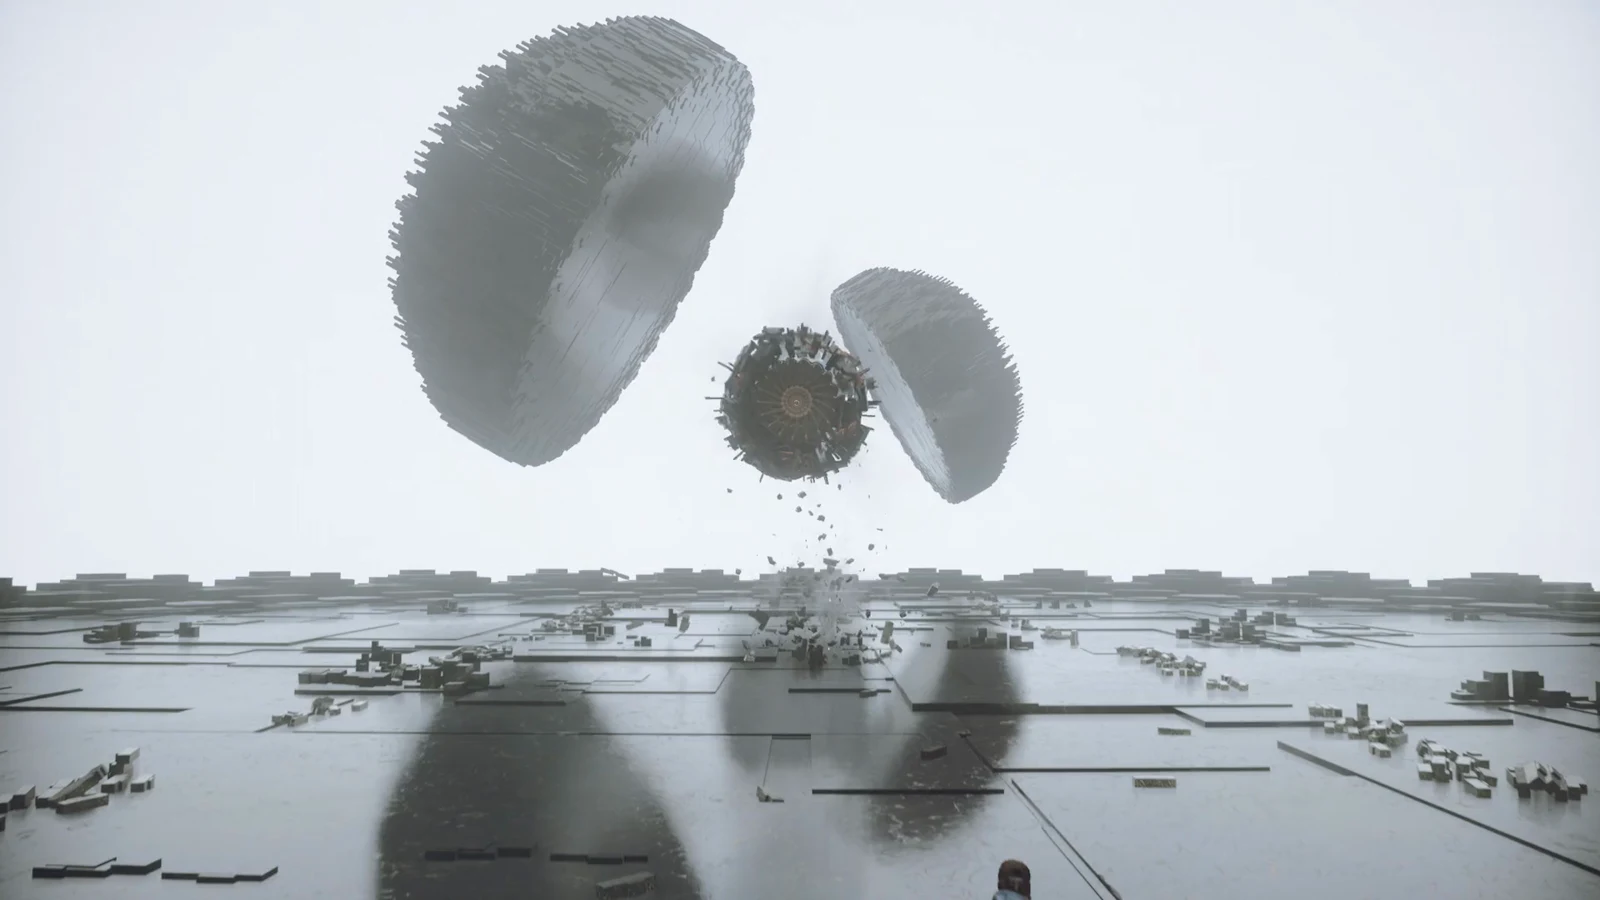
After the last relays connect, Pope detects a new resonance signature in the Patterning and believes it belongs to Jesse’s mind. The objective changes to Investigate Point 0. Above the central district, a helix of taxis appears in the sky, with a platform at its center.
Use the surrounding buildings to climb close, then combine Elevate and Air Dash to approach the center of the vehicle tornado. Use the Reach ability to zip onto the floating platform, press the prompt, and Dylan will hear the patterned screaming that triggers the anomaly sequence.
Rewards and how to confirm it worked
You’ll know the quest is done when Quest Completed: Pope’s Research appears on screen alongside a reward notification. Finishing it grants a Resonant Token plus a Talent Point, and unlocks the Budding Analyst trophy. Visit the Gap to spend the token on a new Combat Ability from any Resonant boss of your choice.