

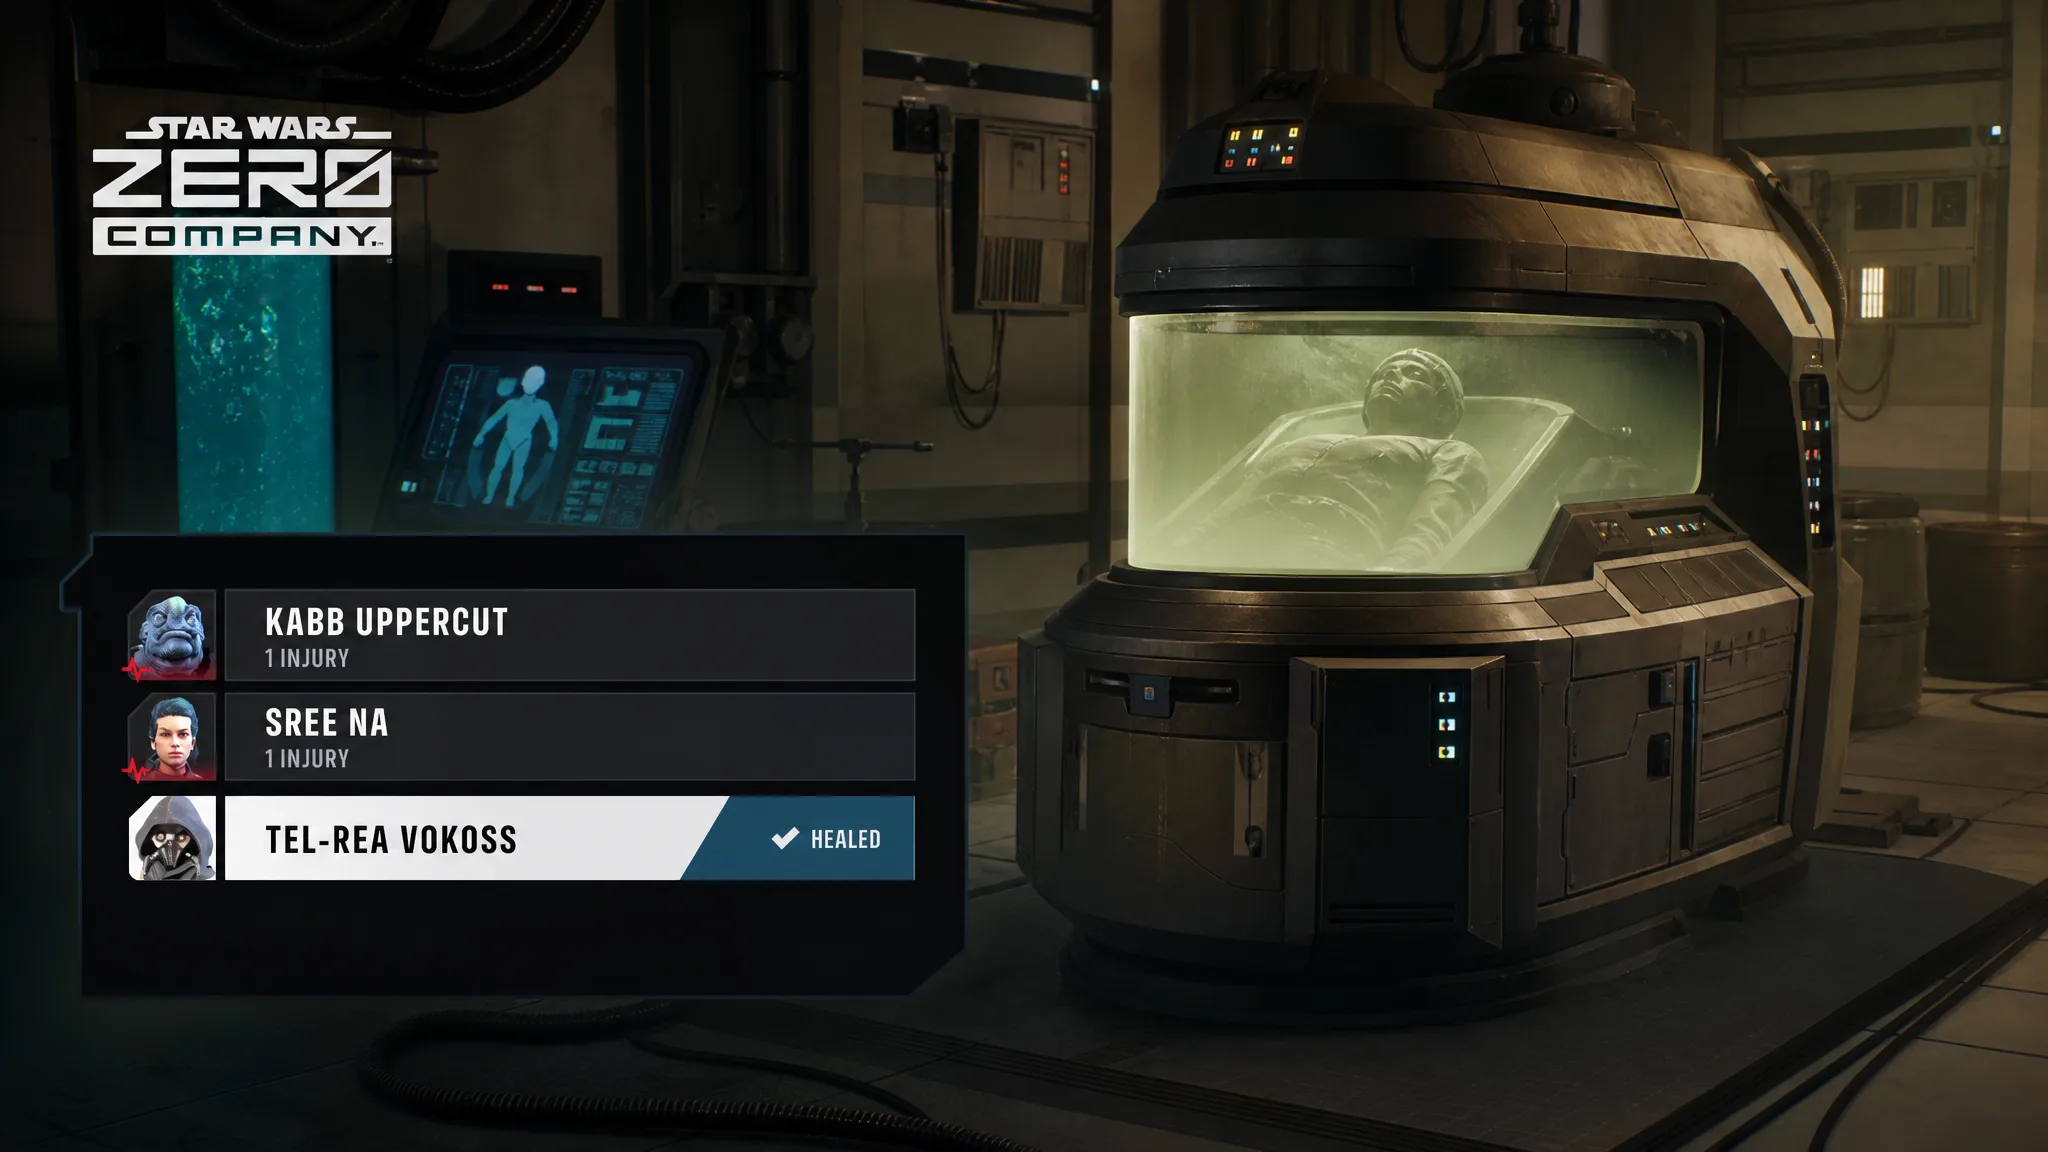
Injuries in Star Wars Zero Company do not clear themselves. An Operator who goes Down in a Tactical Mission comes back to the Den carrying an Injury, a Chance-to-Hit penalty, and one more mark toward permanent death. The standard Medbay bed fixes that, but it costs a full Cycle. The Bacta Tank is the way around that wait.
Quick answer: Walk to the Medbay in the Den, open the patient roster, select the injured Operator, and choose BACTA TANK (or press T). That spends 1 Bacta Tank Charge and clears the Injury immediately, with no Cycle spent.
Heal an injured Operator with the Bacta Tank
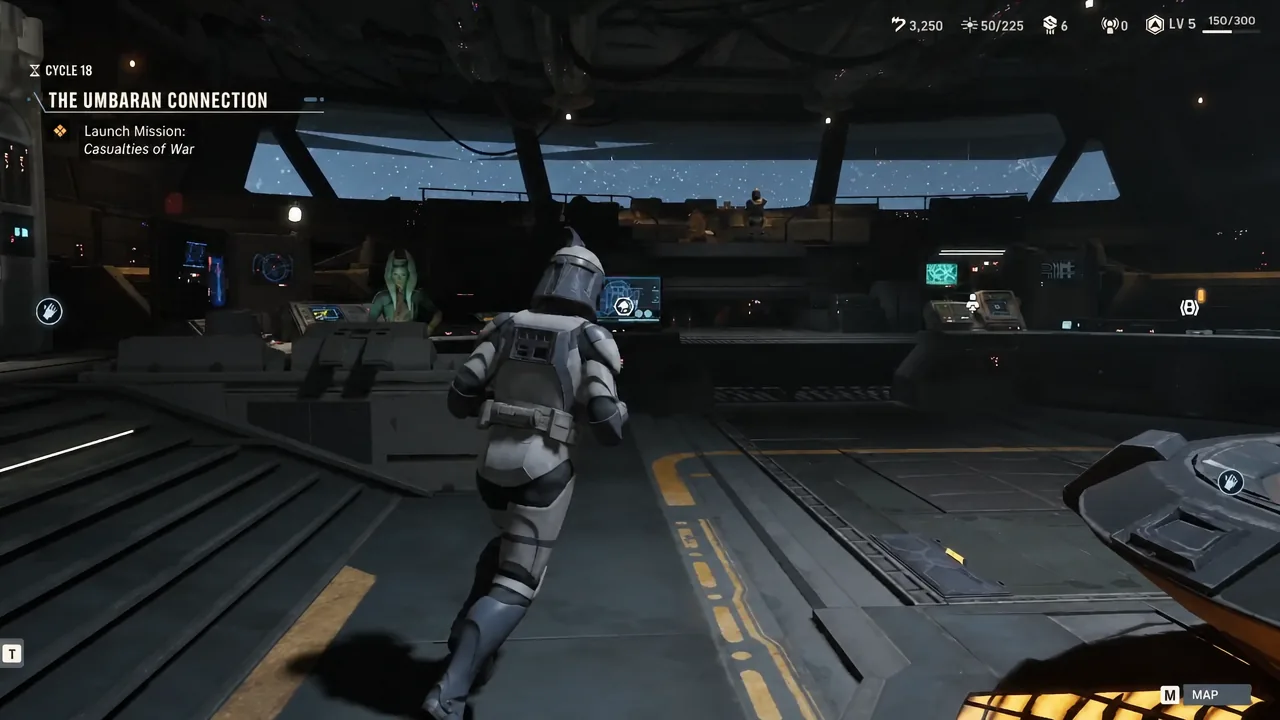
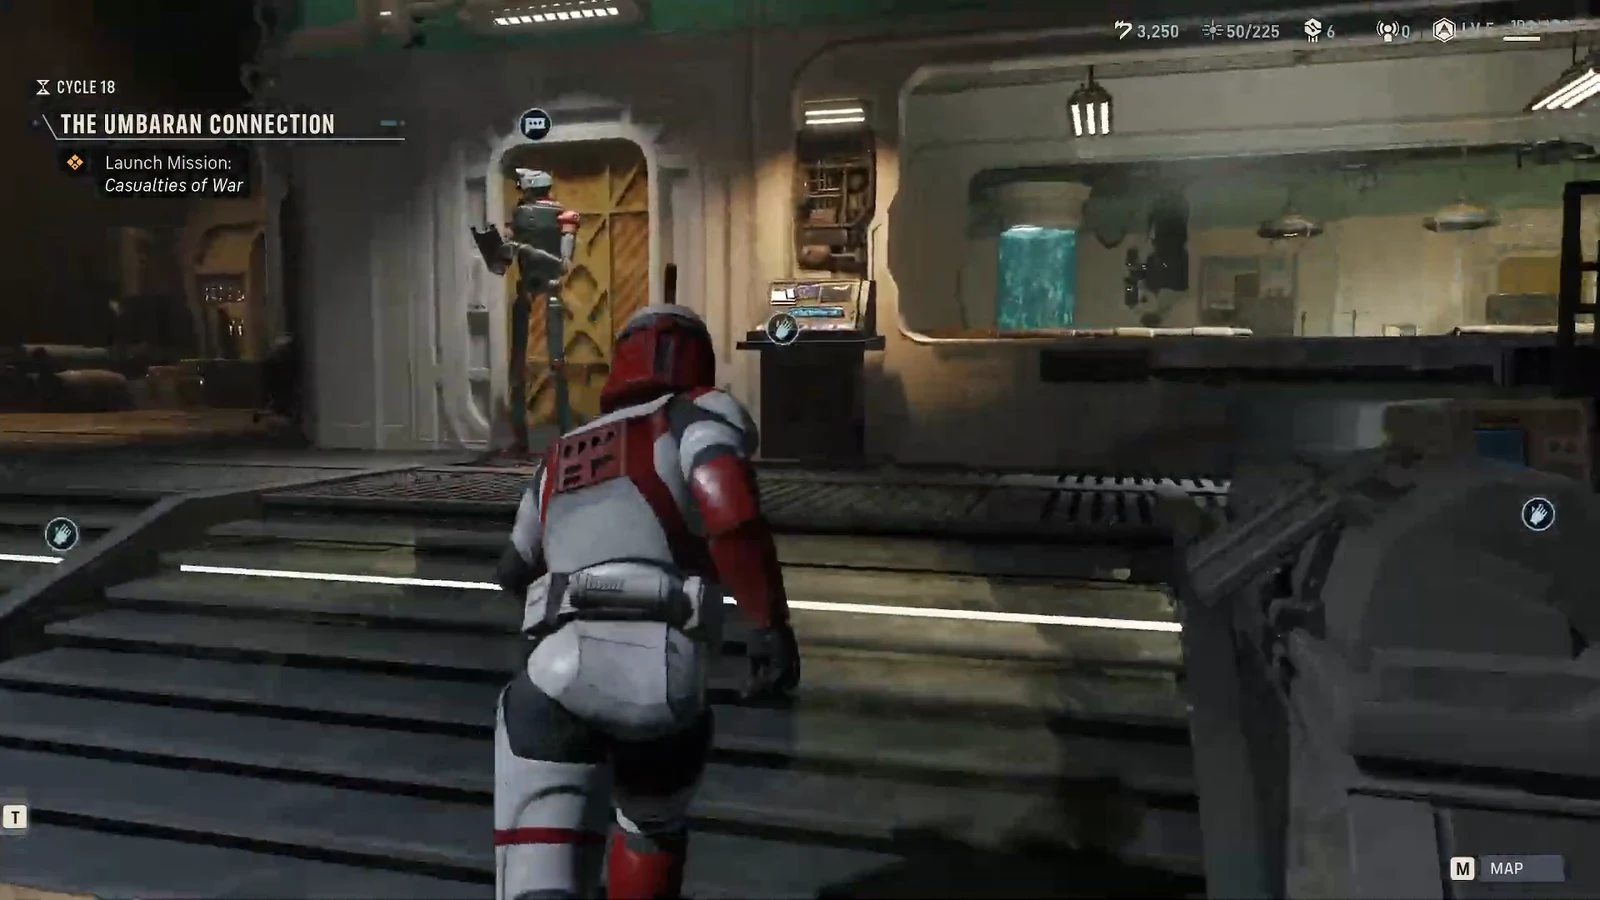
How to confirm the Bacta Tank worked
The roster entry flips to Healed as soon as the charge is spent. There is no waiting period, no bed occupancy, and no need to advance the campaign before the Operator is deployable again.
If the Operator is still listed as injured, you almost certainly assigned them to a standard bed rather than the Bacta Tank. A bed only starts recovery; it does not finish it until the Cycle actually advances, and resolving an Operation on the Holotable does not push the clock forward for you.
Bacta Tank vs the standard Medbay bed
| Treatment | Time | Cost |
|---|---|---|
| Standard bed | One Cycle, Operator unavailable | Credits, starting around 800 early in a campaign |
| Bacta Tank | Instant, Operator redeployable right away | 1 Bacta Tank Charge per Injury cleared |
The practical difference is roster availability. A bed removes an Operator from your next deployment entirely, which stings when that person is your only Medic or your only reliable long-range shooter. The Bacta Tank keeps them in the rotation.
Bacta Tank availability by difficulty
Instant recovery is a lower-difficulty privilege. The higher settings pull the Bacta Tank out of the Medbay entirely, so every Injury has to be slept off in a standard bed at one Cycle each.
| Difficulty | Bacta Tank |
|---|---|
| Story | Available |
| Normal | Available |
| Hard | Disabled |
| Expert | Disabled |
Difficulty is not locked in at campaign start. You can change it at any time outside combat from the menu between missions, so a run begun on Hard can be lowered without restarting if bed rest alone is grinding your roster down. Beskar Mode, the ironman toggle, sits alongside difficulty and commits the run to a single save.
When to spend a Bacta Tank charge
Injuries stack, and with Permadeath enabled the third one kills the Operator outright. An Operator sitting on two Injuries is one bad knockdown from being written into the Memorial, along with their Focus investment, equipment, Bonds, and Cross Training progress.
The two situations that justify an instant heal are straightforward. Use a charge when a Critical objective is close to expiring and the Operator you need is hurt, and use one when the alternative is deploying somebody already close to the death limit. A single Injury on a squad member you can bench is usually better handled by a bed and a Cycle.
Rally only brings a Downed Operator back into the current fight. The Injury from that knockdown still follows them home, so check the roster after every mission where somebody went down.
Tactical Missions are not the only way to come back hurt, either. Some Operations can put the assigned Operator at risk without any combat, so an injured squad member parked on the bench is not automatically safe. Check the Operation’s risk before handing it to somebody who is already two Injuries deep.
Treat the Bacta Tank as a scheduling tool rather than a cleanup button. On Story and Normal it lets you keep a favorite squad together through a tight run of expiring objectives, and on Hard and Expert its absence is exactly why a deeper roster and a rotation of healthy Operators matter more than any single build.





