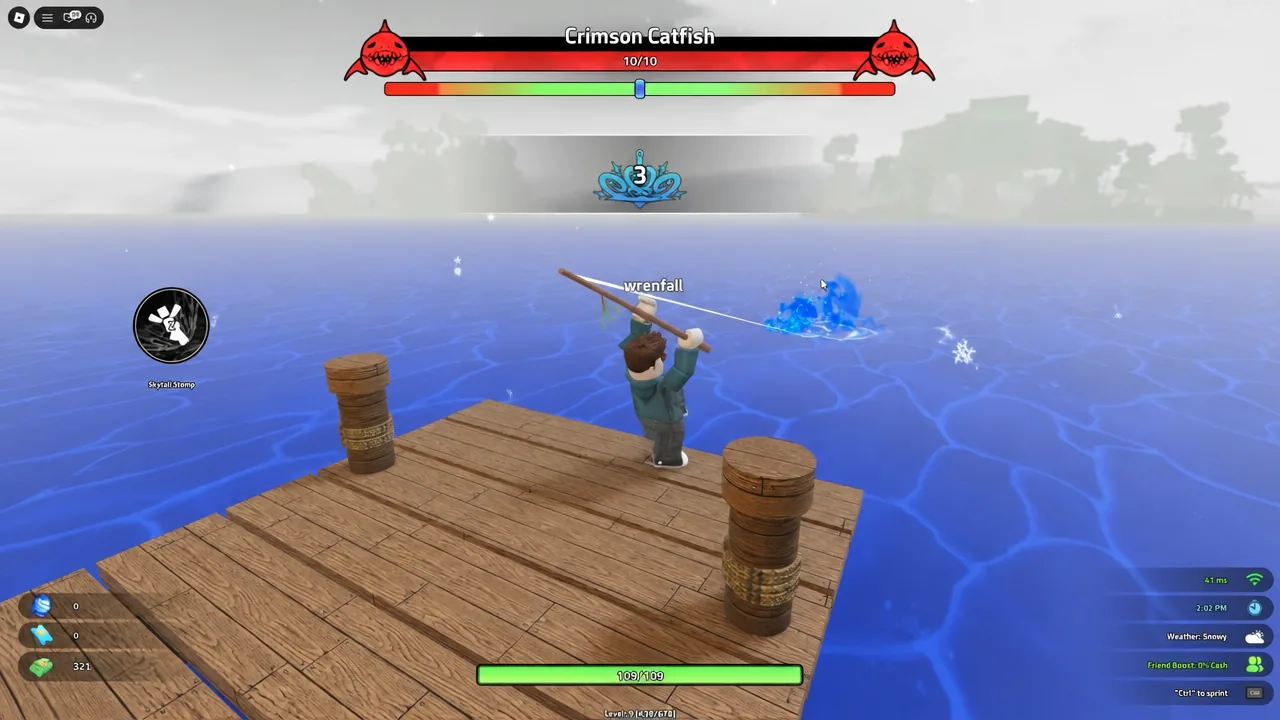
Traits are the passive layer sitting on top of your skills in Heavyweight Fishing. Each one bolts a permanent stat bonus onto a single skill, and because you can only hold one trait per skill, the roll you land decides whether that skill carries you through boss fights or just fills a slot. The bonuses range from a flat +5% damage to a 0.1% legendary that multiplies your damage output outright.
Quick answer: Talk to Nanjiang on any island, open the trait panel for the skill you want to change, and spend a Trait Crystal to reroll. Stop when you land Berserk or better for damage, Precision or better for crit, and Rapid or better for cooldown.
How trait rerolls work
Every skill can hold exactly one trait. Rolling a new one overwrites whatever was there before, so there is no stacking and no way to bank a good result for later. That makes each reroll a straight gamble against the roll chances below.
Nanjiang is the NPC who handles the process, and he appears on every island, so you never need to travel back to a hub to reroll. Interact with him, pick the skill you want to change, and confirm. Each attempt consumes a Trait Crystal, and the trait displayed on that skill updates immediately — that instant change on the skill card is your confirmation the roll went through.
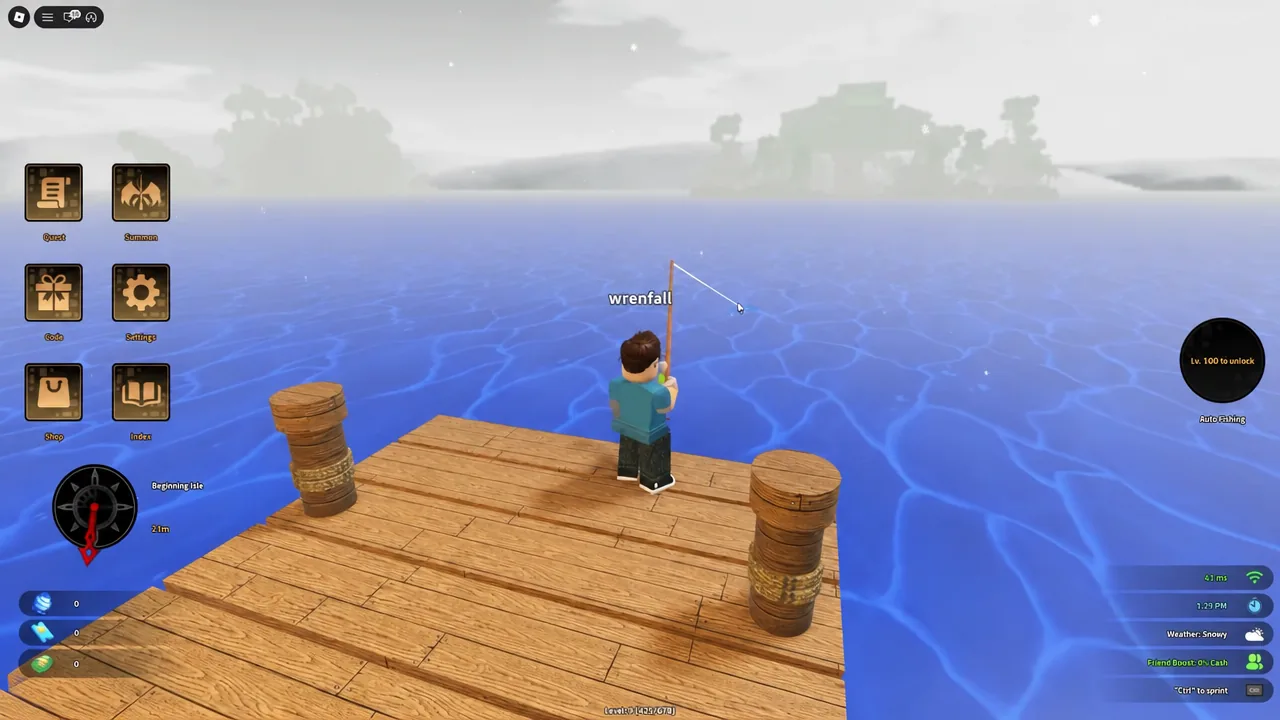
Reroll charges are the real bottleneck, and codes are the fastest way to stock up. Redeem them through the Code button on the left side of the screen in the Heavyweight Fishing experience. Level gates apply per code, and a code that fails on level will still fail even while it is live.
| Code | Trait Rerolls | Level required |
|---|---|---|
| 13KActives | 1,000 | 200 |
| 33MVisits | 20 | 50 |
| 32MVisits | 20 | 50 |
| 31MVisits | 20 | 50 |
| 49KLikes | 5 | 20 |
| 48KLikes | 5 | 20 |
| 47KLikes | 5 | 20 |
| 46KLikes | 5 | 20 |
Note: FreeReroll, FreeReroll2, and UIBUG no longer redeem. Typing them wastes an attempt but costs nothing else.
All traits and their roll chances
Traits fall into four tiers defined purely by how often they land. The 30% tier is what you will see most of the time, the 15% tier roughly triples a common bonus, the 2% tier hands you two stats at once, and the 0.1% tier changes how a skill behaves.
| Trait | Roll chance | Effect |
|---|---|---|
| Swift | 30% | +4% cooldown reduction |
| Powerful | 30% | +5% damage |
| Sharp | 30% | +5% crit chance |
| Precision | 15% | +15% crit chance |
| Berserk | 15% | +15% damage |
| Rapid | 15% | +8% cooldown reduction |
| Executioner | 2% | +25% damage, +10% cooldown reduction |
| Assassin | 2% | +25% crit chance, +50% crit damage |
| Chrono | 2% | +20% cooldown reduction, +10% damage |
| White Tiger | 0.1% | +50% crit chance, +100% crit damage, stacking crit chance |
| Black Tortoise | 0.1% | +15% max HP heal, +30% damage, stun, invincibility |
| Vermillion Bird | 0.1% | +50% cooldown reduction, +30% damage, cooldown reset |
| Azure Dragon | 0.1% | +150% damage, +20% cooldown reduction, low HP damage boost, invincibility bypass |
The math is worth internalizing before you burn a stack of crystals. A 30% trait shows up roughly every third roll, a 15% trait every seventh, and a 2% trait once in fifty. The 0.1% tier averages one hit per thousand attempts, which is why the 1,000-reroll code is the only realistic path to one for most players.
The four 0.1% traits, explained
White Tiger is the crit ceiling. It grants +50% crit chance and +100% crit damage on its own, and the crit chance component stacks as the fight goes on, so long boss encounters push your crit rate far higher than the base number suggests.
Black Tortoise is the survival option. It heals 15% of your max HP, adds +30% damage, applies a stun, and grants a window of invincibility. It is the only 0.1% trait that meaningfully keeps you alive rather than just raising your numbers.
Vermillion Bird is built around uptime. It gives +50% cooldown reduction and +30% damage, plus an outright cooldown reset, which lets you fire the same skill again far sooner than the cooldown bar implies.
Azure Dragon is the raw damage pick and the strongest trait overall. The +150% damage alone dwarfs every other option, and it also carries +20% cooldown reduction, a damage boost that scales when your HP is low, and the ability to bypass invincibility on the target.
Best traits by build stage
Which trait counts as “best” depends on what your skill is for. A pure damage skill wants damage scaling, a crit-focused loadout wants crit chance and crit damage together, and a cooldown build wants uptime above everything else. The progression below shows what to accept at each point.
| Stage | Damage | Crit | Cooldown |
|---|---|---|---|
| Early | Berserk | Sharp | Swift |
| Mid | Executioner | Precision | Rapid |
| Late | Executioner | Assassin | Chrono |
| Best | Azure Dragon | White Tiger | Vermillion Bird |
Executioner and Chrono are the practical endpoints for most players, since both hand you a second stat on top of the primary one. Executioner’s +10% cooldown reduction makes it competitive even on a cooldown build, and Chrono’s +10% damage means it is never a dead roll on a damage skill.
When to stop rerolling
Only roll on a skill you intend to keep. Rerolling a starter skill you will replace in an hour spends crystals you cannot recover, and the trait does not transfer when you swap skills.
Set a floor before you start clicking. Landing a 15% trait takes a handful of attempts on average, so treating Berserk, Precision, or Rapid as your stopping point keeps the cost reasonable. Chasing a 2% trait is realistic with a visit-code stack; chasing a 0.1% trait without the 1,000-reroll code usually ends with an empty crystal count and a worse trait than you started with.
Because the swap is instant and irreversible, the safest habit is to roll in short bursts and check the skill card after each attempt rather than spamming through a large stack. If a reroll appears to do nothing, confirm you selected the intended skill in the trait panel — the change applies only to the skill you had open when you confirmed.