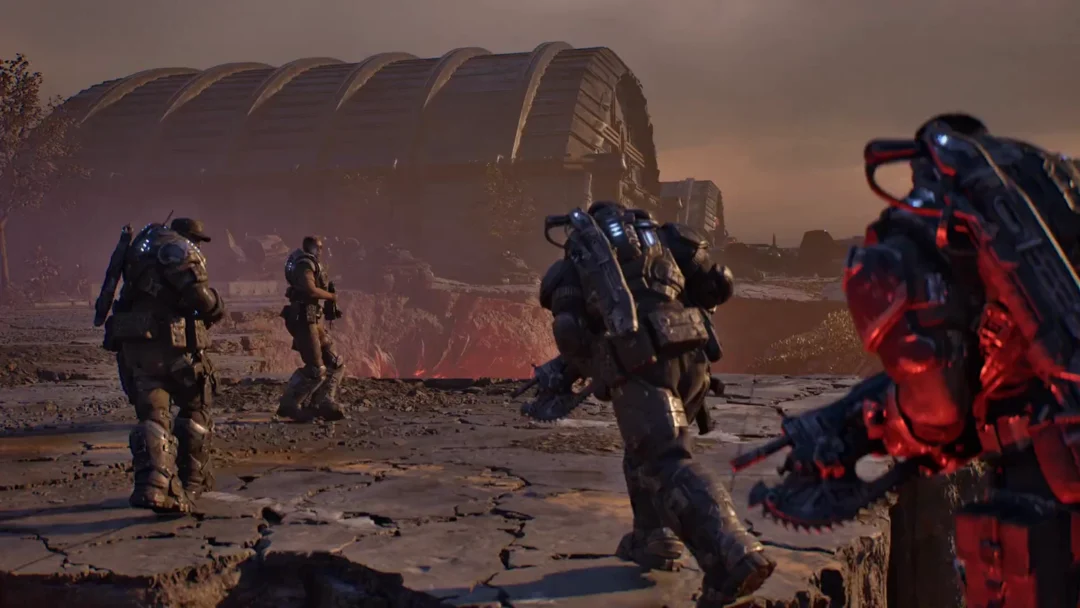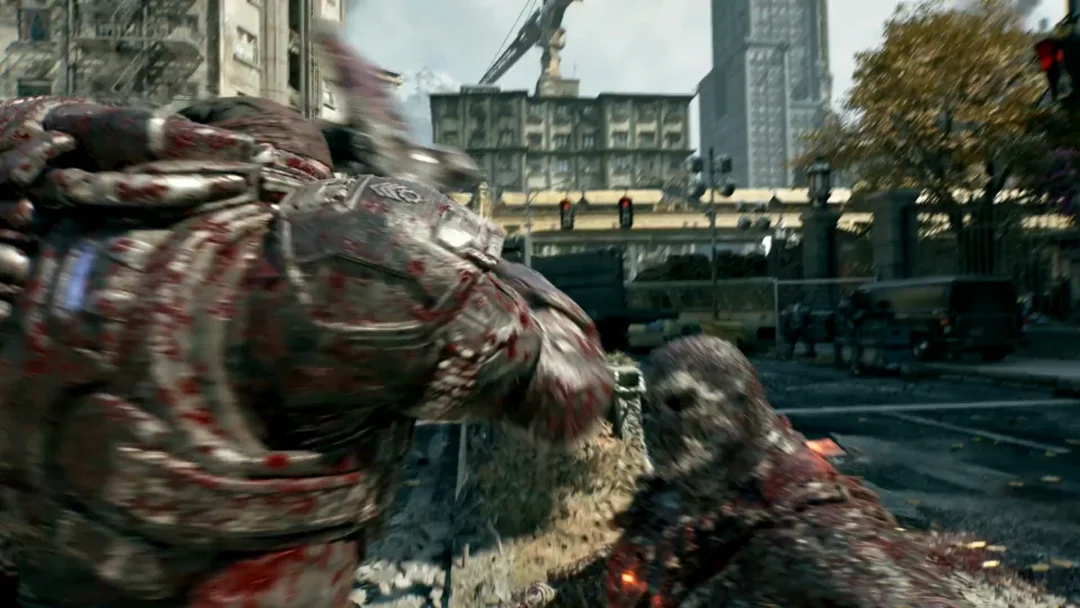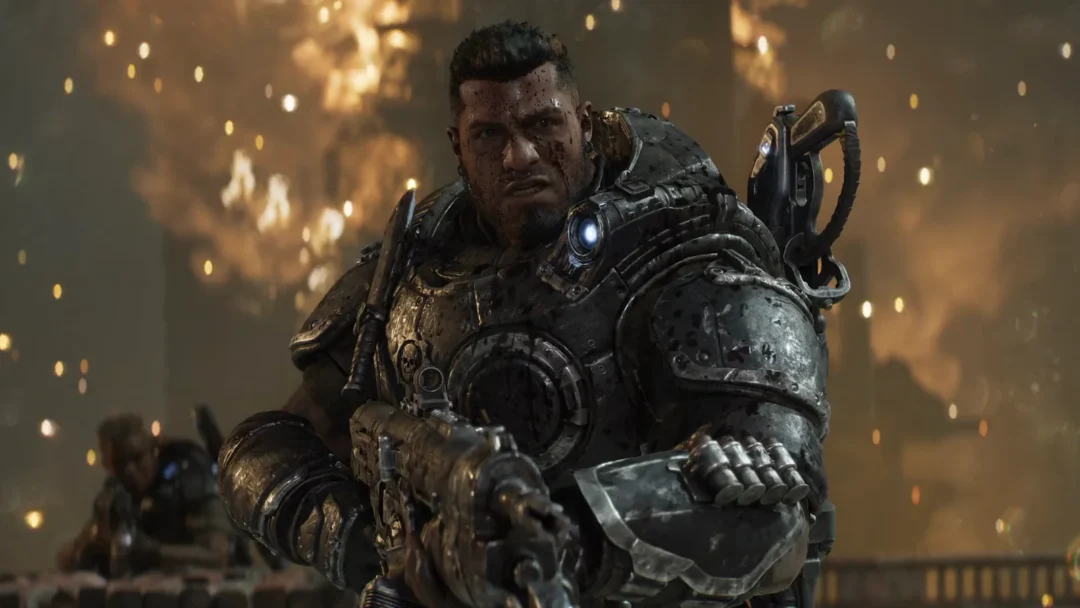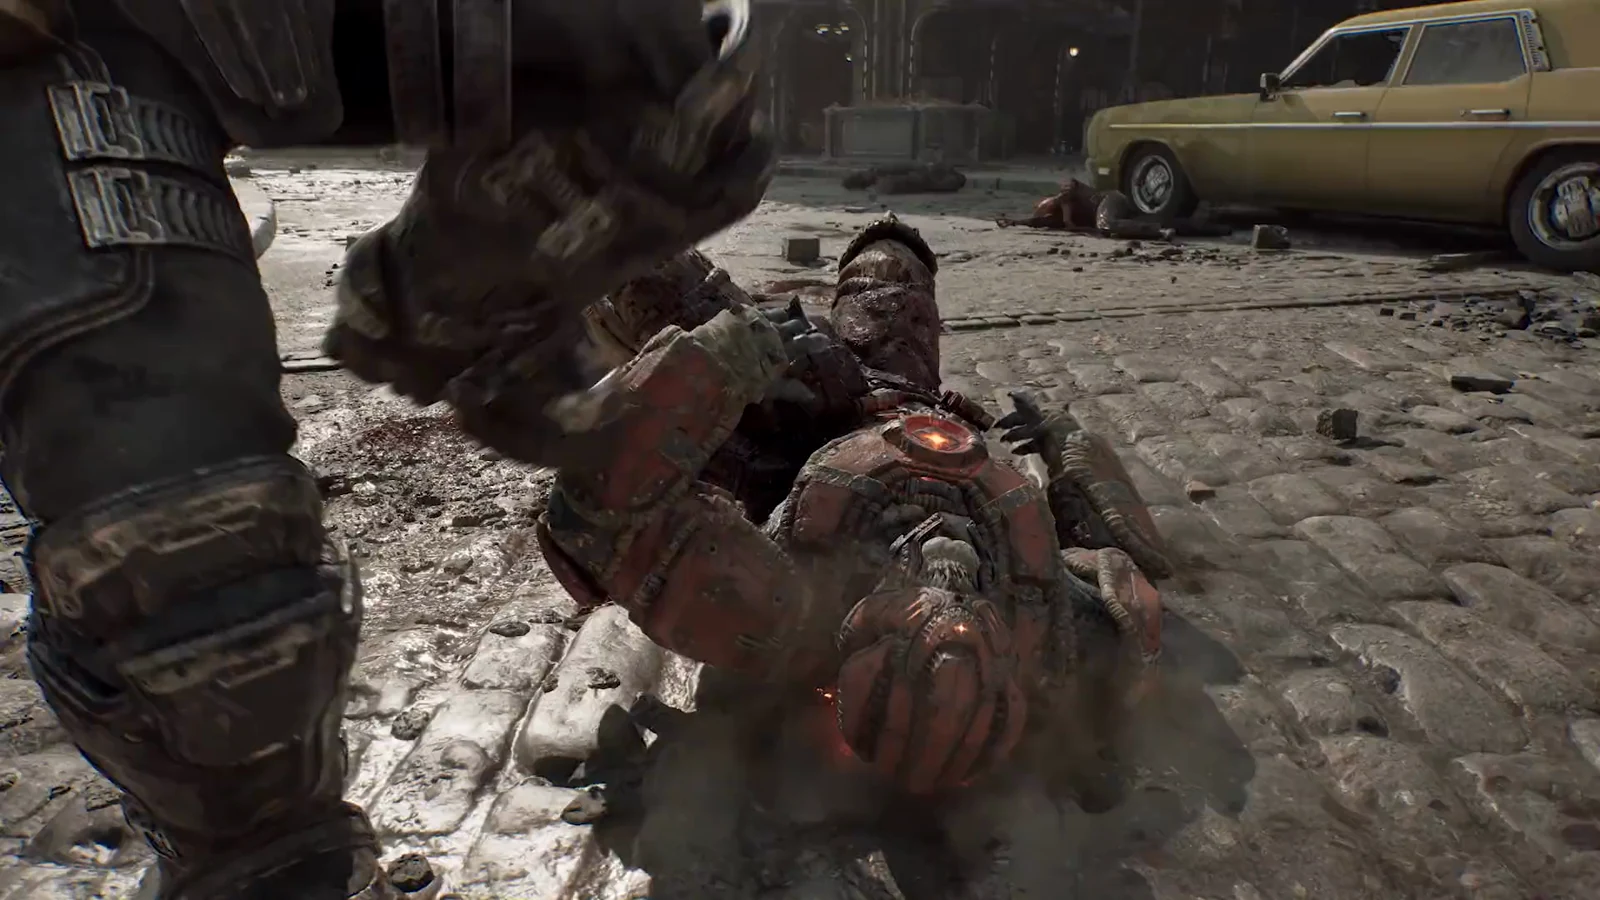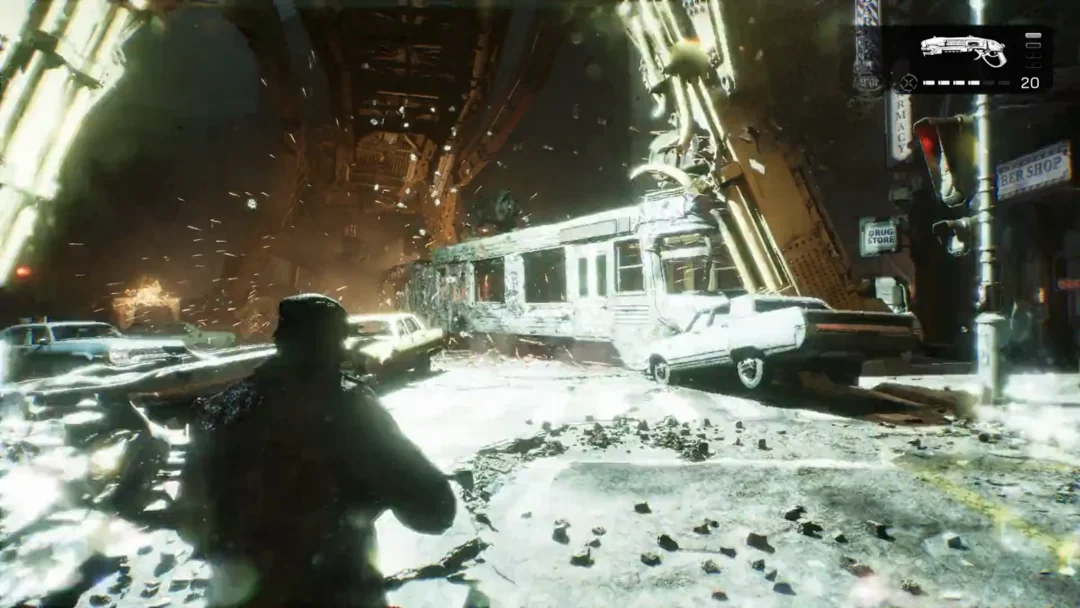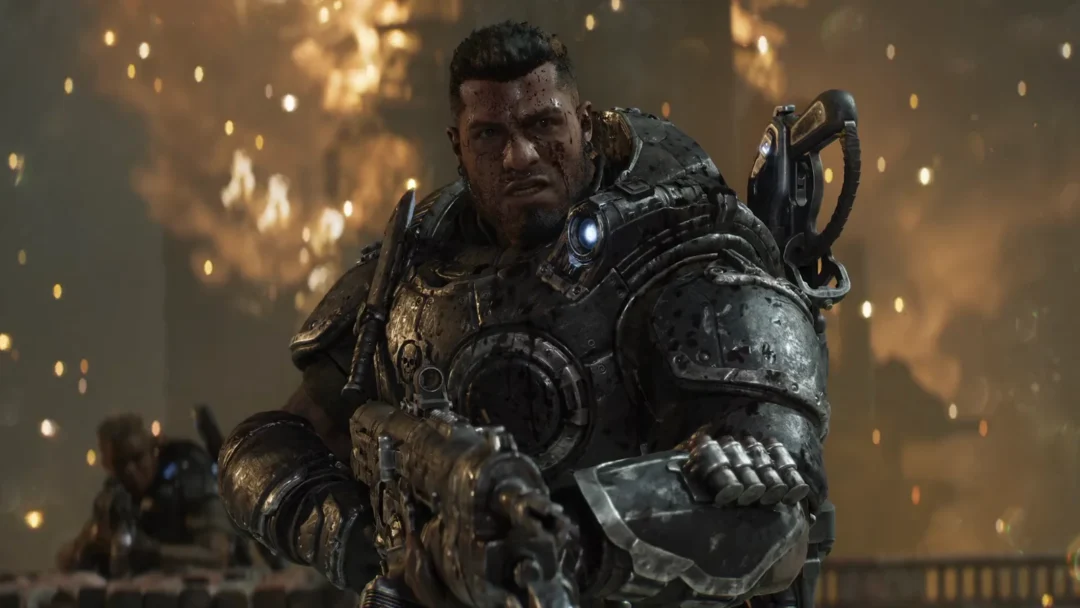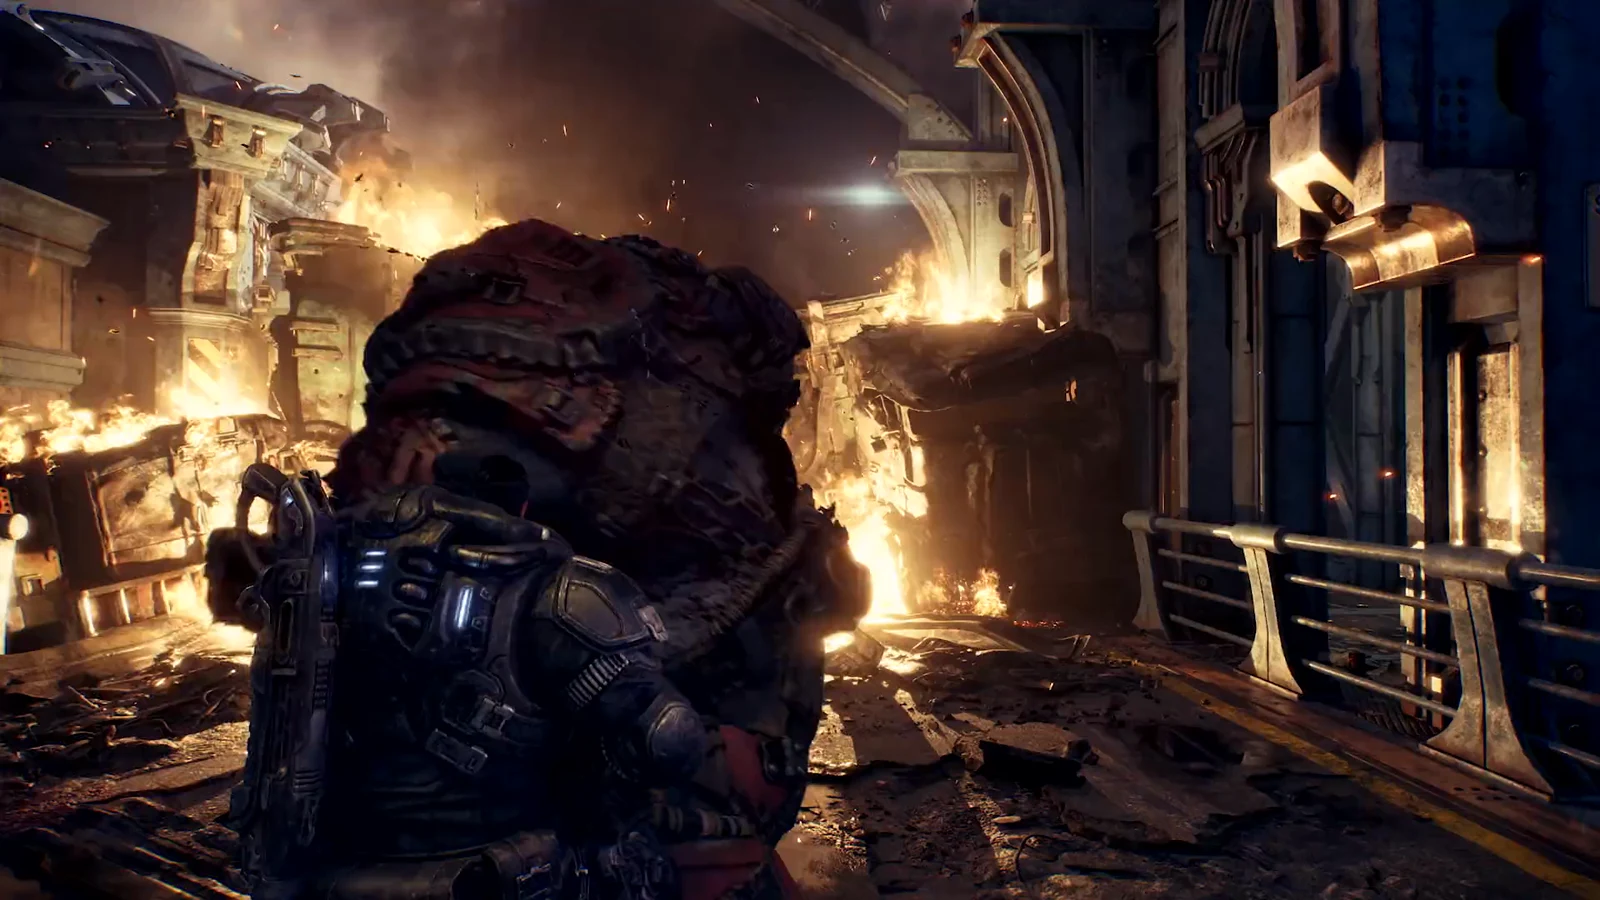
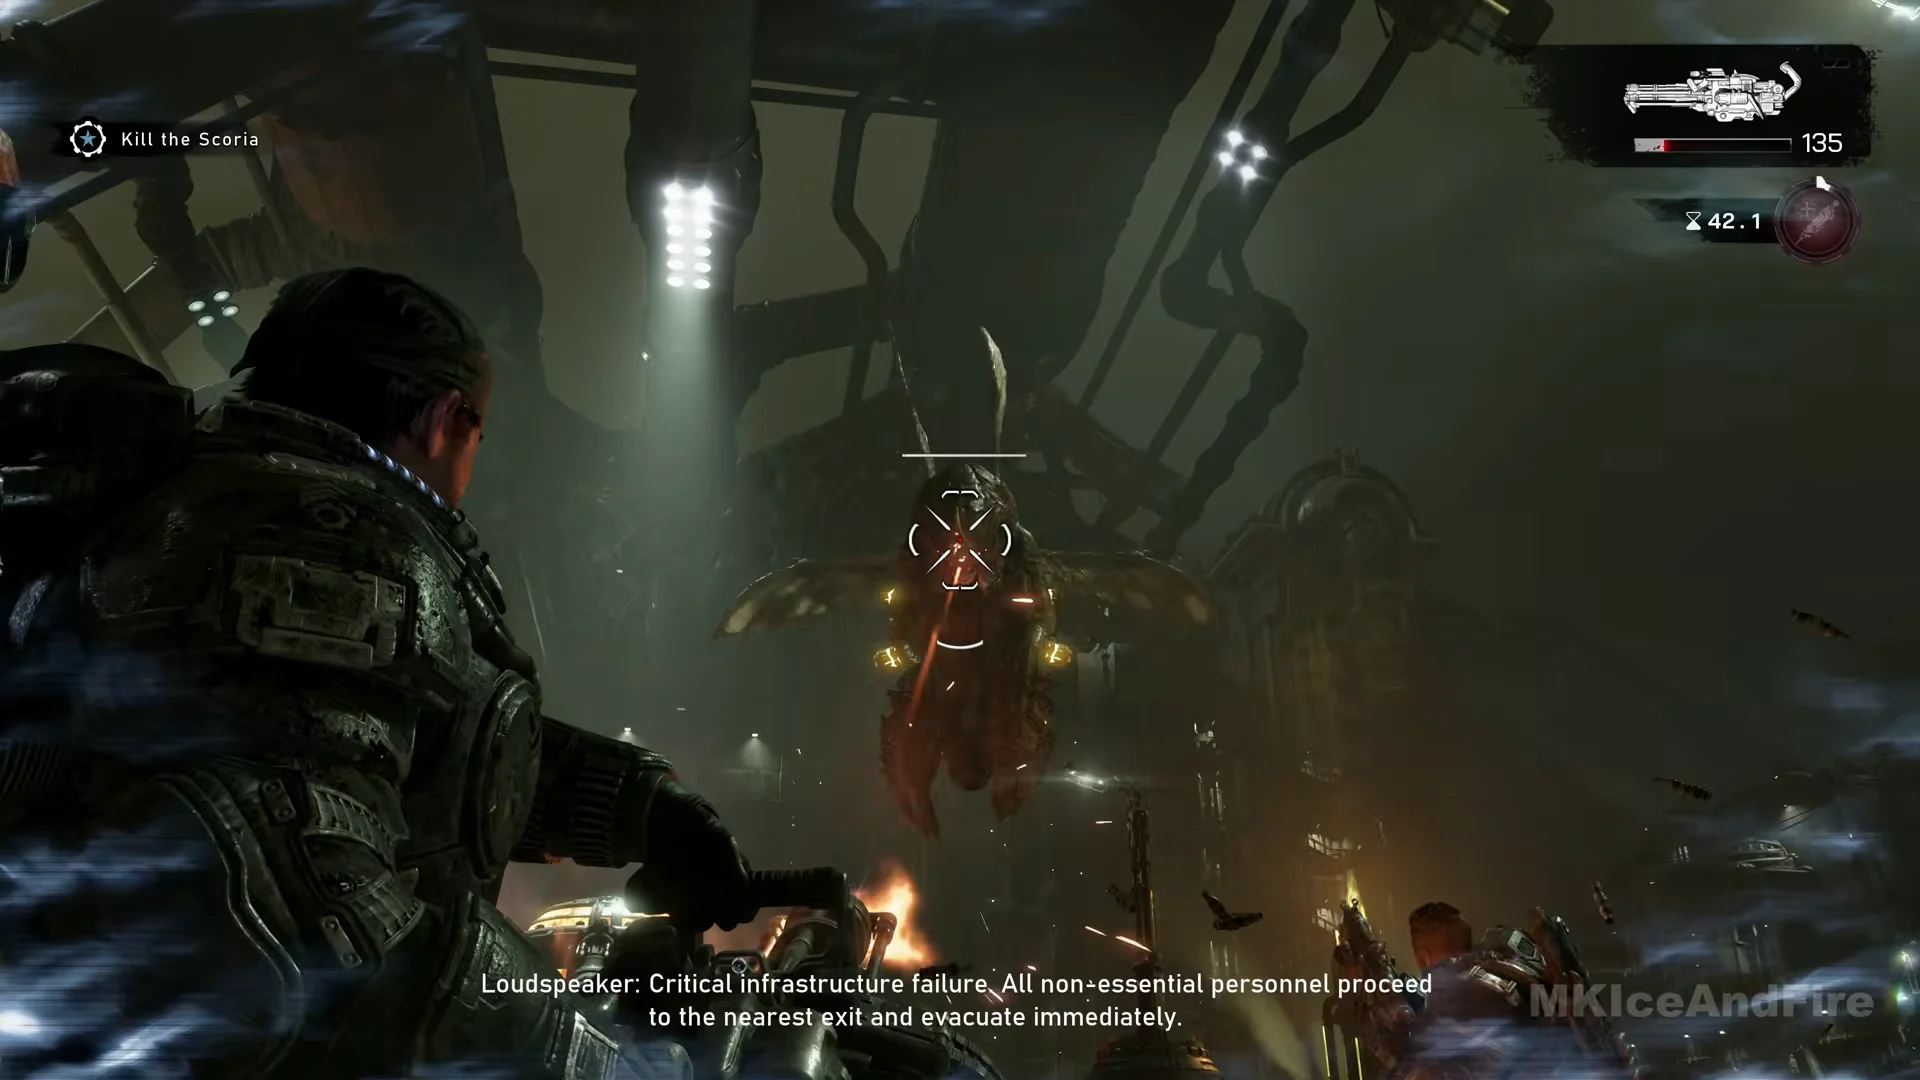
The fight at the refinery core in Act 4, Chapter 6: Critical Failure drops you onto a circular deck around the glowing converter with a single objective on screen: “Kill the Scoria.” There are two of them, giant winged beetles that move between the air and the deck, and each carries its own thin health bar. The chapter does not end until both are dead.
Quick answer: Fire the Prototype Lancer at an airborne Scoria; when one touches down, switch to Gut-Puncher grenades and target its glowing body. Sprint sideways to evade each yellow blast, and collect all three ammo pickups around the outer ring.
Grab the Hard Case before you take the lift down
On the control deck above the vats, a Hard Case sits beside the console just before the lift. It contains Impact Rounds for the Ripper LMG mod and displays “HARD CASE EMPTIED” after you collect them. Take the contents before lowering the lift; you cannot return afterward. This route also has four of the chapter’s five collectibles, all obtainable before you descend.
Activate the lift using the control at the platform’s edge. A brief cutscene shows a large, red-armored Locust at the converter as the first Scoria arrives. Control then returns at a checkpoint. You drop in equipped with a heavy multi-barrel gun holding 147 rounds, a Prototype Lancer at 600, a Gut-Puncher at 14, a Snub at 136, and Frag Grenades.
What the Scoria do and what actually hurts
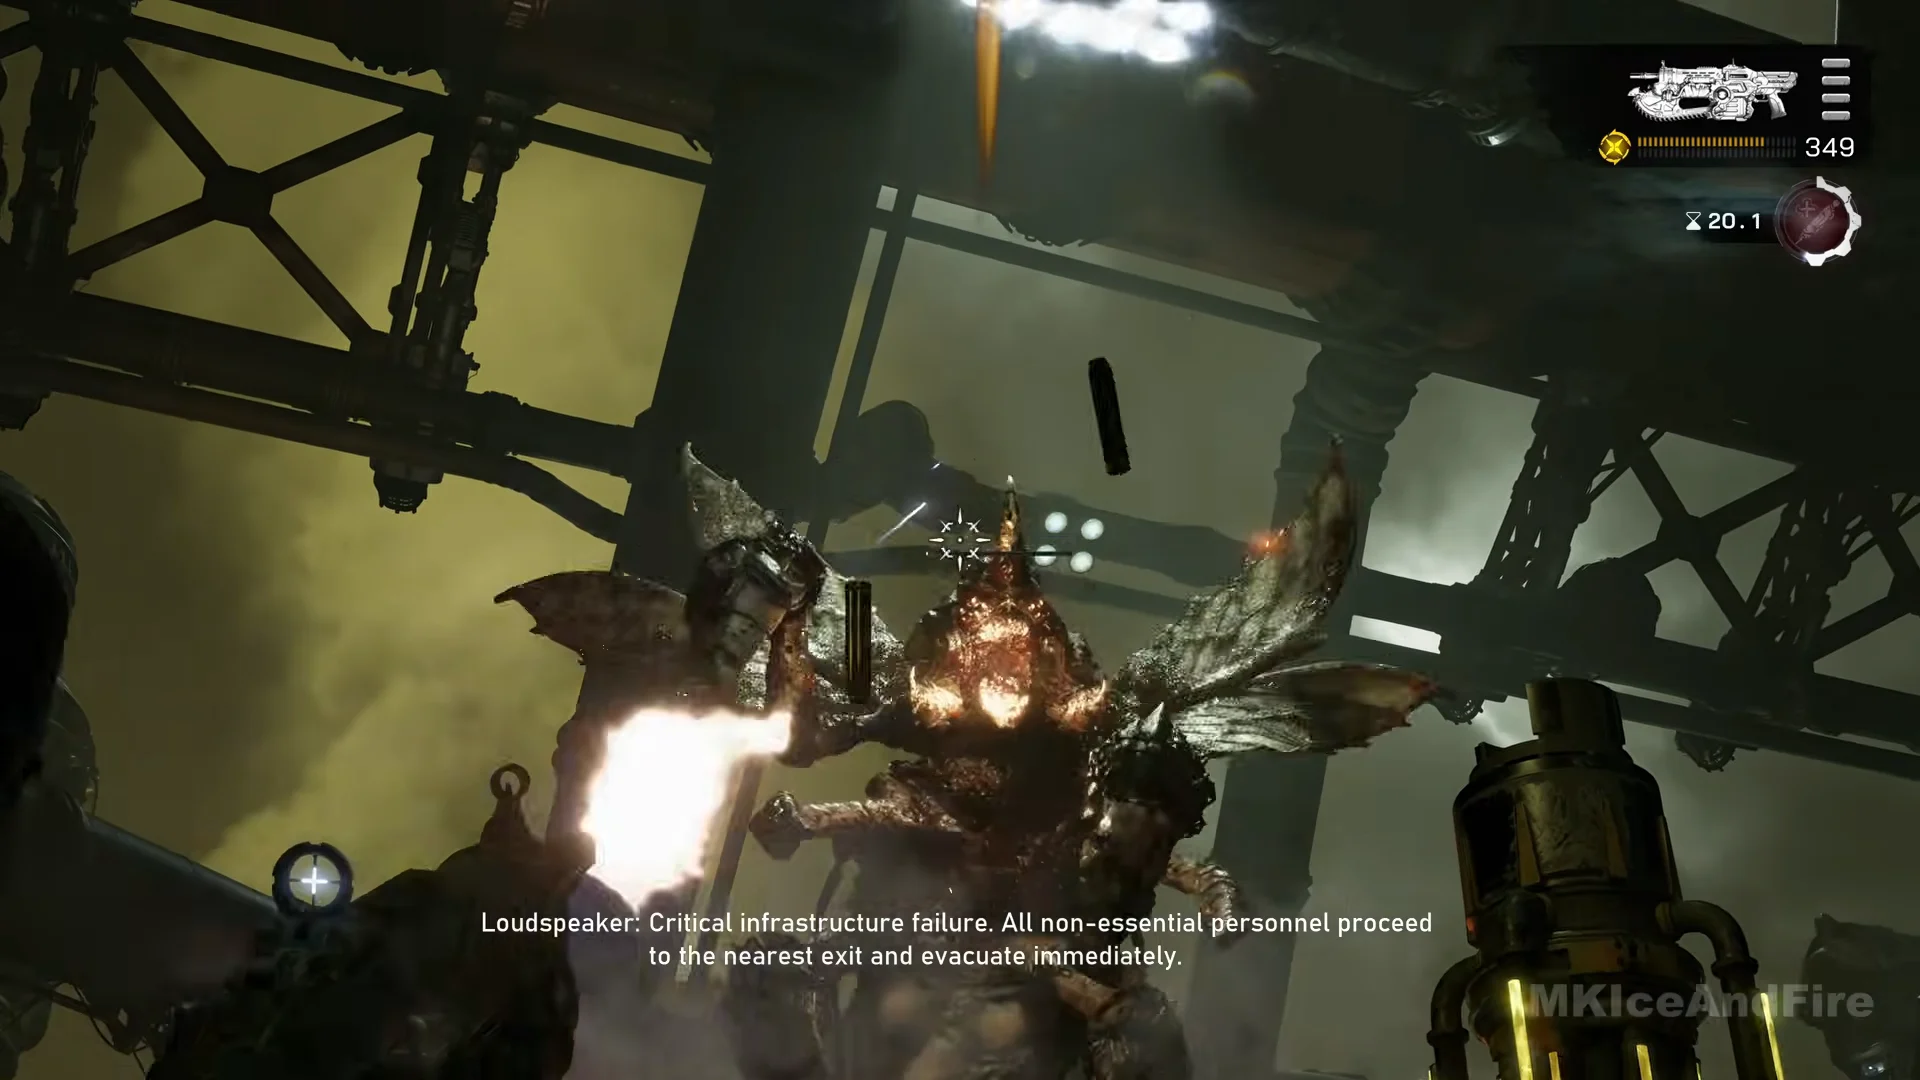
The two Scoria repeatedly alternate between flight and walking, typically leaving one airborne while its partner is on the deck. An airborne Scoria opens its wings and sends a broad shaft of white-yellow light downward. Once grounded, it takes on a wide, hunched shape, advances toward you, and unleashes the same close-range blast across the floor.
The searing yellow attack causes most of the damage and sets the deck alight where it strikes. When a Scoria takes aim and begins glowing, sprint laterally to escape the attack, then leave any burning patch of floor. A red cog-and-skull emblem at screen center signals that your health is almost depleted. Your squadmates are knocked down repeatedly during this fight; a red marker labeled with a squadmate’s name shows who needs help.
- No weak-point marker appears; fire on the glow brings the health bar down.
A Hammerburst is beside the outer railing, where X displays the pickup prompt. You can do without it; machinery, crates, pylons, and railings offer no protection from a blast if you remain in its path.
The fight in order
Ammo management across the fight
This long fight demands a lot of ammunition. Budget about 950 Lancer rounds, more than 20 Gut-Puncher grenades, and the heavy gun’s entire 147-round supply. The three ammo pickups sit around the outer ring, and you’ll need all of them; gather the boxes as you move rather than holding one position. Use the Adrenaline Injector more than once if necessary; its icon shows a countdown in seconds after each use.
How you know the fight is over
The objective line gets crossed out after both Scoria have been killed. When the second falls, “OBJECTIVE UPDATED” appears and a checkpoint is set; the new objective is “Escape the refinery.” A cutscene follows: red light rises from beneath the platform, Mags operates a console, yellow Imulsion floods through the core, and the squad departs aboard a train car. No enemies appear after the final Scoria and before the chapter ends. Control returns aboard the moving train, alongside the Act 5, Chapter 1 title card.