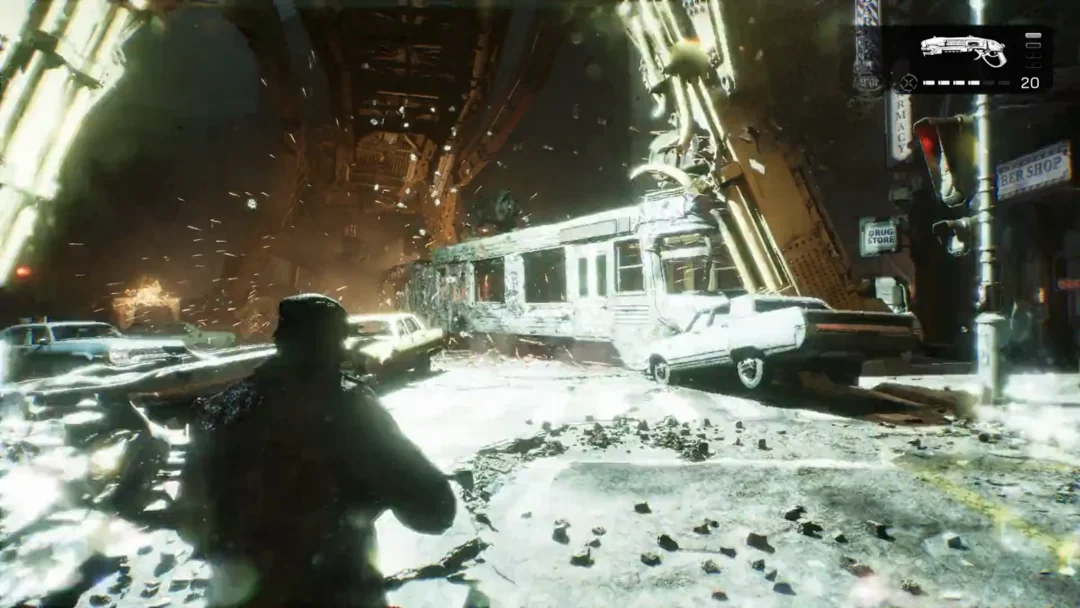
A Hard Case is a yellow COG crate that hands you weapon, armor, and tactical gear mods. You open it by standing next to it and pressing X on the “Open Hard Case” prompt, after which gold banners slide across the top of the screen to name each reward and “HARD CASE EMPTIED” appears on the left. On the route described here, 15 Hard Cases are opened across No Gear Left Behind, Overrun, Stranded, and Enemy Lines.
How to spot and open a Hard Case
These four chapters are linear, so every crate is a short detour from the route rather than a hidden side area. The game gives you two tells as you approach one, and a couple of tools to pin it down.
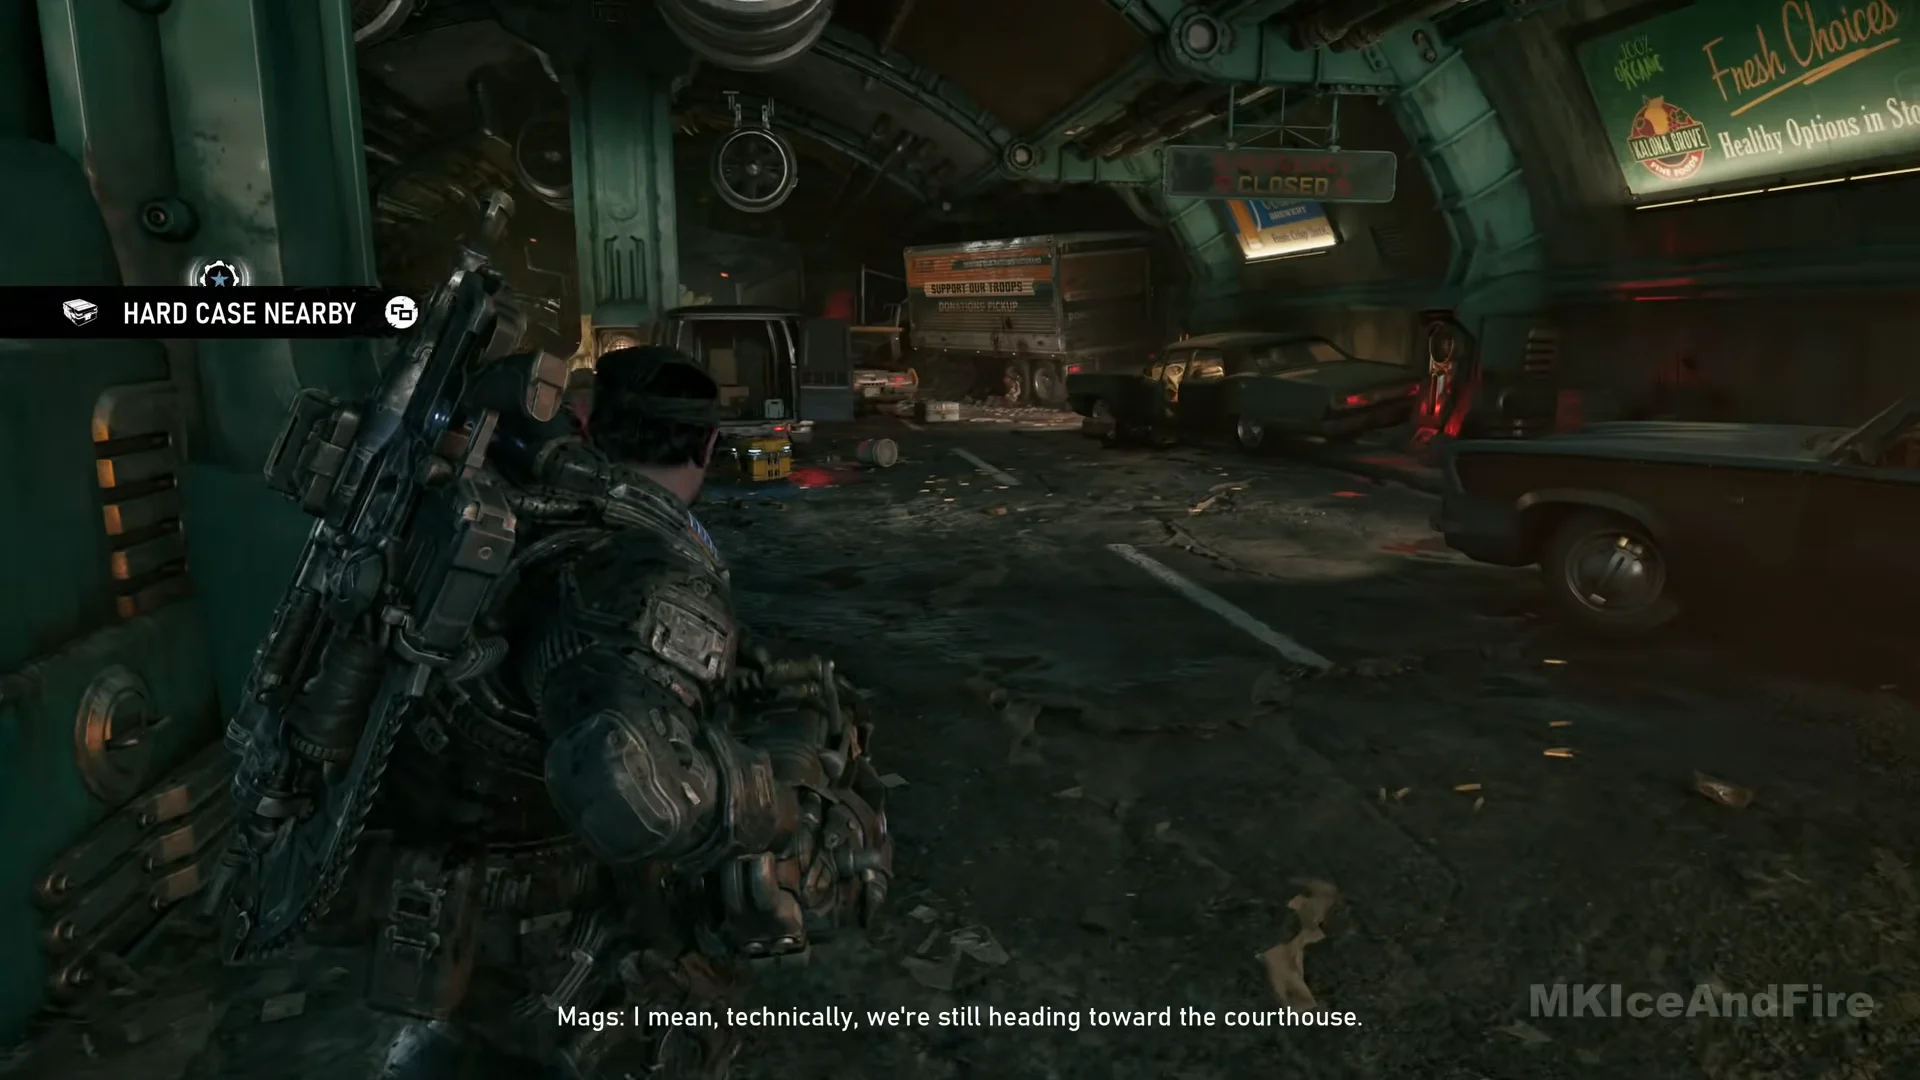
- When a case is close, a crate icon and the words “HARD CASE NEARBY” appear on the left. A white marker above the case gives its distance in metres.
- Hold LB for Tac-Com to see the objective and mark Collectibles, Supply Caches, and Hard Cases.
- The dots over the gold banner indicate the number of rewards inside, letting you tell when the case is empty.
Hard Cases are separate from collectibles and aren’t included in a chapter’s collectible total. No chapter displays a Hard Case count, either, so use the crates on the main route as your guide rather than expecting a fixed overall total.
No Gear Left Behind Hard Cases (Act 2, Chapter 3)
The route described here has five opened cases, from the opening road tunnel to the stone hall after the Seeder fight.
| # | Where it is | Rewards |
|---|---|---|
| 1 | Road tunnel, at a dark van’s open rear doors | High Capacity Mag (Gnasher); Ammo Scavenger (Armor) |
| 2 | Street under the overpass, low in the rubble by an overturned vehicle | Proximity Regen (Armor); Auto-Canister (Incinerator) |
| 3 | Statue plaza, under the scaffold deck by a mesh fence | Forged Barrel (Longshot); Concussion Rounds (Gut-Puncher) |
| 4 | Site office container up on the scaffolding | Best Defense (Armor); Detonator Ammo (Longshot) |
| 5 | Hall of sheltering civilians, by tall panelled double doors | Fortifying Compound (Injector); Reload Servo (Disruptor) |
Less than a minute into the chapter, enter the road tunnel filled with abandoned cars to find the first crate. Its alert appears beside a police car painted pale blue and white. Continue ahead to the left, where an open-backed dark van stands in front of a box truck; the case is at the van’s open rear.
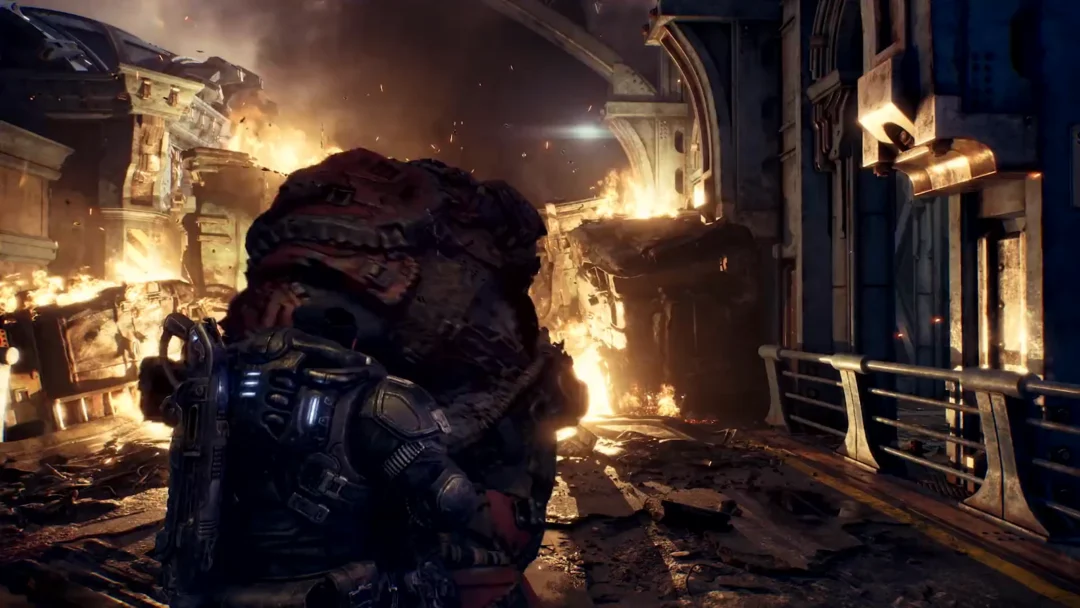
Case 2 comes after the Charlie Squad scene and the two sets of COG tags on the road. Walk past the red-smoking hole and the burning rubble heap, and the crate sits low on the ground at the foot of a concrete wall, beside an overturned armoured vehicle, before the street opens out. This is an easy one to stride right past.
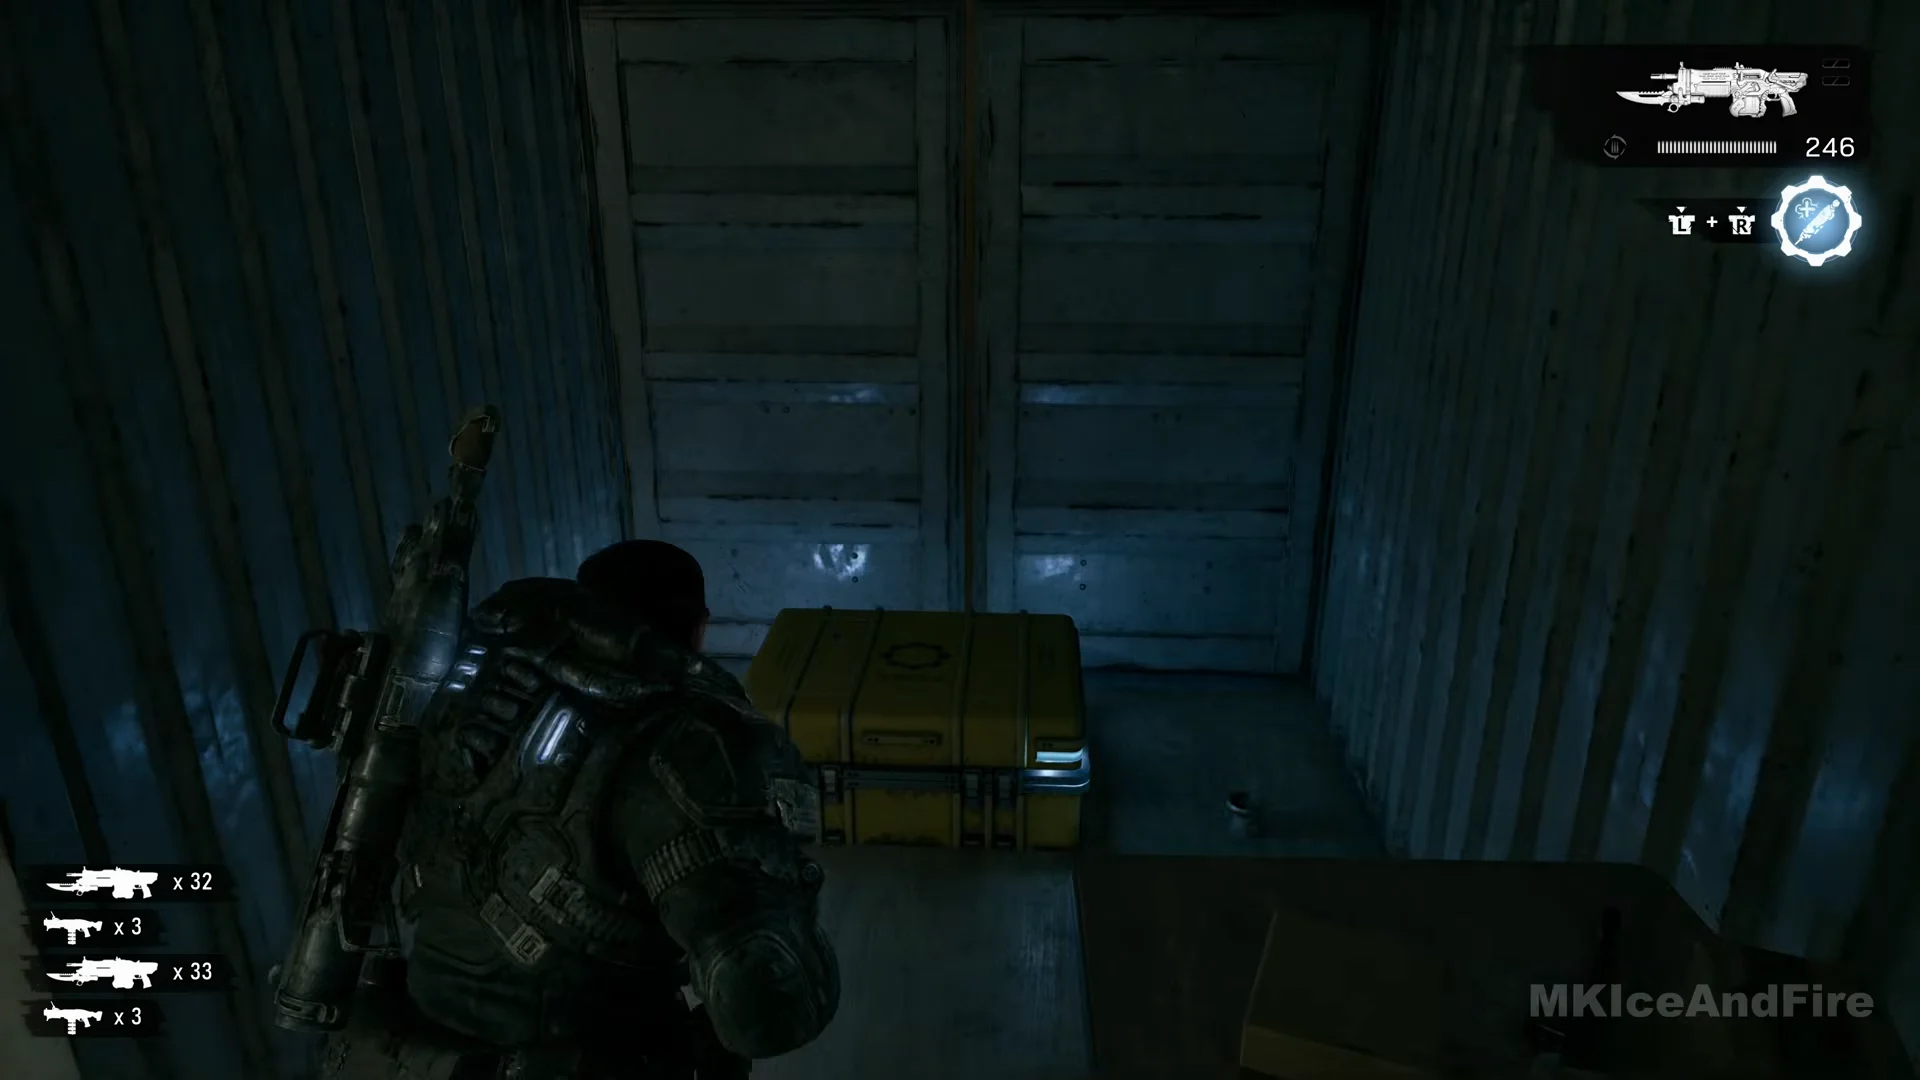
Cases 3 and 4 are both located in the plaza surrounding the base of a giant statue covered in scaffolding. Clear out the area first. At the statue’s base, case 3 is beneath the scaffold platform, next to a wire-mesh fence panel and near an Incinerator lying on the paving. To reach case 4, ascend the metal stairs and continue along the catwalk, passing two white caged water tanks. Find a dark corrugated container used as a site office; a map of Kalona hangs inside, and the crate is on the floor at the rear.
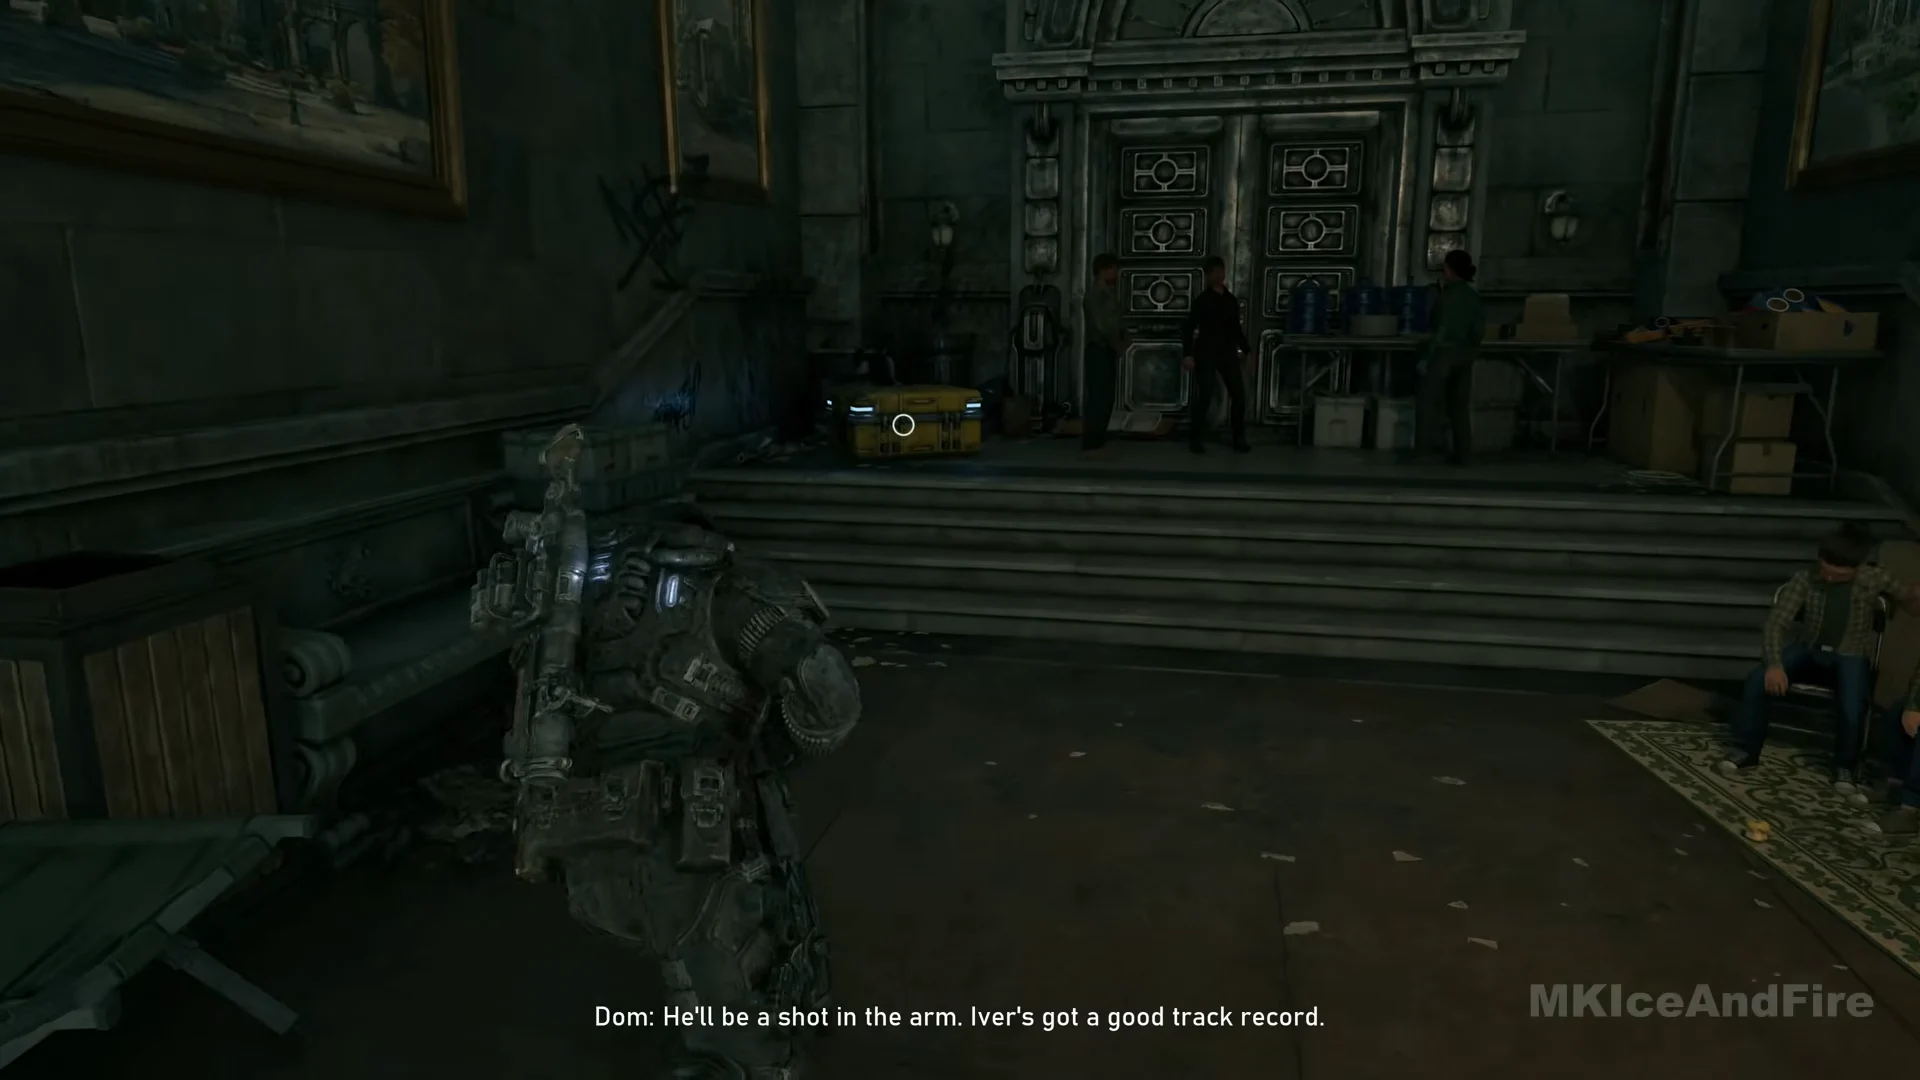
A Supply Cache is located just below the site office ramp, before the Seeder encounter. You can use it to equip everything from the first four cases. Case 5 is found after the Seeder, as you follow Captain Grey indoors. He takes you up steps to a long stone hall with a vaulted ceiling and civilians camped along its walls. Look for the alert beside green ammo crates stacked by a pillar. The case lies on the floor against the wall, next to tall double doors with panels. It’s the final crate before the chapter concludes at the truck outside.
Overrun Hard Cases (Act 2, Chapter 5)
Flyboys (Act 2, Chapter 4) sits between this chapter and the last one. It is a King Raven door-gun flight with no crate to open, so there is nothing to collect there. Overrun starts on the airfield; the route described here opens two Hard Cases.
| # | Where it is | Rewards |
|---|---|---|
| 6 | Red fissure under the runway, on the ground at the left wall | Disruptor Mod Slot; Precision Long Barrel (Snub); Incendiary Emitter (Disruptor) |
| 7 | Vehicle depot side bay, one step from the Supply Cache | General Mod Slot (Gut-Puncher) |
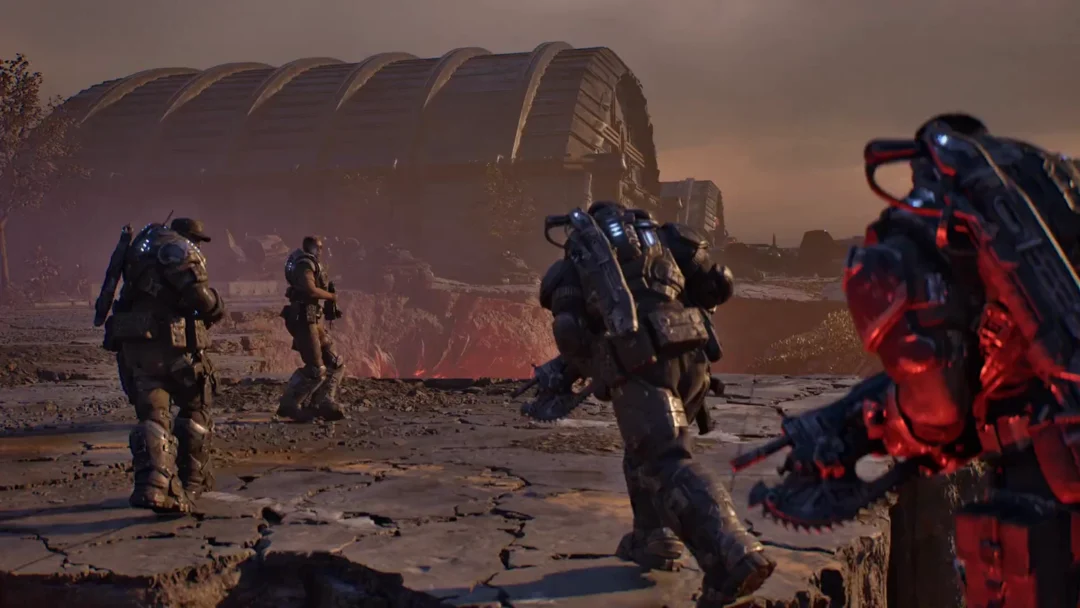
During the fight in the first hangar, an alert reading “HARD CASE NEARBY” appears beside metal pallets chained together; the alert is passed without opening a case. Continue on. The first actual case is in the glowing red fissure that the Corpser ripped into the airfield; the route to the rally point leads down into it. Drones guard the tunnel. The alert appears among wooden crates on the floor, and the case rests by the left wall. A Hammerburst sits on a crate a few steps beyond it.
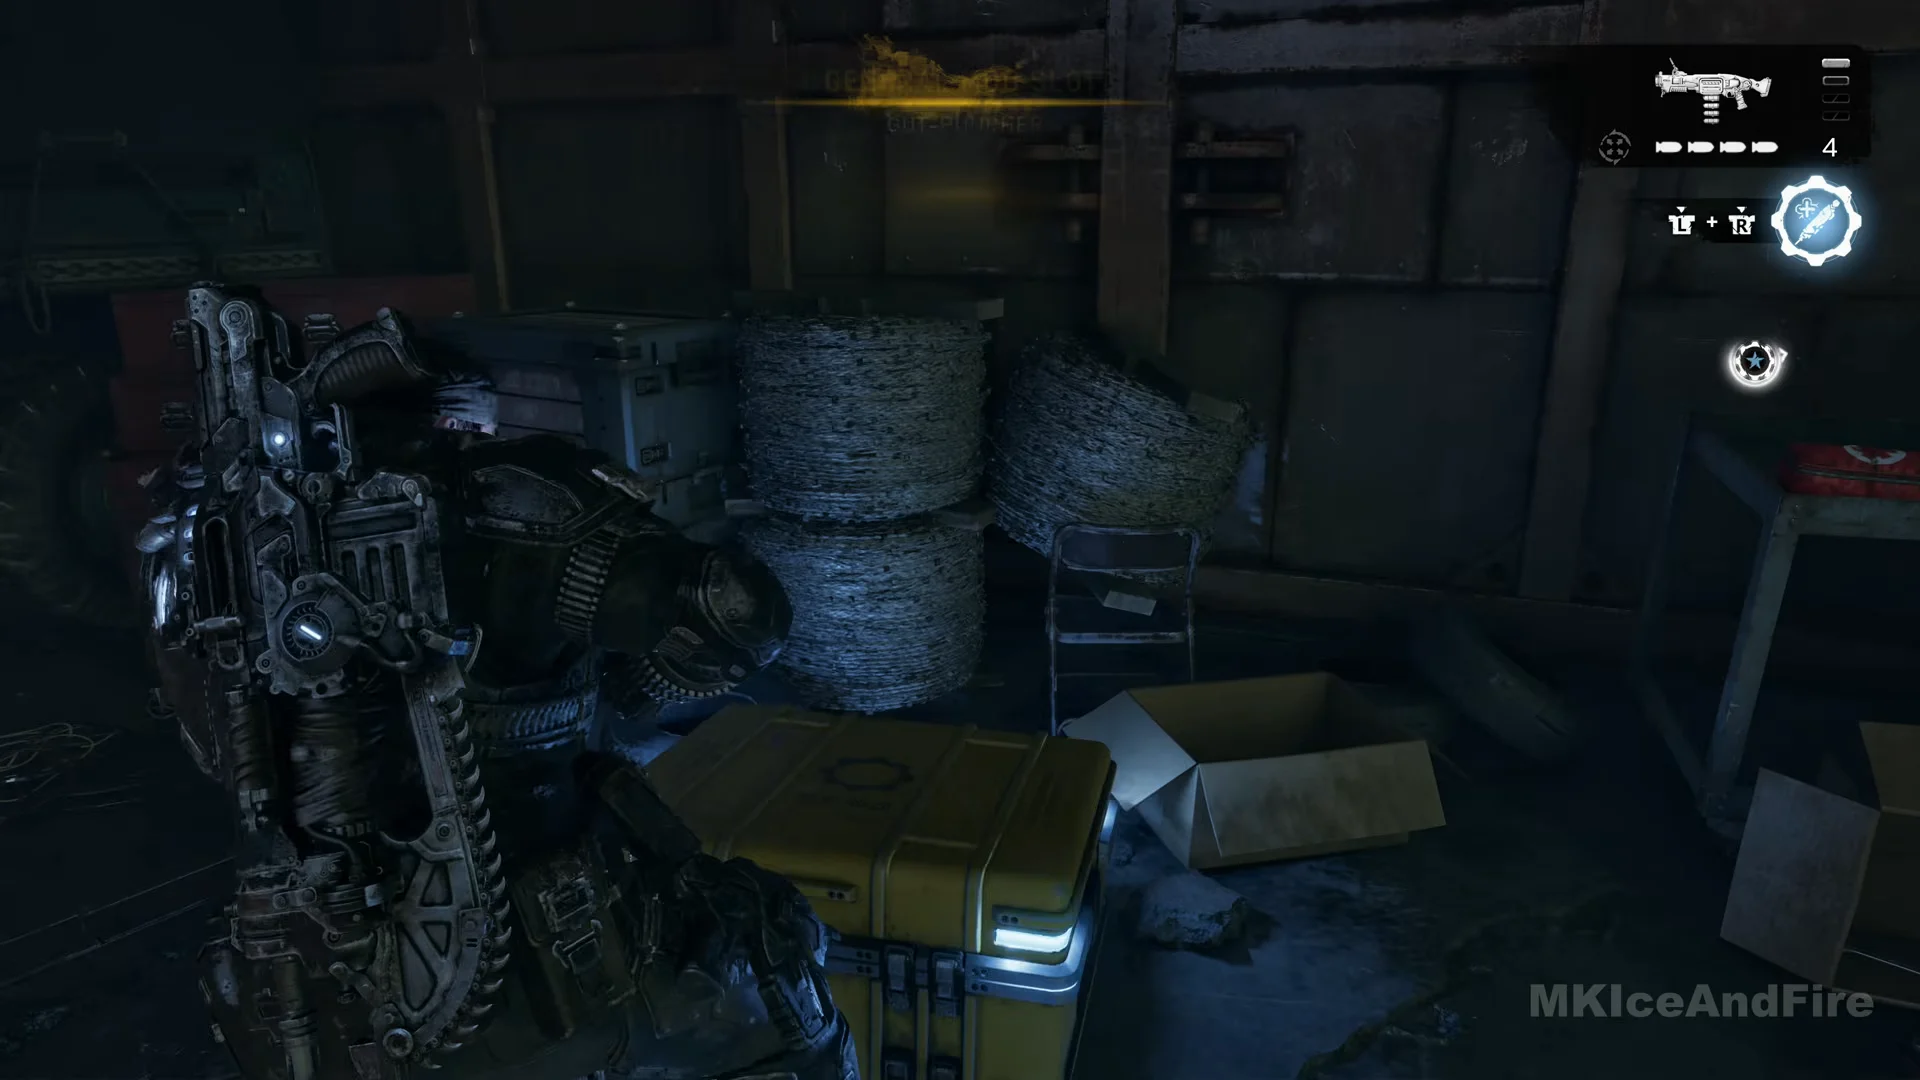
Case 7 is in the vehicle depot past the blast door, a hall of parked armoured vehicles with “06A” painted on the far door. The crate sits in the side bay with stacked tyres and cardboard boxes, one step from the blue-lit Supply Cache. That cache shows “NEW MODS AVAILABLE” right away, so you can fit everything from cases 1 through 7 here before the runway push.
Stranded Hard Cases (Act 3, Chapter 1)
The route described here includes three opened cases: two on the approach to the base and one inside the sub-station.
| # | Where it is | Rewards |
|---|---|---|
| 8 | Grass beside the rocks near the crashed King Raven | Huge Magazine (Proto Lancer); Slick Breech (Gnasher) |
| 9 | Armour graveyard, by a concrete block among the wrecks | Composite Chassis (Hammerburst); Mobile Stabilizer (Hammerburst) |
| 10 | Sub-station back corner, ground floor | Extended Magazine (Lancer Mk1); Smooth Operator (Armor) |
A sniper’s red laser sweeps across the clearing ahead of the base. Circle to the right of the rock outcrop, heading for the wrecked King Raven; the alert appears beside a signboard leaning nearby. Search the grass among the rocks by the wreck for the case, next to a concrete barrier topped with frag grenades. Since the fight continues, open it from cover behind the rocks.
On the way into the base, case 9 appears after a checkpoint. Beyond the fence is a yard filled with rusted, wrecked armoured vehicles, and the “SUPPLY CACHE NEARBY” alert appears as you enter. Look left of the path, among the wrecks and before the blue “MILITARY ZONE” signboards: the crate lies beside a concrete block. It’s easy to overlook in the dark corner.
Case 10 is inside the dark sub-station, just after the objective changes to “Find the breaker.” The crate glows in the back corner of the ground-floor room, and a Supply Cache stands at the big window in the same room, so fit these mods before you move on. Later, once the landing zone is clear, a “COVER BRACE / HAMMERBURST MOD” banner appears on the lit helipad on its own, with no crate to open for it.
Enemy Lines Hard Cases (Act 3, Chapter 2)
The route described here opens five cases, from the opening tunnel through the subway platform and down to the storm-sewer room.
| # | Where it is | Rewards |
|---|---|---|
| 11 | First tunnel, by two wooden crates at a timber prop | Cut Magwell (Lancer Mk1); Tactical Scope (Longshot) |
| 12 | Subway platform, at the foot of a pillar | Vitality Amplifier (Injector); Radial Emitter (Disruptor) |
| 13 | On that platform, beneath the “Eastbound” sign | Injector Mod Slot; Pulse Drone Mod Slot; Reflex Compound (Injector); Focal Lens (Pulse Drone) |
| 14 | Edge of the chasm, on broken paving by a low wall | Incinerator rewards: General Mod Slot (Incinerator); Cut Magwell (Incinerator) |
| 15 | Storm-sewer room, by Erick Davis’s tags at the pipes | Precision Rifling (Proto Lancer) |
At the chapter’s start, head through a dark rock tunnel with a red glow ahead. The alert appears at the bend; beside a timber prop, the first crate rests on the ground next to two wooden supply crates. Later, while fighting across the tracks, you’ll get a “HARD CASE NEARBY” alert on the green iron stairs leading to the station mezzanine. No case is opened there.
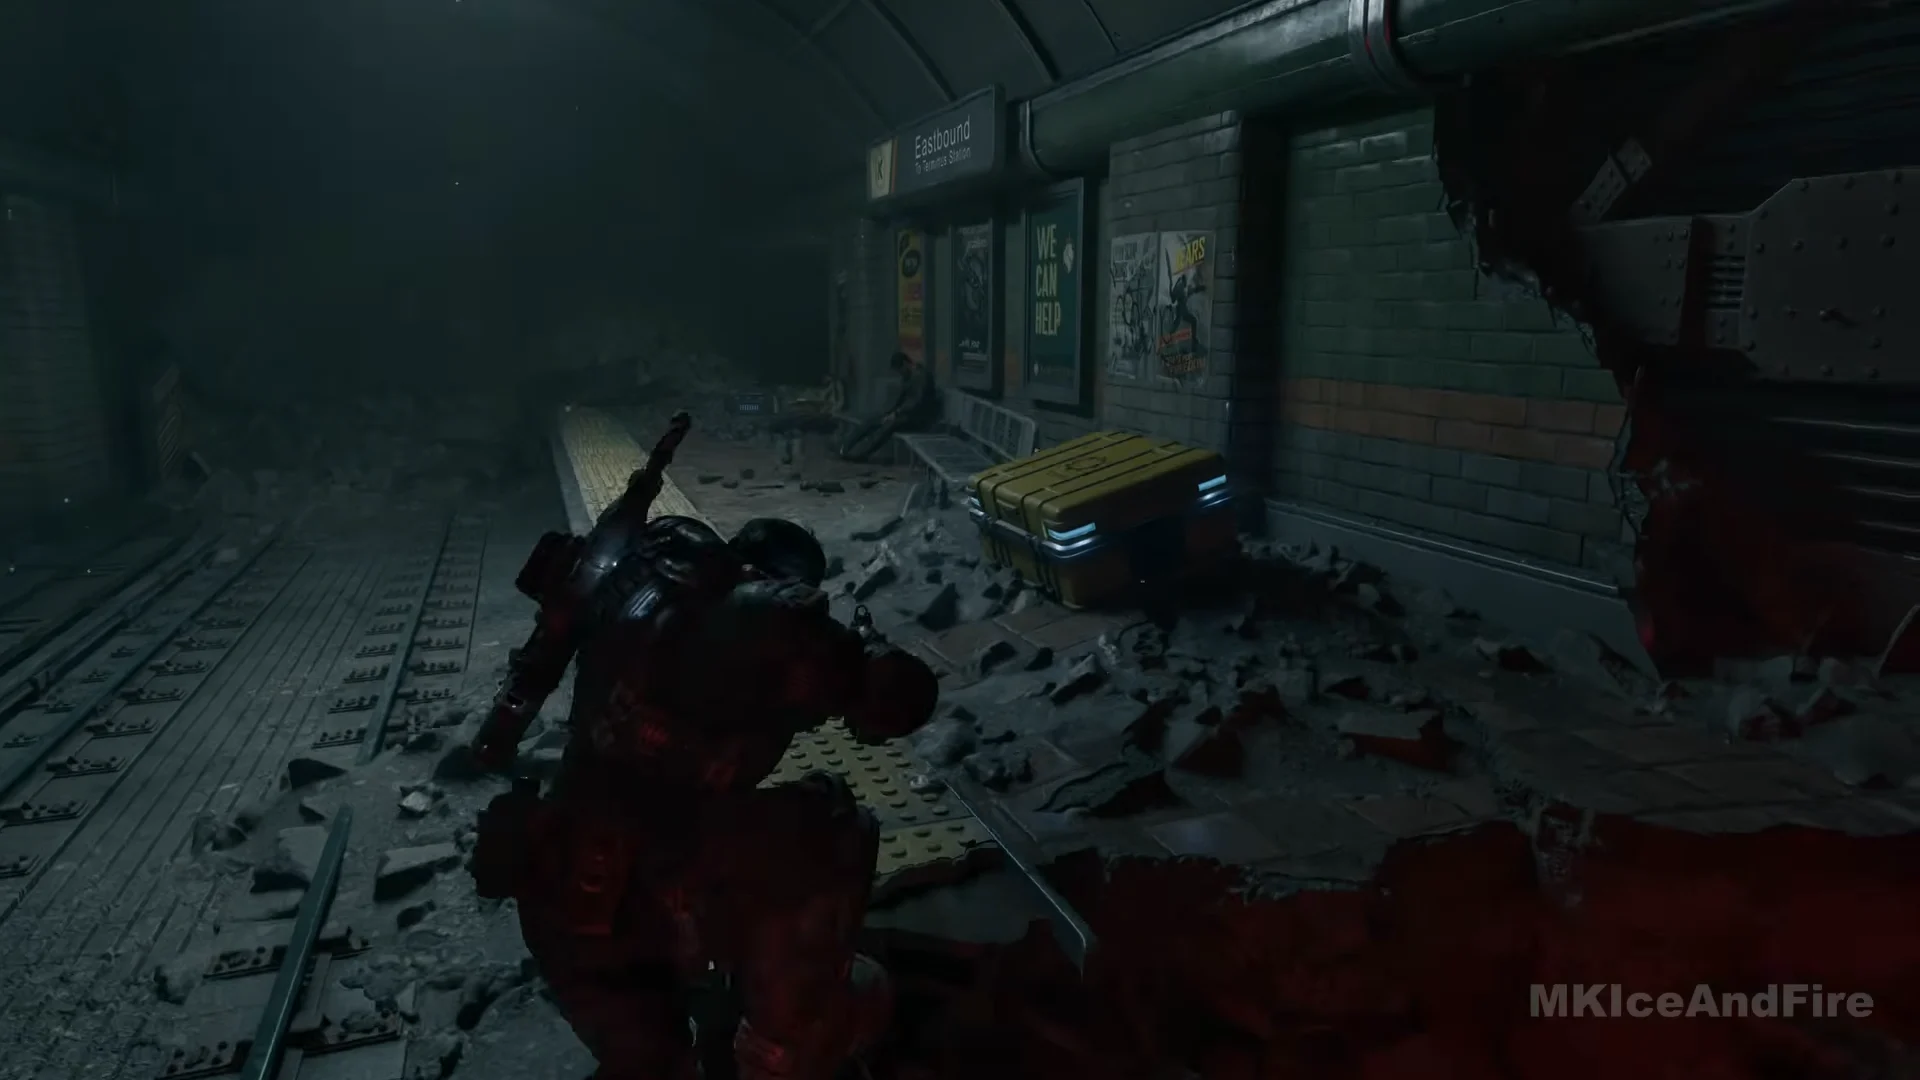
Cases 12 and 13 are both on the subway platform. Climb over the wrecked train and drop onto the platform, and the alert triggers at once for case 12 at the foot of a pillar. Case 13 is further along, where the tiled wall is broken open. The crate sits on the rubble against the wall, by the bench and the green “WE CAN HELP” poster under the “Eastbound” sign, and a checkpoint saves here. It holds four rewards, including two mod slots.
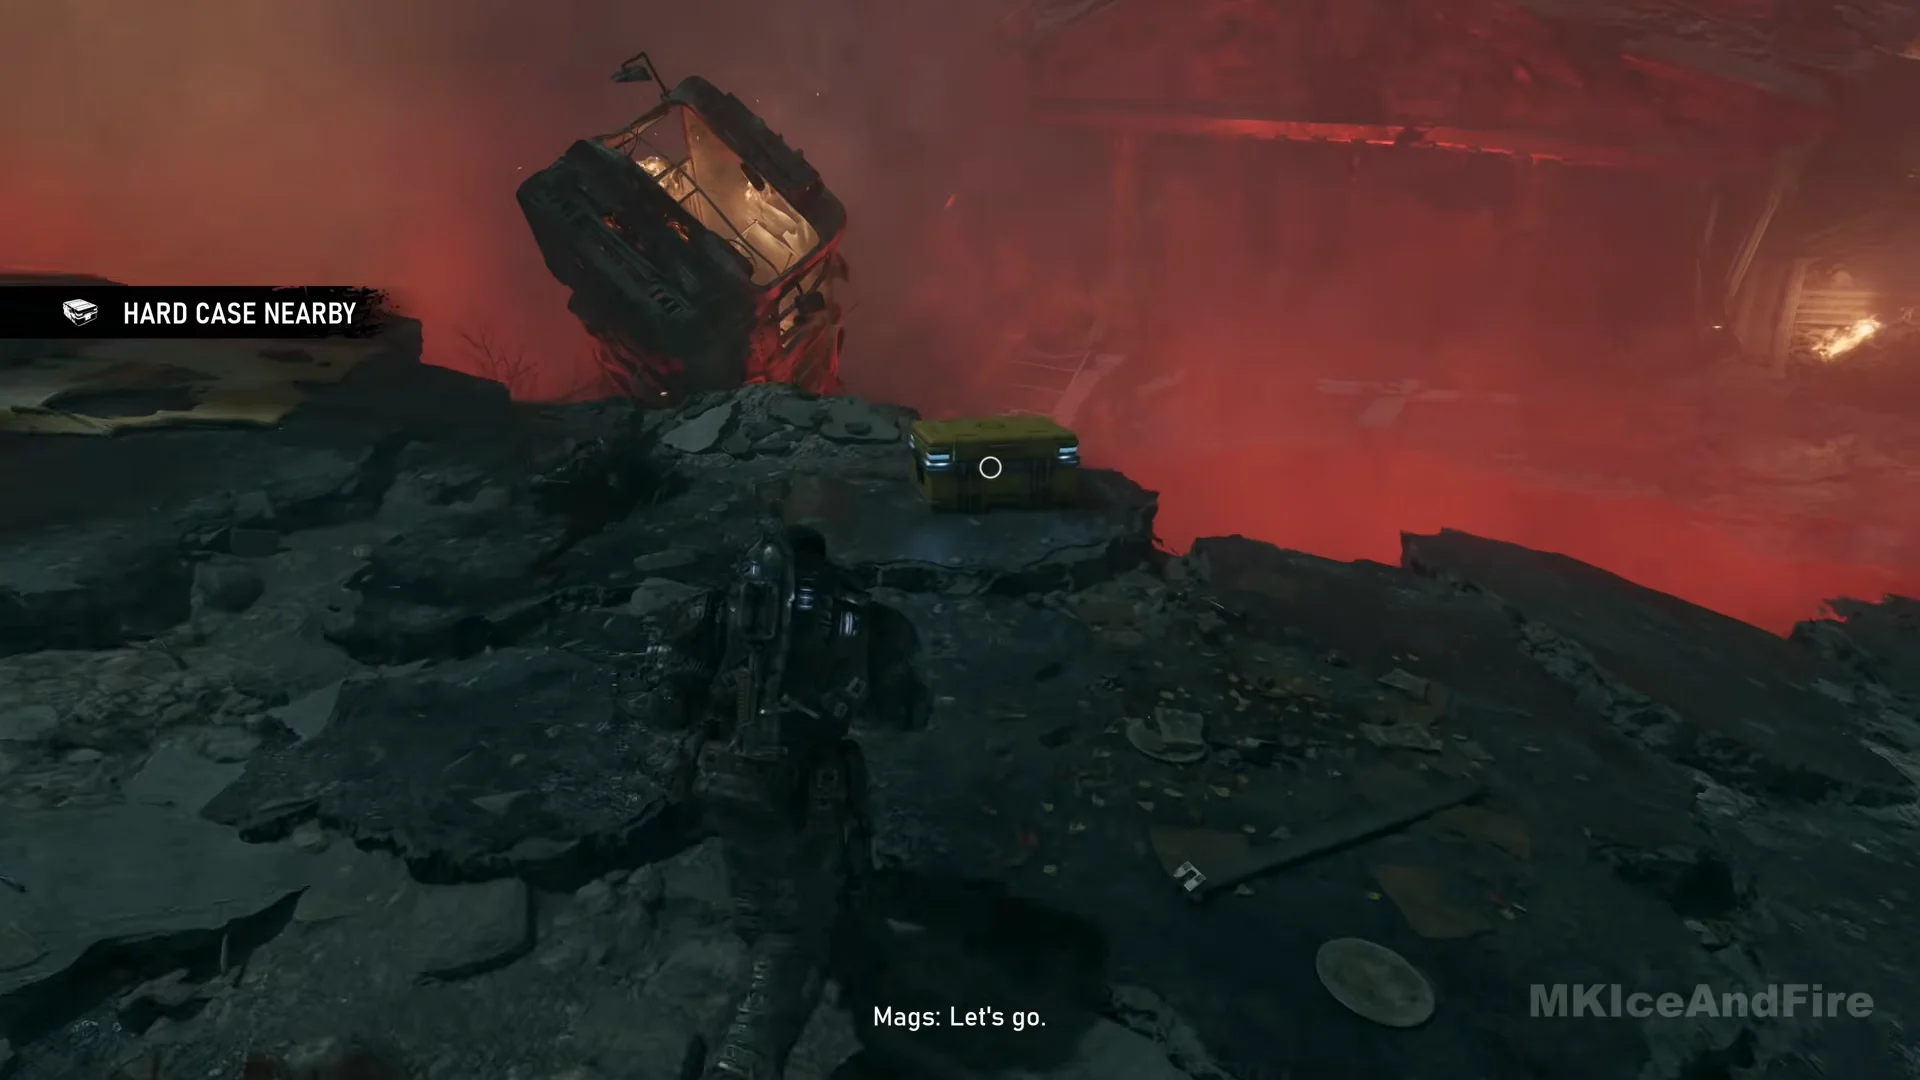
As the squad moves away through the collapsed street cavern, an alert appears near a crushed vehicle hanging above a red-lit drop. Case 14 is on broken paving at the drop’s edge, next to a low stone wall. Don’t miss it as you pass the edge; step out to the crate before moving on.
The last crate is in the round storm-sewer chamber, which has a pit in the middle crossed by a grated walkway. “SUPPLY CACHE NEARBY” shows as you enter. Follow the curved wall with the big pipes, where the alert pops at a dead Gear on the floor. The crate is against the pipes beside a blood-smeared crate, and the collectible COG Tags of Private First Class Erick Davis sits on that same crate. The Supply Cache is a few steps on, and the Corpser fight follows this room, so fit your mods here.
Fitting Hard Case rewards at a Supply Cache
Opening a crate banks the mod, but it does nothing until you register and fit it at a Supply Cache. Each of these chapters places one on the route so you never have to carry rewards far before the next fight. The confirmation to look for is the cache screen showing “NEW MODS AVAILABLE” when you walk up to it.
- No Gear Left Behind: descend the ramp beyond case 4.
- Overrun: beside case 7 in the vehicle depot.
- Stranded: in the sub-station room with case 10.
- Enemy Lines: in the storm-sewer chamber where case 15 is found.
Across the 15 crates you pick up a run of mod slots and mods. The slots are a General Mod Slot each for the Gut-Puncher and Incinerator, plus a Disruptor, Injector, and Pulse Drone Mod Slot once apiece. The weapon mods cover the Gnasher, Longshot, Snub, Prototype Lancer, Hammerburst, Lancer Mk1, Gut-Puncher, and Incinerator, while the armor and tactical gear mods feed your Armor, Injector, Disruptor, and Pulse Drone loadouts. Fit the slots first, then drop the matching mods into them as you go.