

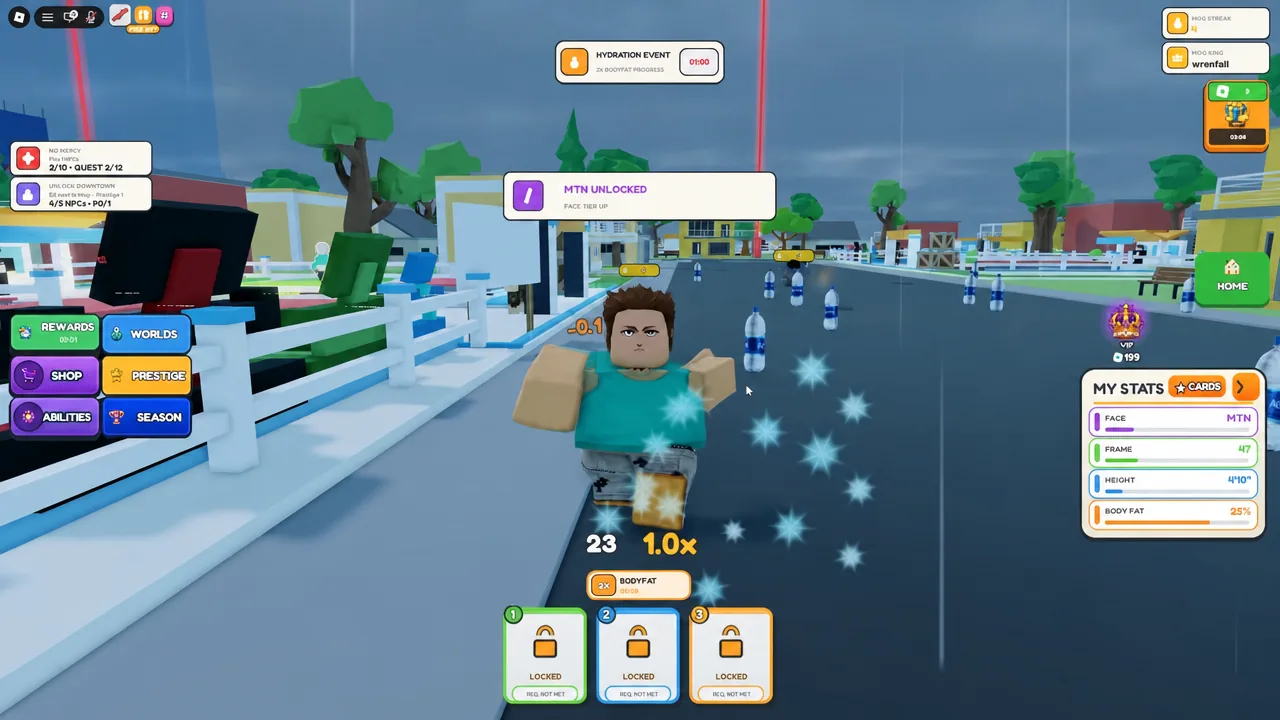
Mog or Die drops you into the server as a SUB5 and hands you one job: raise four stats until you can beat everyone else in a head-to-head comparison. The loop is simple, but the fast lane isn’t the collectible run everyone does on their first life. It’s passive MogPoints from captured moggers, ability rolls that speed up pickups, and knowing exactly when to hit Ascend.
Quick answer: Win Mog Battles, choose MOG instead of SPARE to capture opponents, place them on the earning pads at your base with AUTO EQUIP BEST turned on for passive MogPoints, then open RANKS and press ASCEND to prestige — the reset makes every future Mog Battle easier to win.
The four stats and the item that raises each one
Every Mog Battle compares Face, Frame, Height, and Bodyfat. Each stat has exactly one collectible tied to it, and they spawn all over the map, so there’s no upgrade tree to figure out. You just need to know which pickup does what before you waste a run chasing the wrong item.
| Collectible | Effect |
|---|---|
| Milk | Increases Height |
| Hammer | Cuts face fat and raises your Face rating |
| Picture Frame | Widens your Frame |
| Water | Lowers Bodyfat |
Open MY STATS at any point to see where each number sits. Balance matters more than one big number, since a battle checks all four, and a huge Height with terrible Bodyfat will still lose to a rounded opponent.
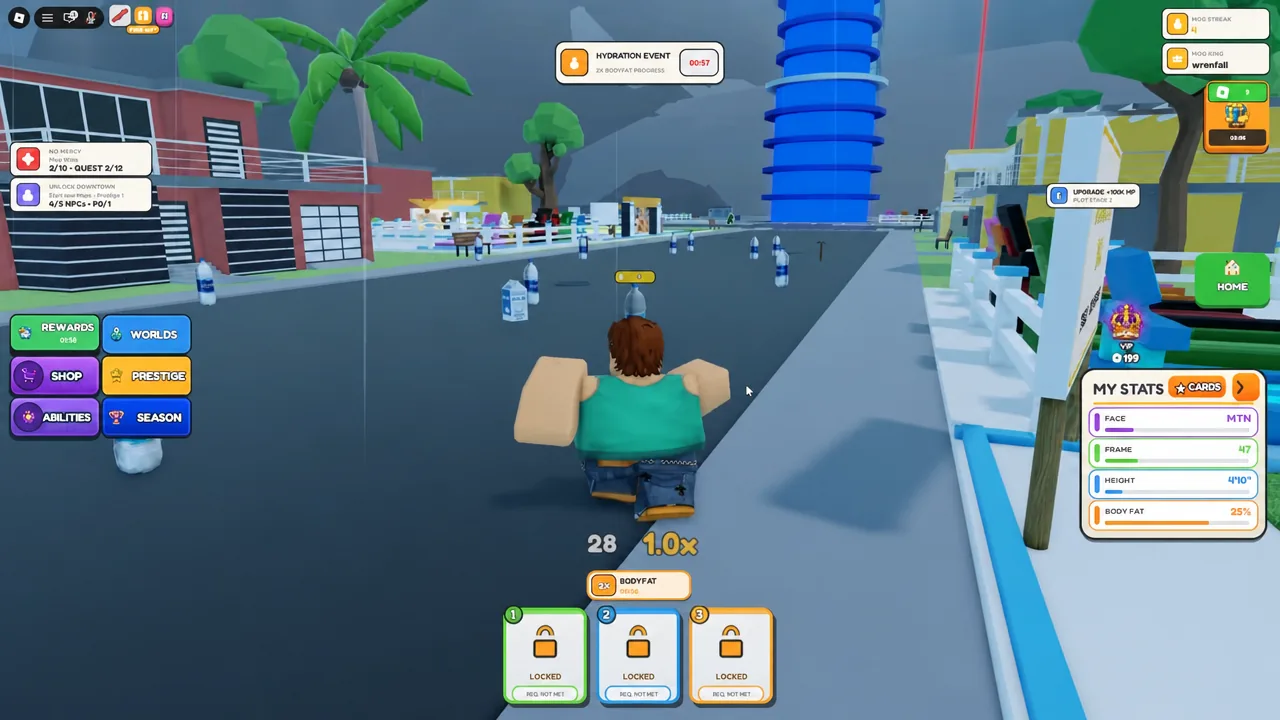
Temporary boosts also spawn around the map and stack on top of your normal pickups. A timed BODYFAT boost, for example, runs in the corner of the screen while it’s active, which is the window you want to be sprinting between spawns rather than standing still.
Mog Battles: When to pick MOG instead of SPARE
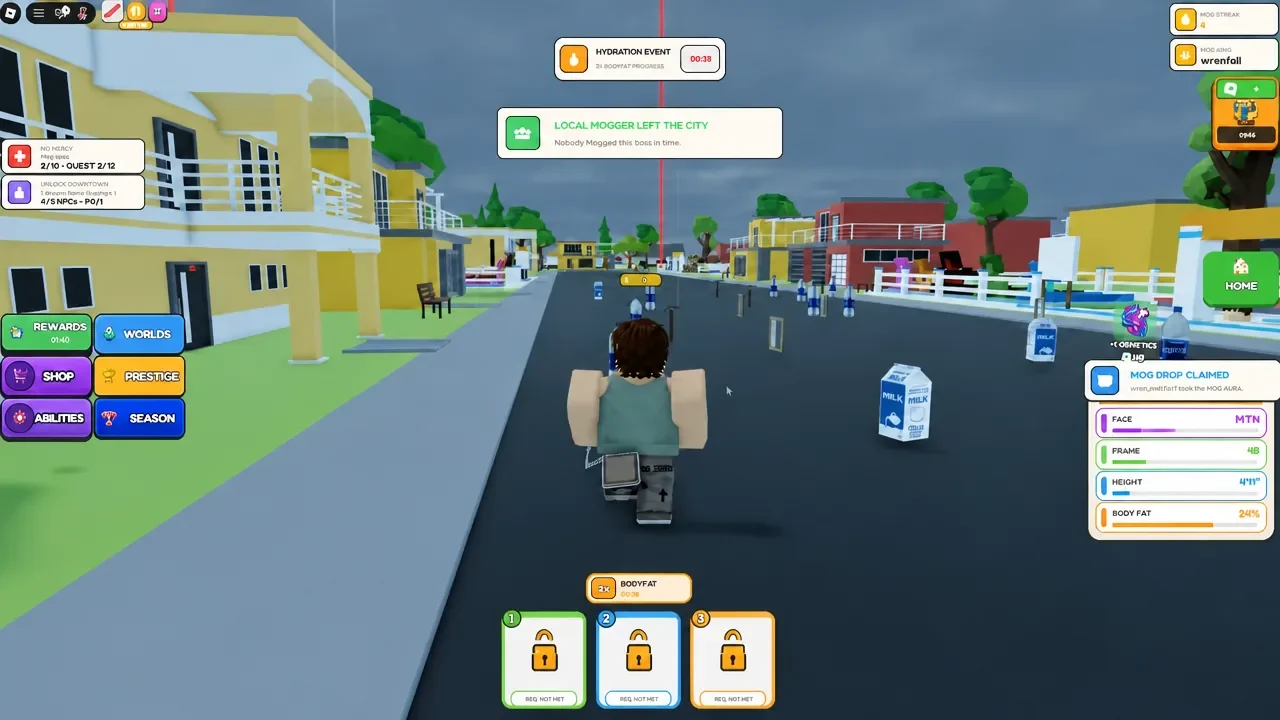
Walk into an NPC or another player to start a Mog Battle. The game lines up both characters’ stats, and the winner gets a choice. SPARE lets the loser keep their run. MOG wipes their progress, hands you MogPoints, and — this is the part that matters — captures them.
NPCs spawn with tier tags baked into their names, like NPC_Male_LTN_0972, so you can read roughly what you’re walking into before you commit. Real players are the risk. Anyone stronger can mog you on contact and erase your stats, so avoid crowded spots while your numbers are still low.
Note: SPARE is only worth it when you’re farming a friendly server. If you want the passive income described below, you have to pick MOG.
Automatic MogPoints from captured moggers
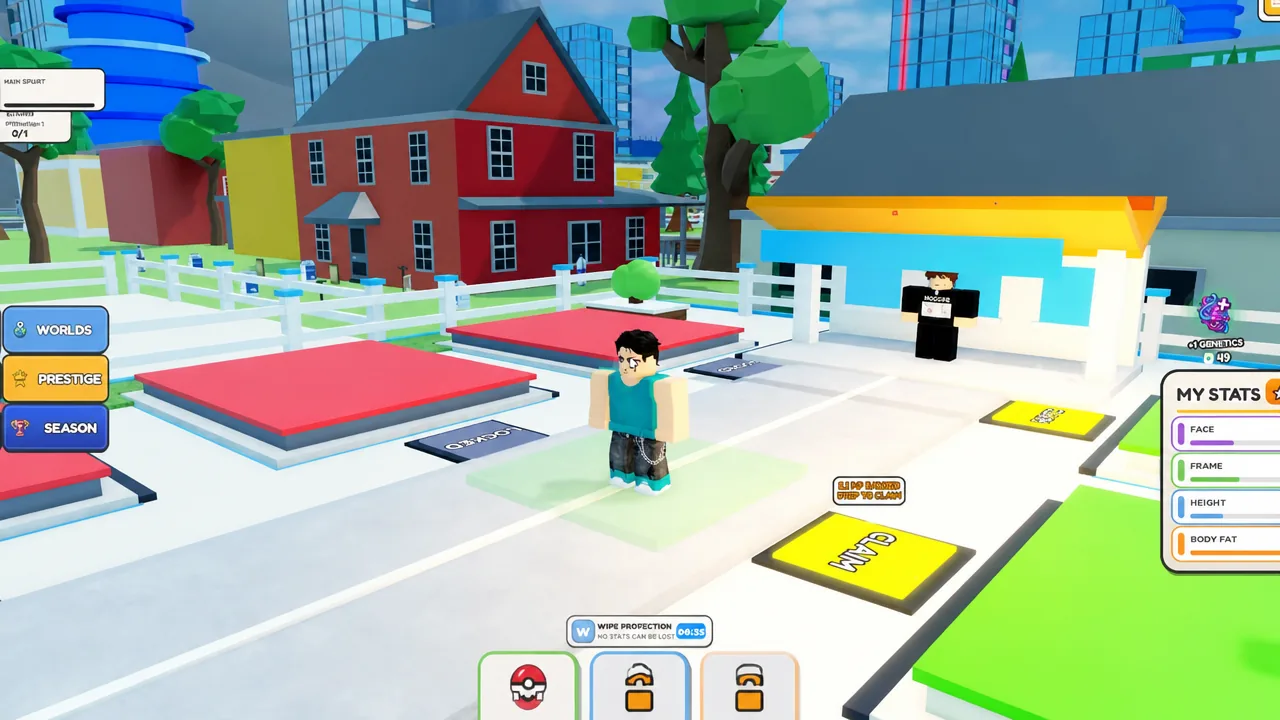
Everyone you mog lands in your CAPTURED MOGGERS list. Head back to your base and place them on the earning pads there, and they generate MogPoints on their own while you keep running the map. This is the closest thing the game has to idle income.
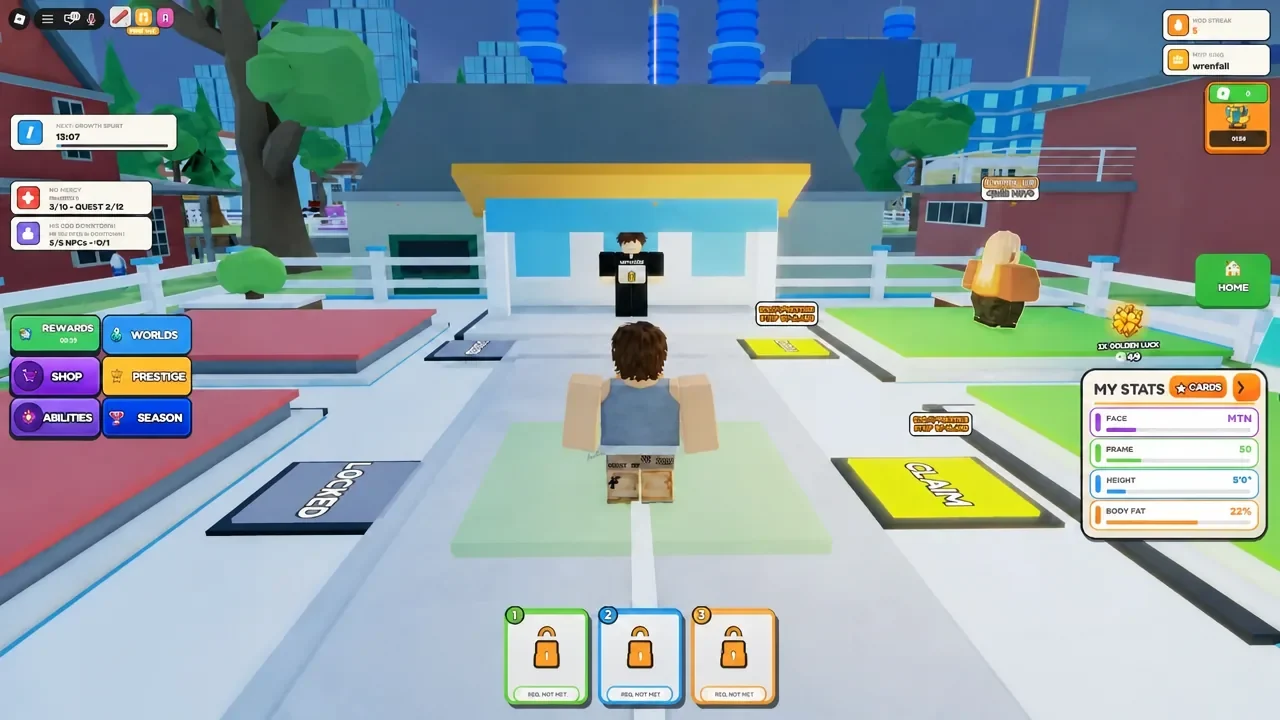
You’ll know it’s working when your MogPoint total climbs while you’re nowhere near your base. If the number sits still, a pad is empty or nothing is equipped.
Spending MogPoints on ability rolls
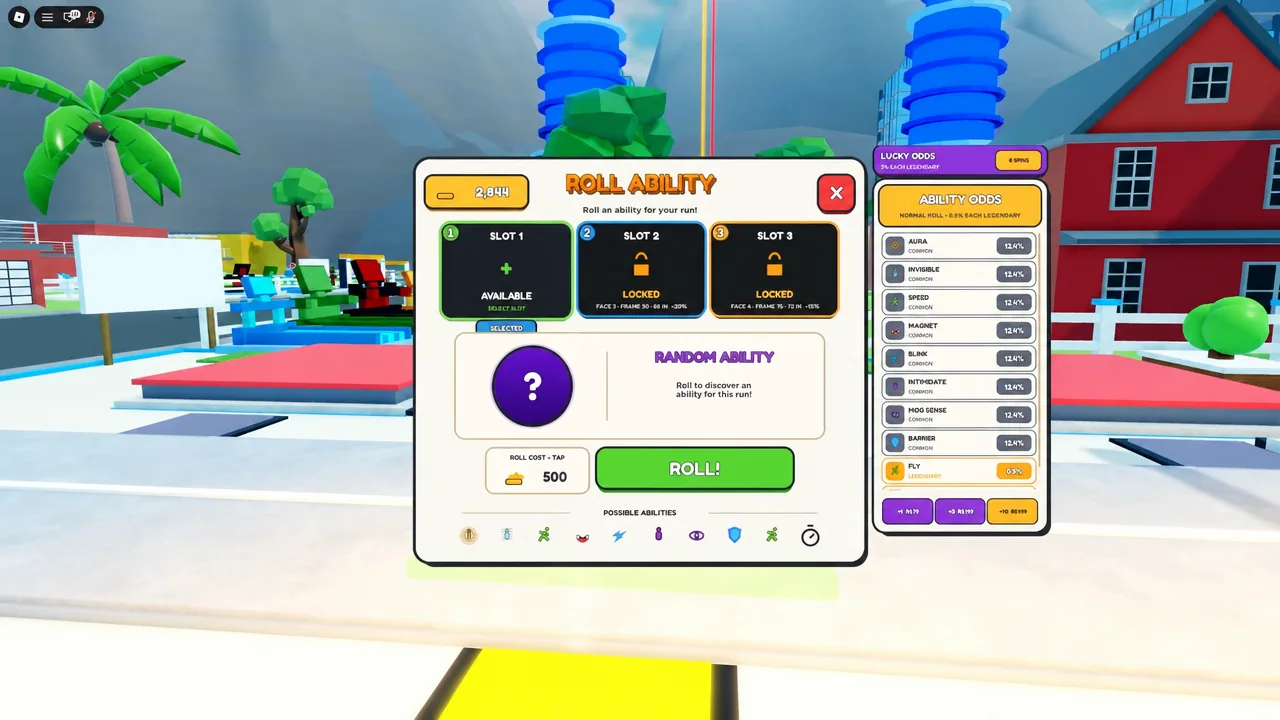
MogPoints buy rolls in the ROLL ABILITY menu. Pick a slot, hit ROLL!, and you get a random ability. The two that show up in the pool include Magnet, which drags nearby collectibles toward you, and Clone Collector. Magnet is the one that meaningfully changes your farming speed, because you stop having to touch every single pickup.
Rocket Shoes work differently. They’re a pickup that spawns randomly around the map and gives you a temporary speed boost rather than a permanent slot. Grab them when you see them, then use the duration to clear a stretch of collectibles you’d normally skip.
Prestige with ASCEND and what the reset gives you
Prestige lives in the RANKS menu, where you’ll start at PRESTIGE 0 and press ASCEND to move up. The trade is straightforward. Your stats go back to the bottom, but every Mog Battle afterwards is easier to win, so the second climb runs faster than the first.
The practical timing: prestige once your stat gains slow down and you’re comfortably beating the NPCs you meet. Bank your captured moggers first, since the passive MogPoints keep flowing while you rebuild your stats from scratch.
Free MogPoints: Codes, daily rewards, and playtime
Before you commit to a long collectible run, clear out the free stuff. DAILY REWARD and PLAY TIME REWARDS both hand out bonuses just for showing up, and FREE GIFT unlocks for liking and favoriting the experience and joining the Roblox group.
Codes are the bigger head start, since they drop MogPoints straight into your balance and stack a doubled progress window on top.
| Code | Reward |
|---|---|
| tyfor300likes | 2,500 MogPoints and 2x Progress for 30 minutes |
| tyfor1.5klikes | 3 Lucky Spins |
| Update2 | 30 minutes of 2x All Progress |
| extracode | 3 Lucky Spins |
If nothing happens, the cause is almost always one of three things. Codes are case-sensitive, so a lowercase swap blocks the reward. A trailing space from a bad copy does the same. And if a freshly released code fails, rejoin to land on a different server running the updated build.
The most efficient run looks like this: redeem everything, claim the daily and playtime rewards, then spend the 30-minute doubled progress window sprinting between Milk, Hammers, Frames, and Water while a Magnet roll sweeps up the rest. Mog every NPC you can beat, park them on your earning pads, and press ASCEND when the climb starts to drag.





