
Damage in Legacy Piece is not one number. It is a stack of separate multipliers — a trait, a race, a clan, gear enchants, gems, haki, faction ranks, cosmetics, fish passives, bounty, and a style toggle — that all feed the same multiplier readout on your stats screen. Get all of them running at once and that readout climbs past 700 percent before a fight even starts, then past 900 percent once combat passives trigger. That is the difference between chipping at an Extreme boss and deleting it.
Quick answer: Stack the Dominion trait, Ancient Fishman race, Berserker clan, +10 enchanted gear, Armament Haki V2 (Ryou) Stage 8, Lieutenant rank, 10.0M bounty, Star Crusher aura and Heavenly Wings, then finish by activating Enten on Chihiro, equipping The World Over Heaven, and pressing Z for Over Heaven Mode.
The permanent damage sources you set up once
These are the parts of the build you configure and forget. None of them need re-activating before a boss, and together they carry most of the multiplier. The trait is the single biggest gate — Dominion is a Mythical/Secret roll, so expect to spend time at the Trait Roll NPC on Legacy Island before you land it.
| Source | What it gives |
|---|---|
| Dominion trait | +35% damage, +70% defense penetration, +23 cooldown haste, plus the Absolute Authority, Sovereign’s Decree and Dual passives |
| Ancient Fishman race | Tides of the Ancients — three orbs circle you, each adding +10% damage, plus a revive |
| Berserker clan | Offensive clan bonus stacked on top of the race |
| Heavenly Wings (Mythical cosmetic) | +35% damage, +25% crit damage, +40% health, +35 CDH |
| Star Crusher (Secret aura) | +90% damage, +100% health, +60% crit damage, +30% ability multiplier, +30% defense penetration, +30 CDH, +15% crit chance |
| Bounty at 10.0M | +100% bounty damage boost |
Prestige matters here too. Emerald III is the top rank, and it lifts the caps everything else scales against. Push prestige as soon as you hit the level cap rather than saving it for later.

Potential rolls: Which stats to keep
Potential rolls sit on your character and come in ranks. Kami is the top result, with SSS acceptable if you are not willing to keep rerolling. Damage Multiplier, Crit Damage and Crit Chance are the three that decide your ceiling — everything else is a bonus.
| Potential stat | Kami roll |
|---|---|
| Damage Multiplier % | +50.00% |
| Crit Damage % | +50.00% |
| Luck % | +25.00% |
| Health % | +20.00% |
| Cooldown Haste | +15.00 |
| Crit Chance % | +10.00% |
| Armor Penetration % | +10.00% |
| Damage Reduction % | +10.00% |
Gear: Enchant to +10, then ascend
Ice Land holds both halves of the gear pipeline. The Enchantment NPC takes weapons, specs and accessories up to +10, and hitting +10 is what unlocks an item’s unique passives rather than just raising its numbers. On the Araya Outfit, +10 turns on Superposed Afterimage, Berserker, Iron Skin and Thorns.
After enchanting, take the same pieces to the Sovereign of Fates NPC and ascend them to SSS or Kami rank. Then fit gems — Secret gems first, Legendary as filler — and prioritise Crit Damage, Crit Chance and Ability Damage rolls on them. A weapon that is +10 but unascended is leaving a full tier of scaling on the table.
Haki and faction ranks
Armament Haki V2 (Ryou) at Stage 8 is a flat +80% damage multiplier, which makes it the largest single upgrade outside of the aura. Haki itself comes from a short quest line on Ice Island, and the stages are ground up from there.

Two faction ranks add smaller but permanent boosts on top. Fire Force at Lieutenant gives +30% damage. The Index at Level 4, Oracle’s Proxy, gives +10% damage and +60% max HP — the health half is what keeps you alive long enough to use the damage half on Extreme.
Fish passives from Fishman Island
Equipped fish contribute passive buffs that most players skip entirely. The set worth chasing is the Akaza Shark (Mythical), the Eastwind Haki Shark (Secret), the Void Oracle Ray (Secret) and the Crimsontide Leviathan (Secret), which between them carry Compass Needle, Haki Predator and Foretold Extinction.
Compass Needle is the important one for the stacking order below, because it only fires once you are actually fighting. That is part of why the multiplier keeps climbing after you engage a boss rather than peaking in the lobby.

The pre-fight activation order
The temporary buffs have to go on in sequence, because the style swap at the end is what reads and locks in everything before it. Do this immediately before entering a boss, not minutes earlier.

How to confirm the stack worked
Test on a training dummy before committing to a boss. A fully stacked run lands over 12 million damage on the dummy. If your number is dramatically lower, the multiplier readout tells you where the gap is: under 700 percent before combat means one of the permanent sources is missing or a temporary buff expired during the swap sequence.
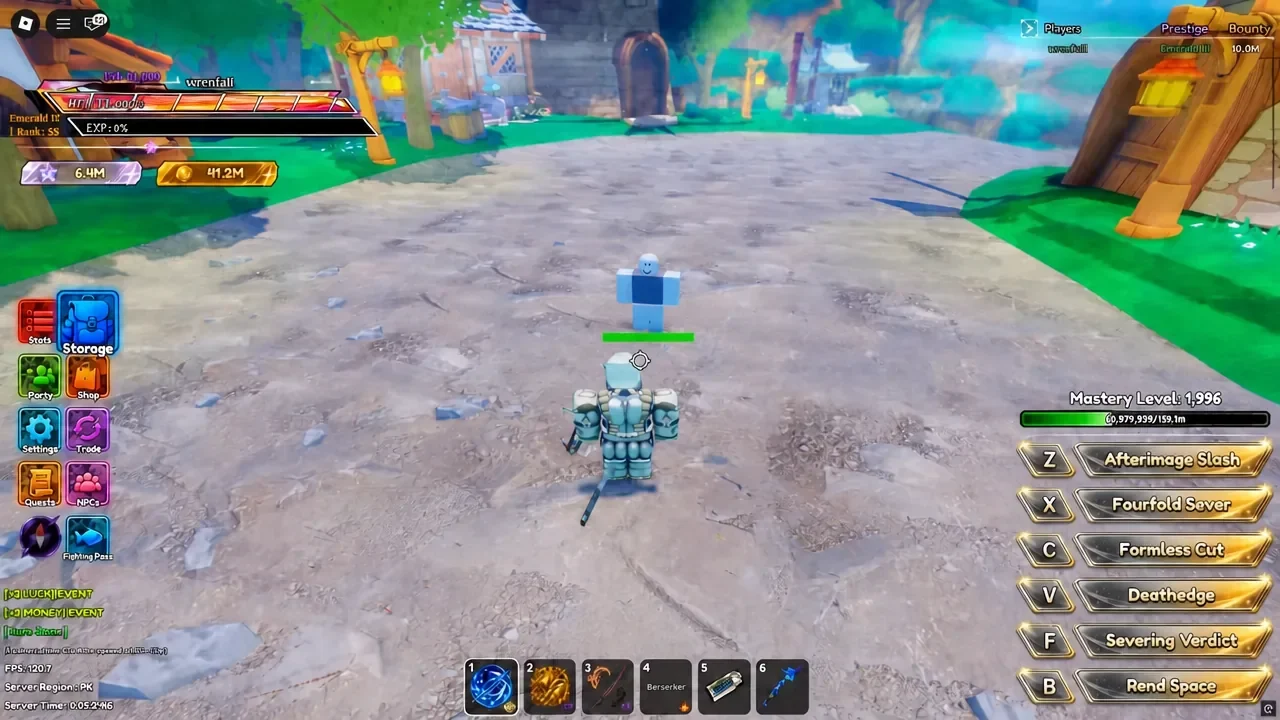
The most common reasons the stack falls short are gear left below +10 so its unique passives never turn on, unascended weapons still sitting under SSS, Haki below Stage 8, and bounty short of the 10.0M threshold that triggers the +100% boost. Each of those is a hard cut-off rather than a gradual scale, so being close to the number gives you nothing.
Bosses this clears on Extreme
Solemn Lament, Rien and Araya all go down on Extreme difficulty with the full stack running, and the Over Heaven burst window is short enough that a clean run takes no damage at all. That is the practical benchmark — if you are still trading hits with these three, the multiplier is the thing to fix, not your dodging.
One last note on the offensive skill tree. Take the pure damage path rather than splitting into utility nodes; with defense penetration already coming from Dominion and the Star Crusher aura, survivability is covered by the Index health bonus and the Ancient Fishman revive.