

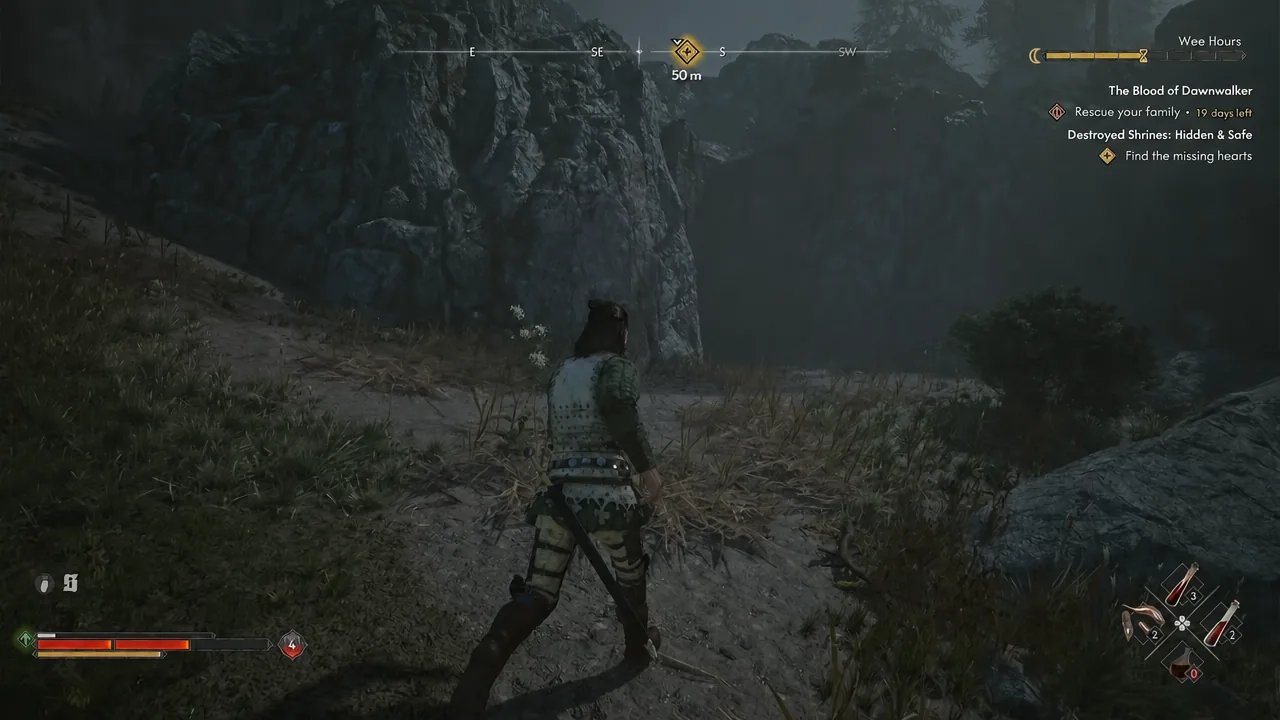
Brencis ordered the shrines across Vale Sangora torn down, and his soldiers carried off the idols — the hearts — that make them work. Most stolen hearts end up in a nearby camp or inside an animal that ate the thief. Three of them, though, were stashed together in a cave, and finding that cave is what closes out the Destroyed Shrines: Hidden & Safe quest.
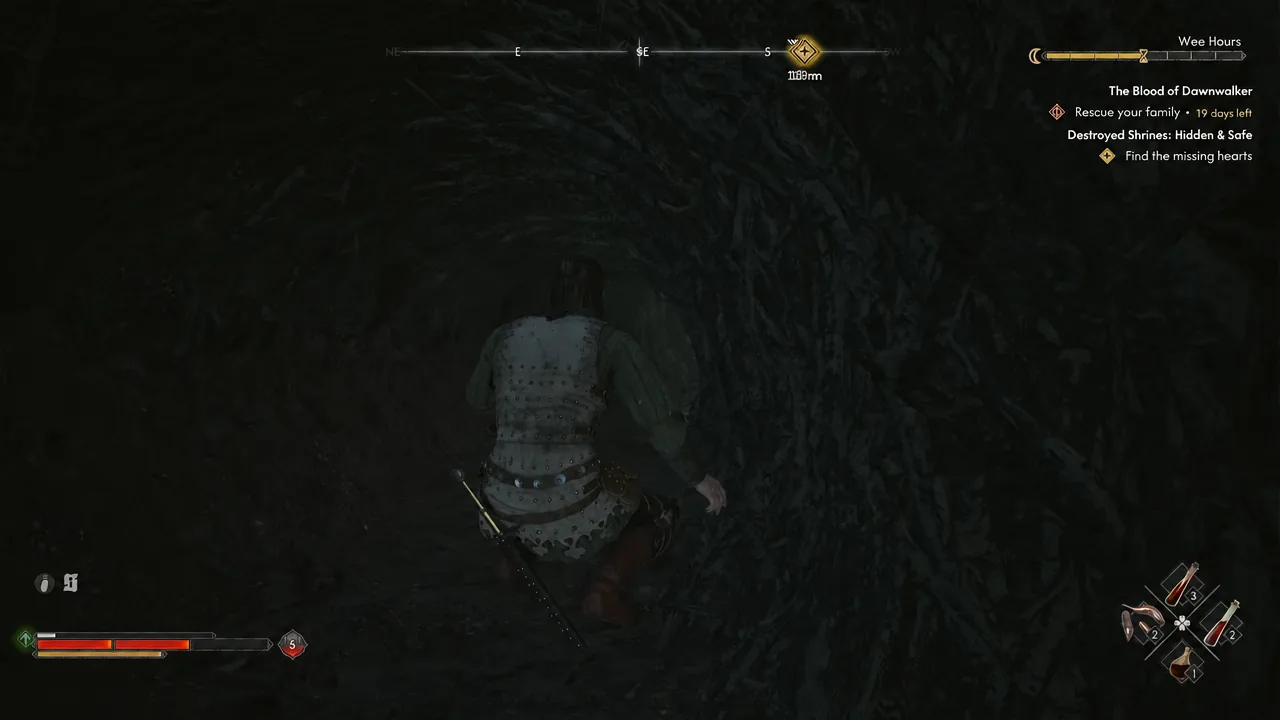
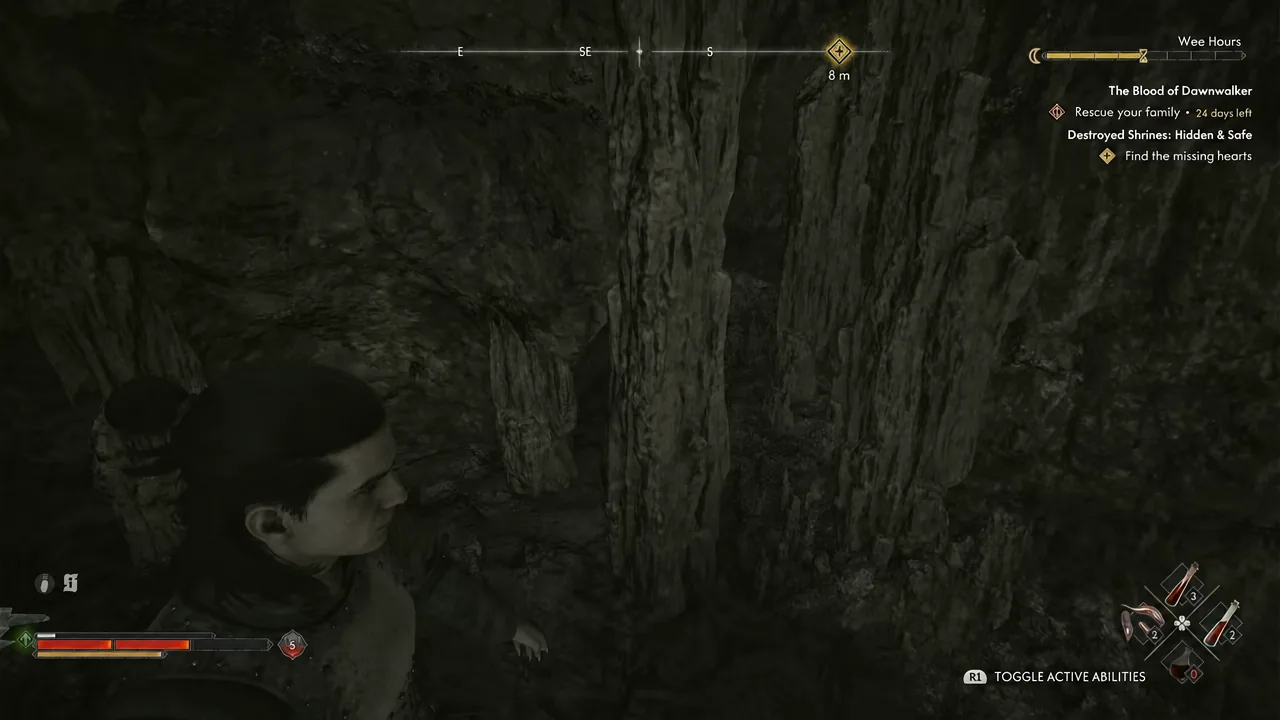
Quick answer: Head east out of Svartrau City to the edge of Svartrau Grove, push through the vine-covered opening in the cliff face, then take the Vedera Marsh Shrine’s Heart, the Pilgrim’s Bridge Shrine’s Heart, and the letter from the lit altar inside.
Where the hidden stash is located
The objective marker sits directly east of Svartrau City, near the boundary of Svartrau Grove. You are looking for a cliffside rather than a marked entrance, so the map pin will drop you close to a rock wall with no obvious way in.
The trail to it starts elsewhere. Inspecting the damaged Vedera Marsh, Burner’s Clearing, or Pilgrim’s Bridge shrines points you at a journal, which sends you to a house in Neustadt on the southern side of Svartrau City. Vrakhiri abilities get you up to the upstairs balcony, and the notes inside name the cave.
Reaching the altar and taking both hearts
How to confirm the quest completed
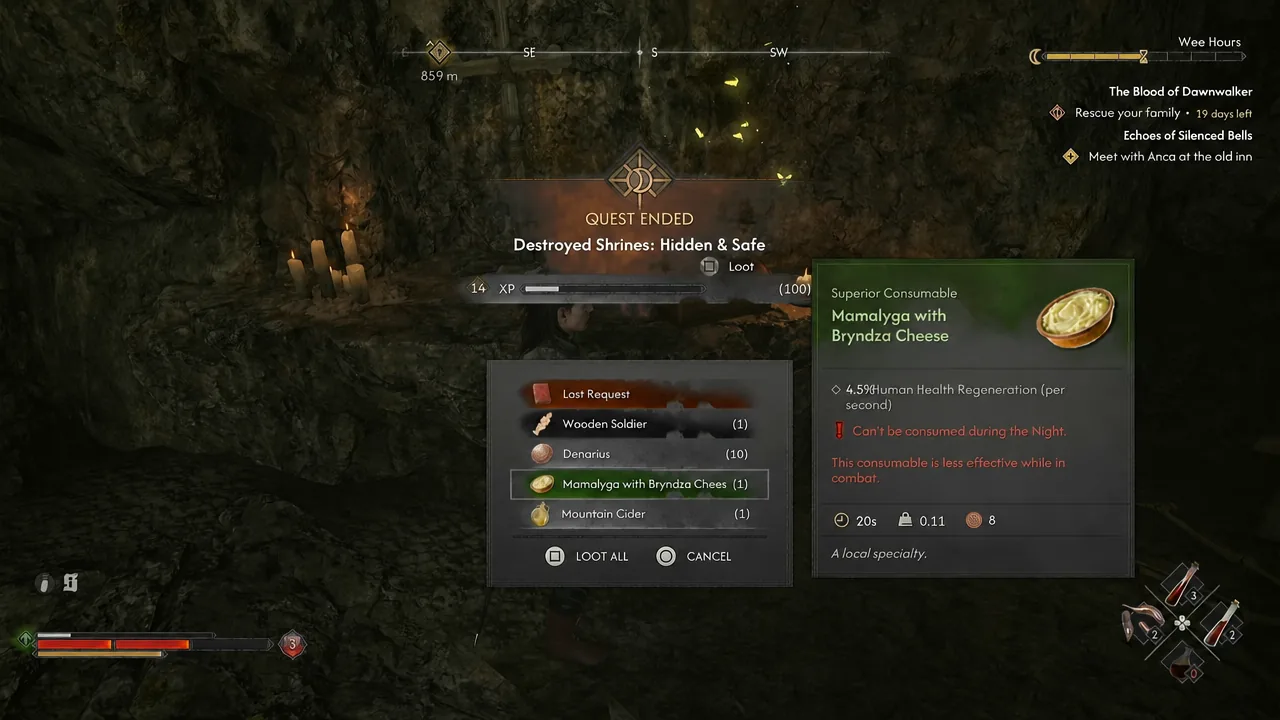
Destroyed Shrines: Hidden & Safe marks itself complete the moment you have taken the hearts and the letter from the altar. Immediately after, several new quest entries appear in the journal — that burst of new entries is the clearest confirmation that nothing was left behind in the cave.
If the quest is still open, you almost certainly skipped the box. The two hearts alone do not close it out.
Extra loot inside the cave
Do not leave straight away. A chest sits nearby, and a skeleton in the same chamber can be searched for gear and coin. Sweep both before you head back out.
| Container | What it holds |
|---|---|
| Rock pile in the passage | Crafting materials |
| Altar | Vedera Marsh Shrine’s Heart, Pilgrim’s Bridge Shrine’s Heart |
| Box on the altar | The letter that completes the quest |
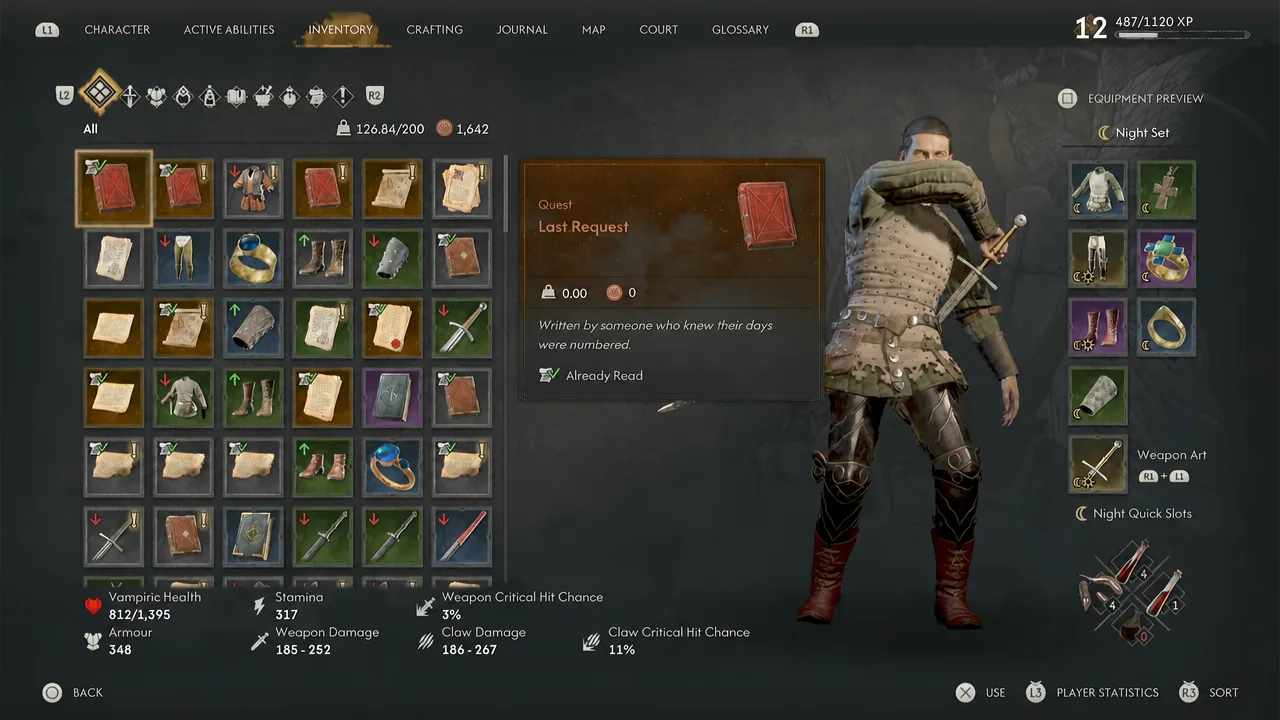
| Chest and skeleton | Gear and Denarius, plus items such as the Red Coat, Golden Earrings, Mountain Cider, Tansy, Parchment, and a Wooden Soldier |
Every shrine quest the stash unlocks
Four restoration quests open at once. Two of them you can already finish, because the hearts are sitting in your inventory.
| Quest | Where the heart comes from |
|---|---|
| Destroyed Shrines: Vedera Marsh | Already yours from the cave altar |
| Destroyed Shrines: Pilgrim’s Bridge | Already yours from the cave altar |
| Destroyed Shrines: Burner’s Clearing | Part of the same stash chain that begins with the Neustadt notes |
| Destroyed Shrines: Boarback Trail | Follow the tracks to the bear nearby, kill it, and take the idol from the corpse it was feeding on |
Returning the hearts and what a restored shrine gives you
Carry each heart back to its own shrine and place it. A working shrine unlocks new skills, opens your storage, and acts as a fast travel point, which matters a great deal once Vale Sangora starts opening up and walking every route becomes a chore.
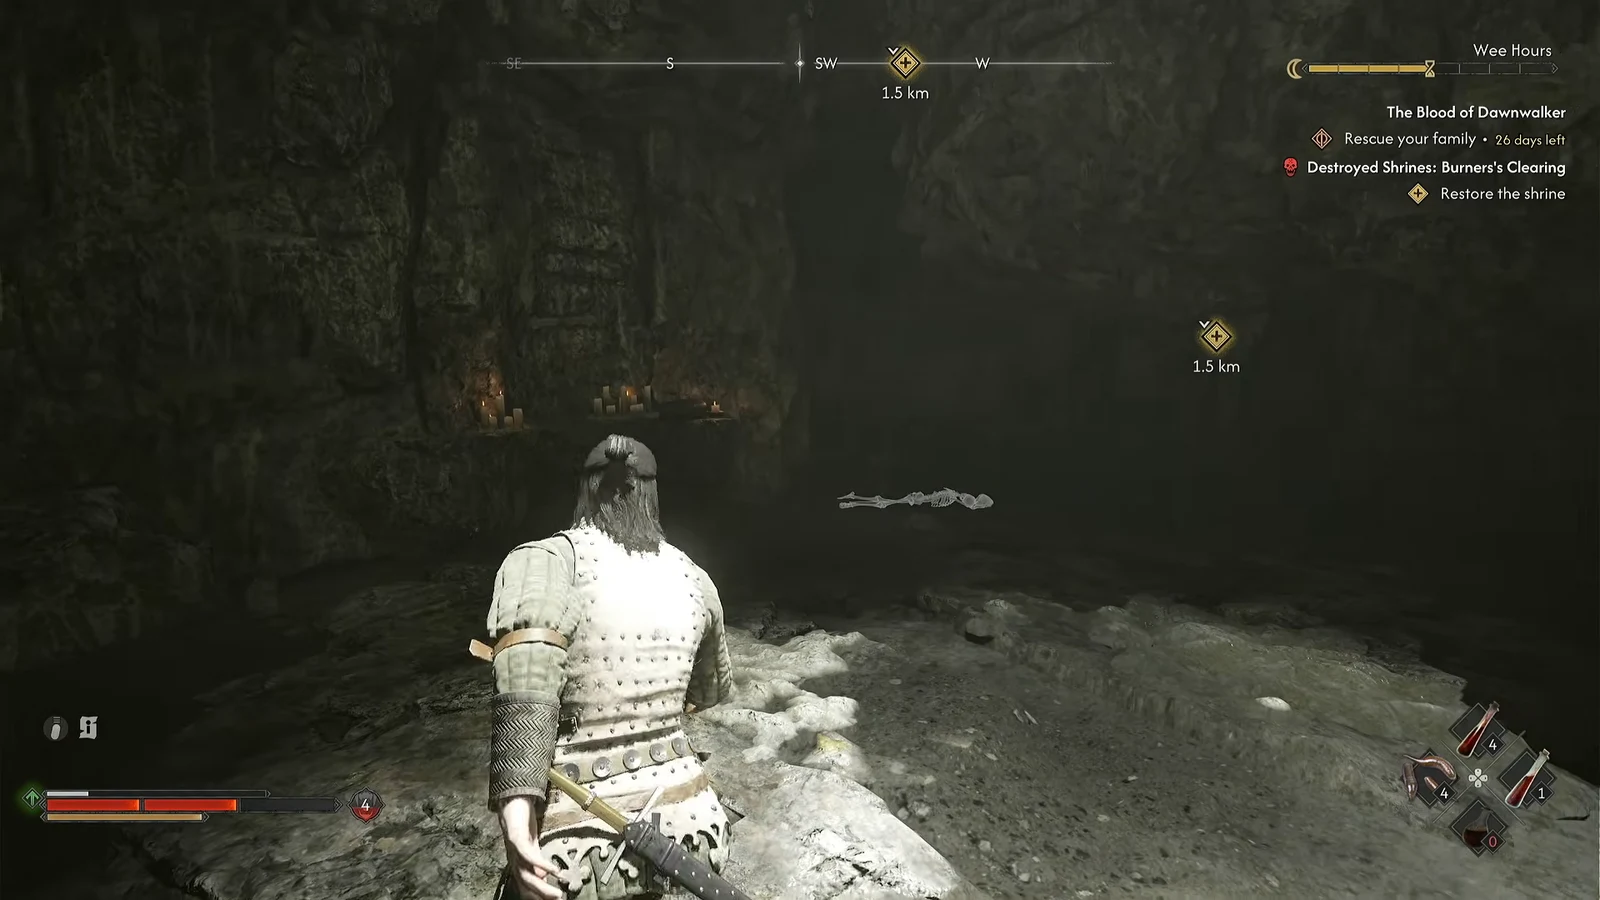
Note: nearly every shrine restoration costs one time segment. If you are juggling a quest with a fixed deadline, restore shrines when you have hours to spare rather than right before a timed event.
For the shrines that are not tied to this stash, Focus Mode does most of the work. Inspecting a damaged shrine leaves footprints on the ground that lead to a soldier camp, a bandit camp, or an animal; in some cases the soldiers are still smashing the shrine when you arrive, and the idol is simply on one of their bodies.





