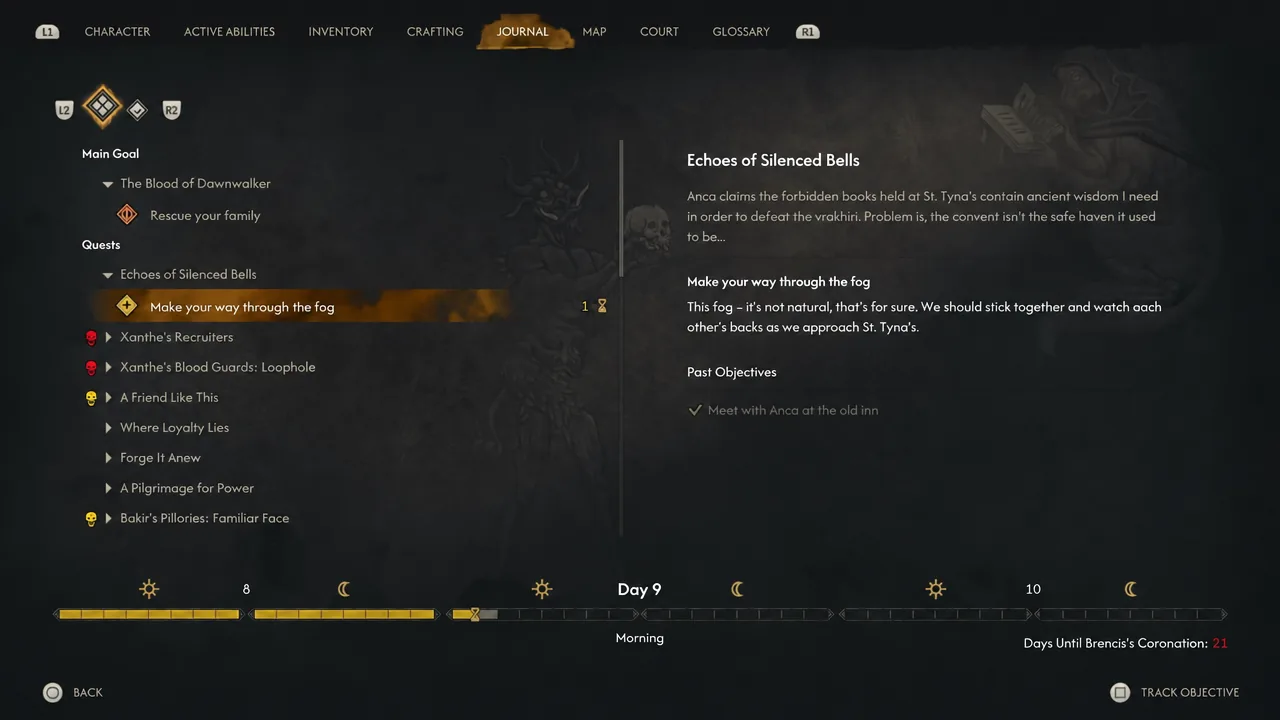
Echoes of Silenced Bells sends Coen and Anca into St. Tyna’s Convent, a former monastery now filled with self-reviving undead nuns. The whole quest hinges on one problem. You cannot permanently kill the nuns wandering the courtyard, so you have to clear a route to the library another way before Anca can search for the forbidden books hidden below.
Quick answer: Meet Anca at the old inn, cross the fog to the convent, then reach the courtyard balcony. Either ring the bell tower at night to send the nuns away, or find the Relic of St. Tyna and trade it to Brencis’ soldiers for the corridor key. Return to Anca, push the bookcase in the library, fight through the catacombs, defeat Leonica, then choose to burn her notes or hand them to Anca.
Reach the convent through the fog
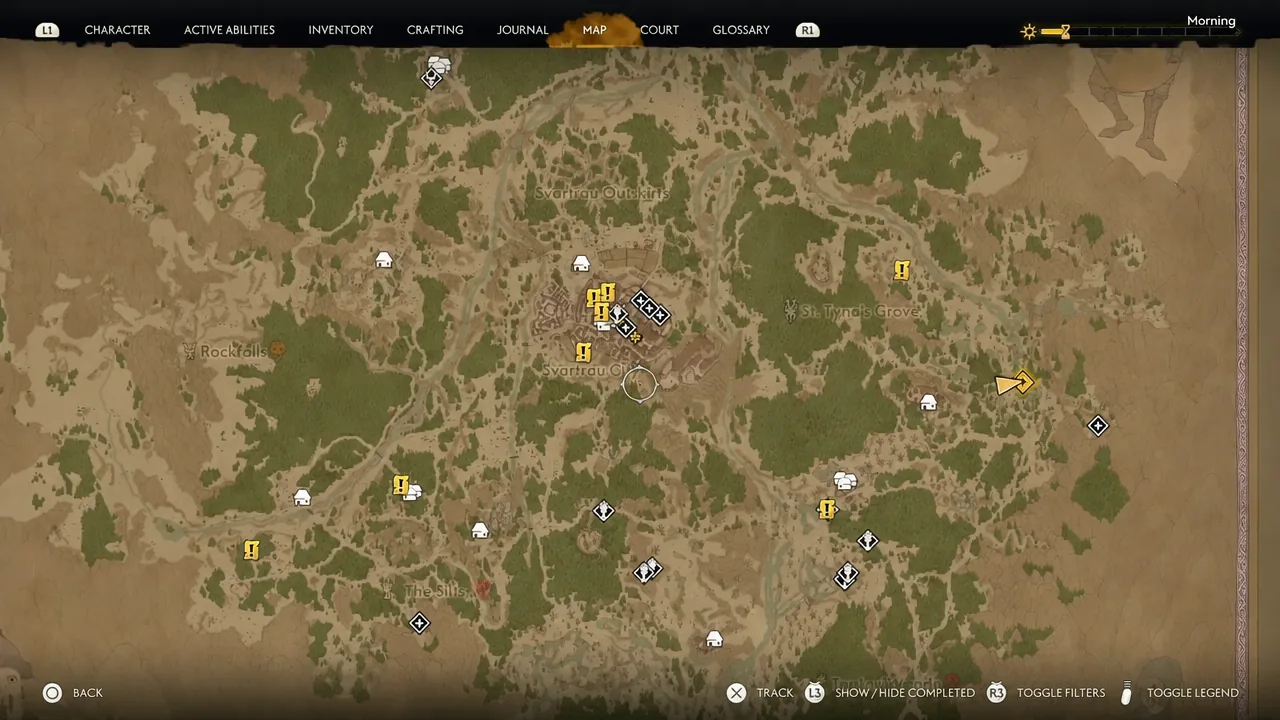
The quest opens in your journal as soon as the prologue ends. Anca asks Coen to meet her at the old inn near St. Tyna’s, sometimes called the Crossroads Inn, which sits southeast toward the swamplands. The inn has a damaged Shrine worth repairing, since you will fast travel here often, especially if you plan to romance Anca later.
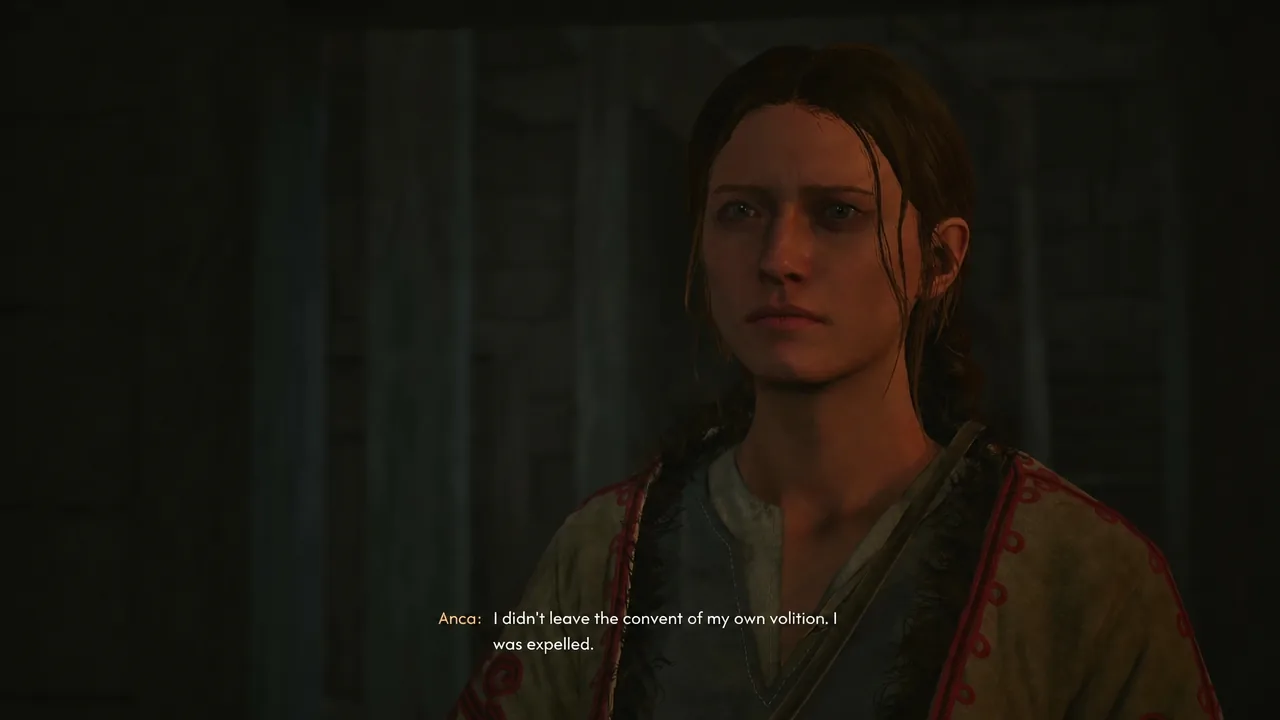
Once safe, Anca reveals she did not leave the convent by choice. She was expelled for practicing magic after her friend Leonica denounced her. When the conversation ends, follow her through the refectory building and up to the balcony overlooking the courtyard.
Survey the courtyard from the balcony
From the balcony, inspect the highlighted points of interest to learn your options. Roughly a dozen zombie nuns shuffle around the courtyard below. They have very limited vision and will not spot you right away, but if you get too close they turn hostile and are hard to shake off. There are two main ways to clear the path, and the buildings around the yard feed into both.
| Location | What it offers | Time cost |
|---|---|---|
| Infirmary | Brencis’ soldiers barricaded inside; they trade the corridor key for a relic | Free to check |
| Bell tower | Ring signals to move the nuns around the convent | Free to check |
| Chapel | Clues to the relic’s location via Compel Soul | 1 Time Segment |
| Sacristy / dormitories | Monastery Keys and the Relic of St. Tyna | Free to check |
| Library | Your destination; leads to the catacombs | — |
| Secure passage for Anca | Advances the quest once a route is clear | 3 Time Segments |
Note: Before you drop down, grab the Saint’s Tibia from the corpse beneath the ladder in the western part of the area. It is used in a later quest.
Route 1: Ring the bell tower (night only)
This route needs it to be night, because you use Coen’s vampiric abilities to climb. It is the faster option, but only if the in-game clock cooperates.
| Bell tolls | Where the nuns go | Result |
|---|---|---|
| Three | Chapel | Courtyard and library clear; safest option |
| Four | Infirmary | Nuns attack and kill Brencis’ soldiers; some stay in the library |
| Five | Dormitory | Some nuns linger near the library; not ideal |
If you ring four tolls, the nuns overrun the infirmary and kill the soldiers, and you can no longer trade with them. If you ignored the soldiers earlier, they will come after you near the end of the quest as you leave the convent.
Route 2: Find the Relic of St. Tyna (Most Precious Thing)
This route works at any time of day and rewards you with an Epic amulet. Talking to the soldiers starts a short side quest called Most Precious Thing.
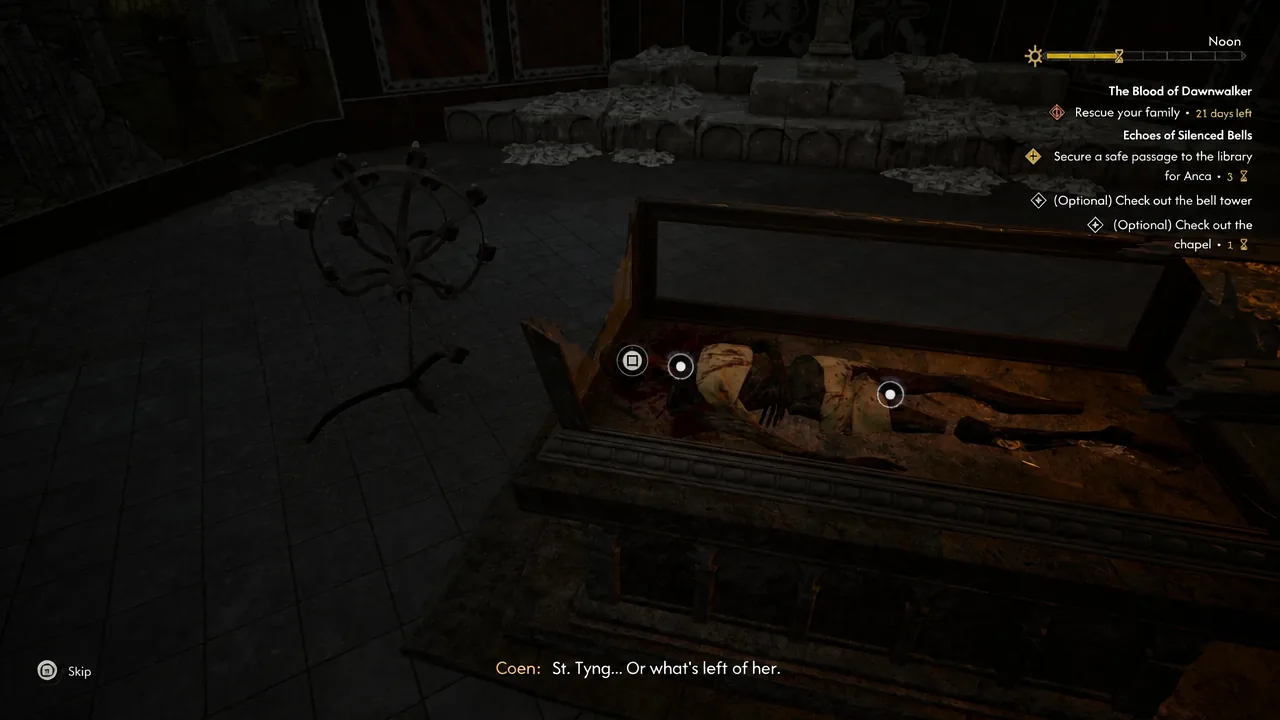
The relic is an Epic amulet that boosts maximum human health, Witchcraft ability damage, Witchcraft ability health cost, and activation charge restoration from actions. Because it suits a Witchcraft build, many players prefer to keep it.
Which route to pick
Route 1 is easier but locked to nighttime, so it can waste time segments if the day has just begun. Route 2 works whenever you like and hands you a useful trinket, at the cost of a simple three-soldier fight if you decide to keep the relic. Whichever you choose, ignoring the soldiers means they ambush you as you exit the convent later.
Enter the library and search the catacombs
Calling Anca to the library costs an extra Time Segment. Once inside, you find it ransacked, with torn pages leading downward.
The library is packed with skill manuals, so check every bookshelf before moving on. These include manuals for Dirty Trick, Witchcraft Mastery, Precision, Master Fencer, Mercurial Favor, Potent Blood, and Frugal Witchcraft. Deeper in the catacombs you can also find the Potent Blood Manual and the Razor Claw Vial recipe.
Push the bookcase aside to reveal the catacombs. The route down is mostly linear. Clear the undead nuns, inspect the ritual table with fresh blood and dark sigils, then open the steel door at the end to trigger the boss fight.
Leonica boss fight
The last surviving nun is Anca’s old friend, now Leonica, She Who Speaks with the Devil. She is a Witch archetype who disappears and summons weaker clones after each health segment is drained.
Open with a burst of strikes for the first 2 to 3 seconds, then focus on reading her attacks. Watch for these patterns:
- Frontal explosion: she walks up, spreads her arms, and fires spikes from her torso. Strafe sideways the moment she charges it.
- Homing orb: she raises a hand, summons a slow orb, and launches it. Dodge at the last second, since dodging early lets it track you.
- Clone summons: she spawns several regular nun enemies at once. Strafe around them, avoid getting cornered, and clear them out.
She can also cast Ravenous Flock and Thornvine Explosion in the space around her, so keep moving. After the fight, collect your rewards.
| Reward | Details |
|---|---|
| Catacombs Key | Lets you exit the dungeon |
| Leonica’s Ring | Epic ring with passive activation charge restoration, Witchcraft ability health cost, and Witchcraft ability damage |
| Unholy Vitality Manual | Skill manual |
| Herbal Remedies Manual | Skill manual |
Burn the notes or give them to Anca
After the fight, Anca realizes Leonica was not simply dabbling in dark magic. She had made a pact to try to lift the plague curse and free the sisters, and was interrupted at the final step. The first prompt lets you say “This won’t end well” or “Absolutely not,” but both lead to the same real decision about her research notes.
| Choice | Outcome |
|---|---|
| Throw the notes in the fire | Anca is distraught but recovers. The sisters remain cursed. In the epilogue, the fog stays and villagers still hear chanting. |
| Give the notes to Anca | She completes the ritual, though she carries the weight of it. The sisters are freed, and a peaceful convent appears in the epilogue mural. |
Neither choice blocks the follow-up quest, changes Anca’s overall behavior, or affects your ability to romance her. If you never dealt with the soldiers, they confront you before you leave, and you can hand over the relic or fight.
After the quest: Between the Words
Completing the decision ends Echoes of Silenced Bells and starts a short follow-up called Between the Words back at the Crossroads Inn. Prepare a warm drink for Anca, which costs 1 Time Segment. Then browse the books and give her the one she finds interesting, moving the candle along the spine to reveal the writing. That costs another Time Segment and wraps up the quest, leading into Anca’s next questline.